Fried Pickles: The Snack That Started an Argument (But in a Good Way)
Alright, so picture this: it’s a Saturday afternoon, my cousin stops by completely unannounced (she does this, and honestly, I love it), and she’s got one of those faces that says, “Feed me or else!” Now, I could’ve just made popcorn like a normal person, but something about that day just felt… a little wild. So I said, “Let’s fry some pickles!” She looked at me like I had two heads. But here’s the thing—once she tried them, she wouldn’t stop eating, and actually, we almost got into a spat over the last one. The dog won, by the way. So, fried pickles are kind of my secret weapon for snack emergencies, unexpected guests, or honestly, when I just want to feel like I’m eating at one of those Southern diners, minus the plane ticket.
Why I Keep Making These (And My Family’s Reactions, For Better or Worse)
I make these fried pickles when I want a snack that makes people talk. My family goes a little bonkers for them because they’re crunchy, tangy, and honestly, you just don’t expect a pickle to taste this good. (There was one time my brother tried to eat them with ketchup. Never again.) They’re also weirdly satisfying to dip, and the whole house smells like a county fair for hours. Sometimes the batter’s a little messy, but I find if you just embrace the chaos, it tastes better. Maybe that’s just me.
What You’ll Need (And What You Can Totally Fake)
- 1 jar dill pickles, sliced into chips (Honestly, any brand works—my grandmother always insisted on Claussen, but sometimes I grab whatever’s on sale.)
- 1 cup all-purpose flour (Or use cornstarch if you’re out, but it gets a bit crispier.)
- 2 large eggs (If you’re out, a splash of milk gets you close enough. Not perfect, but hey.)
- 1 cup cornmeal (Panko breadcrumbs are a good swap if you like extra crunch!)
- 1 teaspoon garlic powder
- 1 teaspoon paprika (Smoked paprika if you’re feeling fancy)
- 1/2 teaspoon cayenne pepper (optional, but I always sneak it in)
- Salt & pepper, just a pinch or two
- Oil for frying (Vegetable, canola, or peanut—again, use what you’ve got. I’ve even used sunflower oil in a pinch.)
How I Actually Make Fried Pickles (Not Always By the Book)
- First, drain the pickles. (I usually just eat a couple while I do this. You can too, I won’t tell.) Pat them dry with a paper towel—if you skip this, the batter slides off and you’ll be sad.
- Set up three shallow bowls: one with flour, one with beaten eggs, and one with cornmeal mixed with your spices. This is the classic assembly line, but sometimes I just use two bowls if I’m low on patience.
- Dip each pickle chip in flour, then egg, then cornmeal mixture. It gets a little messy, but that’s half the fun, right? Don’t worry if the coating is uneven; it’ll crisp up regardless.
- Heat oil in a deep pan or skillet over medium-high. You want about an inch deep (or as much as you dare—sometimes I just use a shallow layer and flip them).
- Test the oil: drop a crumb in; if it sizzles like rain on a tin roof, you’re good. Fry the pickles in batches (don’t crowd the pan or you’ll end up steaming them—trust me, not great). About 2-3 minutes per side, or until they’re golden and crispy.
- Scoop ‘em out with a slotted spoon, drain on paper towels. This is where I usually burn my tongue because I’m too impatient to wait. Don’t be like me, let them cool a minute.
Notes: What I Learned the Hard Way
- If you don’t really dry the pickles, the batter slides right off. Took me like, three tries to learn this.
- The oil’s temp matters. Too hot and they brown in a flash but stay soggy; too cool and it’s a sad, greasy mess.
- Sometimes I skip cornmeal and just double up on flour. It’s less crunchy but easier. No one’s complained yet.
If You Want to Mess Around: Variations & Experiments
I’ve tried all kinds of things. Once I used bread-and-butter pickles—way too sweet, wouldn’t recommend unless you’re into that. Jalapeño slices instead of pickles? Actually, surprisingly good. Oh, and I’ve even dipped them in buttermilk instead of egg, which works if you’re out of eggs and maybe a little hungover (I’m not judging). A sprinkle of ranch powder in the batter is also a game-changer.
Do You Need Fancy Equipment? Not Really, But…
I’ve got a deep fryer, but honestly, I usually just use a cast iron skillet. No thermometer? Just use a wooden spoon—the oil should bubble when you dip in the handle. If you don’t have a slotted spoon, a fork and some quick reflexes do the trick, though your fingers might get a bit singed (ask me how I know).
Keeping Leftovers: If You Even Have Any
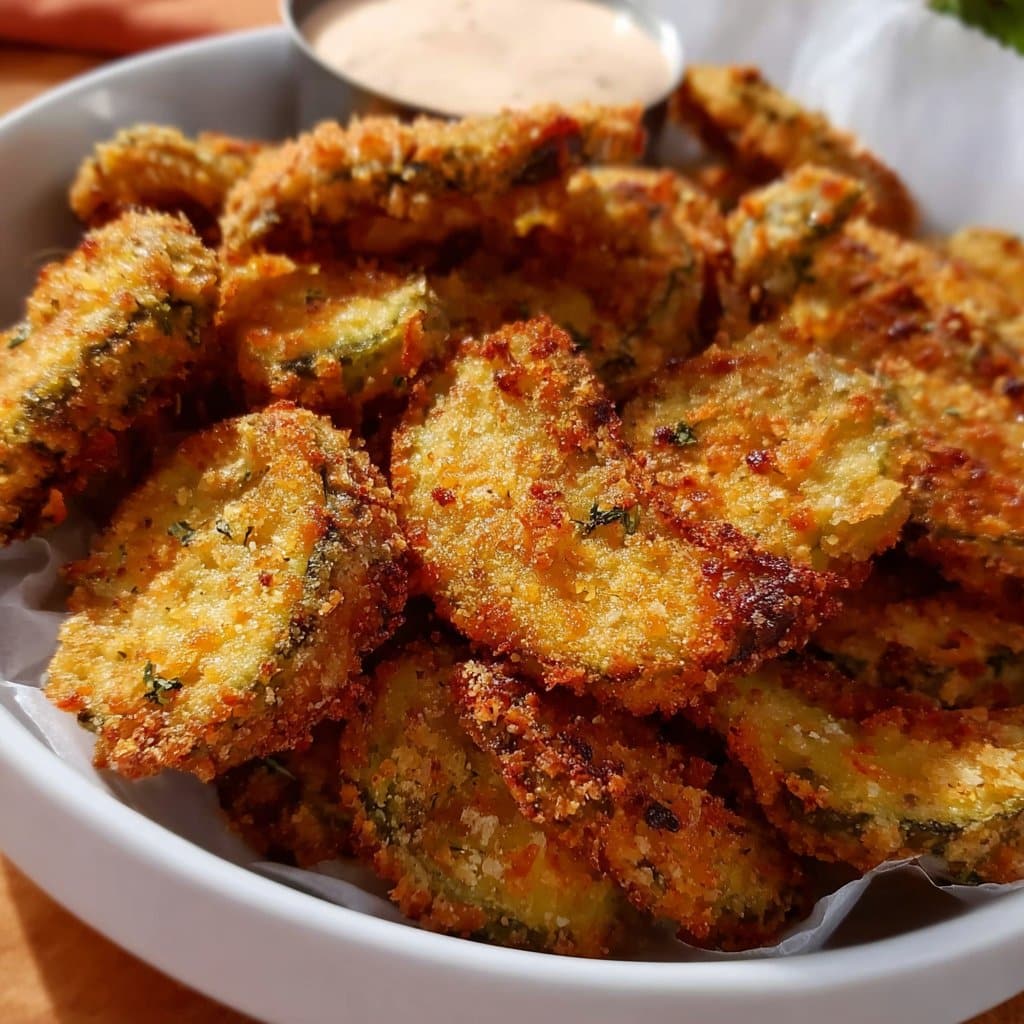
Store in an airtight container in the fridge for, like, a day or two. They soften up, but you can re-crisp them in an air fryer or oven. But, to be honest, in my house they never last more than a day—people just sneak into the kitchen and grab them cold. I think they still taste great the next day, maybe even better somehow (could be my imagination).
How I Like to Serve Fried Pickles
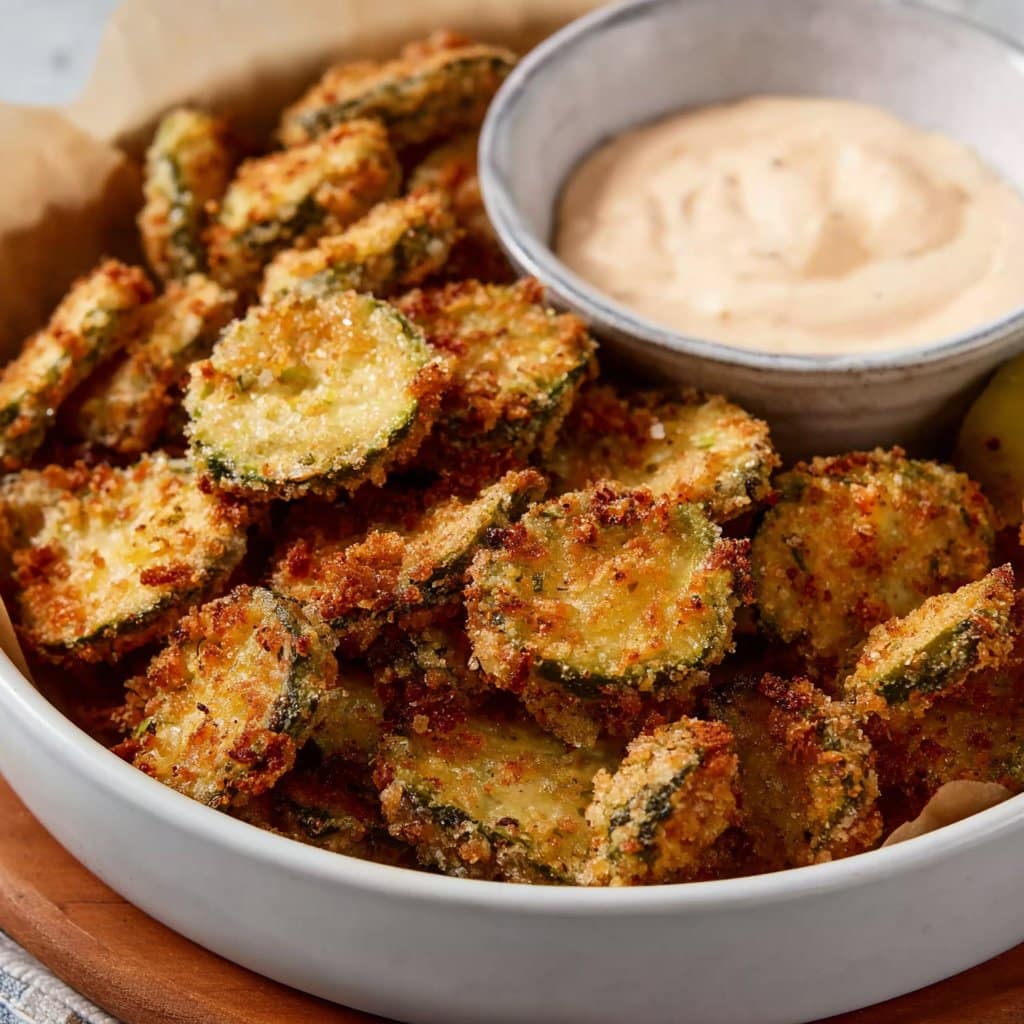
My favorite way: big pile, side of ranch or spicy mayo. Sometimes we go full Southern and put them in a basket lined with paper towels—my uncle insists this is “how it’s done.” Great with burgers, or just on their own while watching the game. Once, at a picnic, we sandwiched them between potato chips and called it a “crunchwich”—don’t knock it till you try it.
Lessons Learned (Aka: Don’t Be Like Me)
- Don’t rush the oil heating. I tried frying when it barely sizzled—just soaked up oil and turned limp. Ew.
- Don’t crowd the pan; they fry better with space.
- Actually, I find it works better if you let them cool a few minutes. Hot pickles will steam the coating right off if you bite in too soon. I learned the hard way.
Real FAQs From Friends (And the Occasional Stranger)
Q: Can I bake these instead?
Yep, you can. They don’t get as crispy, but if you put them on a wire rack in the oven at 425°F and spray a little oil, it’s not bad. Air fryer also works. Serious Eats has a guide if you want more details.
Q: What’s the best pickle for this?
I usually say classic dill chips, but people use spears, slices, or even spicy pickles. Southern Living swears by thick-cut slices. Honestly, just use what you like.
Q: How do you keep the batter from falling off?
Dry those pickles! And don’t skip the flour step. Also, if you let them sit a couple minutes after breading, the coating sticks better. Learned that one after a few… er, disasters.
Q: Can I use gluten-free flour?
For sure. Cornstarch or gluten-free all-purpose mix both work, though the taste is a little different. My neighbor does this and says it’s grand.
Oh, and one last thing: don’t try to use sweet pickles unless you want everyone at your party to give you side-eye all night.
If you’re curious about the history of fried pickles (because I once went down that rabbit hole instead of cleaning my kitchen), Wikipedia actually has a decent write-up—it’s way more interesting than you’d think! Anyway, happy frying, and may your pickles always be crispy and your family only a little competitive about the last one.
Ingredients
- 1 cup dill pickle slices, drained and patted dry
- 1 cup all-purpose flour, divided
- 1/2 cup cornmeal
- 1 teaspoon garlic powder
- 1 teaspoon paprika
- 1/2 teaspoon salt
- 1/2 teaspoon black pepper
- 2 large eggs
- 1/4 cup milk
- Vegetable oil, for frying
Instructions
-
1In a shallow bowl, combine 1/2 cup flour, cornmeal, garlic powder, paprika, salt, and black pepper.
-
2In a separate bowl, whisk together eggs and milk.
-
3Place the remaining 1/2 cup flour in a third bowl. Dredge pickle slices in flour, dip in egg mixture, then coat with the seasoned flour-cornmeal mixture.
-
4Heat about 1 inch of vegetable oil in a deep skillet over medium-high heat until hot (about 350°F/175°C).
-
5Fry the coated pickle slices in batches for 2-3 minutes per side, or until golden brown and crispy.
-
6Remove fried pickles with a slotted spoon and drain on paper towels. Serve warm with your favorite dipping sauce.
Approximate Information for One Serving
Nutrition Disclaimers
Number of total servings shown is approximate. Actual number of servings will depend on your preferred portion sizes.
Nutritional values shown are general guidelines and reflect information for 1 serving using the ingredients listed, not including any optional ingredients. Actual macros may vary slightly depending on specific brands and types of ingredients used.
To determine the weight of one serving, prepare the recipe as instructed. Weigh the finished recipe, then divide the weight of the finished recipe (not including the weight of the container the food is in) by the desired number of servings. Result will be the weight of one serving.
Did you make this recipe?
Please consider Pinning it!!




