So Here’s the Scoop on These Frozen Cheesecake Bites
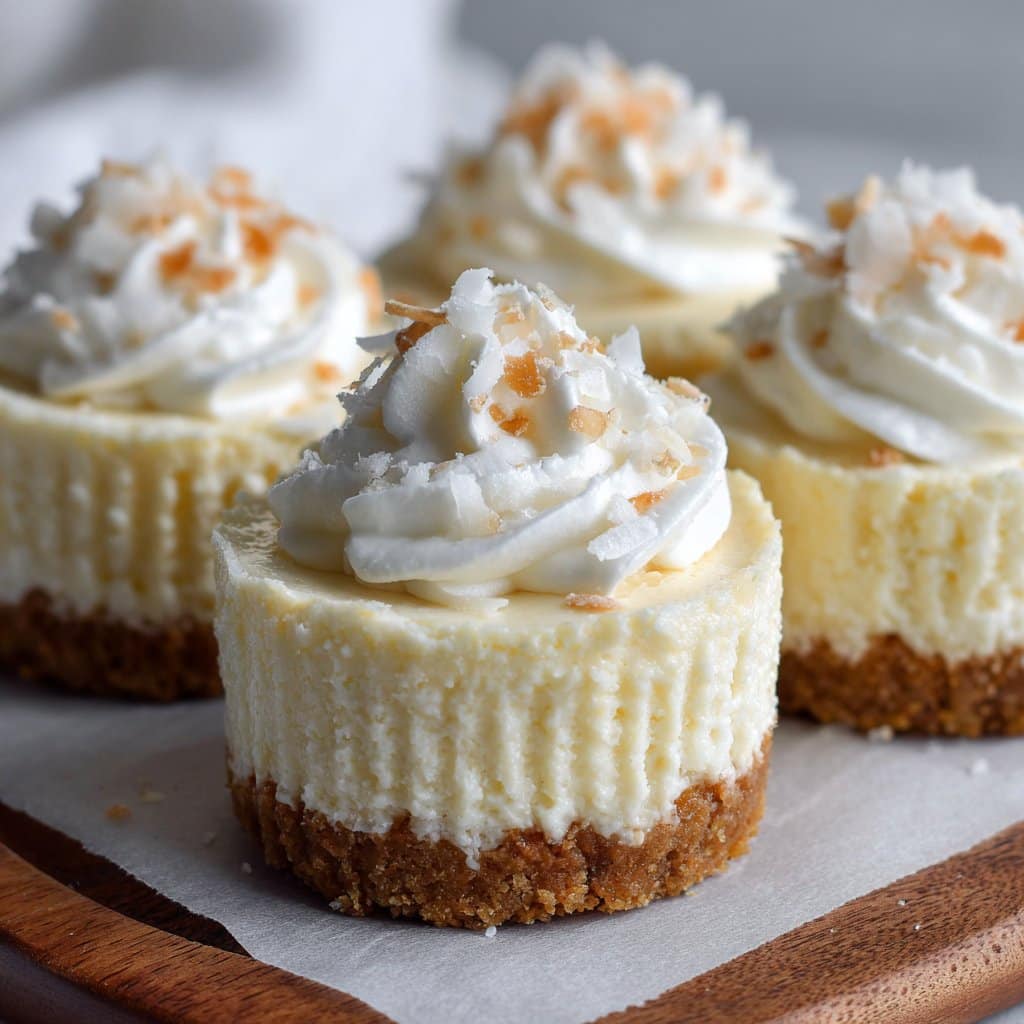
Okay, let me tell you, the first time I whipped up these frozen cheesecake bites, I was honestly just trying to clear out my fridge before a holiday and, well, now my family basically begs for them every couple weeks. There was that one time I hid a batch in the veggie drawer thinking I was clever—spoiler, didn’t work. If you love cheesecake but can’t always be bothered to fuss with a big pan and a water bath (me, always), this is your jam. These bites are creamy, a little tangy, and just the right size for “I’ll just have one more” (which, let’s be honest, is always a lie).
Why I Keep Making These (And You Might Too)
I make these when I want something sweet but not a full-on dessert situation. My family goes absolutely bonkers for them because you can just snag a bite whenever (straight form the freezer, even when you shouldn’t). Sometimes I’ll change up the toppings or even the base depending on how much time I have. There was a week I tried to hide them behind the frozen peas—pro tip, doesn’t work. Oh, and they’re a lifesaver at parties; by the time anyone asks for the recipe, my memory’s a goner, so now I just text them this link: Sally’s version is good too!
What You’ll Need (But Honestly, Flex as Needed)
- 200g cream cheese, softened (I sometimes use mascarpone if it’s on sale—tastes richer)
- 1/3 cup powdered sugar (a bit more if you’ve got a real sweet tooth, or my dad, who always adds an extra spoonful)
- 1 tsp vanilla extract (my grandmother swore by Nielsen-Massey but I honestly can’t tell the difference most days)
- 1/2 cup graham cracker crumbs (digestive biscuits work in a pinch, and once, I tried crushed Biscoff—amazing)
- 2 tbsp butter, melted (or coconut oil if you want it a tad coconutty)
- Pinch of salt (totally optional, but I think it brings out the flavor)
- Optional: Chocolate chips, fruit bits, sprinkles, or even chopped nuts for coating
Let’s Get Started (It’s Not That Fussy, Promise!)
- Make the Base: Mix the graham crumbs and melted butter in a bowl. It should feel a bit like wet sand. Press a spoonful into lined mini muffin tins or onto a parchment-lined tray if you can’t find your muffin pan (I’ve definitely done this).
- Mix the Creamy Bit: In another bowl, beat the cream cheese, powdered sugar, vanilla, and salt till smooth. This is where I usually sneak a taste. Actually, I find it works better if the cream cheese is a little warmer than fridge-cold—less lumpy.
- Assemble: Plop a little of the cream cheese mix onto your bases. Don’t worry if it looks a bit messy; once it’s frozen, it somehow just… works itself out.
- Freeze: Pop the bites in the freezer for 2-3 hours, or until solid. (I once tried to rush this with just an hour—no bueno, trust me.)
- Dunk or Decorate: When they’re set, dip in melted chocolate, sprinkle with stuff, or just eat as is. Sometimes I roll them in chopped nuts if I’m feeling fancy. Or lazy, because it means less chocolate to melt.
Random Little Notes That Might Help
- If you overmix the cream cheese, it can get a bit runny—don’t panic, just freeze a bit longer.
- One time I used low-fat cream cheese to feel virtuous. Wouldn’t do it again—texture’s weird.
- Honestly, I think they taste better the next day, but that’s just me.
Some Experiments and, Uh, Lessons Learned
- I tried swirling in some raspberry jam—delicious, but messy. Wear an apron.
- Peanut butter mixed into the cheese layer was a hit once, but don’t overdo it. Too much and it’s like eating fudge.
- Once, I tried making a lemon-lime version with zest and juice. Not my best work; tasted a bit like cleaning spray.
Tools You’ll Actually Need (or Not)
- Mini muffin tin or ice cube tray (but if you’re stuck, just dollop blobs on a tray and call it “rustic”)
- Mixing bowls (the deeper, the less splatter—ask me how I know…)
- Hand mixer is handy, but a big spoon and some elbow grease will get you most of the way. Or just a whisk if you’re feeling brave.
How Long They’ll Last (Hypothetically)
These bites keep in the freezer for up to 2 weeks in an airtight container. Though honestly, in my house, they never last more than a day! If they do, the texture is still spot-on for a good week, maybe more. I found this storage guide helpful for other treats too: King Arthur’s cookie storage tips.
How We Serve Them (And You Might Want to Try…)
I like to put out a plate of these with a little bowl of berries on the side. At birthdays, my niece insists on dipping hers in caramel sauce—can’t say I blame her. Sometimes I serve them with a cup of strong coffee, but that’s really just an excuse to eat them before noon.
What I Learned the Hard Way (So You Don’t Have To)
- If you skip lining your muffin tin, good luck getting them out in one piece. I tried it once, never again.
- I once tried to use chocolate chips for the base—don’t do it, they just melt everywhere.
- Let the bites sit at room temp for a couple minutes before eating; otherwise, they’re a bit tooth-breaking (ask my cousin, poor guy).
FAQ from Friends (and Curious Folks)
- Can I make these dairy-free?
- Yep! Use your favorite plant-based cream cheese, but (small warning) the texture gets a bit icier. Still tasty though.
- Do I need a food processor?
- Not really. You can bash biscuits in a zip bag with a rolling pin. That’s how my mum did it back in the day, and it’s weirdly satisfying.
- What if I don’t have graham crackers?
- Any plain-ish crunchy cookie will do. I once used leftover ginger snaps—turned out surprisingly good, actually.
- Can kids help?
- Definitely, though expect a mess (and a few finger-lickers). My little one loves squishing the base together.
- Can I double the recipe?
- Absolutely, but good luck fitting two trays in the freezer unless you’ve got one of those fancy American fridges. I don’t.
Oh—almost forgot. If you want more ideas for quick, no-bake desserts, check out Gemma’s no-bake roundup. It’s a goldmine for lazy bakers like me!
Ingredients
- 1 cup graham cracker crumbs
- 3 tablespoons unsalted butter, melted
- 8 oz cream cheese, softened
- 1/3 cup granulated sugar
- 1 teaspoon vanilla extract
- 1/2 cup heavy cream
- 1/2 cup white chocolate chips, melted (optional for coating)
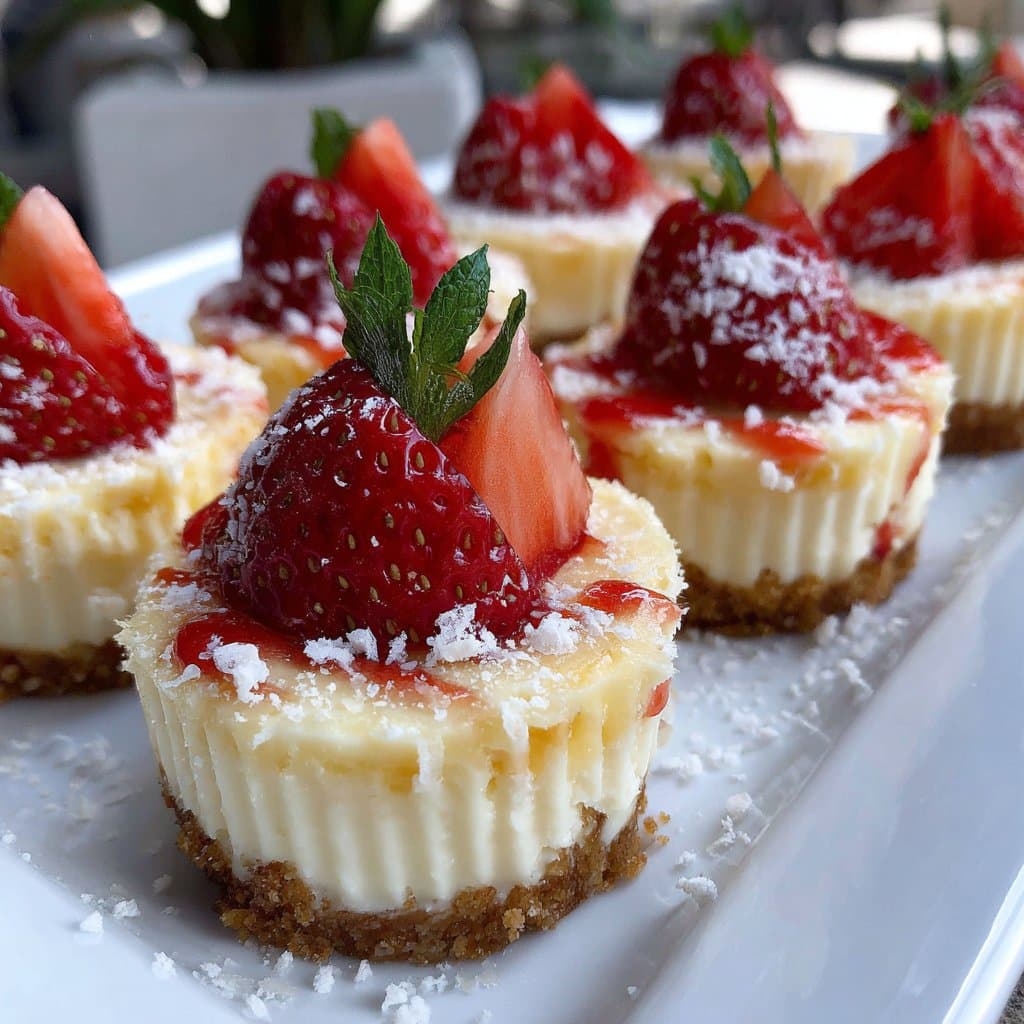
- Fresh berries or sprinkles for topping (optional)
Instructions
-
1Line a mini muffin tin with paper liners. In a small bowl, mix graham cracker crumbs and melted butter until combined. Press about 1 teaspoon of the mixture into the bottom of each liner to form the crust.
-
2In a medium bowl, beat the softened cream cheese, sugar, and vanilla extract until smooth and creamy.
-
3In a separate bowl, whip the heavy cream until stiff peaks form. Gently fold the whipped cream into the cream cheese mixture until well combined.
-
4Spoon or pipe the cheesecake filling over the crusts in the muffin tin, filling each liner almost to the top. Smooth the tops with a spatula.
-
5Freeze the cheesecake bites for at least 4 hours, or until firm. If desired, dip the tops in melted white chocolate and add berries or sprinkles before serving.
-
6Remove from the freezer a few minutes before serving to slightly soften. Enjoy frozen or chilled.
Approximate Information for One Serving
Nutrition Disclaimers
Number of total servings shown is approximate. Actual number of servings will depend on your preferred portion sizes.
Nutritional values shown are general guidelines and reflect information for 1 serving using the ingredients listed, not including any optional ingredients. Actual macros may vary slightly depending on specific brands and types of ingredients used.
To determine the weight of one serving, prepare the recipe as instructed. Weigh the finished recipe, then divide the weight of the finished recipe (not including the weight of the container the food is in) by the desired number of servings. Result will be the weight of one serving.
Did you make this recipe?
Please consider Pinning it!!




