Hey There – Let Me Share My Snack Obsession
Okay, real talk: the first time I tried these frozen Greek yogurt peanut butter bites, I was standing in my (messy) kitchen in my PJs—kids running around, dog barking at the postman, the usual tornado. I remember thinking, “Can a snack really be this simple and still taste good?” Spoiler: Yes. Also, I basically lived off these last summer when it was so hot that I parked myself by the freezer. They’re cold, creamy, and have peanut butter, which, frankly, makes anything better. I’ll level with you: the first batch disappeared before anyone else got a sniff—no regrets.
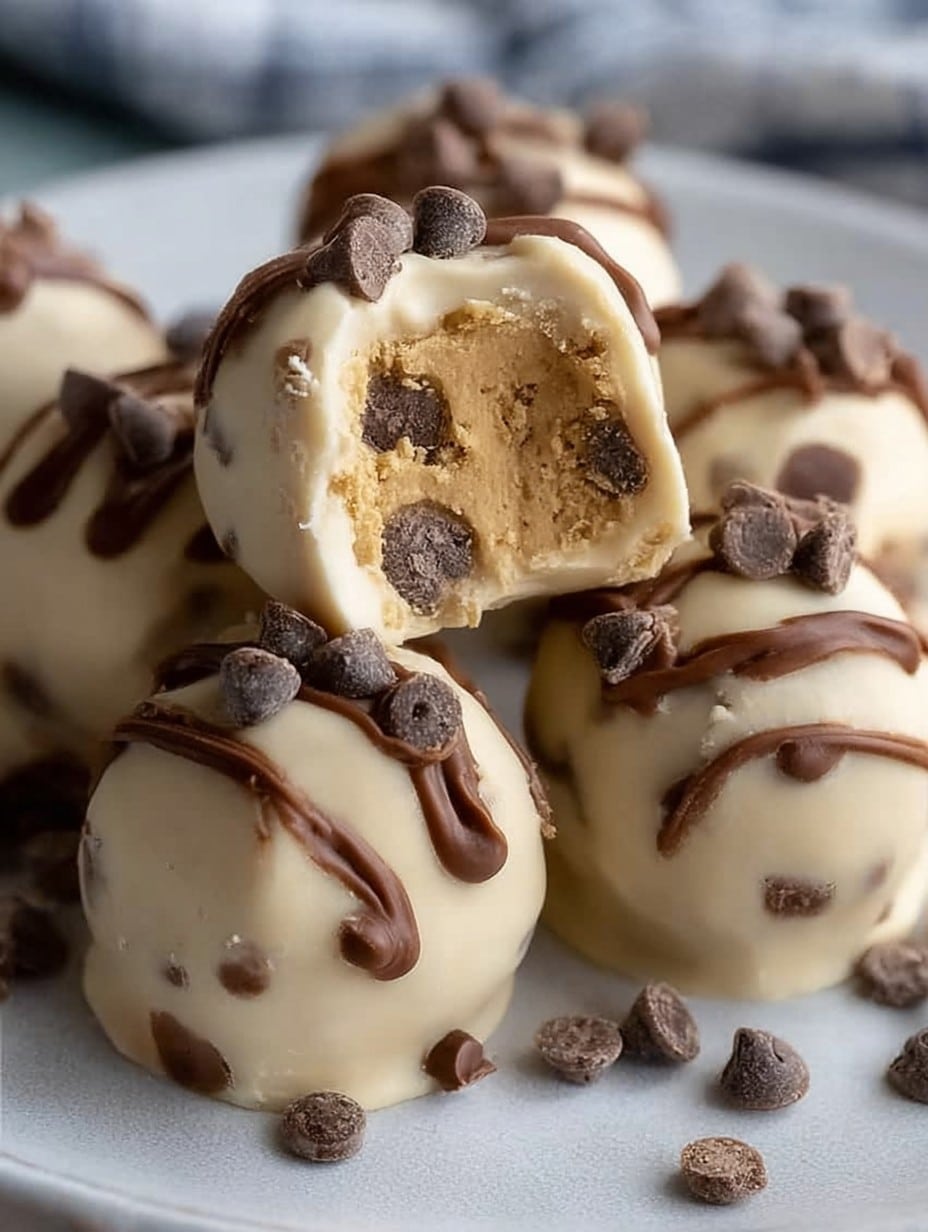
Why You’ll Love This (Aside from Them Being Gone In 60 Seconds)
I make this when I’m craving something sweet but can’t face baking anything. My family goes bananas for these, mostly because they’re easy to pop into your mouth—though my youngest once tried to eat them all with a fork (she’s fancy that way). Plus, the hardest part is waiting for them to freeze. Actually, that’s my least favorite step. I used to hate how sticky peanut butter was to mix into Greek yogurt, but a little patience (and maybe a stronger arm) goes a long way. Also, someone always asks, “Are these healthy?” and look, they’ve got protein, so let’s say yes and leave it at that.
What You Need (And What You Can Swap If You’re in a Pinch)
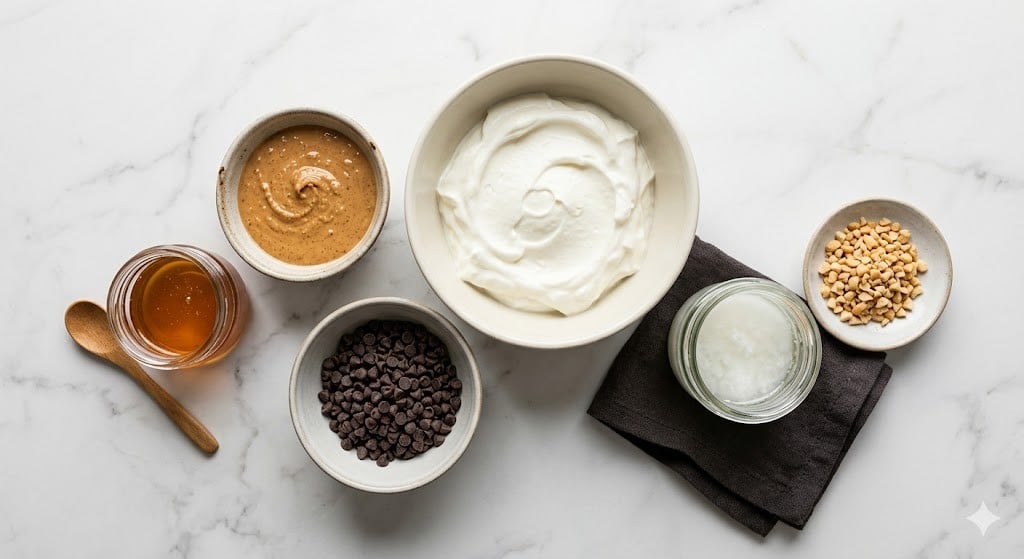
- 1 cup plain Greek yogurt (sometimes I use vanilla if we have it—my cousin swears by full fat but honestly, whatever tub’s lurking in the fridge is fair game)
- 1/2 cup creamy peanut butter (the smooth kind, although the crunchy gives you a surprise nutty bite—fun for some, weird for others)
- 2–3 tablespoons honey or maple syrup (my gran used to hoard maple syrup but mostly I use honey because it’s always glued to my pantry shelf)
- 1 teaspoon vanilla extract (pure, if you’re feeling bougie, but the regular bottle from the supermarket is fine too)
- A handful of mini chocolate chips (optional…ish—sometimes I skip these because they all sink to the bottom anyway)
- A small sprinkle of sea salt, just for drama (or skip, if you’re not a “salty-sweet” person… I won’t judge)
How To Actually Make These (Mess and All)
- Plonk the Greek yogurt into a medium bowl. Add peanut butter, honey, and vanilla. Stir until smooth—really put your back into it. Don’t worry if it looks a bit streaky at first; it all blends eventually.
- Sneak a taste. Seriously, this is your moment. Adjust the sweetness if you fancy—sometimes the peanut butter is saltier and needs a smidge more honey.
- Stir in half the mini chocolate chips (if you remembered them), reserving the rest for topping. This never goes as evenly as I hope, but hey, more chocolate in some bites is hardly a crime.
- Line a baking sheet or big plate with parchment. Now, drop spoonfuls (about tablespoon size) of the yogurt mixture onto the sheet. I usually get about 14–16 blobs, depending on how much I’ve “sampled.”
- Sprinkle with extra chocolate chips and a pinch of sea salt. Not mandatory, but trust me—it makes them pop, flavor-wise.
- Pop the tray in your freezer for at least 2 hours or until firm enough to peel off. Sometimes I forget about them entirely and they’re rock-hard, but just leave them out for 2 minutes and you’re golden.
Notes From a Serial Snacker
- I tried Greek yogurt with coconut flavor once and, honestly, it tasted like a tropical holiday… or maybe a fancy spa. Up to you.
- If you only have chunky peanut butter, go for it. The texture is actually pretty nice, although the bites look a bit wonky.
- I’ve rushed the freezing step before (thinking an hour would be enough) and ended up with a gloopy mess. Patience wins, sadly.
- When I make these in winter, it takes a bit longer to firm up; physics, I guess?
Variations I’ve Actually Tried (With Mixed Success)
- Add a swirl of jelly or jam to make mini PB&J frozen bites. It’s surprisingly good—though kind of sticky to eat, fair warning.
- Swap almond butter for peanut butter if you’re feeling wild. It’s a softer flavor but still good.
- Once tried adding shredded coconut—tasted okay, but the texture was off, kind of like chewing on packing material. Wouldn’t recommend, unless you’re coconut-mad.
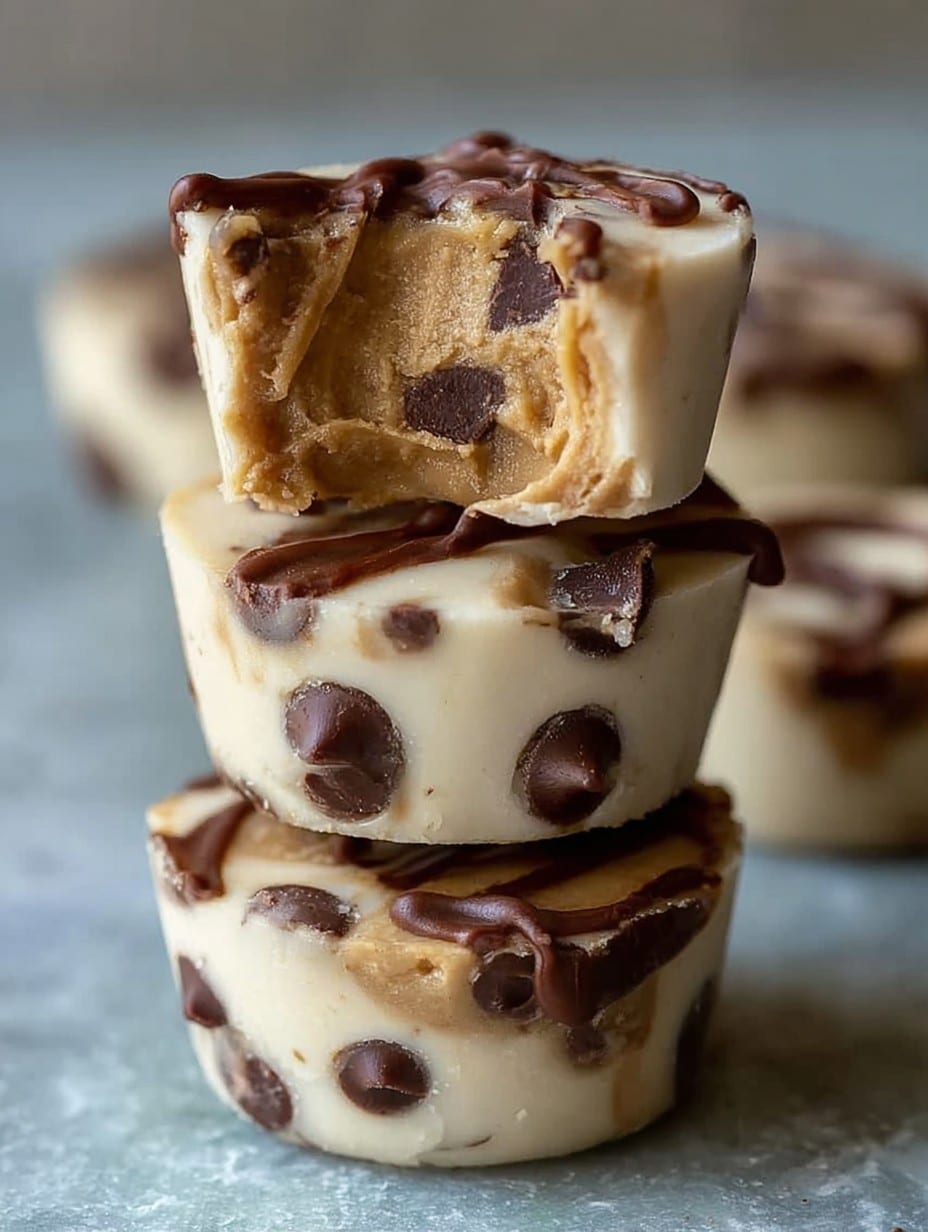
Do You Need Fancy Gadgets? Maybe, Maybe Not
I use a small cookie scoop for even blobs, but in all honesty, a regular old spoon works just fine. Don’t fuss if you haven’t got a fancy scoop hiding in a drawer somewhere—it’ll taste just as good.
The Sad Reality of Storage (Or: Why Mine Vanish Instantly)
Technically, you can keep these in the freezer in an airtight container for up to 2 weeks…but honestly, in my house it never lasts more than a day! They do start to pick up some stray freezer smells if you’re not careful, so maybe stick them in a lidded container or wrap up the tray if you’re saving them for later (I mean, if you have that kind of self-control).
My Favorite Ways to Serve (Besides Standing by the Freezer Door…)
We love to grab these straight from the tray, but if company’s over, I’ll stack them in a colorful bowl with a sprig of mint—looks way fancier than the effort required. Some folks (looking at you, Uncle Dave) like them with extra chocolate sauce drizzled on top. Or, make a little snack platter with fresh berries on the side for a pretend-healthy vibe.
Pro Tips Learned the Hard Way
- Don’t try to stack them before they’re fully frozen—I made peanut butter glue. Not fun to scrape off the plate.
- I once thought more honey meant chewier bites. Nope, just sticky; you’ll regret it when you’re chipping them off parchment.
- Actually, I find it works better if the yogurt is at room temp when you mix—less muscle required.
FAQ: Stuff Folks Actually Ask Me (Sometimes Twice)
- Can I make these dairy free? Yep! Use coconut yogurt or any thick non-dairy kind, but just know the flavor shifts a bit. I reckon almond yogurt’s my second favorite.
- What if I don’t like peanut butter? You’re in luck, swap in almond or cashew butter. Hazelnut butter’s not my fave here but hey, it’s an adventure.
- My bites melted super fast—did I mess up? Not really, but maybe let them freeze longer or eat quicker (kidding; but really, give them the full 2 hours).
- Can kids help with this? Oh, absolutely—mine mostly stir, sneak tastes, and drop clumps everywhere. Worth it though.
- How big should each bite be? I use about a tablespoon, but honestly, some are golf balls, some are marbles. Life’s too short to be precise every time.
And you know what? Even if they come out looking kind of lumpy, nobody’s complained yet. Enjoy your frozen Greek yogurt peanut butter bites—just don’t blink or they’ll be gone!
Ingredients
- 1 cup plain Greek yogurt
- 1/2 cup creamy peanut butter
- 2–3 tablespoons honey or maple syrup
- 1 teaspoon vanilla extract
- a handful of mini chocolate chips
- a small sprinkle of sea salt
Instructions
-
1Plonk the Greek yogurt into a medium bowl. Add peanut butter, honey, and vanilla. Stir until smooth—really put your back into it. Don’t worry if it looks a bit streaky at first; it all blends eventually.
-
2Sneak a taste. Seriously, this is your moment. Adjust the sweetness if you fancy—sometimes the peanut butter is saltier and needs a smidge more honey.
-
3Stir in half the mini chocolate chips (if you remembered them), reserving the rest for topping. This never goes as evenly as I hope, but hey, more chocolate in some bites is hardly a crime.
-
4Line a baking sheet or big plate with parchment. Now, drop spoonfuls (about tablespoon size) of the yogurt mixture onto the sheet. I usually get about 14–16 blobs, depending on how much I’ve “sampled.”
-
5Sprinkle with extra chocolate chips and a pinch of sea salt. Not mandatory, but trust me—it makes them pop, flavor-wise.
-
6Pop the tray in your freezer for at least 2 hours or until firm enough to peel off. Sometimes I forget about them entirely and they’re rock-hard, but just leave them out for 2 minutes and you’re golden.
Approximate Information for One Serving
Nutrition Disclaimers
Number of total servings shown is approximate. Actual number of servings will depend on your preferred portion sizes.
Nutritional values shown are general guidelines and reflect information for 1 serving using the ingredients listed, not including any optional ingredients. Actual macros may vary slightly depending on specific brands and types of ingredients used.
To determine the weight of one serving, prepare the recipe as instructed. Weigh the finished recipe, then divide the weight of the finished recipe (not including the weight of the container the food is in) by the desired number of servings. Result will be the weight of one serving.
Did you make this recipe?
Please consider Pinning it!




