So Here’s Why I Keep Making These Little Guys
You know those afternoons when you want something sweet, but also kinda healthy-ish, and you’re too hot or lazy to bake? That’s where these Frozen Greek Yogurt Peanut Butter Bites saved my sanity (and my snack stash). The first time I whipped these up, it was because I’d burned the cookies. Yep, burned—smoke alarm and everything. I wanted something I couldn’t burn, and these were it. Plus, the kids actually asked for seconds, which basically never happens unless it’s pizza or ice cream.
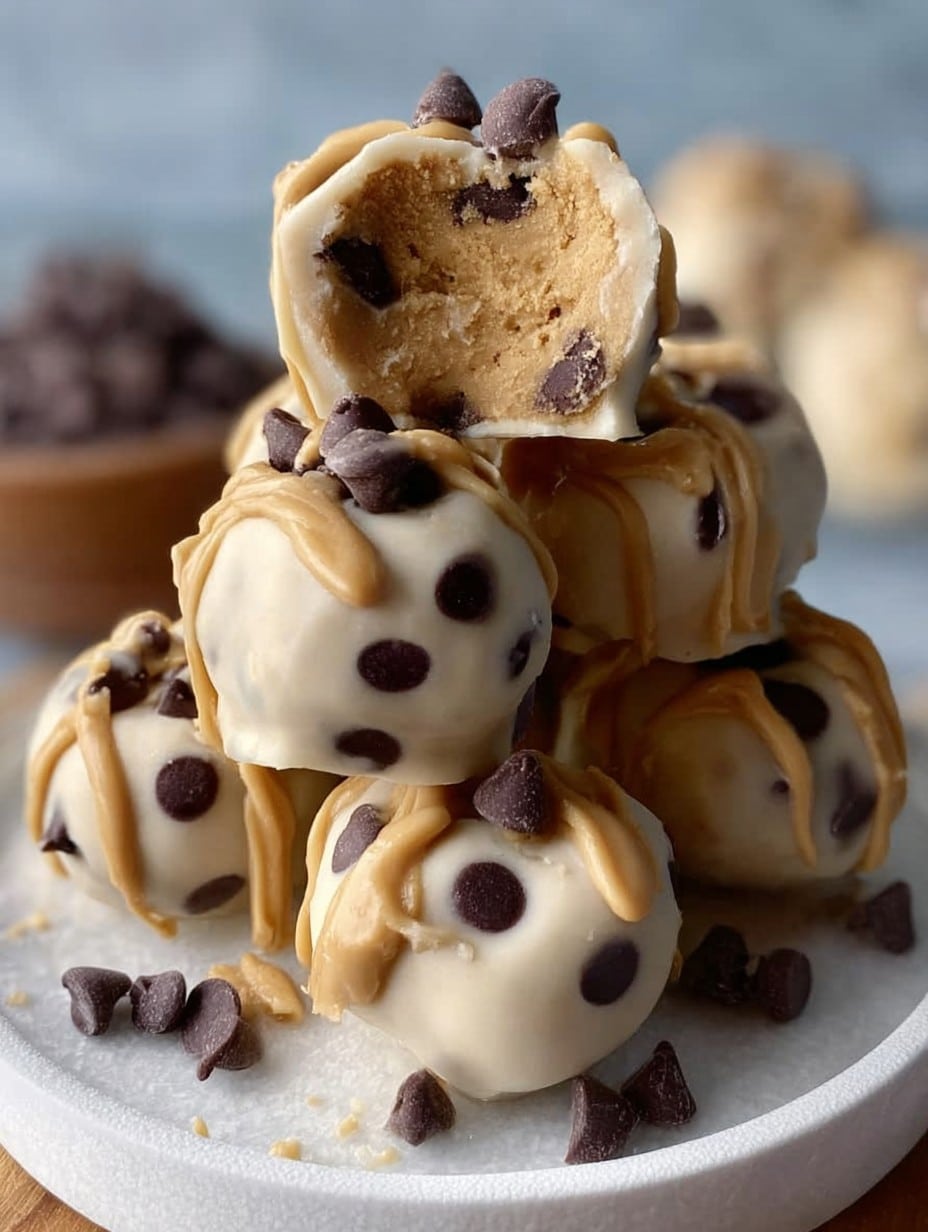
Why You’ll Love This (or At Least Why I Do)
I make these when I’m avoiding the oven but craving Peanut Butter cups (which, let’s be honest, is always). My family goes crazy for them because they’re mini-sized and grab-and-go. Sometimes my husband puts two in his lunch box and pretends they’re protein snacks (who am I to judge?). I used to panic about the layers mixing, but honestly, nobody notices if the chocolate and PB get a bit swirled together. There’s real freedom in letting a recipe be a bit messy.
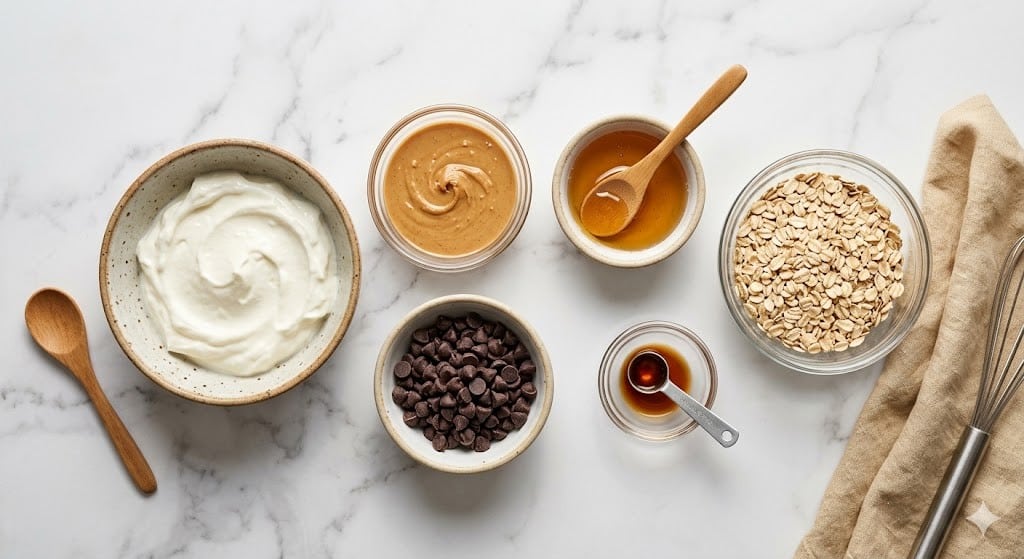
Gather Your Ingredients (Substitutions Welcome!)
- 1 cup plain Greek yogurt (full-fat or low-fat, honestly whatever is in the fridge)
- 1/4 cup creamy peanut butter (chunky works, but the layers look lumpier)
- 2–3 tablespoons honey or maple syrup (if you like things less sweet, use 1–2 tbsp—my kids like 3, of course)
- 1 teaspoon vanilla extract (I’ve skipped this by accident; still tasted fine)
- 1/2 cup dark chocolate chips (milk chocolate if you’re feeling sweeter, or whatever’s left in that half-empty bag)
- Optional: a sprinkle of flaky sea salt (not essential, but my sister swears it makes them ‘fancy’)
Sometimes I use almond butter instead of peanut butter, especially when I’m almost out of PB. Or, I toss in a spoonful of chia seeds if I’m trying to pretend I’m healthy.
Making Your Bites: Quick and Not Fussy
- Line a mini muffin tin with paper liners. You could also use a silicone mold — actually, those are easier when it comes time to pop them out, now that I think about it.
- In a small bowl, mix your Greek yogurt, 1 tablespoon honey (to start), and vanilla extract until nice and smooth. Taste and add more honey if you want it sweeter. This is where I tend to do a little ‘quality control’ and lick the spoon.
- Divide the yogurt mixture among the liners—about a heaping spoonful per cup. Don’t worry if it’s a bit uneven; they’re not picky.
- Next, spoon a little blob of peanut butter onto each yogurt base. I swirl it around gently with a toothpick or the tip of a knife, but if you forget, that’s okay too.
- Pop your chocolate chips in a microwave-safe bowl; microwave in 20-second bursts, stirring in between, until melted. Or do it over a stovetop double boiler if you’re feeling patient—sometimes I’m not.
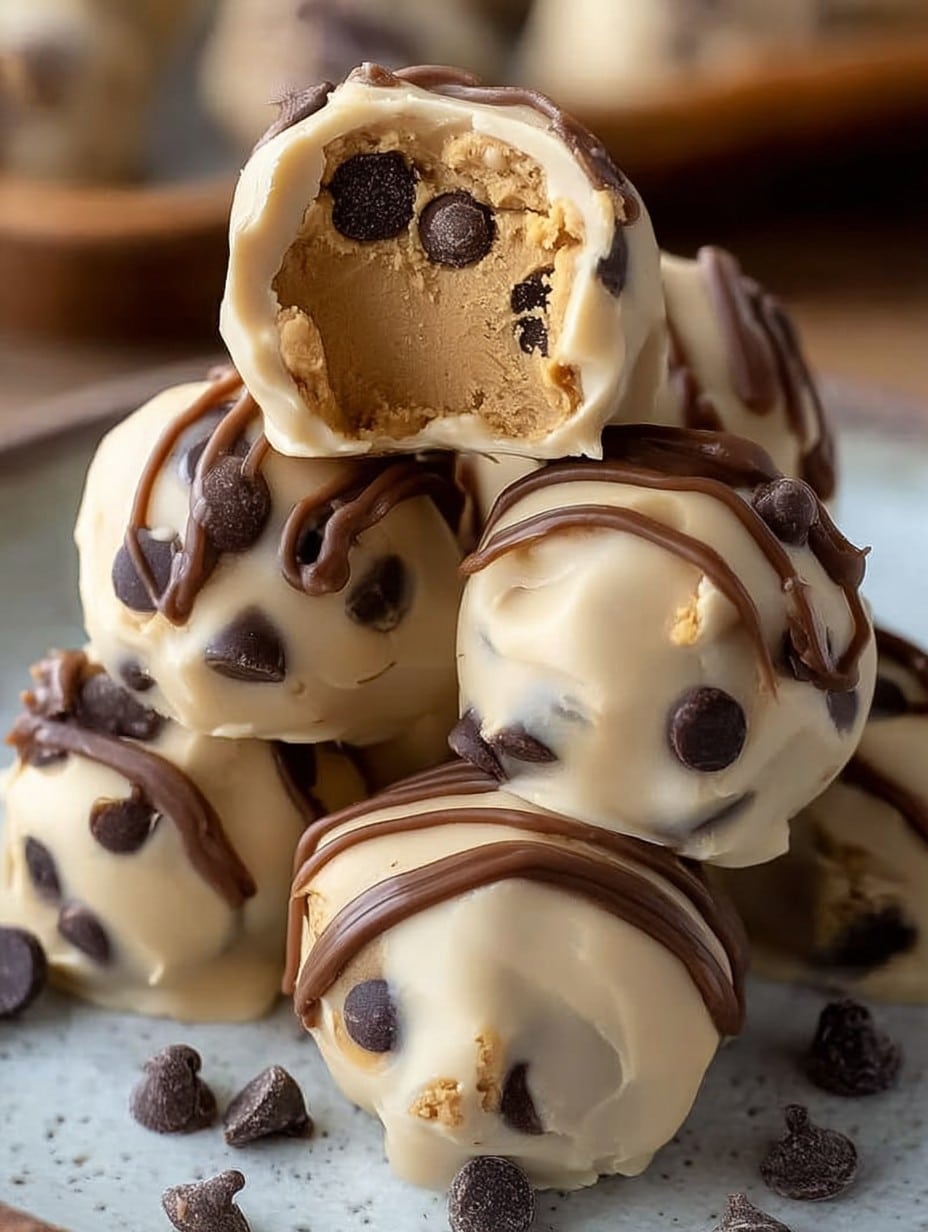
- Spoon a bit of the melted chocolate over each peanut butter layer. If you want, sprinkle on a little sea salt for good measure. (Sometimes they get messy here; that’s half the fun.)
- Freeze for at least 2 hours, or until solid. Sometimes I get impatient and check at 90 minutes, but they really do need the time to set up right.
- Once frozen, pop them out and transfer to a freezer bag. Try not to eat them all in one go—easier said than done.
Notes: Stuff I’ve Learned Along the Way
- If you use nonfat yogurt, the bites come out icier. Not a dealbreaker, just a heads-up.
- Muffin liners cling to the bites sometimes; the silicone mold is less hassle here, if you’ve got one.
- Don’t use natural peanut butter unless you’ve stirred it really well (learned that the hard way when they separated on me… twice).
Experiments & Variations (Not All Winners, Honestly)
- Almond butter is nice instead of PB, but sunflower seed butter—eh, tasted a bit odd. I won’t do that again.
- Once tried mixing mini chocolate chips straight into the yogurt mixture. Good idea, messy execution; bits kept falling out when I bit in.
- You could add freeze-dried strawberries on top, which is weirdly fancy, but my son called them ‘strange astronaut snacks’ so… up to you.
What You’ll Need (And What To Do If You Don’t Have It)
- Mini muffin tin or silicone mold (if you don’t have either, an ice cube tray actually works, just pops out a bit crooked)
- Microwave or stovetop for the chocolate
- Small mixing bowls & a few spoons
- Paper muffin liners or just grease the tray with a bit of oil if you’re out—nothing bad happened when I tried it
How To Store ‘Em (Not That They Last Long)
Keep these stashed in a freezer bag or airtight container. They do get a little sticky if left out long (which hardly ever happens here, since they’re usually devoured in record time). I think they taste best straight from the freezer, but my brother likes to let his thaw for a minute—he claims it’s creamier that way.
How to Serve or Share (Or Not Share…)
I love eating these right out of hand with a glass of cold milk, but my friend puts hers on little spoons and calls it dessert at book club (fancy!). At birthday parties, I once decorated each with a colored sprinkle; that made them disappear even faster. Or, just serve with coffee for a mid-afternoon pick-me-up. No rules here, just good bites.
Pro Tips (a.k.a. How I Screwed This Up)
- Don’t rush the freezing! I pulled them too soon once—the chocolate slid right off and I ended up with a messy (but tasty) puddle.
- If the peanut butter tries to sink, just swirl it a little more on top; it’s really forgiving.
- Actually, don’t stress measurements. Some days I use ‘a big gloopy spoonful’ instead of an exact tablespoon; never hurt anyone.
FAQ – Stuff People Actually Ask Me
- Can I use flavored yogurt? Yep, but it’ll be sweeter. I once tried strawberry—it ended up tasting like PB&J in frozen form, so that’s fun if you’re into it.
- Do they get hard as rocks? They firm up, but not teeth-breaking. Let them sit a minute if they feel too frosty; unless you’re impatient like me.
- How long do they keep? Technically, a month or so in the freezer. Reality? They’re gone the same day in my house!
- Can I double the recipe? For sure. I actually recommend it, especially if you’ve got snack raiders lurking.
- Is this ‘healthy’? Well, it’s healthier than a doughnut? Use low sugar and you can call it breakfast in a pinch. No judgement here.
And honestly, if you find a weird combo that works, let me know. I’m always up for a new kitchen experiment—even if my first frozen yogurt disaster began with a burnt cookie sheet and an open fridge!
Ingredients
- 1 cup plain Greek yogurt (full-fat or low-fat, honestly whatever is in the fridge)
- 1/4 cup creamy peanut butter (chunky works, but the layers look lumpier)
- 2–3 tablespoons honey or maple syrup (if you like things less sweet, use 1–2 tbsp—my kids like 3, of course)
- 1 teaspoon vanilla extract (I’ve skipped this by accident; still tasted fine)
- 1/2 cup dark chocolate chips (milk chocolate if you’re feeling sweeter, or whatever’s left in that half-empty bag)
- Optional: a sprinkle of flaky sea salt (not essential, but my sister swears it makes them ‘fancy’)
Instructions
-
1Line a mini muffin tin with paper liners. You could also use a silicone mold — actually, those are easier when it comes time to pop them out, now that I think about it.
-
2In a small bowl, mix your Greek yogurt, 1 tablespoon honey (to start), and vanilla extract until nice and smooth. Taste and add more honey if you want it sweeter. This is where I tend to do a little ‘quality control’ and lick the spoon.
-
3Divide the yogurt mixture among the liners—about a heaping spoonful per cup. Don’t worry if it’s a bit uneven; they’re not picky.
-
4Next, spoon a little blob of peanut butter onto each yogurt base. I swirl it around gently with a toothpick or the tip of a knife, but if you forget, that’s okay too.
-
5Pop your chocolate chips in a microwave-safe bowl; microwave in 20-second bursts, stirring in between, until melted. Or do it over a stovetop double boiler if you’re feeling patient—sometimes I’m not.
-
6Spoon a bit of the melted chocolate over each peanut butter layer. If you want, sprinkle on a little sea salt for good measure. (Sometimes they get messy here; that’s half the fun.)
-
7Freeze for at least 2 hours, or until solid. Sometimes I get impatient and check at 90 minutes, but they really do need the time to set up right.
-
8Once frozen, pop them out and transfer to a freezer bag. Try not to eat them all in one go—easier said than done.
Approximate Information for One Serving
Nutrition Disclaimers
Number of total servings shown is approximate. Actual number of servings will depend on your preferred portion sizes.
Nutritional values shown are general guidelines and reflect information for 1 serving using the ingredients listed, not including any optional ingredients. Actual macros may vary slightly depending on specific brands and types of ingredients used.
To determine the weight of one serving, prepare the recipe as instructed. Weigh the finished recipe, then divide the weight of the finished recipe (not including the weight of the container the food is in) by the desired number of servings. Result will be the weight of one serving.
Did you make this recipe?
Please consider Pinning it!




