Catching Up Over Christmas Cookies (aka Why We’re Here)
Hey! So, picture this: it’s December, the tree is half crooked (my cat’s fault), and Michael Bublé is crooning from my living room speakers. That’s when I always seem to get the itch—the one that says, hey, let’s bake something ridiculous and red and messy (in a good way). Fudgy Red Velvet Crinkle Christmas Cookies came about after my sister dared me to make something actually festive (her exact words, I think, were “could you try making cookies that don’t look like oatmeal gone rogue for a change?”). And you know what? Now they’re just a thing. Like, practically a holiday ritual. If you’re looking for a cookie that’s fudgy, fluffy, and just the right kind of dramatic, honestly, pour yourself a cup of something cozy and let’s get into it.
What’s So Great About These?
I make these red velvet crinkle cookies when friends pop over (or, let’s be real, when I need a pick-me-up after accidentally scrolling through my bank app in December). My family goes a bit mad for the fudgy inside—especially Mum, who claims she hates red food coloring but somehow eats at least four of these every time. You know what’s nice, too? They always look a little bit different—no two crackles are ever the same. (I used to get annoyed about that, but actually, it’s part of the charm.)
What You’ll Need (And What I Actually Use)
- 1 1/4 cups (about 160g) all-purpose flour (I’ve tried whole wheat, but really… just don’t for these.)
- 1/4 cup unsweetened cocoa powder (Hershey’s is my go-to, but I once used some fancy Dutch process and it was, well, too intense.)
- 1 tsp baking powder
- 1/4 tsp salt (Grandma always said Morton’s was best, but honestly, sea salt flakes add something special!)
- 1/4 cup unsalted butter, melted and cooled (Or use salted and skip the extra salt. It’s not the end of the world.)
- 3/4 cup granulated sugar (Cane sugar works, too, but once I tried coconut sugar and it made the cookies taste a bit off.)
- 2 large eggs (Room temp is ideal, but honestly, who remembers that?)
- 1 tsp vanilla extract (Imitation works fine if that’s what you have)
- 1 tbsp red liquid food coloring (Or a big blob of gel, but be prepared for very red fingers—spooky, honestly)
- 1/2 cup powdered sugar (For rolling—don’t skip this unless you want pale cookies. Which is a mood but maybe not this mood.)
Let’s Bake: Step-by-Step, with Occasional Chaos
- Mix the dry bits: Get a bowl—nothing fancy—whisk together your flour, cocoa, baking powder, and salt. If you drop some cocoa everywhere, that’s just festive dusting.
- Sugar, eggs, and all that: In a bigger bowl, whisk the melted butter and sugar together. Throw in the eggs and vanilla next. It’ll look weird, it always does—don’t worry. Add in the food coloring here too, and just try not to stain anything. Or yourself. (Latex gloves = genius, if you have them.)
- Combine: Gradually mix the dry stuff into the wet. I do it in thirds, but you do you. It’ll be sticky so don’t panic if it looks like bright red playdough gone rogue. Scrape the sides, show no mercy. At this point I usually sample a little (living dangerously, I know) just because it smells like chocolatey Christmas hope.
- Chill out: Toss the bowl (covered) into the fridge for at least an hour—two is better. The dough chills, you chill, and the crackles will turn out more dramatic.
- Preheat and prep: Oven at 350°F (180°C, or thereabouts). Line a baking tray with parchment. Roll dough into golf ball-ish blobs, toss them in powdered sugar—really coat them—or they won’t crinkle right. (Trust me, once I skimped.)
- Bake: Space the cookies out; they do spread. Bake for about 10-12 minutes—edges should be set, middles still a bit soft. Don’t overbake or they’ll be like festive hockey pucks. Let them cool on the tray for 5 minutes; they’ll firm up but also, this is the stage where my brother always tries to steal one and burns his mouth. Classic.
A Few Notes From the Cookie Trenches
- They really, honestly do look underbaked when you take them out. But if you wait for them to feel “done,” they’ll be dry. (Learned that the hard way more than once.)
- The fridge step matters. If you skip it, the dough is almost impossible to handle and the cookies don’t crinkle right.
- I’ve found letting the dough rest overnight makes them taste better, but then I tend to nibble bits straight from the fridge. Oops.
What I’ve Tried (Not Everything Was a Win)
- With white chocolate chips? Pretty good! They add little pockets of gooey-ness.
- Peppermint extract? Um, on second thought, maybe skip that—tastes like toothpaste to me. But, hey, to each their own.
- Cream cheese swirl? It got weird, the color got muddy, and I won’t go there again. Maybe you’re braver.
Tools You’ll Really Need (And What to Do if You Don’t Have One)
Honestly, a stand mixer is fun, but you don’t need one here—just a whisk and some determination. Parchment paper is handy, but I’ve used foil and just buttered it up. If you don’t have a whisk, a fork works (been there, thrice). I have a teeny ice cream scoop for making even blobs—otherwise, just eyeball it. Cookie shape is more art than science in my book.
Storing (Or Hiding From Cookie Thieves)
These keep in an airtight tin for about 4 days on the counter—though honestly, in my house they never last more than a day! I sometimes freeze baked ones, just wrapping them in parchment, and they’re fine for, I dunno, a couple of months? But if you freeze dough balls, remember to coat in sugar right before baking, not before freezing (learned that the sticky way). Check out more tips from actual pros on Sally’s Baking Addiction if you want real backup.
This Is How We Serve ‘Em
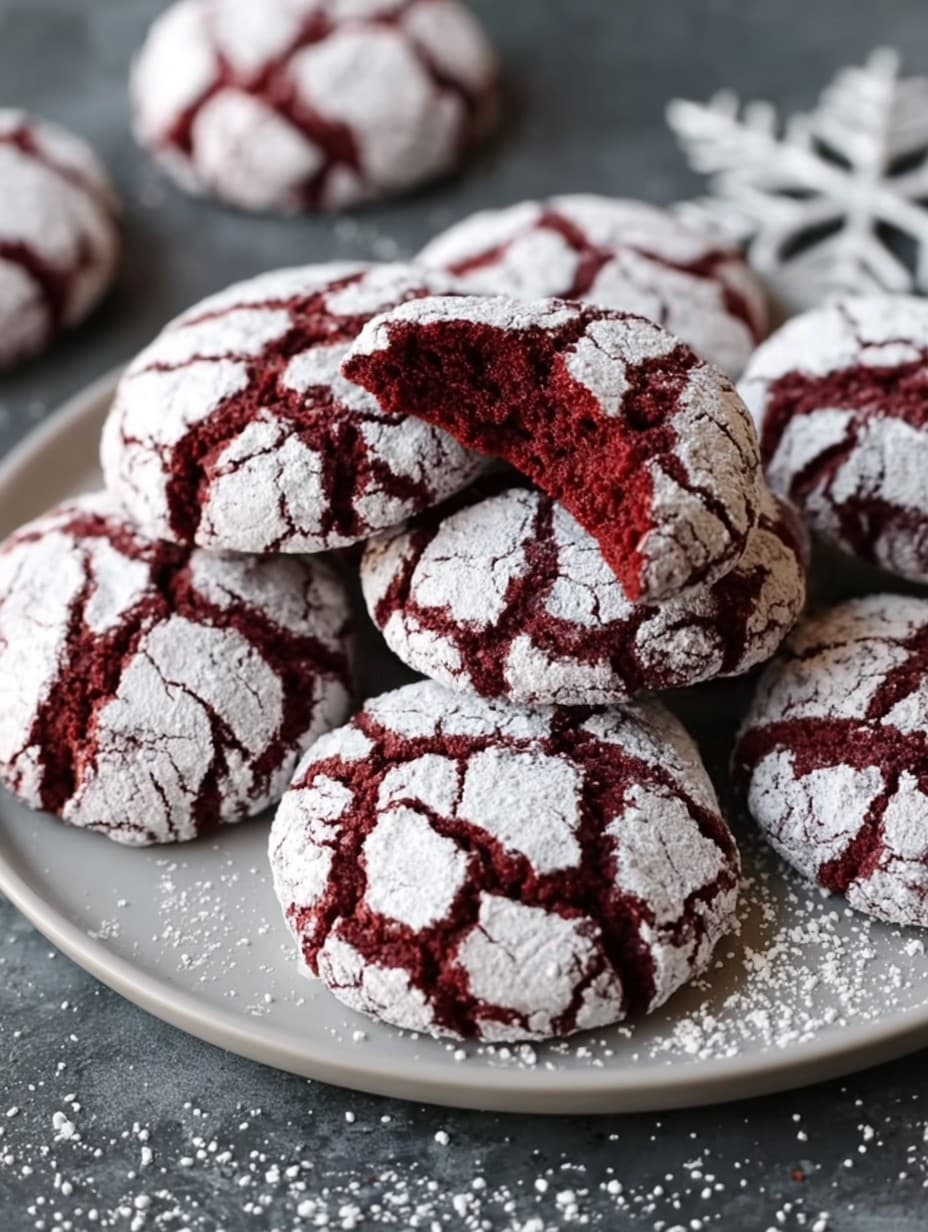
I like stacking these cookies on a plate next to a bowl of clementines. (They just look festive together, right?) My family insists on a glass of cold milk, but if it’s nearly midnight, I say tea is perfectly grand. Oh, or try with a scoop of vanilla ice cream; you might just end up with a new tradition. More serving inspiration here at The Kitchn.
Less-Than-Perfect ‘Pro’ Tips
- I once tried rushing the chill step by sticking the bowl in the freezer (don’t bother, it just made the edges weirdly grainy).
- If you see the powdered sugar melting into the dough before you bake, just roll again—nobody’s keeping score.
- Actually, I find it works better if I shape the dough right after chilling, not before.
The FAQ Round (Because Folks Always Ask)
- Can I make these without food coloring?
I mean, technically yes, but then they’re just cocoa cookies. Not a bad thing, just not “red velvet.” Sometimes I skip the coloring if I’m feeling lazy. No one complains, except, you know, Instagram. - Is it supposed to be so sticky?
Totally. That’s why you chill it. If it’s too sticky, add another small spoon of flour. Or just embrace the mess. - Do I need to sift the flour?
I almost never do and it always works out, but everyone’s grandma says you should. Your call! - Help! My cookies are flat.
Probably the butter was too warm or the dough wasn’t chilled long enough. Still tastes grand, though. - Can I double the recipe?
Yep! Just split between two trays and rotate halfway; they bake more evenly that way. - Egg substitute?
Honestly, I haven’t tried. If you do, let me know! I heard flaxseed works, but not sure it fits the holiday vibe, you know?
There you go—my not-quite-polished, real-life guide to Fudgy Red Velvet Crinkle Christmas Cookies. If you actually try them, tell me how it went (or just send a pic so I can drool vicariously). Happy baking, mate.
Ingredients
- 1 2/3 cups all-purpose flour
- 1/4 cup unsweetened cocoa powder
- 1 teaspoon baking powder
- 1/4 teaspoon salt
- 1/2 cup unsalted butter, softened
- 1 cup granulated sugar
- 2 large eggs
- 1 teaspoon vanilla extract
- 1 tablespoon red food coloring
- 1/2 cup powdered sugar (for rolling)
Instructions
-
1Preheat oven to 350°F (175°C) and line two baking sheets with parchment paper.
-
2In a bowl, whisk together flour, cocoa powder, baking powder, and salt.
-
3In a separate large bowl, cream butter and granulated sugar until light and fluffy. Beat in eggs one at a time, then add vanilla extract and red food coloring.
-
4Gradually add the dry ingredients to the wet mixture, mixing until combined; do not overmix. Cover and chill the dough in the refrigerator for at least 1 hour.
-
5Scoop chilled dough into 1-inch balls. Roll each ball in powdered sugar to coat generously and place on the prepared baking sheets, spacing 2 inches apart.
-
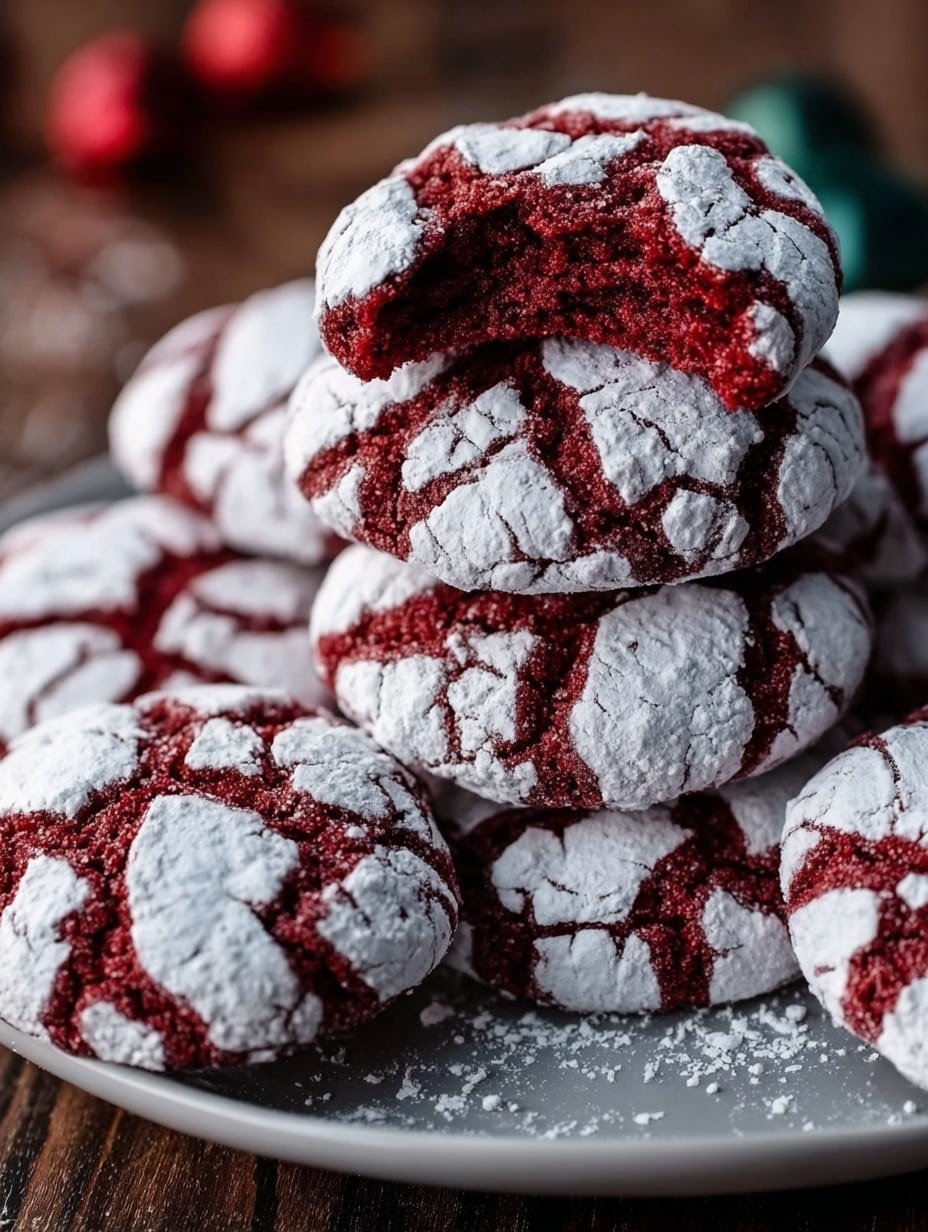
6Bake for 10-12 minutes until the cookies are set and tops are crackled. Cool on baking sheets for 5 minutes before transferring to a wire rack to cool completely.
Approximate Information for One Serving
Nutrition Disclaimers
Number of total servings shown is approximate. Actual number of servings will depend on your preferred portion sizes.
Nutritional values shown are general guidelines and reflect information for 1 serving using the ingredients listed, not including any optional ingredients. Actual macros may vary slightly depending on specific brands and types of ingredients used.
To determine the weight of one serving, prepare the recipe as instructed. Weigh the finished recipe, then divide the weight of the finished recipe (not including the weight of the container the food is in) by the desired number of servings. Result will be the weight of one serving.
Did you make this recipe?
Please consider Pinning it!!




