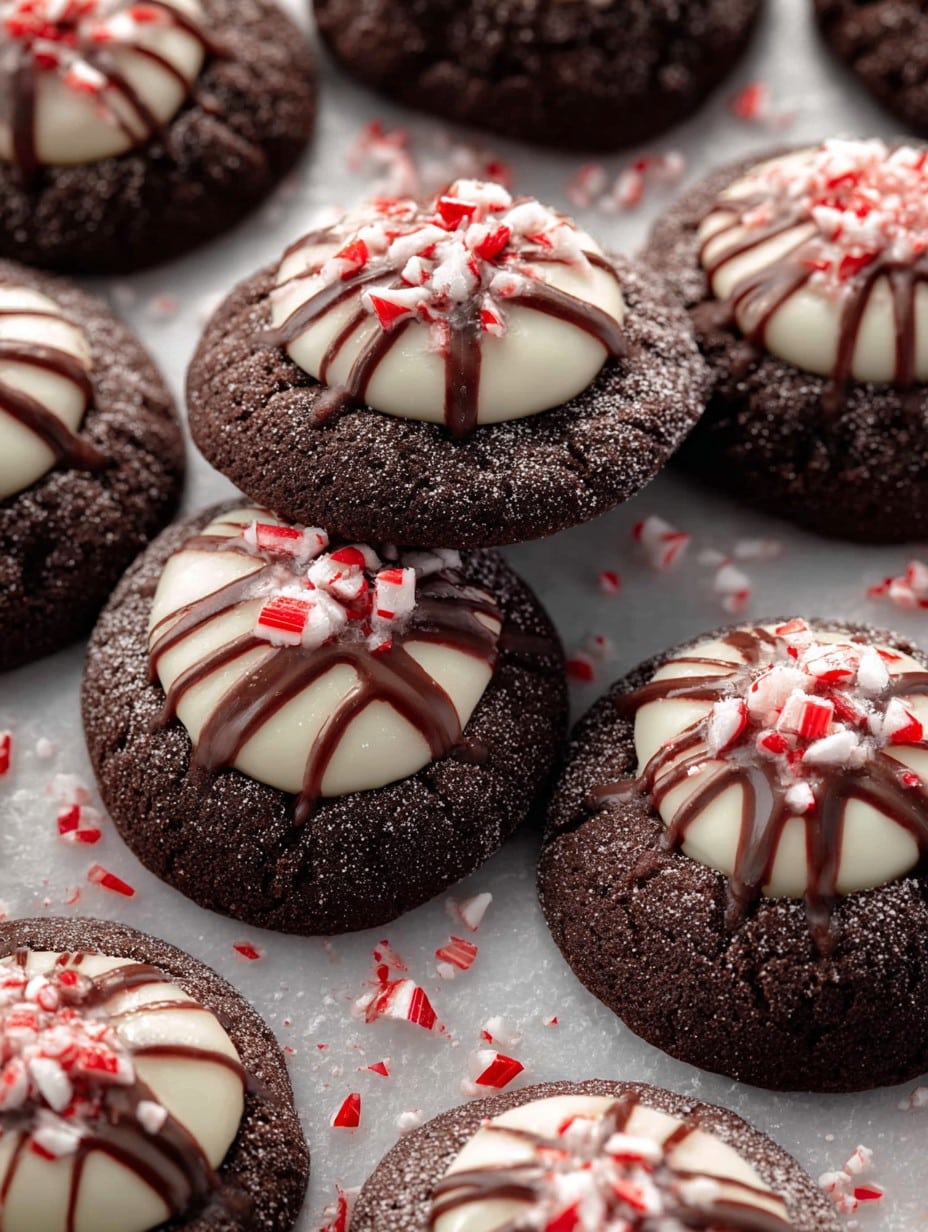
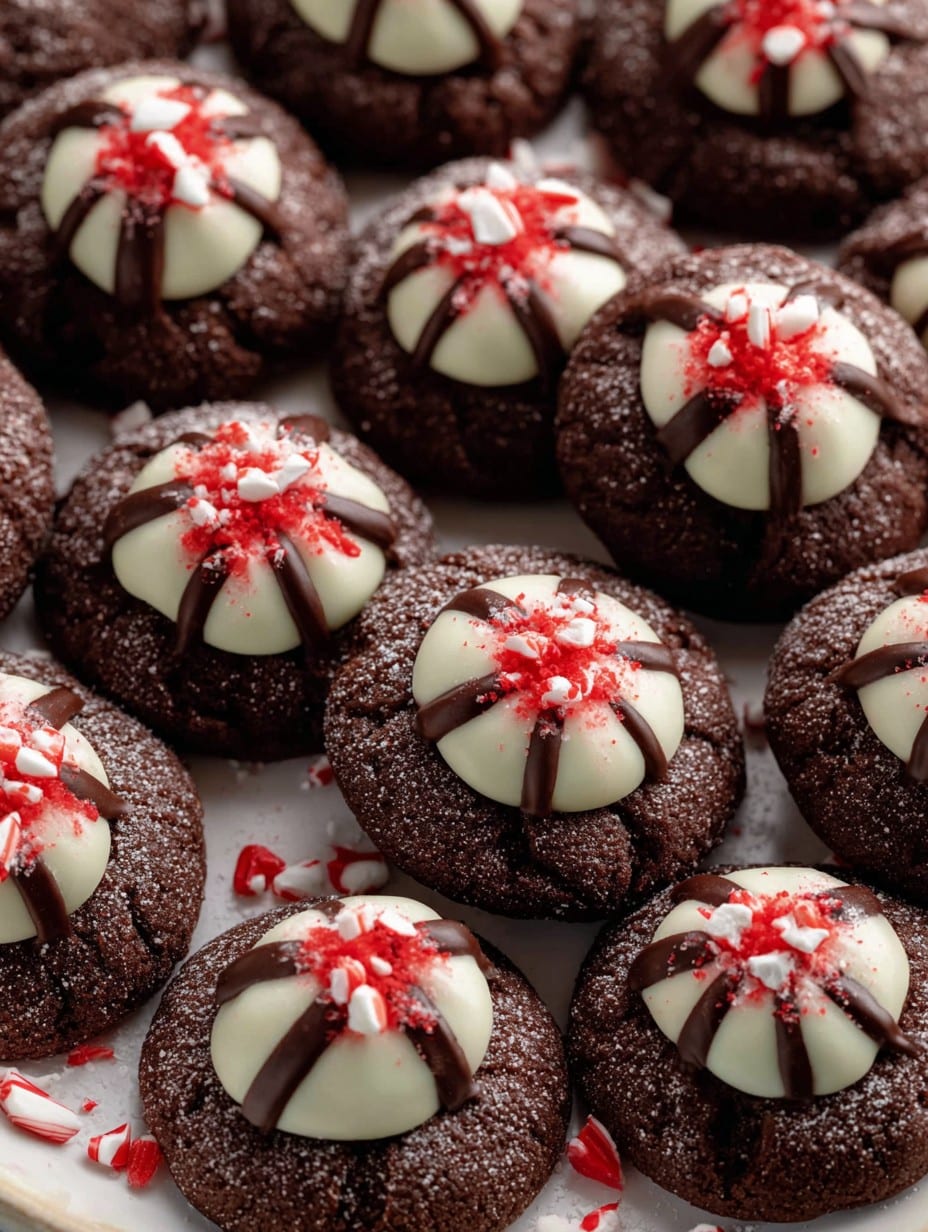
If there’s one cookie that shouts (or, okay, gently hums) Christmas to me, it’s these Chocolate Peppermint Blossoms. First time I tried them was honestly just because I ran out of peanut butter and couldn’t manage the classic blossoms. Talk about a happy accident! Now? It’s not Christmas unless my kitchen smells like these. And yes, the first batch I ever made looked more like blobs than blossoms, but isn’t that half the fun?
So why do I keep coming back to these Chocolate Peppermint Blossoms?
I make these every year, usually with my niece who likes to sneak a Hershey’s Kiss (or three) while we’re baking. My family goes wild for them—especially my brother, even though he claims he’s ‘not much for sweets’ (he’s lying, by the way). There’s just something magical about that combo of rich chocolate and zingy peppermint—and the way the peppermint candy bits get a little crunchy on top, oof! Also, whatever kitchen disaster’s brewing, these cookies always come out tasty (even last year when I grabbed salt instead of sugar for half a second—it was a close one).
The Ingredients (and some of my cheeky swaps)
- 1 cup granulated sugar (Sometimes I go half brown sugar because it gets a bit chewier—just me?)
- 1/2 cup unsalted butter, nice and soft (I’ve used margarine in a pinch; honestly, it’s fine.)
- 1 large egg (Room temp makes mixing easier, but who’s got time?)
- 1 tsp vanilla extract (My grandmother was insistent on pure vanilla, but store-brand works, really.)
- 1 cup all-purpose flour
- 1/3 cup unsweetened cocoa powder (Dutch process if you’re feeling fancy; I usually just use whatever’s in the pantry.)
- 1/2 tsp baking soda
- 1/4 tsp salt
- 2 tbsp milk (I’ve subbed in oat milk before when my fridge was bare—it was honestly delish.)
- About 24 Hershey’s Kisses (peppermint ones ideally—otherwise classic milk chocolate does the trick)
- 1/4 cup crushed peppermint candies (Sometimes I skip this and use sprinkles when I’m feeling lazy… or out of mints.)
How I Actually Make These (spoiler: sometimes messy)
- Cream together the butter and sugar ’til it’s pretty fluffy. Or at least looks lighter than when you started. I do this by hand sometimes and, phew, that’s a workout.
- Add the egg and vanilla, give it a good mix. If you forget the vanilla (like I did last Tuesday), no biggie—the Kisses will carry the day.
- Toss in the flour, cocoa powder, baking soda, and salt. I just dump it in, but if you want to sift, power to you. This is where the dough looks weird and crumbly—don’t panic! Add the milk and it’ll come together nicely. Sometimes I sneak a taste here—no regrets.
- Scoop tablespoon-ish balls onto a lined baking sheet. No need to be precious about it; rustic is a vibe.
- Bake at 350°F (180°C) for about 8ish minutes. They should be puffy and just set, not rock hard.
- Right after they come out (don’t wait—seriously, do this while they’re hot), gently press a Kiss into each. I usually burn my thumb but, you know, tradition. If you want to get fancy, sprinkle a bit of the crushed peppermint on top while the chocolate is still soft.
Notes form My Many Attempts
- If your dough seems too sticky, just chill it for 10ish minutes. If it’s crumbly and dry, add a little extra milk. There’s really no crime in tweaking.
- The Kisses will melt a little then firm back up—don’t mess with them while they’re warm, or you’ll have what I call “Peppermint Chocolate Puddles” (not the worst mistake, actually).
- I used parchment paper for years, but lately, I just bake right on an old tray… minimal sticking if you don’t overbake.
My Experiments (and One Fail)
- Last year, I tried swapping the cocoa with extra flour to make “vanilla peppermint” blossoms. Meh. Wouldn’t recommend—too bland.
- I sometimes roll the dough balls in granulated sugar before baking for crunch (the kids love this, for what it’s worth).
- Mini chocolate chips folded into the dough? Actually pretty fabulous.
What If I Don’t Have Fancy Gear?
I use an old mixing bowl (it’s got a chip but I love it) and a really wonky cookie sheet. No electric mixer is required—you can mix by hand. Even a glass pint glass works if you need a rolling pin, but for this recipe, your hands are probably best.
Storing Them (If You Somehow Have Leftovers)
Supposedly they’ll keep 3-4 days in a tin with parchment between the layers, but honestly, in my house they vanish quick as a flash. If the Kisses are too soft for stacking, just pop the tray in the fridge for 20 minutes.
Serving: Traditions (and My Odd Habit)
I think they taste even better the next day with coffee. Also, my cousin likes to crumble them over peppermint ice cream at our family party (she’s a genius). I’ve even set a plate outside on the porch for cool-air firming—just don’t forget them or squirrels might get there first. True story.
Lessons I’ve Learned (The Hard Way)
- Don’t rush the step where you press the Kiss in. I tried once, and the chocolate totally liquified—major mess.
- Let the cookies cool on the tray for at least 5 minutes before moving. I always get impatient, then end up with, like, cookie shrapnel.
- If you’re doubling the batch (and why wouldn’t you?), don’t try to bake 2 sheets at once unless your oven is one of those fancy ones that actually heats evenly (mine isn’t, and the results were, uh, interesting).
Random Tinkering & Good Reads
If you want to experiment with flavor, check out Sally’s Baking Addiction’s take for ideas. Or if you want a guide to kitchen gear for cookies, Serious Eats reviewed some great baking sheets (my favorite is still a thrift store find though).
Frequently Asked, Rarely Answered (Until Now)
- Do I absolutely need peppermint Kisses? Nope! Classic chocolate ones work—I’ve used both. But peppermint does shout ‘holiday’ a bit more loudly.
- Is it okay to freeze these? Actually, sure! They freeze fine, but don’t add the Kisses ‘til after you thaw and rewarm them a bit. Learned that the hard way (smoosh city).
- Can I make the dough ahead? You bet—fridge for a day or freezer for a month. Just let it soften a bit before shaping or you’ll wrestle with it forever.
- What if my dough is too sticky? If it sticks to your hands a bunch, toss it in the fridge for 10-20 min. Or, a bit of flour on your palms helps. Don’t worry too much—it always sorts itself out.
- Do I have to crush the peppermint candies? Not at all. Sometimes I skip it, or use sprinkles, or just leave them naked. Still delicious.
There you go—a Christmas cookie that feels fancy but isn’t remotely fussy. Enjoy, and let me know if you come up with a wild variation (unless it’s the vanilla version… learned my lesson there).
Ingredients
- 1 cup all-purpose flour
- 1/2 cup unsweetened cocoa powder
- 1/2 teaspoon baking soda
- 1/4 teaspoon salt
- 1/2 cup unsalted butter, softened
- 3/4 cup granulated sugar, plus extra for rolling
- 1 large egg
- 1 teaspoon pure vanilla extract
- 24 peppermint-flavored chocolate kiss candies, unwrapped
Instructions
-
1Preheat oven to 350°F (175°C). Line a baking sheet with parchment paper.
-
2In a medium bowl, whisk together the flour, cocoa powder, baking soda, and salt.
-
3In a large bowl, cream the butter and 3/4 cup sugar until light and fluffy. Beat in the egg and vanilla extract.
-
4Gradually add the dry ingredients to the wet ingredients, mixing just until combined.
-
5Shape dough into 1-inch balls, roll each ball in extra granulated sugar, and place on prepared baking sheet about 2 inches apart.
-
6Bake for 9-10 minutes, until cookies are set. Remove from oven and immediately press a peppermint chocolate kiss into the center of each cookie. Cool on baking sheet for 5 minutes before transferring to a wire rack to cool completely.
Approximate Information for One Serving
Nutrition Disclaimers
Number of total servings shown is approximate. Actual number of servings will depend on your preferred portion sizes.
Nutritional values shown are general guidelines and reflect information for 1 serving using the ingredients listed, not including any optional ingredients. Actual macros may vary slightly depending on specific brands and types of ingredients used.
To determine the weight of one serving, prepare the recipe as instructed. Weigh the finished recipe, then divide the weight of the finished recipe (not including the weight of the container the food is in) by the desired number of servings. Result will be the weight of one serving.
Did you make this recipe?
Please consider Pinning it!!




