Let Me Tell You Why This Garlic Cauliflower & Mushroom Skillet Is Always on My Table
Alright, friend, so here’s the deal: I make this Garlic Cauliflower and Mushroom Skillet whenever I’m craving something cozy but don’t want to stand over the stove for ages (I mean, who does after a long day?). Funny story—my first attempt at this was supposed to be fancy for a date night in, but I managed to steam up the entire kitchen and set off the smoke alarm. My neighbor still teases me about it; classic. Anyway, now it’s in my regular dinner rotation—less drama, more flavor. And I don’t even bother with candles anymore.
Why You’ll Love This Dish (Or at Least Why I Do!)
I pull this out when I want something veggie-forward that isn’t salad (because, let’s be honest, sometimes I just want something warm). My family goes a little wild for the crispy bits at the bottom (I have to fend them off with a spatula if I want any for myself). It’s also my fallback when the fridge is basically empty except for a sad cauliflower and those ever-present mushrooms. Oh, and you don’t have to get fussy—if you forget to buy fresh herbs, just sprinkle in some dried. No one around my table’s ever complained.
What You’ll Need (But There’s Wiggle Room!)
- 1 medium head of cauliflower, chopped into bite-sized florets (sometimes I use frozen if I’m in a rush—just pat it dry first)
- 2-3 cups mushrooms, sliced (cremini or button are my go-tos, but I’ve even tossed in shiitake; my grandmother swore by wild mushrooms, but honestly any will do)
- 3-4 cloves of garlic, minced (I love garlic but, you know, suit yourself)
- 2 tablespoons olive oil (or butter, if you’re feeling indulgent or out of oil, which happens to me more than I’d like to admit)
- 1 small onion, diced (sometimes I skip this if I’m feeling lazy—it’s still good!)
- Salt and pepper to taste
- 1 teaspoon dried thyme (or a handful of fresh if you’ve got it—lucky you)
- Juice from half a lemon (not required, but it adds a zing; or a splash of vinegar works in a pinch)
- Chopped parsley for serving (I forget this half the time, so don’t stress)
How I Make It—And How You Can Too
- Heat a big skillet (nonstick, cast iron, whatever you’ve got—don’t let anyone tell you otherwise) over medium-high. Pour in the olive oil, or butter, or mixture if you’re chaotic like me.
- Add the onions and cook for about 3 minutes. They’ll go soft and start to smell sweet; if you skip onions, just go right to the next bit.
- Toss in the mushrooms. Let them sit a minute before stirring, so they brown. This is where I usually sneak a mushroom to taste (and burn my tongue—every. single. time.)
- Add cauliflower florets. Stir around; don’t worry if it looks weird or crowded. Actually, I find it works better if I let the cauliflower char a bit in spots.
- Garlic time! Stir in that garlic and thyme. It’ll smell like a cozy bistro. If things start sticking, add a splash of water. Or wine, if you’ve got an open bottle. (I never seem to have leftovers, but maybe you do.)
- Cover and cook about 8 minutes; stir every now and then. If it’s still too crunchy, give it a couple more minutes. (You want it tender but not mushy—unless you like it mushy, in which case, you do you.)
- Finish with lemon juice and a good pinch of salt and pepper. Taste it. (Then taste again, because why not?) Sprinkle with parsley if you remembered.
Bloopers, Lessons, & Notes (So You Don’t Repeat My Mistakes)
- Sometimes my skillet is just too crowded. If you’re feeding a crowd (or just super hungry), do two batches—or, honestly, just embrace the extra steamy vibes.
- I’ve found pre-chopped cauliflower from the store is a lifesaver, but it can cook a bit faster, so keep an eye on it.
- Don’t panic if things stick a bit. That browned stuff is flavor gold (unless it’s black, then it’s, well…not).
- I think this tastes better the next day, but it’s hardly ever survived that long in my fridge.
If You Want to Mix Things Up (And a Cautionary Tale…)
- I once tried adding peas—looked pretty, tasted kinda odd. Maybe skip the peas.
- Broccoli instead of cauliflower? Totally works. Same for asparagus, which I only discovered because I ran out of everything else one Sunday.
- If you want some cheesy goodness, toss in a handful of grated parmesan at the end. Or nutritional yeast if you’re vegan (I learned about that here and now always have some in my cupboard).
Tools I Use (But Improvise If You Need To)
- Large skillet (if you don’t have one, a deep saucepan can work, just don’t overfill it or you’ll be cleaning up cauliflower bits for days)
- Cutting board & knife (unless you’re all about those pre-chopped bags, which—zero judgement here)
- Spatula or big spoon (if you don’t have one, even tongs do in a pinch—done it, no shame)
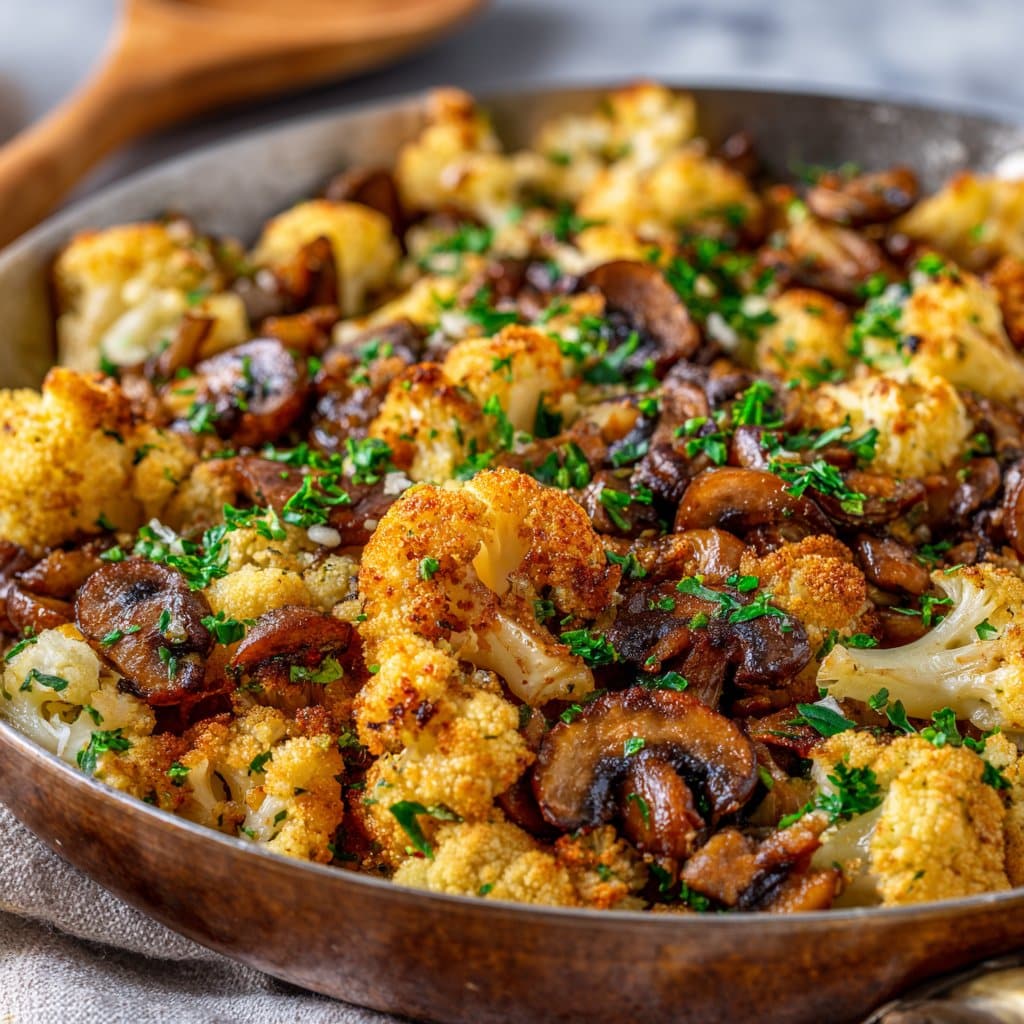
Storing Leftovers (If You’re Lucky Enough to Have Any)
Scoop any leftovers into a container, pop ’em in the fridge. They’ll keep for 2-3 days, but honestly, it’s never lasted more than a night around here. Oh, and a quick zap in the microwave brings it back to life (or try tossing leftovers into a wrap with hummus—surprisingly good!).
How to Serve It (My Family’s Odd Little Ritual)
I like to pile it on a big platter and let everyone dig in—I mean, it’s half the fun. Sometimes I’ll serve it with crusty bread to mop up the garlicky bits at the bottom, or—on lazier nights—just eat it straight form the pan. No judgement.
Pro Tips: Things I’ve Messed Up, So You Don’t Have To
- I once tried to rush the browning step—ended up with soggy mushrooms. Patience, grasshopper.
- If you use frozen cauliflower, let it thaw a bit and pat dry, or you’ll get a watery skillet. (Did that last week. Meh.)
- Actually, I find adding the garlic after the mushrooms helps it not burn—so maybe do that. Or not. Up to you!
FAQ (Because Y’all Actually Ask These Things!)
- Can I make this ahead? Totally! I think it’s even tastier the next day (though mine rarely makes it that long).
- What if I only have frozen veggies? Go for it. Just dry them off a bit first so you don’t end up with a soggy mess. Learned that the hard way.
- Can I add some protein? Yup! I’ve thrown in cooked chickpeas, or even leftover chicken. If you want inspiration, check out Serious Eats’ mushroom tips—they know their stuff!
- How do I get golden bits? Don’t stir constantly. Let things sit, then flip. It’s weirdly hard to do, but so worth it.
- What’s the best mushroom? Honestly, whatever’s on sale. But if you’re feeling fancy, try a mix. Or not—it’s all good.
Anyway, give it a go—if you end up with extra crispy bits, you’ve basically won dinner. And if you have questions, just shout! (Or, you know, drop a comment somewhere. I do read them.)
PS: If you want to geek out about cast iron care—because I once ruined mine and had to start over—Lodge has great tips I wish I’d found sooner.
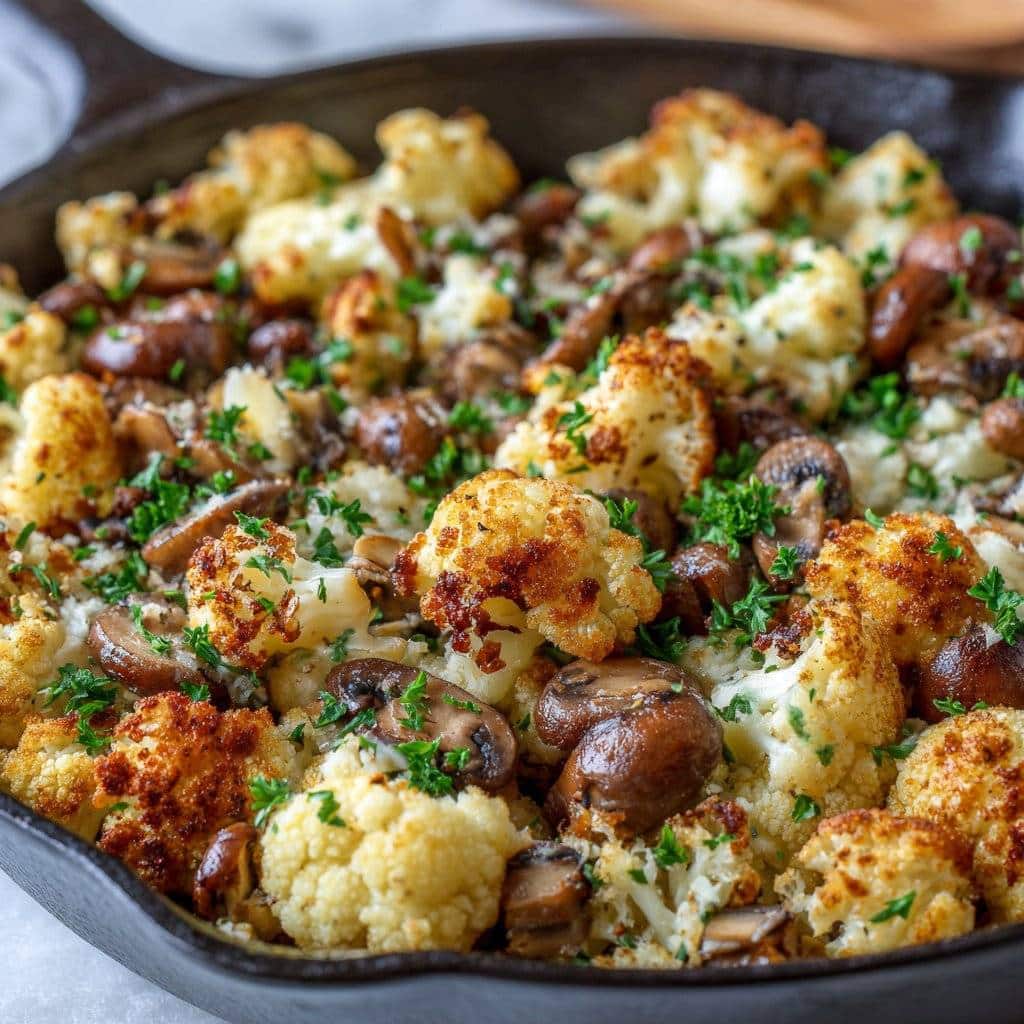
Ingredients
- 1 medium head cauliflower, cut into florets
- 250g (9 oz) cremini mushrooms, sliced
- 3 tablespoons olive oil
- 4 cloves garlic, minced
- 1 small onion, finely chopped
- 1/2 teaspoon dried thyme
- Salt and black pepper to taste
- 2 tablespoons chopped fresh parsley (for garnish)
- 1 tablespoon lemon juice
Instructions
-
1Heat olive oil in a large skillet over medium heat. Add the chopped onion and sauté for 2-3 minutes until softened.
-
2Add the minced garlic and cook for 1 minute until fragrant.
-
3Add the cauliflower florets and cook for 5 minutes, stirring occasionally.
-
4Stir in the sliced mushrooms and dried thyme. Season with salt and black pepper. Cook for another 10-12 minutes, stirring occasionally, until the vegetables are tender and lightly browned.
-
5Drizzle with lemon juice and toss to combine. Remove from heat.
-
6Garnish with chopped fresh parsley and serve warm.
Approximate Information for One Serving
Nutrition Disclaimers
Number of total servings shown is approximate. Actual number of servings will depend on your preferred portion sizes.
Nutritional values shown are general guidelines and reflect information for 1 serving using the ingredients listed, not including any optional ingredients. Actual macros may vary slightly depending on specific brands and types of ingredients used.
To determine the weight of one serving, prepare the recipe as instructed. Weigh the finished recipe, then divide the weight of the finished recipe (not including the weight of the container the food is in) by the desired number of servings. Result will be the weight of one serving.
Did you make this recipe?
Please consider Pinning it!!




