So, Garlic Chicken Skillet—It’s a Weeknight Hero
Alright, I have to let you in on something: this Garlic Chicken Skillet (Keto Friendly) is the recipe I fall back on when I just can’t bear the thought of another sad salad, or when it’s been one of those days (you know the ones—the dog ate the mail and the kids turned the living room into a trampoline park). My mum actually started making something like this, though hers was way heavier on the butter, bless her, and it always made the kitchen smell like a garlic festival. I still can’t get the scent out of that old apron. Anyway, over the years I’ve fiddled with it until I landed on this version—it’s fast, doesn’t require a ton of fuss, and, well, it’s perfect for anyone dodging carbs (or just craving a garlicky hug in a pan).
Why You’ll Probably Want to Make This, Like, Tonight
I make this when I’m short on time but want to seem like I’ve actually got my act together. My family goes wild for it—especially my husband, who’ll eat anything as long as it’s got loads of garlic. (Actually, last time I made it I tried to lighten up on the garlic, and, big mistake. Never again!) It’s a one-pan wonder, so you won’t wind up with a mountain of dishes glaring at you. Plus, for anyone keeping it low-carb or keto, it fits the bill without tasting like a compromise. Oh, and if you like leftovers for lunch, this one’s a winner. It’s even better the next day—though, to be honest, it rarely survives that long in my house.
What You’ll Actually Need (and Some Cheeky Swaps)
- 3-4 boneless skinless chicken breasts (or thighs—sometimes I use thighs if that’s what’s knocking about in the freezer)
- Salt and black pepper (my gran swore by sea salt, but table salt gets the job done too)
- 1 tbsp olive oil (avocado oil works if you’re feeling fancy)
- 3 tbsp butter (sometimes I use ghee, especially when the butter is mysteriously missing)
- 6 cloves of garlic, minced (I’ve used the jarred stuff in a pinch, but fresh is best for the punch)
- 1/2 cup chicken broth (homemade is nice, but I’d be fibbing if I said I always make it from scratch)
- 1/2 tsp dried thyme (oregano works too, or even Italian seasoning if that’s all you’ve got)
- 1/4 tsp crushed red pepper flakes (totally optional, but I like a kick)
- A handful of chopped fresh parsley (for garnish—if you’re feeling posh, otherwise skip it)
- Juice of half a lemon (but, confession, sometimes I just use that bottle of lemon juice hiding in the fridge)
How I Actually Cook This (With All the Nitty-Gritty)
- First, pat those chicken breasts dry and season them generously with salt and pepper. (Don’t be shy—a little extra flavor never hurt anyone. Well, unless you overdo it. Been there.)
- Heat the olive oil in your biggest, bravest skillet over medium-high heat. Once it’s shimmering, in goes the chicken. Let it brown for about 5-6 minutes on each side; don’t poke them too much, or you’ll miss out on that lovely golden crust.
- Remove the chicken and set it aside—cover it loosely with foil or a clean tea towel. If you’re like me, this is where you snack on a corner piece “just to check the seasoning.”
- Lower the heat to medium. Chuck the butter in the pan (it’ll bubble up and smell amazing). Stir in the garlic. Now, don’t wander away! Garlic burns faster than I realize EVERY time. Let it cook for about 45 seconds, until fragrant. (If it goes brown, it’s not the end of the world, but aim for golden.)
- Pour in the chicken broth, thyme, and red pepper flakes. Scrape up all the brown bits—those are the good bits. Let that reduce for 3-4 minutes, or until it thickens up a smidge. (If it looks weirdly thin, just give it another minute. It’s science, or maybe it’s just patience.)
- Pop the chicken back in, add any juice that’s collected on the plate, and let it finish cooking for about 5 minutes. Spoon that garlicky sauce over the top. This is the bit where I get all excited.
- Just before serving, splash in the lemon juice and toss over the parsley. Taste for salt and pepper. If it needs a little more zing, in goes another squeeze of lemon. Or not. Up to you!
Little Notes I’d Want a Friend to Know
- Don’t stress if your sauce splits a bit—just stir vigorously and pretend it’s rustic. (Actually, I think it tastes even better that way.)
- Sometimes I toss a handful of spinach in at the end; it wilts down and looks fancy.
- If you use thighs, you might need an extra couple of minutes’ cooking time, just check they’re not pink in the middle.
Stuff I’ve Tried (Some Hits, One Miss)
- I once made this with a splash of white wine instead of broth—delicious, though a bit more decadent.
- Swapped parsley for fresh basil, and honestly that’s lovely too.
- One time I tried it with coconut oil instead of butter; not my fave. It tasted a bit like a tropical holiday, but not in a good way. Live and learn.
Do You Need Fancy Equipment? Not Really
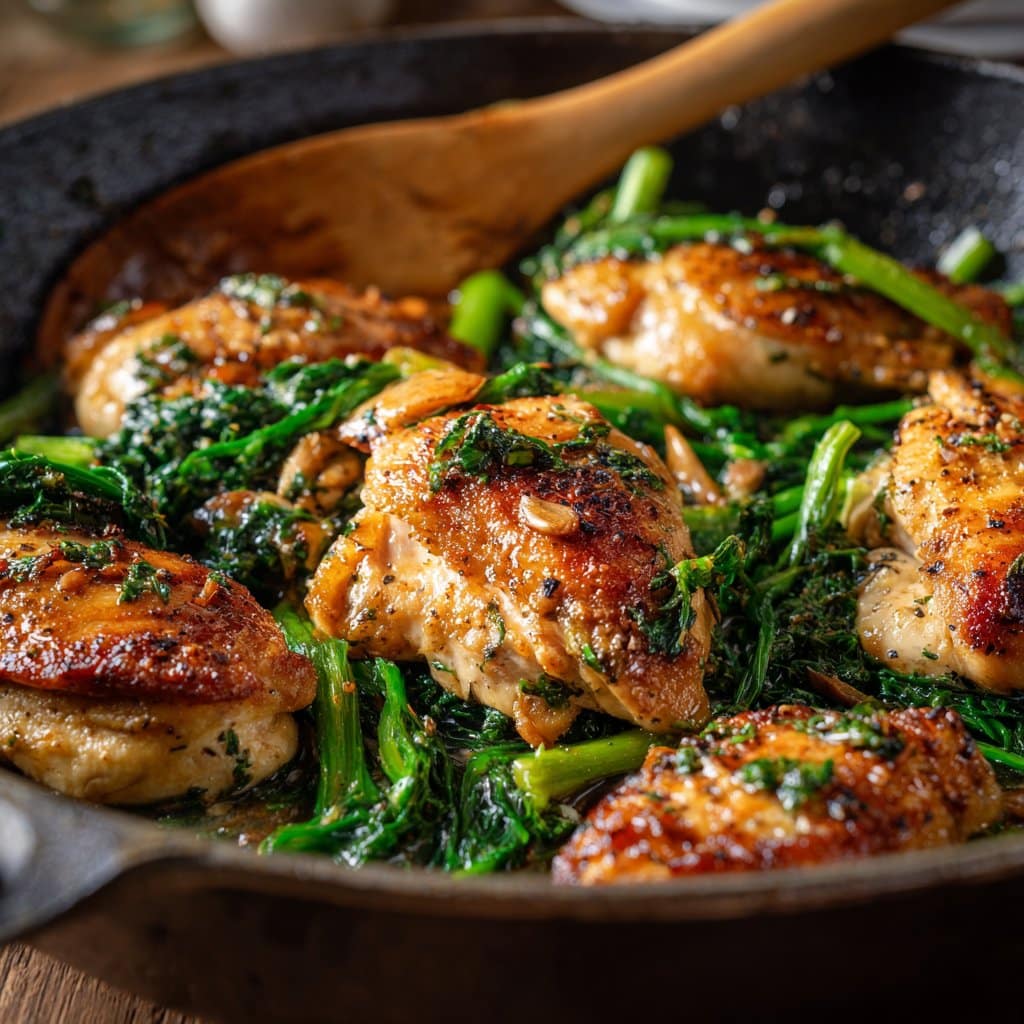
A big nonstick or cast iron skillet is ideal, but if all you’ve got is a regular frying pan, go for it. I did this on a camping stove once (long story, involved a lot of mosquitoes) and it still worked out fine. Tongs make it easier, but two forks will do in a pinch.
How to Store This—If You Even Need To
Pop any leftovers in an airtight container in the fridge. It’ll keep for up to three days, though honestly, at my place it never lasts more than a day! I actually think the flavors get even better after a night together, but maybe that’s just me.
How I Like to Serve It (And a Quirky Tradition)
Usually, I serve this over some wilted greens or cauliflower mash to keep it keto. My youngest likes to dunk it in sour cream (no idea where he got that from, but you do you). Sometimes I’ll scatter a few toasted almonds on top for crunch. And if it’s a special night, a side of cheesy broccoli is just the ticket.
Stuff I’ve Learned the Hard Way (AKA Pro Tips)
- Don’t try to rush the browning—it’s worth waiting for that caramelized crust. I once tried to shortcut with higher heat… ended up with burnt outsides and raw middles. Oops.
- If you’re tempted to skip the lemon, don’t. It brightens everything up, trust me.
- Actually, letting the chicken rest for a few minutes before slicing really does keep it juicy. I used to skip this but, yeah, lesson learned.
FAQs—Because Friends Really Do Ask
Can I use pre-minced garlic?
Yep, though fresh is punchier. If you only have the jarred stuff, just use an extra spoonful for good measure.
Will this work with pork?
Totally. Thin pork chops work about the same, though you might want to watch the cooking time. They dry out quick if you’re not careful!
What about adding veggies?
You can, and I sometimes do a quick stir in of spinach or zucchini at the end. Peppers are great too. Just don’t crowd the pan too much or it steams instead of browns—found that out the hard way.
Can I freeze it?
Yes, but the sauce can go a bit funny when thawed. If you don’t mind that, go for it. We rarely have enough left over to freeze, truth be told.
Where do you get your chicken?
I often grab organic chicken breast from the farmer’s market when I can (if you’re curious about sourcing, here’s a great guide from Serious Eats). But supermarket chicken works too.
Got a favorite skillet?
My trusty Lodge cast iron has seen better days, but it’s never let me down. If you’re looking for a good one, check out Lodge’s site. Not sponsored, just a fan.
Anyway, if you ever fancy swapping tips (or have questions I didn’t answer here), just holler. I think sharing recipes is half the fun. Actually, on second thought, eating the results is the best part. Cheers!
Ingredients
- 4 boneless, skinless chicken breasts
- 2 tablespoons olive oil
- 4 cloves garlic, minced
- 1/2 teaspoon sea salt
- 1/4 teaspoon black pepper
- 1 teaspoon dried Italian herbs
- 2 tablespoons unsalted butter
- 1/4 cup chicken broth
- 2 tablespoons chopped fresh parsley
Instructions
-
1Season the chicken breasts with salt, pepper, and dried Italian herbs on both sides.
-
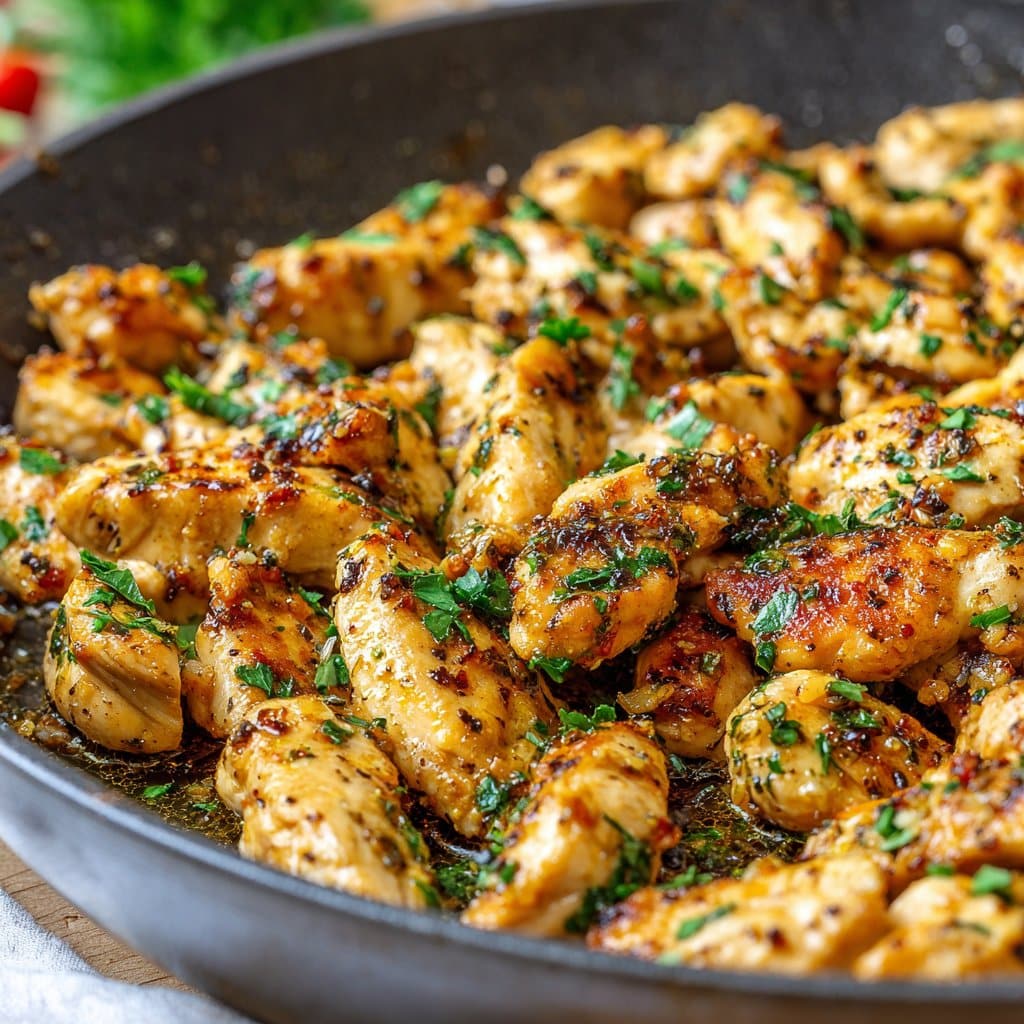
2Heat olive oil in a large skillet over medium-high heat. Add the chicken breasts and cook for 5-6 minutes per side, until golden brown and cooked through. Remove chicken from the skillet and set aside.
-
3Reduce heat to medium. Add butter and minced garlic to the skillet. Sauté for 1-2 minutes until fragrant.
-
4Pour in the chicken broth, scraping up any browned bits from the bottom of the skillet. Simmer for 2-3 minutes to reduce slightly.
-
5Return the chicken breasts to the skillet, spooning the garlic butter sauce over the top. Cook for another 2-3 minutes until heated through.
-
6Garnish with chopped fresh parsley and serve hot.
Approximate Information for One Serving
Nutrition Disclaimers
Number of total servings shown is approximate. Actual number of servings will depend on your preferred portion sizes.
Nutritional values shown are general guidelines and reflect information for 1 serving using the ingredients listed, not including any optional ingredients. Actual macros may vary slightly depending on specific brands and types of ingredients used.
To determine the weight of one serving, prepare the recipe as instructed. Weigh the finished recipe, then divide the weight of the finished recipe (not including the weight of the container the food is in) by the desired number of servings. Result will be the weight of one serving.
Did you make this recipe?
Please consider Pinning it!!




