Well, Let’s Talk Chicken Meatloaf—And Garlic, and Parmesan
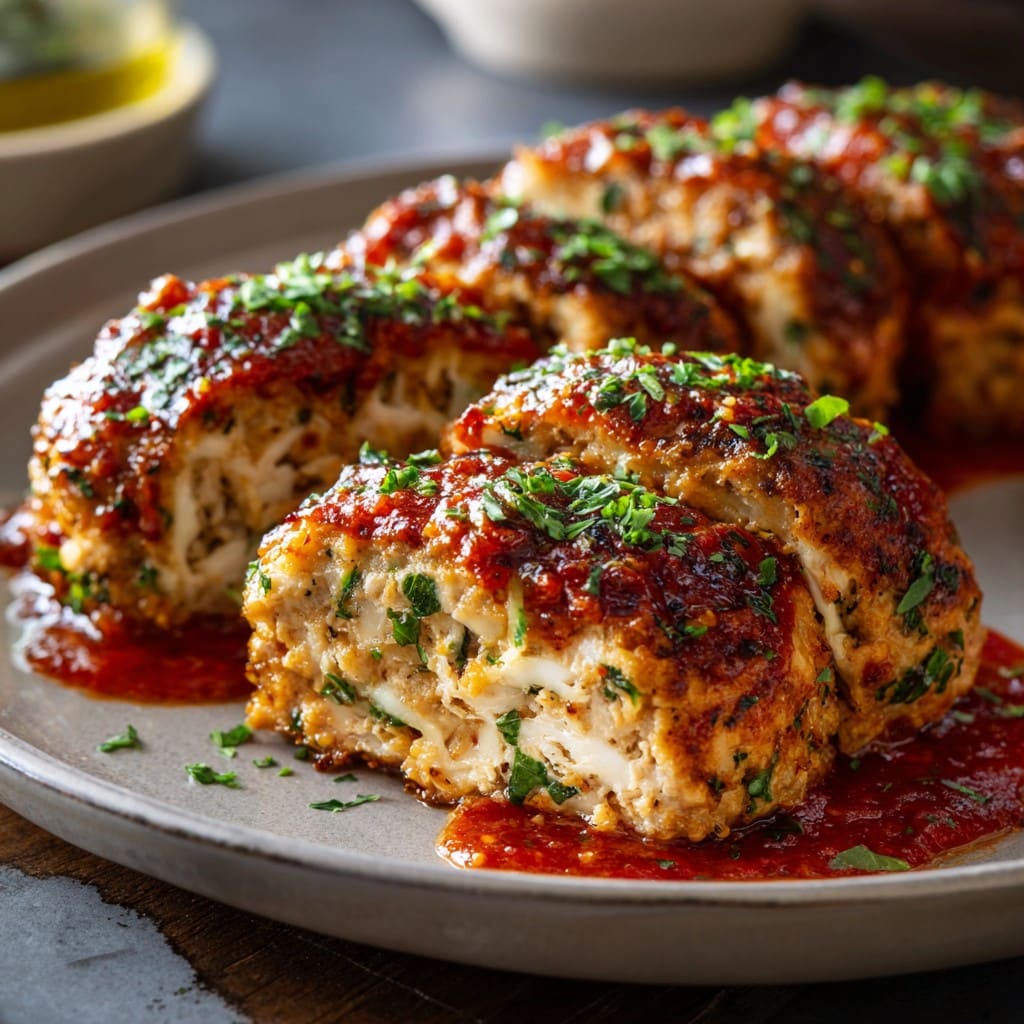
So the first time I made these little garlic parmesan chicken meatloaves, I was up to my elbows in a pantry clean-out (that didn’t last—now there’s just more flour dust). Anyway, I wanted meatloaf but, honestly, didn’t want to wrestle with the classic beef version and a big old loaf pan. Maybe it was the weather, or maybe it was just Tuesday. But somehow, these friendly little chicken meatloaves showed up and, oh boy, they stuck around. My youngest even named one Gerald… so now we say we’re having “Little Geralds” for dinner and I can’t escape it. What can you do?
Why You’ll Love This (At Least I Do)
I make these when my don’t-want-to-cook mood is battling my want-something-tasty craving. Or on school nights, because they’re just way easier than messing with a giant meatloaf (less drama, fewer crumbs on the counter). My family goes bananas for the crispy edges and melty cheese—and honestly, they almost fist-fought over the last one. Plus, you can dress them up or just slap them on a plate with ketchup when you’re wiped. And if you ever got stuck with dry chicken recipes (me too back in the day), this one’s a no-fuss, no-sawdust kinda deal. I mean, unless you wander off and forget the timer, but, we’ve all done that, right?
Stuff You’ll Need (Mix & Match Where You Want!)
- 500g ground chicken (I sometimes use turkey instead, or, dare I say, a random mix I found at the back of the freezer)
- 3 garlic cloves, minced (if you’re a true garlic beast, go wild—I have)
- 3/4 cup shredded parmesan (I once used pre-grated stuff and nobody noticed, so don’t stress it)
- 1/2 cup panko breadcrumbs (but my gran used crushed crackers; honestly, whatever’s crunchy in your cupboard will do)
- 1 egg (large, but if all you’ve got is a tiny one, just add a splash of milk)
- 1/4 cup milk (any will do, but I have used just water when out of milk—lived to tell the tale)
- 1 tbsp chopped parsley (or a sprinkle of that dried stuff from a mystery jar in the back of the spice rack)
- 1 tsp salt
- 1/2 tsp black pepper
- 1/2 tsp dried oregano (sometimes I skip it, sometimes I overdo it—depends on the day)
How to Make These Little Flavor Bombs
- Oven talk! Preheat yours to 200°C (around 400 F). Or a bit lower if it runs hot. My oven does whatever it wants so I go by instinct these days; if yours is newer, you’re winning.
- Mixing time. Dump chicken, garlic, parmesan, breadcrumbs, egg, milk, parsley, salt, pepper, and oregano in a big bowl (don’t even think about a small bowl, you’ll regret it—believe me). Roll up your sleeves and squish it all together with your hands for ultimate meatloaf harmony. This is where I sneak a taste—but only if you’re not squeamish about raw things; I like to live on the edge.
- Shape it up. Divide this glorious mess into 4 or 5 mini loaves. Plonk them straight onto a baking sheet lined with parchment (foil if you forgot parchment, or nothing if you’re feeling brave and don’t mind scrubbing after).
- Bake ’em! Into the oven for 22–25 minutes. Go have a cup of tea, but not too much scrolling, or you’ll forget the timer. They’re done when golden at the edges and the middle isn’t pink. Or, in technical terms—internal temp of about 75°C (165 F) if you have a food thermometer. I usually just poke one open and check.
- Cool for a minute, then serve! If they look a bit lopsided, all part of their rustic charm—never stopped anyone eating them.
My Notes (Or, How I Messed Up and Fixed It)
- If the mix feels too wet, add more breadcrumbs. If it’s dry, splash in more milk. No need for math, just wing it.
- Once, I forgot the salt—still edible but kind of a plain-Jane situation. Salt is your friend.
- Day-old leftovers (ha! If you have any) actually taste even better. Something magic happens overnight.
If You Want to Mix It Up … Or Accidentally Did
- I once swapped in cheddar for parmesan—oozy and excellent, but a bit messier. Mozzarella goes weirdly stringy in this recipe, fyi.
- Chopped spinach is a good sneaky add-in—nobody complained, and that’s a win.
- Tried making it with zero breadcrumbs once. Result: weird, dense, like a sad chicken puck. So, don’t skip those.
- Seen a similar version at Simply Recipes that inspired the tweaks, if you want more ideas.
Do You Even Need Fancy Equipment?
Honestly, a mixing bowl, your clean hands, a baking sheet, and parchment. Once I forgot the parchment and just greased the pan with butter—bit more cleanup, but it works in a pinch. Those silicone mats are fancy, but not required.
Here’s a resource for good baking sheets if you’re in the market for new gear, though.
How to Store & Reheat (Though Good Luck With Leftovers)
If you do manage to resist eating them all: airtight container, fridge, 2–3 days. Microwave works for reheating, but oven at 180°C is better for getting that edge crispy again. Mine never make it past lunch the next day, but that’s more a comment on my household than the recipe.
The Best Ways to Serve (Well, According to Me)
Some nights I set out a pile of garlicky mash and roasted green beans, let everyone grab a mini-meatloaf, and we dig in. If my partner’s out, I eat one on a soft roll with a dab of hot sauce—makes for an accidental but excellent chicken burger. Oh, a little squeeze of lemon on top isn’t traditional, but it does something bright (thanks, Aunt Linda).
Things I Learned the Hard Way (Pro-ish Tips)
- Don’t try to shape these too small—they dry out real fast and just end up weirdly chewy. One time I made twelve tiny ones, and nearly cracked a tooth.
- Mix gently with your hands, not a spoon. Spoon-mixing will make everything a bit tough. Ask me how I know…
- Let ’em rest a minute before eating. Once I rushed and burnt my tongue. Sad times, bland times.
FAQ—I Swear I’ve Been Asked These!
Can I freeze them?
Sure thing. Just let ’em cool, wrap in foil or pop into a bag, and freeze up to 3 months. Thaw in the fridge before reheating so they don’t go all watery.
What if I don’t have parmesan?
Swap in any dry-ish, flavorful cheese. Grana Padano is great (props if you can get it; it’s not exactly corner-shop cheese, though). Even a sharp cheddar, but maybe go a bit lighter on salt.
Can I make these gluten-free?
Yep, just swap breadcrumbs for a GF kind. Actually, ground oats (quick oats blitzed in a blender) worked for my mate Sarah who’s coeliac, and she said it worked like a charm.
Is it okay to use turkey?
I’ve done it—turned out tasty, probably even lighter. Texture holds up; just don’t use super lean turkey or you might get the infamous poultry sand effect.
Can I prep ahead?
Definitely! Mix the ingredients and shape the loaves. Cover and chill until you’re ready to bake. Maybe add two minutes to baking time if it’s real cold out of the fridge.
And, just in case anyone needs a rabbit hole: have you ever read up on the science of meatloaf? Sometimes procrastination leads to pie charts about breadcrumbs and, well, that’s a thing that happens.
Ingredients
- 1 pound ground chicken
- 2/3 cup breadcrumbs
- 1/2 cup grated Parmesan cheese
- 2 cloves garlic, minced
- 1 large egg
- 1/4 cup chopped fresh parsley
- 1/4 cup milk
- 1 teaspoon salt
- 1/2 teaspoon black pepper
- 1 tablespoon olive oil
Instructions
-
1Preheat the oven to 375°F (190°C). Line a baking sheet with parchment paper or lightly grease it.
-
2In a large bowl, combine ground chicken, breadcrumbs, Parmesan cheese, minced garlic, egg, parsley, milk, salt, and black pepper.
-
3Mix all ingredients until just combined. Do not overmix.
-
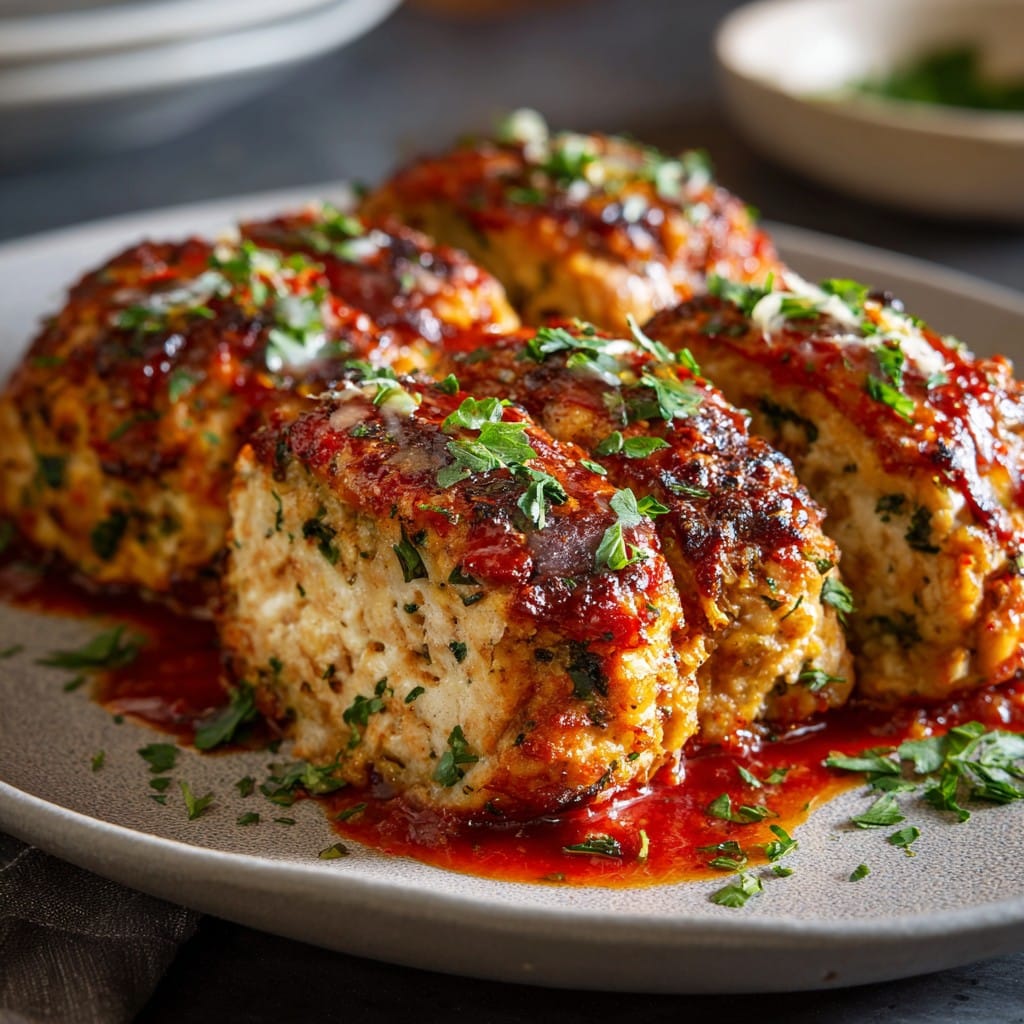
4Divide the mixture into 4 equal portions and shape each portion into a small loaf. Place on the prepared baking sheet.
-
5Brush the tops with olive oil, then bake for 30 minutes or until the meatloaves are cooked through and golden on top.
-
6Let the meatloaves rest for 5 minutes before serving. Garnish with extra Parmesan and parsley if desired.
Approximate Information for One Serving
Nutrition Disclaimers
Number of total servings shown is approximate. Actual number of servings will depend on your preferred portion sizes.
Nutritional values shown are general guidelines and reflect information for 1 serving using the ingredients listed, not including any optional ingredients. Actual macros may vary slightly depending on specific brands and types of ingredients used.
To determine the weight of one serving, prepare the recipe as instructed. Weigh the finished recipe, then divide the weight of the finished recipe (not including the weight of the container the food is in) by the desired number of servings. Result will be the weight of one serving.
Did you make this recipe?
Please consider Pinning it!!




