Okay, so let me tell you about these cinnamon rolls…
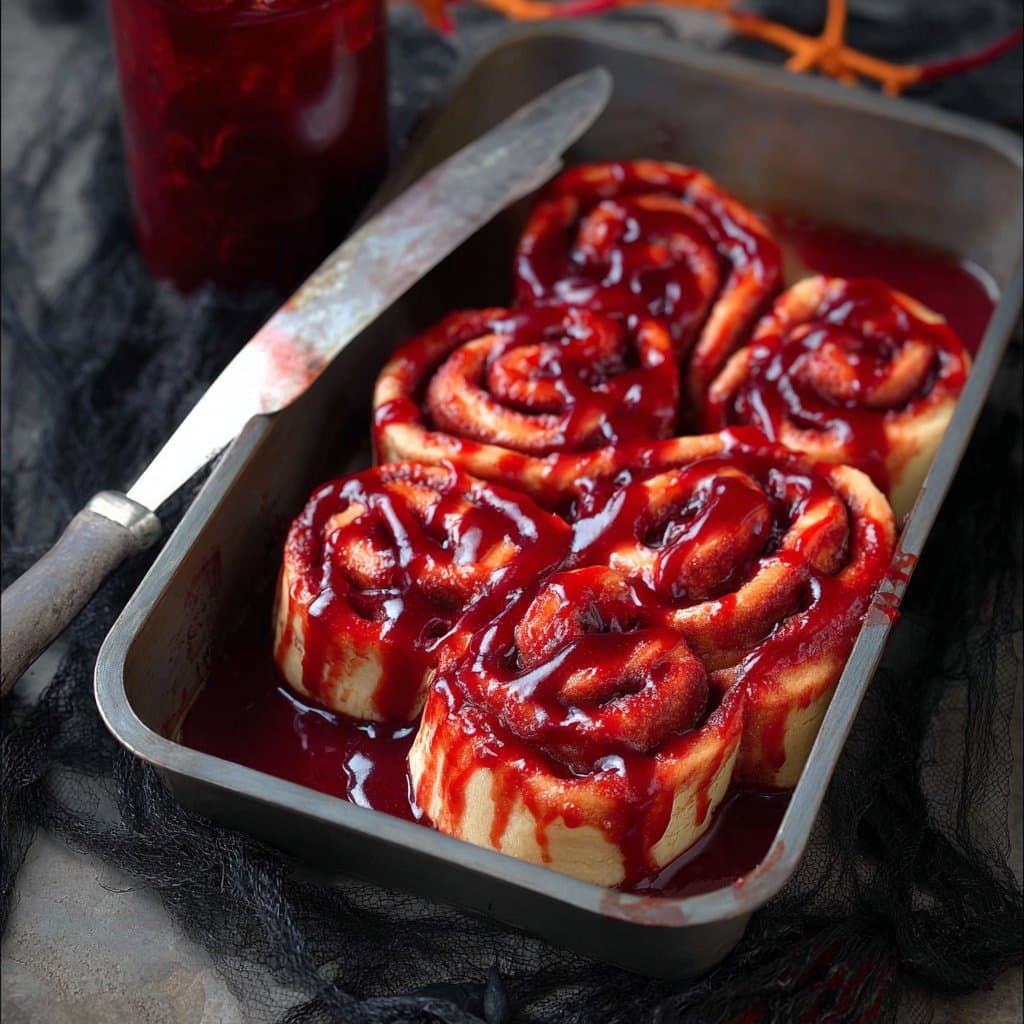
If you’ve ever wanted to make a dessert that looks like it stumbled straight out of a horror movie—without actually scaring the pants off your guests (well, maybe just a bit)—these Halloween Bloody Cinnamon Rolls are your ticket. I made them the first time because my youngest saw some wild, gory bake on TV and begged for something freaky for his class party. I was skeptical (I mean, red syrup and cinnamon rolls?), but honestly, watching everyone’s faces light up when I walked in with a tray full of gooey, oozing rolls—pure Halloween magic. Plus, any excuse to eat dessert that’s supposed to be a little bit messy? Sign me up. Oh, and fair warning: be ready to get your hands sticky. If you’re not, are you even doing it right?
Why I keep coming back to these bloody rolls
I make this recipe basically every October—or when I want to weird out my friends (they secretly love it). My family goes a bit bananas for these because they’re soft, gooey, and the “blood” sauce is just the right amount of sweet with that shock-value sugar rush. Not gonna lie, the first time I tried to make the red glaze, I got the kitchen looking like a low-budget crime scene (I still find splatters behind the toaster, oops). But that’s part of the fun, right? They’re a hit at any Halloween bash, mostly because they look wild but taste basically like the best cinnamon rolls you’ve ever had.
And if you’re someone who likes their food to double as a conversation starter—these deliver, big time.
Here’s what you’ll need (plus a few shortcuts)
- 1 tube refrigerated cinnamon roll dough (I’ve used Pillsbury, but store brand is honestly just fine—you could also make dough from scratch if you’re feeling ambitious; I rarely am on a school night!)
- 3-4 tbsp unsalted butter, melted (salted is okay too—my Nan always said it gives more flavor)
- 1/2 cup brown sugar, packed
- 2 tsp ground cinnamon (sometimes I use pumpkin pie spice if I’m in an autumn mood)
- 1/2 cup powdered sugar
- 1-2 tbsp milk or cream
- 1/2 tsp vanilla extract
- Red gel food coloring (if you can’t find gel, the liquid stuff works, but you’ll need a bit more for that “bloody” look)
- Optional: raspberry or strawberry jam for extra “gore” (it tastes great too!)
- Cooking spray or a bit of extra butter for greasing
Here’s how to whip them up (mess is part of the process)
- Preheat your oven to 350°F (or whatever your dough package says). Grease an 8-inch baking dish, or honestly, I’ve used a cast iron skillet when I can’t find a clean dish. No biggie.
- Pop open the cinnamon roll tube (brace yourself, that pop always gets me), arrange the rolls in the dish, and drizzle half the melted butter over them. Sprinkle with brown sugar and cinnamon (I go heavy, but you do you).
- Bake for 20–25 minutes, or until the tops look golden but not too crisp. This is where I usually sneak a taste of the sauce, just to “check” if it’s sweet enough.
- While the rolls bake, whisk together powdered sugar, a splash of milk, vanilla, and add in the red gel food coloring. Go slow with the color—you want it gruesome but not pink. I once added too much and it looked more like a Valentine’s treat. If you want extra drama, swirl in a spoonful of raspberry jam. Tastes brilliant, too.
- Let the rolls cool for a few minutes (I’m always impatient here, but they’ll stay together better if you wait). Smother with your bloody icing—let it drip everywhere. That’s the whole point.
- It’s technically done, but sometimes I add more jam at the last second, just to really sell the effect. Up to you!
Notes from a slightly chaotic kitchen
- If you use liquid food coloring, don’t freak if the icing looks a bit runny. Just add more sugar to thicken it up.
- I learned (the messy way) that letting the rolls cool for five minutes makes the “blood” stick better, otherwise it just pools at the bottom.
- Don’t skip the jam if you like a bit of tartness with your sweet. It’s a game-changer.
- You’ll probably get red stains on your fingers. Wear an apron, or just embrace your inner mad scientist.
Variations I’ve tried (and a couple that flopped)
- Once, I swapped the cinnamon rolls for chocolate rolls. It was… interesting. Not sure I’d do it again, but my cousin loved it.
- I’ve used orange glaze for a “pumpkin guts” look. Fun, but not as dramatic as the red!
- If you’re feeling fancy, make your own dough. But honestly, nobody’s ever complained about the canned stuff at my place.
What you’ll need (or how to improvise)
- Baking dish (but as I said, a skillet works. Even a pie dish in a pinch!)
- Mixing bowl
- Whisk or fork (if you can’t find your whisk, a good old fork does the trick)
- Spatula or big spoon for spreading the “blood”
I once made these in a friend’s apartment with nothing but a mug and a chopstick to mix—so don’t stress if your kitchen’s not fully kitted out.
How to store ‘em (if they last that long)
You can keep leftovers in an airtight container on the counter for a day or so, but honestly, in my house, these rolls disappear faster than you can say “trick or treat.” If you somehow have the willpower to save a few, they taste even better warmed up the next morning with a cuppa. Fridge is fine for longer, but the icing gets a bit sticky.
My favorite way to serve these rolls
I usually pile them up on a big platter, let everyone grab their own (warning: kids go nuts for the “blood”). Once, we even served them with plastic fangs and fake eyeballs for full spooky effect. Nothing like a little edible drama to kick off Halloween breakfast. Sometimes I sneak one late at night with a scoop of vanilla ice cream—don’t judge!
Pro tips (AKA what I learned the hard way)
- Don’t rush the cooling—if you ice them too early, it slides off and you end up with soggy bottoms. Been there, not fun.
- Less is more with the food coloring at first. You can always add, but you can’t take away. (Actually, once I tried to “lighten” it with more sugar and just made a pink paste. Oops.)
- Use parchment paper if you’re worried about the bloody mess on your pans. Or just soak them later, that’s my usual method.
FAQ (because people always ask)
- Can I make these ahead of time? Sort of. The rolls themselves can be baked a day early, but I’d wait to ice them until party time. Otherwise, things get sticky in a weird way.
- What if I don’t have food coloring? Well, you can skip it, but then they’re just cinnamon rolls. I’ve used mashed raspberries in a pinch, and it works, though it’s a bit seedier.
- Do I have to use canned dough? Nope! If you want, you can make your own dough (but who’s got time for that every time?).
- How do I make them gluten free? You can grab a GF cinnamon roll mix. I haven’t tried it, but my neighbor swears by it. Or maybe try searching around—lots of bloggers have good GF versions.
- Is it messy? Oh, absolutely. Just roll with it. Half the fun is licking the gooey glaze off your hands anyway!
And if you’re wondering—yes, the cleanup is a bit of a pain, but you’ll forget all about that after your first bite. Or after you see the look on everyone’s faces. If you try these out, let me know how it goes! Or, you know, tag me in your crime scene photos.
Ingredients
- 2 cups all-purpose flour
- 1/4 cup granulated sugar
- 2 tsp baking powder
- 1/2 tsp salt
- 3/4 cup milk
- 1/4 cup unsalted butter, melted
- 1/2 cup brown sugar
- 1 tbsp ground cinnamon
- 1 cup powdered sugar
- 2 tbsp milk (for glaze)
- 1 tbsp unsalted butter (for glaze)
- 1 tbsp red food coloring
- 1 tsp vanilla extract
Instructions
-
1Preheat the oven to 375°F (190°C) and grease a baking dish.
-
2In a large bowl, mix together flour, granulated sugar, baking powder, and salt. Add milk and melted butter, stirring until a soft dough forms.
-
3Roll out the dough on a floured surface into a rectangle. Sprinkle evenly with brown sugar and cinnamon.
-
4Roll up the dough tightly and slice into 8 equal pieces. Place rolls in the prepared baking dish.
-
5Bake for 20 minutes or until golden brown. Let cool slightly.
-
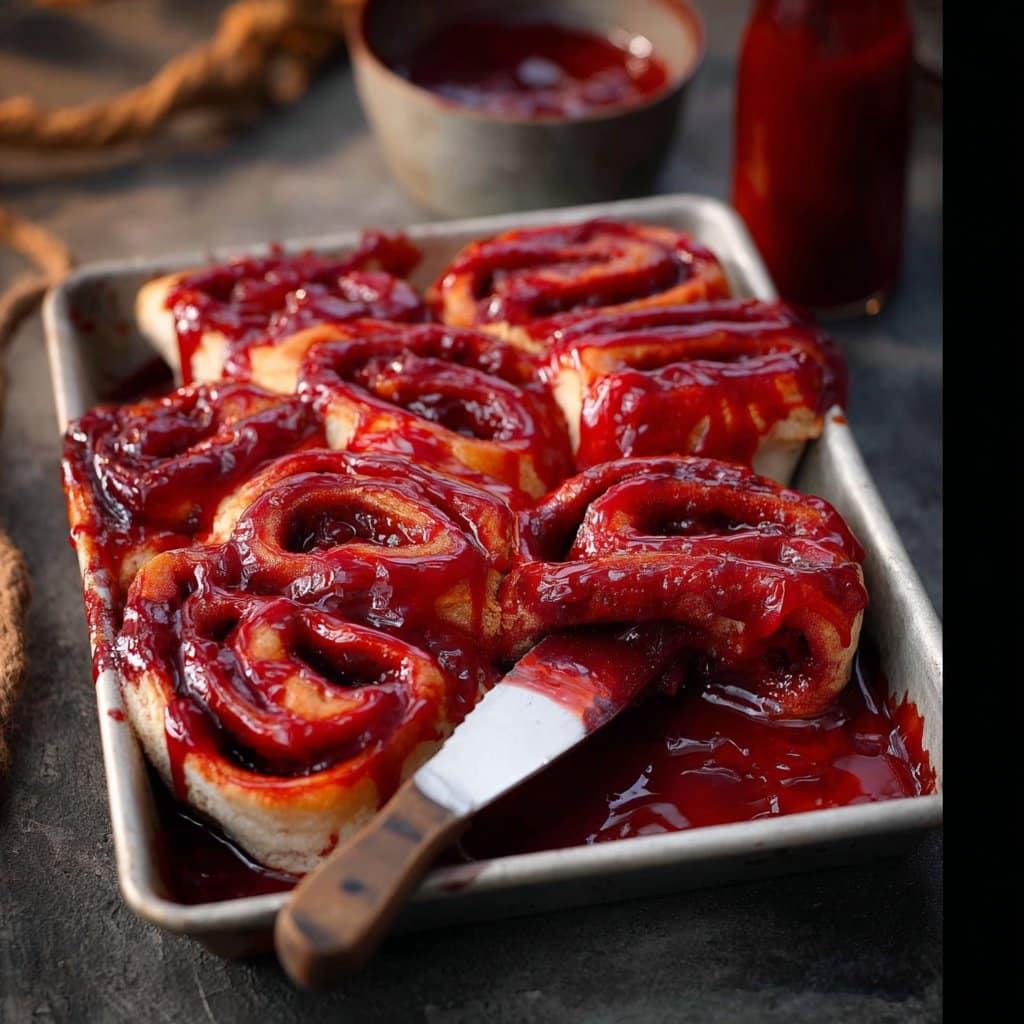
6For the bloody glaze, whisk together powdered sugar, milk, melted butter, vanilla extract, and red food coloring until smooth. Drizzle generously over the warm cinnamon rolls to create a ‘bloody’ effect.
Approximate Information for One Serving
Nutrition Disclaimers
Number of total servings shown is approximate. Actual number of servings will depend on your preferred portion sizes.
Nutritional values shown are general guidelines and reflect information for 1 serving using the ingredients listed, not including any optional ingredients. Actual macros may vary slightly depending on specific brands and types of ingredients used.
To determine the weight of one serving, prepare the recipe as instructed. Weigh the finished recipe, then divide the weight of the finished recipe (not including the weight of the container the food is in) by the desired number of servings. Result will be the weight of one serving.
Did you make this recipe?
Please consider Pinning it!!




