A Little Story Before We Get Rolling
Okay, straight up: I never thought I’d bother making cinnamon rolls at home. Once, I tried the classic gooey kind and let’s just say the kitchen looked like a flour tornado hit. But last winter, my neighbor (hi, Janet!) dropped by with these incredible rolls that were somehow sweet but didn’t leave me in a sugar coma. One bite and I was hooked. So I tinkered, swapped, and, well, here we are. Now I have this recipe for healthy cinnamon rolls without sugar. Is it the same as those mall ones? Nope. But when you wake up craving something warm and cinnamon-y (which is apparently a word), these hit the spot. Plus, you can actually eat two and still feel smugly healthy.
Why You’ll Love This Recipe (Or at Least Not Hate It)
I make this when I want to pretend I’m the kind of person who “cares about breakfast.” Also, my family goes slightly nuts for these, especially since the house smells like a cinnamon-scented candle—only edible. I used to struggle with the dough sticking everywhere (pro tip: more flour on the counter; less on your shirt), but after a few dodgy batches, I figured out a few tricks. And, let’s be honest, not having to wrangle kids after a sugar rush? Priceless.
What You’ll Need (With a Few Wiggle Room Options)
- 2 cups whole wheat flour (sometimes I do half whole wheat, half plain if I’m feeling less healthy… or lazy)
- 1 cup warm milk (I use almond milk when I’ve run out; oat milk is good too, but a bit thicker)
- 2 tablespoons olive oil (or melted coconut oil if you want to get fancy)
- 1 packet (7g) instant yeast (my gran swore by the red packet, but I’ve used store brand too—works fine)
- 1/2 teaspoon salt
- 1 tablespoon honey or maple syrup (technically not sugar, but you decide how strict you’re being—date syrup is good and gives a deeper flavor)
- 2 teaspoons ground cinnamon (sometimes I just eyeball it—can you have too much?)
- 1 teaspoon vanilla extract (optional, but I like the extra something)
- 1/4 cup raisins or chopped dates (optional, but they’re kind of the secret weapon for stickiness and sweet)
How to Make Healthy Cinnamon Rolls Without Sugar (Honestly, It’s Easier Than It Sounds)
- Mix the Dough: In a big-ish bowl, toss in the warm milk, yeast, and honey (or whatever sweet stuff you chose). Give it a stir and wait 5 mins—if it bubbles, you’re golden; if not, maybe your yeast is tired? Try again. Add in the oil, flour, and salt. Stir until it gets messy, then use your hands. It should be a bit sticky but come together. If it’s a gloopy mess, add a bit more flour. I sometimes go rogue and just tip in ‘til it feels right.
- First Rise: Cover with a tea towel and let it sit somewhere warm (I use the top of my washing machine when it’s running—don’t judge) for about an hour, or until it’s doubled. Or just looks puffy. I’ve let this go for 90 minutes when I forgot about it and honestly? Turned out fine.
- Roll It Out: Dust your counter with flour (lots, trust me) and roll the dough into a rectangle-ish shape. About as big as a baking tray. If you’re a perfectionist, measure; if not, just wing it. Spread a thin layer of coconut oil or butter (if you use it) on top. Then sprinkle the cinnamon all over—and the raisins or dates if you’re using them. Sometimes I smoosh the raisins into the dough, just for fun.
- Roll and Slice: Roll it up (starting from the long side) like a tight log. Slice into pieces—somewhere between 8 and 10. And if they’re not even, who cares? Stack ‘em in a greased baking dish. Or, if they look wonky, squish them into shape.
- Second Rise: Let them hang out for another 30-40 minutes, covered. They’ll puff up a bit more. This is where I usually sneak a taste of the filling left on the counter—no shame.
- Bake: Oven to 180°C (350°F). Pop them in for 20-25 minutes, or until golden on top. If your oven runs hot (like mine), maybe check at 18 mins. They should smell like heaven. Or the inside of a cozy café.
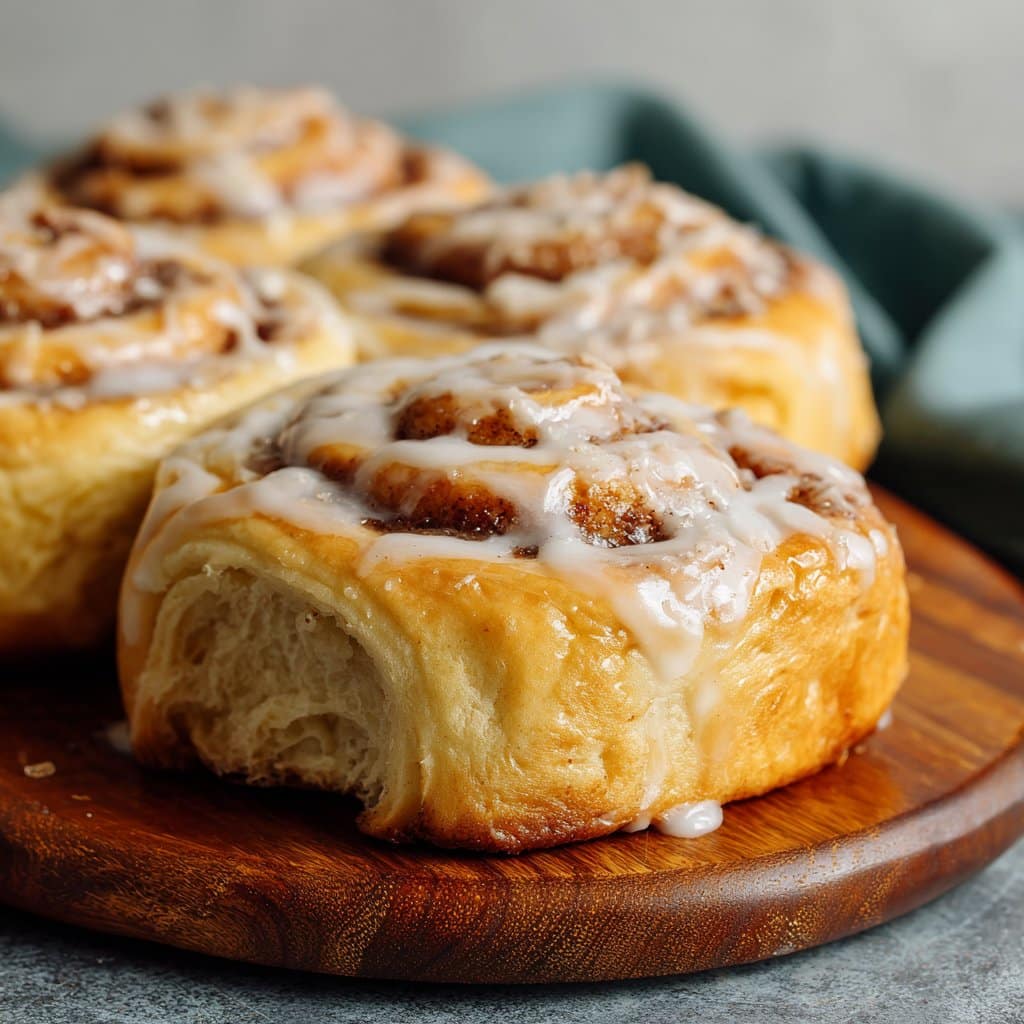
- Optional Glaze: Mix some Greek yogurt with a splash of vanilla and a drizzle of honey. Dollop on top while warm. Or skip it, they’re pretty good naked.
Random Notes That Might Help
- Once, I forgot the second rise. Turns out, you get denser rolls, which are actually kinda nice for dunking in coffee.
- Don’t stress if your dough is a bit lumpy. It bakes out. Usually.
- If you overbake them, just microwave for 30 seconds with a damp paper towel—they revive pretty well!
Variations I’ve Tried (and One Epic Fail)
- Swapped in pumpkin purée for half the oil—makes them extra moist, probably best in autumn.
- Tried adding chopped pecans (yum), but once added shredded carrot and, honestly, wouldn’t recommend unless you’re into weird textures.
- If you’re dairy free, skip the yogurt glaze and try this vegan cashew drizzle.
About Equipment (But Don’t Overthink It)
I use a rolling pin but one time I just used a wine bottle. Worked fine, if a bit awkward (don’t drink the wine first, trust me). Baking dish? Anything with sides works—pie tin, square dish, whatever you’ve got. Silicon mats make cleanup easier, but so does parchment paper.
How to Store (If They Last That Long)
Keep ‘em in an airtight container on the counter for a day or two, or fridge for up to 4 days. Though honestly, in my house they never last more than a day! You can freeze ‘em too, just wrap well. Reheat in the microwave or, if you’re feeling fancy, the oven for a couple of minutes.
Serving ‘Em Up (Family Style)
We like ours warm, with coffee or a mug of tea. Sometimes on Sundays, I put out chopped fruit and a little bowl of yogurt for dipping. My youngest likes hers unglazed with a big mug of milk—old soul, that one.
Pro Tips (Learned the Hard Way)
- I once tried skipping the first rise because I was in a rush—don’t. You end up with weird, dense spirals.
- Actually, I find it works better if you let the dough rest for a couple of minutes before rolling. Just feels less springy.
- Don’t over-pack the rolls in the pan or they’ll fuse together into one super roll. Not the worst, but trickier to serve.
FAQ (Because Friends and Family Ask!)
- Can I make these gluten free? Yeah, but I haven’t found a blend that gets them super fluffy. I hear Bob’s Red Mill gluten free flour works, but maybe add a splash more liquid.
- Is honey really not sugar? Good question—I mean, technically, it is, but I figure it’s less processed. Use what works for you.
- Do I have to use yeast? Yes (for proper rolls). But once I forgot and tried baking soda—ended up more like cinnamon biscuits. Not bad, but not rolls.
- Can I prep these the night before? Definitely. Just stick ‘em in the fridge after slicing, bake in the morning. They take a little longer to rise, but you get fresh rolls for breakfast. Win!
- Why aren’t mine rising? Hmm, maybe your yeast is old (I’ve done that before), or the milk was too hot. Give it another go—sometimes baking’s just a bit fickle.
Oh, and just to ramble for a sec—I once tried making these with my dog underfoot, flour everywhere, and a cup of tea glued to my hand. Honestly, it was a bit of a mess, but that’s half the fun, right? If you want to geek out on cinnamon health benefits, this article is pretty nifty. Anyway, hope you enjoy making (and eating) these as much as we do—happy rolling!
Ingredients
- 2 cups whole wheat flour
- 1 cup unsweetened almond milk
- 2 tablespoons olive oil
- 1 packet active dry yeast (2 1/4 tsp)
- 1/4 teaspoon salt
- 1/4 cup unsweetened applesauce
- 2 teaspoons ground cinnamon
- 1/3 cup raisins or chopped dates
- 1 teaspoon vanilla extract
Instructions
-
1In a small bowl, warm the almond milk until lukewarm. Stir in the yeast and let it sit for 5 minutes until foamy.
-
2In a large bowl, combine whole wheat flour and salt. Add the yeast mixture, olive oil, and vanilla extract. Mix until a dough forms.
-
3Knead the dough on a floured surface for about 5 minutes. Place in a greased bowl, cover, and let rise for 30 minutes.
-
4Roll out the dough into a rectangle. Spread applesauce evenly over the surface, then sprinkle with cinnamon and raisins or chopped dates.
-
5Roll up the dough tightly and slice into 8 rolls. Place rolls in a greased baking dish, cover, and let rise for another 10 minutes.
-
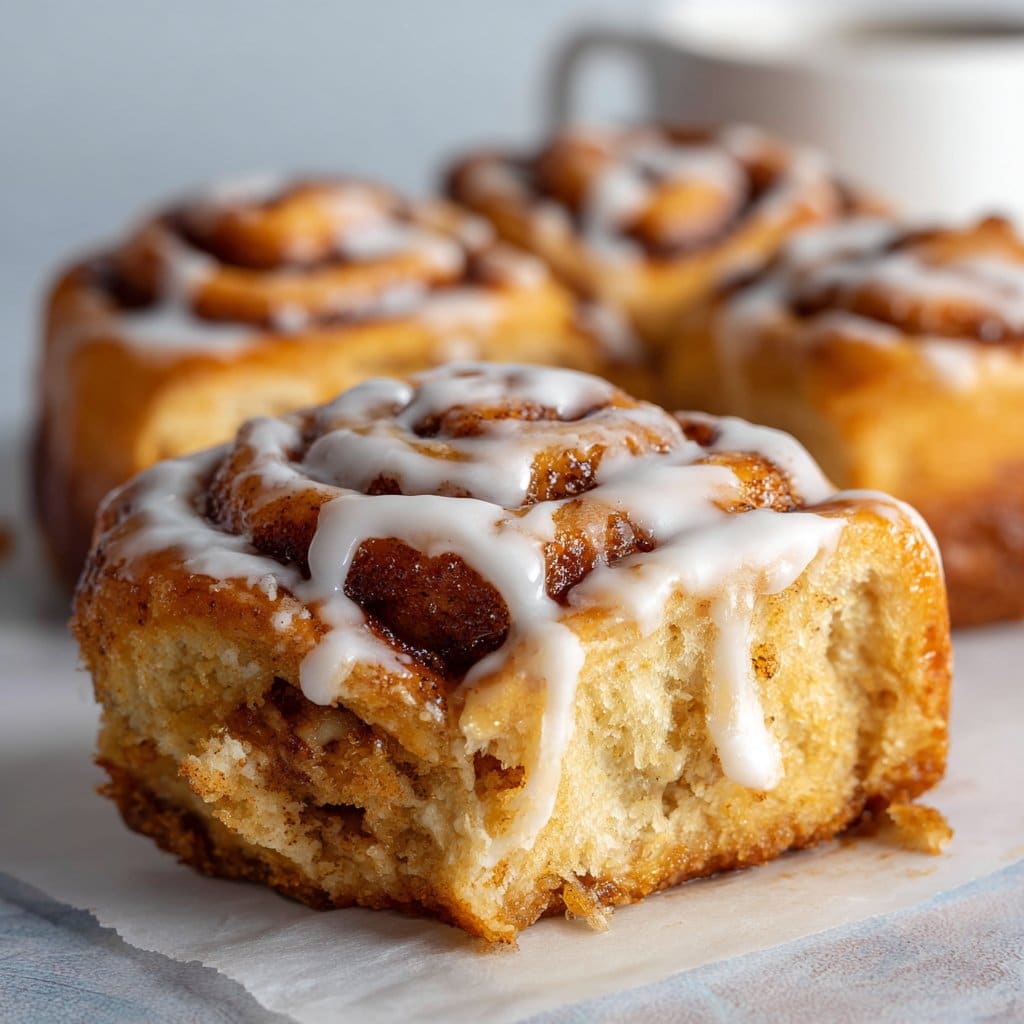
6Bake in a preheated oven at 180°C (350°F) for 25 minutes or until golden brown. Let cool slightly before serving.
Approximate Information for One Serving
Nutrition Disclaimers
Number of total servings shown is approximate. Actual number of servings will depend on your preferred portion sizes.
Nutritional values shown are general guidelines and reflect information for 1 serving using the ingredients listed, not including any optional ingredients. Actual macros may vary slightly depending on specific brands and types of ingredients used.
To determine the weight of one serving, prepare the recipe as instructed. Weigh the finished recipe, then divide the weight of the finished recipe (not including the weight of the container the food is in) by the desired number of servings. Result will be the weight of one serving.
Did you make this recipe?
Please consider Pinning it!!




