Let Me Tell You About This Banana Bread Adventure
Alright, so the first time I made this high protein banana bread (with no sugar, mind you), I was honestly just trying to clear out my overripe bananas. You know, the ones that stare at you from the fruit bowl with those guilty black spots? My cousin popped by unexpectedly, saw the loaf, and ate half of it before I even had a slice myself. That’s when I knew it was a keeper. Side note: my dog once tried to sneak off with a piece, but he got caught—banana bread bandit in training!
Why I Keep Coming Back To This Recipe
I make this when I’m feeling like I need a snack that isn’t just a sugar bomb. My family goes crazy for it because it’s somehow soft, cakey, and filling, all at once (my brother says it’s practically a meal, and honestly, he’s not wrong). Plus, no one gets that sugar crash afterwards, which is a win in my book. I used to get annoyed at banana breads sticking to the pan, but actually, I find it works better if you just line the thing with parchment paper. Trust me on that one.
Here’s What I Use (and What You Can Swap)
- 3 ripe bananas (the more spots, the better. If they’re a bit mushy, that’s perfect)
- 2 large eggs (sometimes I use flax eggs when I’m out – works okay, just a bit denser)
- 1 cup plain Greek yogurt (full fat or non-fat, I just grab whatever’s in the fridge. My friend swears by coconut yogurt though, so that’s an option)
- 1/2 cup vanilla protein powder (any kind, honestly – I’ve tried pea, whey, even the cheap stuff from the supermarket. My grandmother always insisted on a fancy brand, but who has the budget for that?)
- 1 1/2 cups oat flour (store-bought or just blitz some oats in a blender – I promise, nobody will know)
- 1 tsp baking soda
- 1/2 tsp baking powder
- Pinch of salt
- 1 tsp cinnamon (sometimes I toss in nutmeg or mixed spice for a change)
- 1/3 cup chopped walnuts or pecans (if you like crunch; skip if you don’t, or swap for seeds)
- 1/3 cup unsweetened applesauce (or just mash up another half a banana in a pinch)
- 1 tsp vanilla extract (optional, but it makes the kitchen smell amazing)
How I Actually Make It
- Preheat your oven to 175°C (or 350°F, for my North American pals).
- Line a standard loaf tin with baking paper (trust me, it saves on clean-up and it’s so much easier to get the loaf out, especially if you’re impatient like me).
- Mash the bananas in a big mixing bowl. I use a fork, but if you want to use a potato masher, go wild.
- Add the eggs, Greek yogurt, applesauce, and vanilla. Stir it all together until it’s pretty smooth; don’t fret about the odd lump. This is where I sneak a taste (no shame).
- In a separate bowl (or the same one, if you can’t be bothered), mix the oat flour, protein powder, baking soda, baking powder, salt, and cinnamon.
- Chuck the dry mix into the wet ingredients. Gently fold together—don’t overdo it, or the bread gets tough. If you’re adding nuts, now’s the time.
- Pour/scrape the batter into your prepared tin. Smooth out the top with a spatula or the back of a spoon.
- Bake for around 45-55 minutes. I check at 45, stick a toothpick in, and if it comes out mostly clean (a crumb or two is fine), it’s done. If it looks a bit weird or puffy at this stage, don’t panic—banana bread is a bit quirky like that.
- Let it cool in the tin for 10 minutes, then lift it out and put on a rack (if you have one). If not, just leave it on a chopping board. Then try to resist slicing it while it’s still piping hot. Or don’t. I rarely do.
Stuff I’ve Learned (Sometimes The Hard Way)
- If you use flavored protein powder, you might want to skip the vanilla extract. Or not. Up to you!
- Once I tried mixing everything in my food processor to save time, but it made the loaf too dense—so now I just use a bowl and a spoon. More washing up, but worth it.
- I discovered the bread comes out moister if you don’t overbake it. Sounds obvious, but I’ve had a few dry disasters. Not my favorite.
Banana Bread Experiments (Some Winners, Some…Not So Much)
- I swapped oat flour for almond flour once; it was okay, just crumblier. Not bad with a little butter though.
- Threw in a handful of dark chocolate chips—my nephew declared it “epic.”
- Tried spirulina powder for extra protein…let’s just say it looked like pond water. Wouldn’t recommend!
What You’ll Need (And What You Can Get By Without)
- Standard loaf tin (if you don’t have one, just use a brownie pan and call it banana bread bars. Who cares?)
- Mixing bowls
- Fork for mashing, or a potato masher if you’re feeling posh
- Baking paper (or just grease the pan like crazy, but honestly, use the paper)
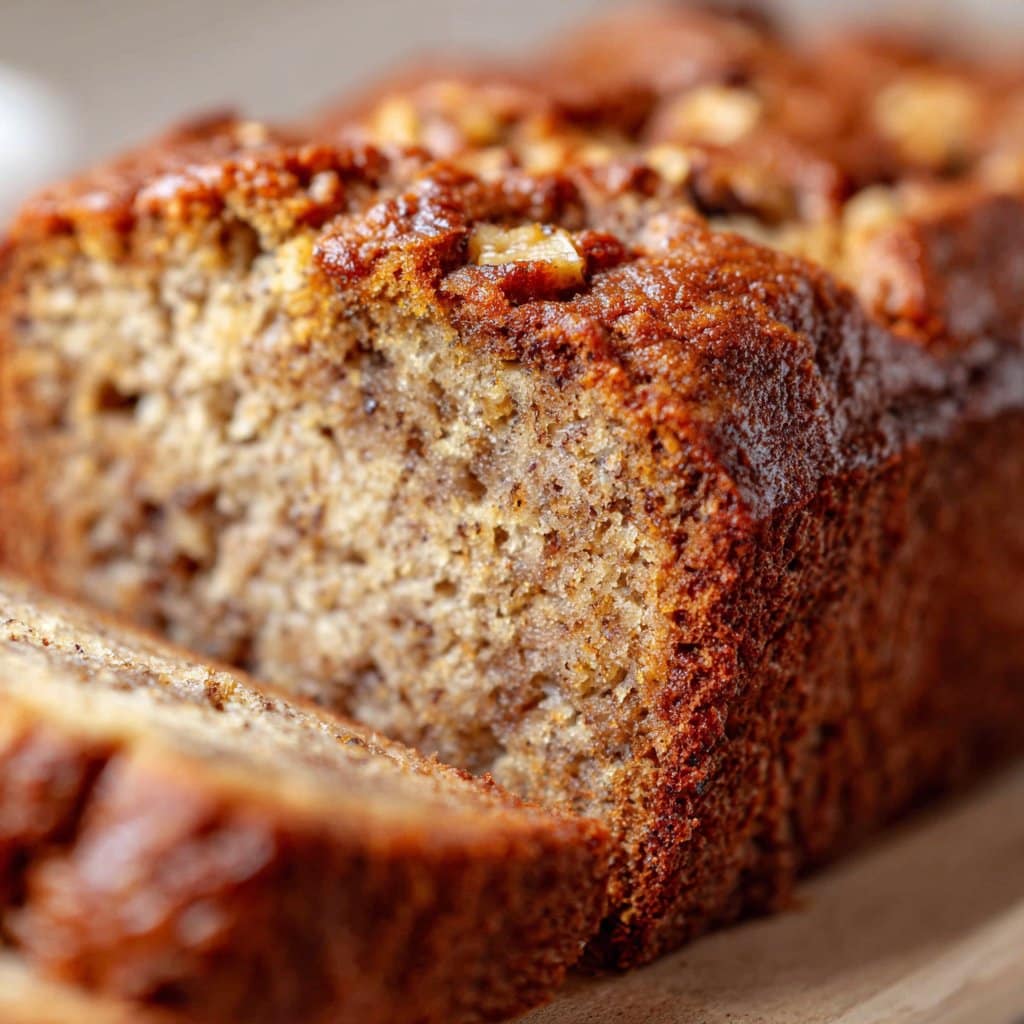
How to Store It (If You Don’t Eat It All Immediately…)
Keep it in an airtight container for up to 3 days on the counter (though honestly, in my house it never lasts more than a day!). You can also freeze slices—just wrap them up tight—and then pop them in the toaster whenever you need a snack. I think this tastes better the next day, but who’s got that kind of willpower?
How I Like to Serve It
Thick slice, bit of Greek yogurt on top, maybe a drizzle of peanut butter if I’m feeling flash. My mum likes hers with a cup of tea and a slice of cheddar (yep, really!).
Couple of Pro Tips (Learned the Hard Way…)
- I once tried rushing the cooling step and ended up with half the loaf stuck to the knife. Just wait ten minutes, it’s worth it.
- Don’t over-stir, or you’ll get a loaf that could double as a doorstop. Not ideal.
- If you’re using non-stick pans, they still stick. Just use the parchment!
Some Questions I’ve Actually Been Asked
- “Can I make this vegan?” – Yep, use flax eggs and coconut yogurt. Maybe add a little extra applesauce if it looks dry.
- “Do I have to use protein powder?” – Not really, but then it’s just banana bread. Still good, though.
- “Mine sank in the middle, what gives?” – Probably too much banana or not enough baking time. Or maybe it’s just having a bad day. Mood loaves! Happens to the best of us.
- “Is it sweet enough?” – For me, yes, but if you’ve got a sweet tooth, throw in a handful of raisins, or even a splash of maple syrup (I grabbed this tip off Minimalist Baker’s vegan banana bread—they do great stuff!).
- “Can I use regular flour?” – Sure thing, but it won’t be gluten-free anymore. Just swap it in cup for cup.
Oh, and if you want more baking experiments or ingredient swaps, I sometimes check Bigger Bolder Baking’s banana bread guide—so many ideas, it’s a rabbit hole!
Anyway, that’s my high protein banana bread (no sugar) saga. Would love to hear if you try it and how it goes for you. Or if you invent something totally wild with it—sky’s the limit!
Ingredients
- 3 medium ripe bananas, mashed
- 2 large eggs
- 1 cup plain Greek yogurt
- 1/2 cup vanilla protein powder
- 1 1/2 cups whole wheat flour
- 1 teaspoon baking soda
- 1/2 teaspoon cinnamon
- 1/4 teaspoon salt
- 1/4 cup unsweetened almond milk
- 1 teaspoon vanilla extract
Instructions
-
1Preheat your oven to 350°F (175°C). Grease a 9×5-inch loaf pan or line it with parchment paper.
-
2In a large bowl, mash the bananas until smooth. Add eggs, Greek yogurt, almond milk, and vanilla extract. Mix until well combined.
-
3In a separate bowl, whisk together the protein powder, whole wheat flour, baking soda, cinnamon, and salt.
-
4Gradually add the dry ingredients to the wet ingredients, stirring until just combined. Do not overmix.
-
5Pour the batter into the prepared loaf pan and smooth the top. Bake for 40-45 minutes, or until a toothpick inserted into the center comes out clean.
-
6Allow the banana bread to cool in the pan for 10 minutes, then transfer to a wire rack to cool completely before slicing.
Approximate Information for One Serving
Nutrition Disclaimers
Number of total servings shown is approximate. Actual number of servings will depend on your preferred portion sizes.
Nutritional values shown are general guidelines and reflect information for 1 serving using the ingredients listed, not including any optional ingredients. Actual macros may vary slightly depending on specific brands and types of ingredients used.
To determine the weight of one serving, prepare the recipe as instructed. Weigh the finished recipe, then divide the weight of the finished recipe (not including the weight of the container the food is in) by the desired number of servings. Result will be the weight of one serving.
Did you make this recipe?
Please consider Pinning it!!




