Let’s Talk About Homemade Garlic Bread Rolls (Soft & Fluffy)
Listen, if I had a pound for every time these garlic bread rolls vanished as soon as they hit the table, I’d probably have enough for a fancy stand mixer by now (still using my trusty old hand mixer, to be honest). I remember the first time I baked these—my kitchen smelled so good the neighbours dropped hints about inviting themselves over. I mean, who can resist that warm, garlicky, buttery goodness? Not me, definitely not my lot. There’s something about pulling apart a soft, fluffy roll that’s still a bit too hot (yeah, I’ve burned my fingertips more than once—worth it, though) and slathering on just a touch more butter. Anyway, if you love bread that’s basically a hug you can eat, pull up a chair.
Why I’m Obsessed With These Rolls
I make this when it’s chilly and I want the house to smell like a bakery instead of…well, whatever mystery odour comes form my teenager’s room. My family goes absolutely bonkers for these (especially if I sneak in extra garlic). I used to dread homemade bread because kneading felt like a gym session—turns out, you don’t need to be swole to make soft bread. The dough’s forgiving, and if you get a little distracted, it usually survives. Once, I forgot the second rise entirely and they still came out edible—although a bit squat!
What You’ll Need (And What You Could Swap)
- 3 cups (about 400g) all-purpose flour – Sometimes I use bread flour for extra fluff, but regular flour is fine. (My gran used to insist on Gold Medal brand, but honestly, whatever’s on offer works.)
- 2 teaspoons instant yeast – Active dry yeast is okay, just proof it first in the warm milk.
- 1/4 cup (60ml) warm milk – I’ve used oat milk when I was out of regular and it worked! (Tasted slightly different but not in a bad way.)
- 1/2 cup (120ml) warm water
- 2 tablespoons sugar
- 1 teaspoon salt
- 3 tablespoons unsalted butter, melted – Salted butter works too, just go a bit lighter on the added salt.
- 4-6 cloves garlic, minced – Or more, if you’re like me and not afraid of vampires.
- 1 tablespoon chopped parsley (optional)
- Extra melted butter and garlic for brushing
If you’re feeling fancy, toss in a handful of grated parmesan. I sometimes swap parsley for chives if that’s what’s lingering in the fridge.
How I Make These Garlic Bread Rolls
- Wake Up the Yeast: In a big-ish bowl, mix warm milk, water, yeast, and sugar. Let it get all foamy for 5–10 min. (If it doesn’t foam, your yeast might be kaput—start over with a fresh packet.)
- Get Messy: Stir in the flour and salt with a wooden spoon. It’ll look shaggy and weird—don’t panic. Add the melted butter, garlic, and parsley, then get in there with your hands. Knead until it’s smooth and elastic, about 8 minutes. Or use a mixer with a dough hook if you don’t mind a bit of noise.
- First Rise: Plonk the dough in a greased bowl, cover with a tea towel (or cling film if you’re posh), and let it sit somewhere warm for about an hour—until doubled. I usually pop mine in the microwave (off, obviously) with a mug of hot water beside it.
- Shape and Second Rise: Punch down the dough (oddly satisfying), divide into 9–12 balls. Place them in a greased baking tin, a little apart so they get cosy as they rise. Cover and leave them for 30–40 minutes, until puffy. If you forget and let them go longer, they’ll just be a bit bigger—no drama.
- Bake: Brush with extra melted butter and a bit more garlic if you dare. Bake at 180°C (350°F) for 18–22 minutes, or until golden and your kitchen smells heavenly. I usually sneak a roll from the corner at this point. Chef’s tax.
- Final Touch: Brush more butter over the hot rolls, sprinkle with extra parsley. Let them cool (well, cool-ish) before tearing in.
Notes from My Kitchen Mishaps
- Actually, I find it works better if you don’t overbake—nothing sadder than dry bread. Start checking at 16 minutes.
- Sometimes I add a pinch of chili flakes for a little kick. Once I added too much—let’s just say, my youngest drank half a pint of milk.
- You can prep the dough the night before and do the second rise in the fridge. I’m not a morning person, so this saved my bacon when I promised rolls for brunch.
Things I’ve Tried (Some Worked, Some… Not So Much)
- Cheese: Shoved some mozzarella inside a few of them—oozy, delicious chaos. Would recommend.
- Whole Wheat Flour: Made them a bit dense, honestly. Probably better with half whole wheat, half white flour.
- Herb Explosion: Tried rosemary and thyme once; overpowered the garlic. Parsley keeps things balanced, but feel free to go wild.
The Gear I Use (Or Don’t)
I rely on a stand mixer when I’m feeling fancy, but 90% of the time it’s just me and my wooden spoon. No mixer? Just knead by hand, maybe put on some good tunes. Don’t have a proper bread tin? I’ve baked these on a regular oven tray—just space them out a bit more.
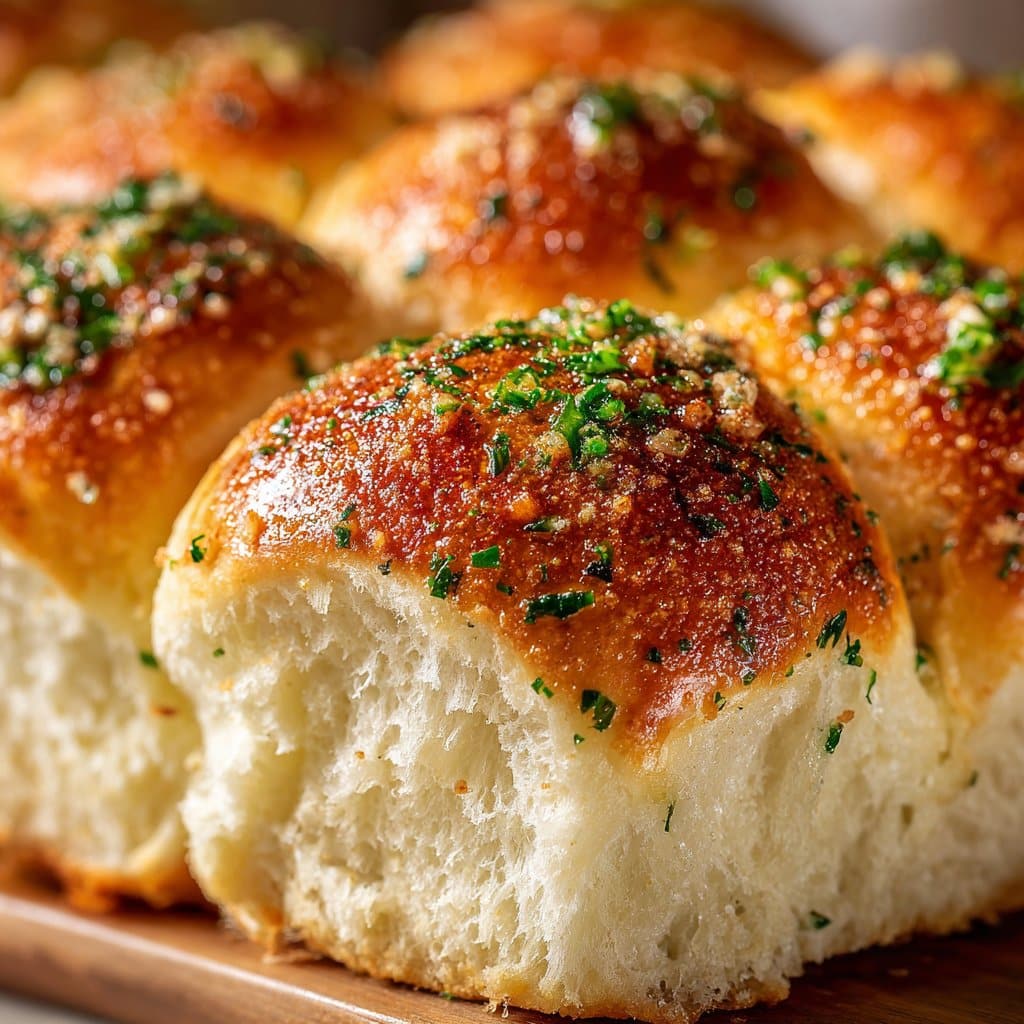
How I Store These (For As Long As They Last)
Keep leftovers in an airtight box at room temp for up to 2 days, or freeze for later. Though honestly, in my house they never last more than a day. If they do go a bit stale, I toast them with more butter and, weirdly, they’re even better with soup. Want to learn more about freezing bread? King Arthur Baking has a good guide.
How We Eat Them (And You Might, Too)
Perfect with stews, but I also love them with a pile of spaghetti (I know, double carbs, don’t judge). My eldest dunks them in tomato soup, my spouse slathers on extra butter—each to their own. Sometimes, we just eat them straight from the tray, standing in the kitchen—no plates, just happiness. For a fancier vibe, try serving with this creamy tomato soup—it’s a game changer.
Stuff I Learned the Hard Way
- I once tried to rush the rise by putting the dough in a hot oven—ended up with bread that tasted oddly like yeast and regret. Be patient!
- Too much flour makes them tough; the dough should feel a bit sticky, not dry. Don’t be afraid of messy hands.
Burning Questions (That I’ve Actually Been Asked!)
Can I double the recipe?
Yep, just use a bigger tray or two. But don’t crowd them or they’ll get all squashed.
Can I use garlic powder instead of fresh?
You can, but fresh garlic is just—how do I put this?—punchier. Garlic powder works in a pinch, though.
Why did my rolls not rise?
Usually old yeast or your kitchen’s too cold. Next time, try the microwave trick or put the bowl near a warm spot.
Can I make them vegan?
Absolutely. Use non-dairy milk and swap butter for vegan margarine. Actually, I’ve done this and they were still dreamy.
They’re too garlicky! What now?
That’s…not a bad thing in my book, but you can totally cut back to 2 cloves if you must. Or invite me over.
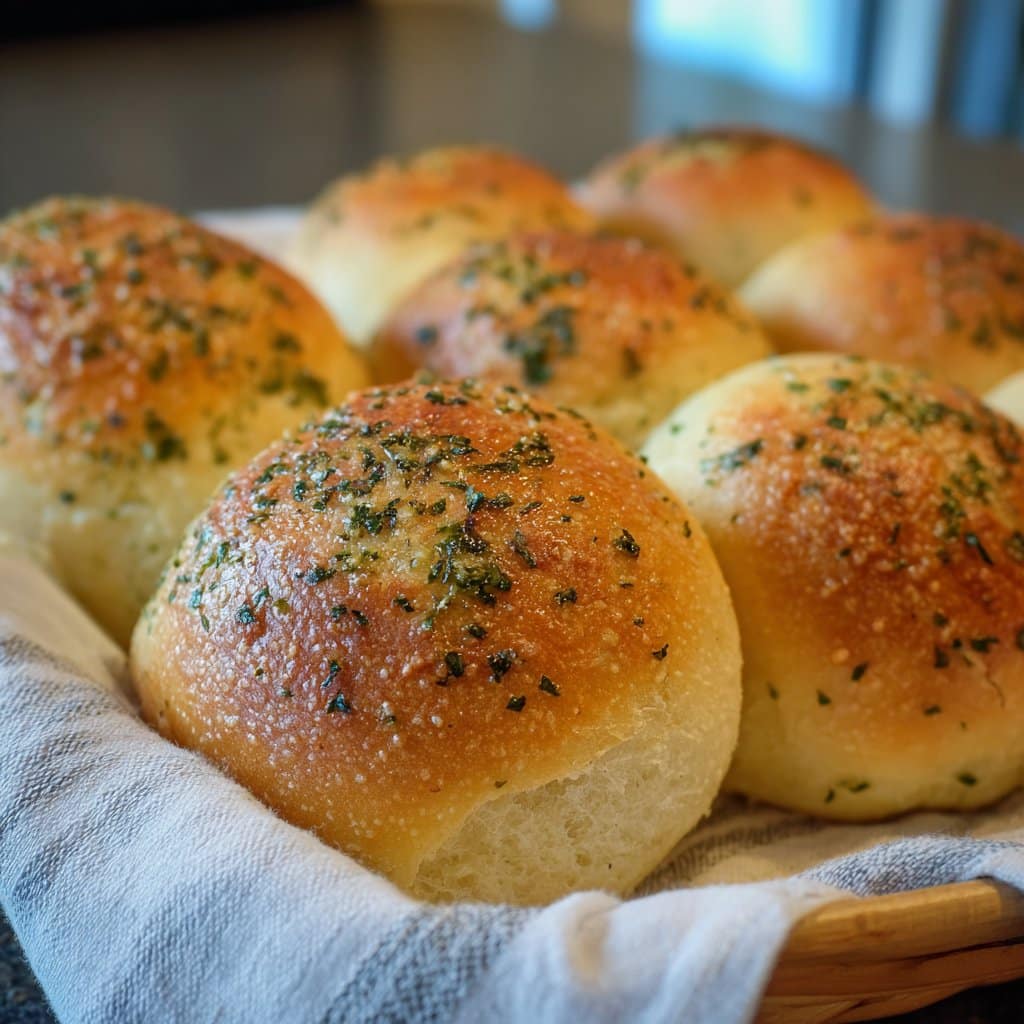
Anyway, that’s my not-so-secret recipe for Homemade Garlic Bread Rolls (Soft & Fluffy). Let me know if you try them—or if your family polishes them off before you get a second bite, like mine does. If you want to geek out about bread science, here’s a great explainer I love. Happy baking, mate!
Ingredients
- 2 1/2 cups all-purpose flour
- 2 teaspoons instant yeast
- 1 tablespoon sugar
- 1 teaspoon salt
- 3/4 cup warm milk
- 1/4 cup unsalted butter, melted (plus extra for brushing)
- 4 cloves garlic, minced
- 2 tablespoons fresh parsley, chopped
Instructions
-
1In a large bowl, combine the flour, instant yeast, sugar, and salt. Mix well.
-
2Add the warm milk and melted butter to the dry ingredients. Mix until a soft dough forms.
-
3Knead the dough on a lightly floured surface for about 8-10 minutes, until smooth and elastic.
-
4Place the dough in a greased bowl, cover, and let it rise in a warm place for 1 hour or until doubled in size.
-
5Punch down the dough and divide it into 8 equal pieces. Shape each piece into a ball and place on a baking tray lined with parchment paper.
-
6Mix the minced garlic and chopped parsley with a little melted butter. Brush the tops of the rolls with the garlic butter mixture. Bake at 375°F (190°C) for 18-20 minutes or until golden brown. Brush with extra garlic butter before serving.
Approximate Information for One Serving
Nutrition Disclaimers
Number of total servings shown is approximate. Actual number of servings will depend on your preferred portion sizes.
Nutritional values shown are general guidelines and reflect information for 1 serving using the ingredients listed, not including any optional ingredients. Actual macros may vary slightly depending on specific brands and types of ingredients used.
To determine the weight of one serving, prepare the recipe as instructed. Weigh the finished recipe, then divide the weight of the finished recipe (not including the weight of the container the food is in) by the desired number of servings. Result will be the weight of one serving.
Did you make this recipe?
Please consider Pinning it!!




