Let Me Tell You About These Honey Garlic Ribs…
Right, so ribs. I don’t know about you, but the first time I tried making ribs at home, I managed to smoke out the kitchen (not on purpose, promise!), and the dog wouldn’t even risk it. Fast forward a few years—and a few charred disasters later—and these honey garlic ribs have become a minor legend at family parties. You know when a recipe gets requested more than once, it’s a keeper. And let’s be honest, sticky fingers at the dinner table are half the fun—unless you’re wearing a white shirt, then maybe beware.
Why I Keep Coming Back to This
I make these when the weather’s rubbish and I want a taste of summer, or when I’m feeling a bit fancy but not enough to fuss with complicated stuff. My family goes absolutely bonkers for these (I actually have to hide a few if I want leftovers for lunch). Sometimes the sauce gets everywhere, but honestly, that’s part of the charm. Oh, and if you’re worried about the mess—just use more napkins, not less. That’s my motto (and I should probably embroider it on a tea towel one day).
What You’ll Need (Ingredients)
- 1.5 to 2 kg pork ribs (I’ve used beef on a whim once, but pork just fits the vibe better. My aunt swears by baby backs, but I’ll grab whatever’s on sale—St. Louis cut is fine, too)
- 4-5 cloves garlic, minced (I cheat sometimes with the jarred stuff; don’t tell my mum)
- 1/2 cup honey (Runny is easier; if it’s set, just warm it a bit. Agave kind of works if you’re out, but it’s not quite the same)
- 1/3 cup soy sauce (Honestly, any kind, though I tried a low-sodium one and it was a bit meh)
- 2 tbsp rice vinegar (apple cider vinegar works in a pinch, if you don’t mind a bit more tang)
- 1 tbsp sesame oil (Optional, but I love the extra nuttiness. If you’re out, just skip—it’s not a deal-breaker)
- 1 tsp ground black pepper (I’ve been known to eyeball this, honestly)
- 1 tsp salt (or less if your soy sauce is salty enough)
- 1 tbsp cornstarch mixed with 2 tbsp water (for thickening, but sometimes I can’t be bothered)
- Sesame seeds and chopped scallions for garnish (not essential, but they make it look fancy)
How I Get It Done (Directions)
- Prep those ribs: Flip the ribs over and peel off that thin silvery membrane on the back (it can be a pain, but it’s worth it for tenderness—use a paper towel for grip if it’s being slippery).
- Parboil: Ok, this is controversial, but I usually simmer the ribs in a big pot of salted water for about 25 minutes. They get tender and you can skim off the weird bits. If you’re in a rush you can skip this, but then just bake a bit longer. Your call!
- Get saucy: In a saucepan, toss in the garlic, honey, soy sauce, vinegar, sesame oil, pepper, and salt. Heat gently until it bubbles. (This is where I usually sneak a spoonful, just to “check” the flavor.)
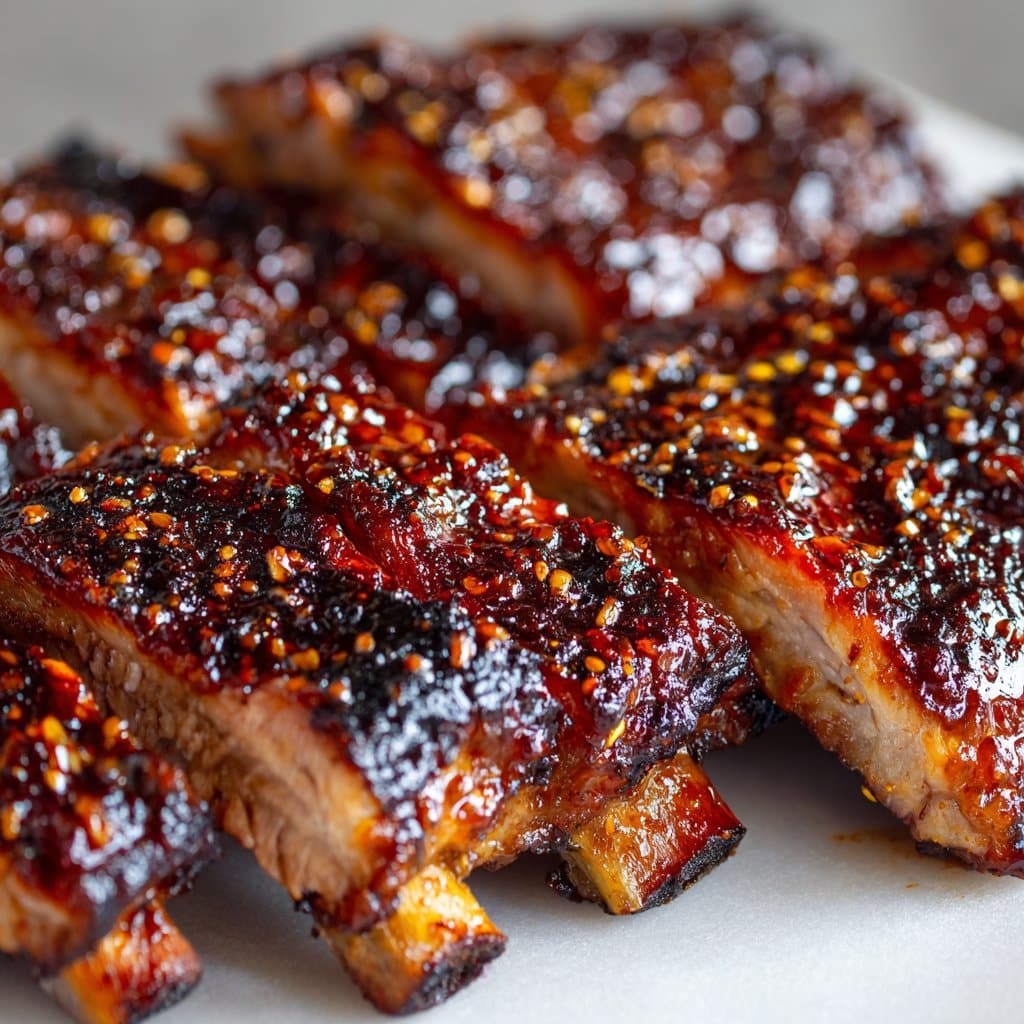
- Oven time: Set your oven to around 180°C (that’s 350°F). Lay the parboiled ribs on a lined tray (saves on cleanup—trust me), and pour half the sauce over them. Cover with foil. Bake for 45 minutes; then take off the foil, baste with more sauce, bake another 20-30 min until they’re sticky and caramelized. Don’t stress if they look a bit pale at first—they brown up at the end.
- Finishing touch: If you like a thicker sauce, simmer the rest with the cornstarch slurry until it’s glossy. Or just drizzle as is—I’m not the sauce police.
- Serve: Scatter sesame seeds and scallions over the top, if you’re feeling posh. Grab plenty of paper towels (seriously).
Bits I’ve Learned Along the Way (Notes)
- Once, I tried skipping the parboil step to save time. Ended up with ribs that could probably double as doorstops. So yeah, give them a quick boil if you can.
- Don’t freak out if the sauce seems too runny at first. It thickens as it cools (and, honestly, sticky sauce is half the point).
- If you accidentally burn the edges, just call it “caramelized” and act like you meant to do it. Works every time.
Experiments & Oopsies (Variations)
- I once swapped the honey for maple syrup. Not bad, but a bit too breakfasty for my crowd.
- Added a squeeze of Sriracha for a kick—my brother loved it, my gran not so much. Horses for courses, as they say.
- I tried tossing in some grated ginger once, but it sort of overpowered everything. Maybe half as much next time?
What You’ll Want (Equipment)
- Baking tray (lined if you like making your life easier)
- Aluminum foil (unless you enjoy scrubbing sticky bits off pans)
- If you don’t have a brush for basting, just use a spoon—works fine
- Big pot for parboiling, but I’ve also just used my biggest frying pan in a pinch
Can You Store These? (Storage)
In theory, you can keep leftovers in a sealed container in the fridge for up to 3 days. But, and I’m not joking, they rarely make it past the first night at my place. If you want to reheat, I pop them in the oven at 160°C (320°F) for about 10 minutes to get them sticky again. Microwaving’s ok but they’ll lose that nice edge.
How We Eat ‘Em (Serving Suggestions)
I love piling these up with a big bowl of rice (soaks up the sauce) and some quick-pickled cucumbers. My cousin insists on corn on the cob on the side, don’t ask me why, but it’s now a thing. Oh, and a cold beer or iced tea. It’s not negotiable.
What I Wish I’d Known Sooner (Pro Tips)
- Don’t try to rush the oven time—seriously, I’ve done it, and the result is tough ribs and regret.
- Make more sauce than you think you’ll need; it disappears fast. Actually, double it. Trust me.
- Let the ribs rest for ten minutes before slicing. I always forget this step and end up with a mess on the cutting board—but it really helps keep them juicy.
So Many Questions! (FAQ)
- Can I make these on the grill?
- Yep! Just parboil first, then grill over medium heat, basting with sauce. Watch carefully so they don’t catch—grills can be sneaky. Oh, and make sure you have a cold drink handy. Grilling’s thirsty work.
- What if I don’t have rice vinegar?
- Just use apple cider or white wine vinegar. One time I used plain white vinegar and it was…let’s say, memorable. Stick to the milder stuff if you can.
- Can I freeze leftovers?
- Sure, but the texture gets a bit weird when thawed. They’re better fresh, in my opinion.
- How do I keep them from drying out?
- Cover with foil for most of the baking, then blast them uncovered at the end. And, if you see them looking a bit parched, just baste with extra sauce.
- Where do you get good ribs?
- I usually go to the local butcher—they know their stuff. But supermarket packs are fine too. If you want to go deep on rib cuts, Serious Eats has a great breakdown.
- Any tips for making this ahead?
- Yep, you can parboil and sauce the ribs, then keep them covered in the fridge overnight. Finish in the oven just before serving. Or, honestly, eat them cold out of the fridge—I won’t judge.
Honestly, ribs are one of life’s messy pleasures. And if you want to nerd out, I found some surprisingly helpful tips on BBC Good Food, though fair warning—they get a bit technical. Anyway, that’s my two cents. Happy ribbing (hmm, that sounds odd, but you know what I mean)!
Ingredients
- 2 lbs pork ribs
- 1/3 cup honey
- 1/4 cup soy sauce
- 4 cloves garlic, minced
- 2 tablespoons ketchup
- 1 tablespoon rice vinegar
- 1 teaspoon ground black pepper
- 1 tablespoon olive oil
- 1 teaspoon salt
Instructions
-
1Preheat oven to 325°F (163°C). Line a baking sheet with foil.
-
2Season the pork ribs with salt and black pepper on both sides.
-
3In a bowl, whisk together honey, soy sauce, minced garlic, ketchup, rice vinegar, and olive oil to make the sauce.
-
4Place ribs on the prepared baking sheet and brush generously with half of the honey garlic sauce.
-
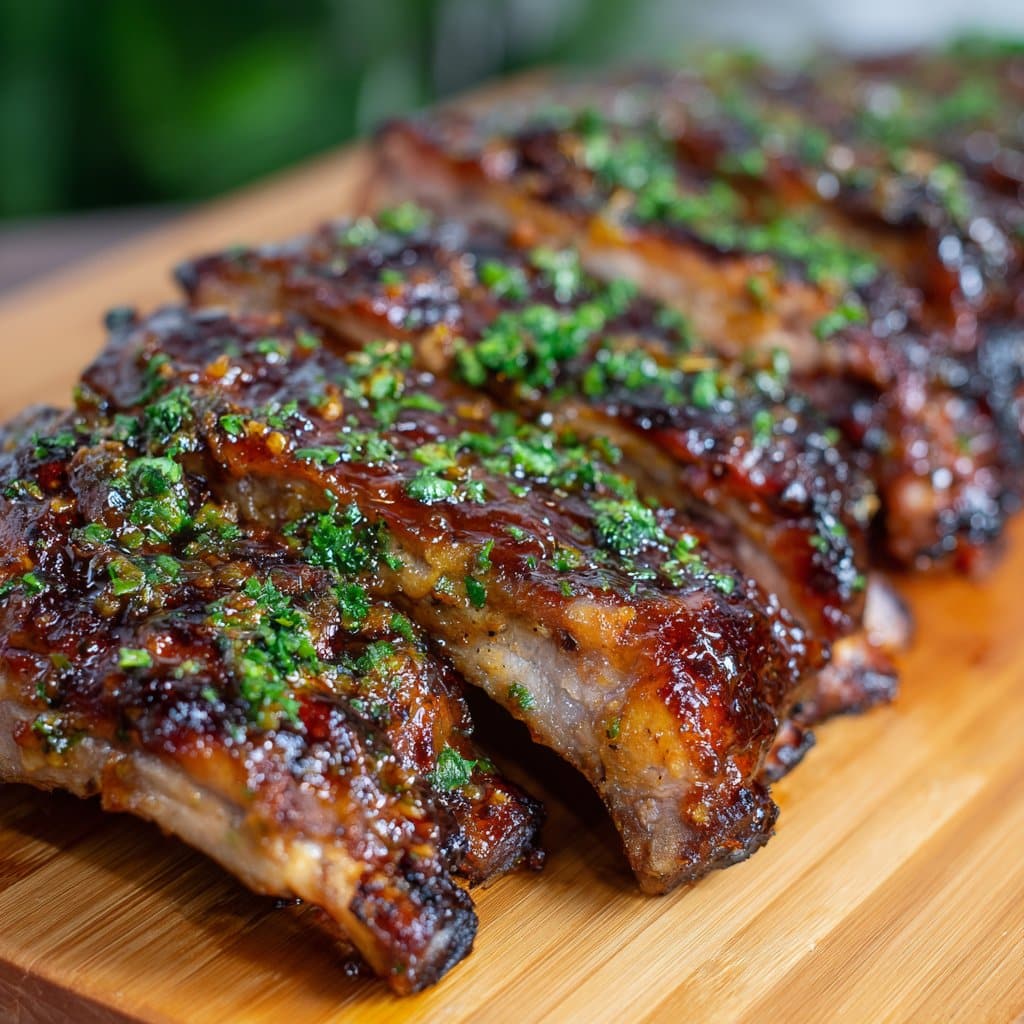
5Cover with foil and bake for 1 hour. Remove foil, brush with remaining sauce, and bake uncovered for an additional 30 minutes until ribs are caramelized and tender.
-
6Let ribs rest for 5 minutes before slicing and serving.
Approximate Information for One Serving
Nutrition Disclaimers
Number of total servings shown is approximate. Actual number of servings will depend on your preferred portion sizes.
Nutritional values shown are general guidelines and reflect information for 1 serving using the ingredients listed, not including any optional ingredients. Actual macros may vary slightly depending on specific brands and types of ingredients used.
To determine the weight of one serving, prepare the recipe as instructed. Weigh the finished recipe, then divide the weight of the finished recipe (not including the weight of the container the food is in) by the desired number of servings. Result will be the weight of one serving.
Did you make this recipe?
Please consider Pinning it!!




