If You Need a Breezy Summer Dessert, This Is It
Alright so picture this: It’s July, the sun’s out, and I’m standing in my kitchen, sweating (why did I turn on the oven again?) when my sister calls to say they’re coming over, and can I “just whip up something sweet but healthy-ish?” Of course, sis. Enter this low carb berry cheesecake salad. It’s my not-so-secret weapon for lazy afternoons, last-minute BBQs, or when the only thing you want is something creamy and fruity but not another boring yogurt parfait. Honestly, the first time I made this, I thought it was too simple to be good – but the bowl was practically licked clean. I guess that’s the magic of no bake desserts: less work, more happy faces, and barely any heat in the kitchen (which, let’s be real, is a win in itself!).
Why I Keep Making This (And Maybe You Will Too)
I make this whenever berries are calling my name from the market, or when the fridge is mostly empty but I still want to show some effort. My family goes absolutely bonkers for it (my dad once asked if it was “real cheesecake” and I just smiled). If you’re the type who hates washing loads of dishes, you’ll love this because, well, there’s barely any cleanup (except that one bowl I always forget in the sink). Plus: it’s low carb, but you’d never guess. Oh, and it’s no bake, which means no preheating disasters. I did try once with frozen berries… let’s just say, mush city. Stick to fresh if you can swing it!
What You’ll Need (But Don’t Worry If You Swap a Bit)
- 8 oz cream cheese, softened – I usually go full fat, but the light one works fine. My grandmother insists on Philadelphia, but Aldi brand is just grand.
- 1 cup heavy whipping cream – Or use coconut cream if you want it dairy free, though it tastes a bit tropical then!
- 1/3 cup powdered erythritol (Swerve, Lakanto, whatever’s on sale) – Or mix stevia and monk fruit if that’s your thing. I once tried regular sugar by accident; it was fine but not low carb anymore.
- 1 tsp vanilla extract – Go wild and use almond if you’re feeling fancy.
- 2 cups mixed berries (strawberries, blueberries, raspberries, blackberries) – I just grab a big punnet of whatever looks good. Chop big strawberries a bit.
- 1-2 tbsp lemon juice (optional) – For brightness. Sometimes I skip it, sometimes I go overboard.
- Pinch of salt – Don’t leave it out, trust me. Makes the flavors pop.
How I Actually Make It (And You Can Too)
- First, grab a big ol’ mixing bowl. Toss in the softened cream cheese and beat it until it’s smooth. If you forgot to soften it (yep, I’ve done that), microwave for 10-15 seconds and call it a day.
- Add the sweetener, vanilla, and salt. Beat again, then pour in the whipping cream. Now, either use a hand mixer or elbow grease – I usually start with the mixer, get bored, then finish with a spatula. Beat until fluffy. This is where I sneak a taste (quality control, right?).
- Squeeze in the lemon juice if you’re using it; mix again. Fold in your berries gently (otherwise things get a bit too purple for my liking). Don’t worry if some berries squish – it just adds character.
- Chill it in the fridge for at least 30 minutes if you have the patience (I rarely do). The flavors mingle. Or just eat it right away; no one’s judging.
Notes From My Kitchen (Aka What I Figured Out the Hard Way)
- Softening the cream cheese is not optional (unless you’re aiming for lumpy salad – which is, uh, not my jam).
- Frozen berries will definitely make it watery. I keep trying, but nope, never quite works out.
- If you overmix, it gets runny. Actually, I find it works better if you just fold in the berries gently at the end.
Some Fun Swaps and Experiments
- Try adding chopped nuts (pecans are my favorite, but walnuts if that’s what you’ve got). Adds a bit of crunch.
- Sometimes I mix in a spoon of Greek yogurt for tang. On second thought, it does make it less thick—but still tasty.
- I once tried adding cocoa powder. Not great, unless you want a weird chocolate-berry mashup (my nephew liked it, though!).
If you want a fancier crowd-pleaser, check out this keto fluff recipe for inspiration. Or, for more no bake ideas, Wholesome Yum has a fun roundup.
Gear You’ll Need (And What to Do If You Don’t Have It)
- Hand mixer – Essential for fluffy-ness, but, honestly, a whisk and some muscle works, too. Or, if you’re feeling brave, use a fork and pretend it’s an arm workout.
- Mixing bowl – Any big bowl, really. I’ve even used a soup pot in a pinch.
- Spatula – For folding and scraping. Or just use a big spoon (I’ve done it when the spatula was MIA).
How To Store It (If It Lasts That Long)
Stick it in an airtight container in the fridge. It’ll keep for about 2 days, though honestly, in my house it never lasts more than a day! I think it tastes better the next day, but good luck keeping it that long. I don’t recommend freezing – berries get weird and watery, and the cream cheese goes all grainy. (Trust me, I tried. Regret!)
How I Like To Serve It
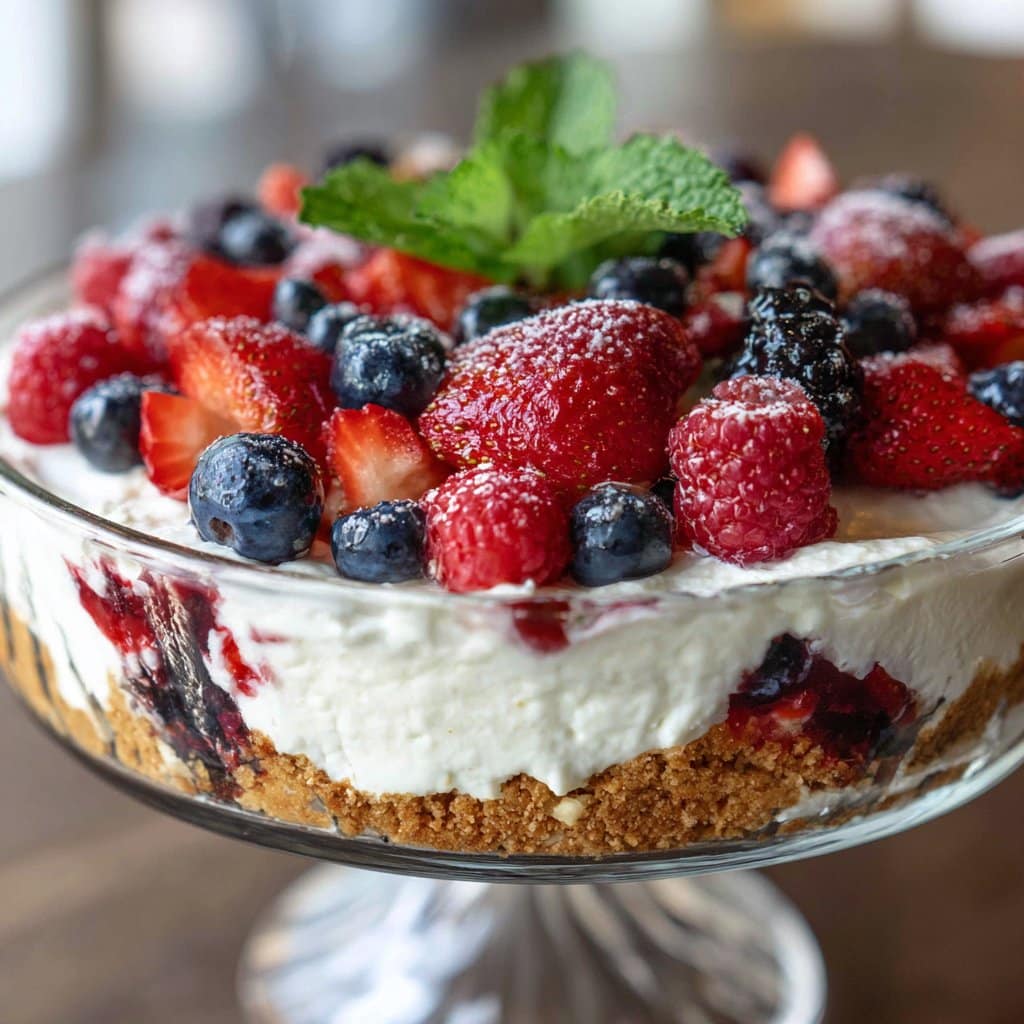
Scoop big spoonfuls into little glass bowls (or mugs, or the biggest cereal bowl you own). Sometimes I top with a few extra berries, or a sprig of mint if I’m feeling posh. My cousin swears it’s best eaten in the backyard, barefoot, with a cold brew on the side. We once tried serving it with a drizzle of sugar free chocolate sauce – pretty tasty, actually!
Pro Tips (Aka Things I Messed Up So You Don’t Have To)
- Don’t rush the whipping, or the mixture stays gloopy. I once skipped it—ended up with berry soup. Not my proudest moment.
- Overmixing after adding the berries makes everything purpley-mauve. Not a disaster, but less pretty (unless you’re a fan of Smurf food).
- Never underestimate the power of a pinch of salt. I forgot once; tasted flat as week-old soda.
Real Questions I’ve Gotten (And My Honest Answers)
- Can I use frozen berries?
- You can, but honestly… it gets watery and a bit sad. If you must, thaw and drain them really well.
- Is this really low carb?
- Yep, as long as you stick with low carb sweetener and don’t go nuts with the berries. But hey, a few extra raspberries won’t hurt.
- Can I make it ahead?
- For sure. I think it actually tastes better the next day, except the berries bleed a bit. Not a big deal if you don’t mind that.
- Do I have to chill it?
- Technically, no – but it’s creamier and fluffier if you do. I sometimes get impatient and eat it straight away!
- Any way to make it vegan?
- Use coconut cream and a plant based cream cheese. I haven’t tried it myself, but friends say it works (though it’s got a coconutty twist).
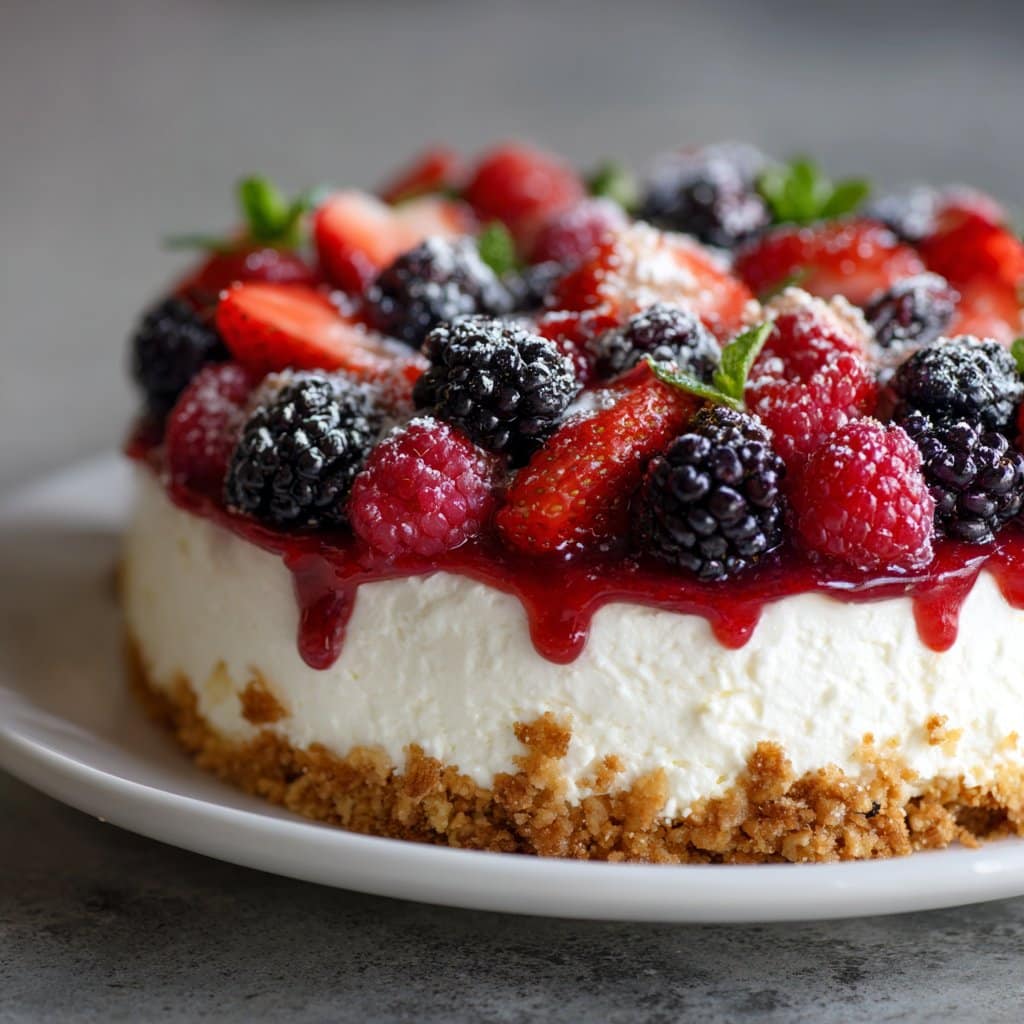
Oh, and if you ever want to turn this into a full-on trifle, just layer with some almond flour shortbread cookies (not strictly low carb, but hey, live a little). Now if you’ll excuse me, I’m off to the fridge—writing this made me hungry.
Ingredients
- 8 oz cream cheese, softened
- 1/2 cup heavy whipping cream
- 1/3 cup powdered erythritol or preferred low carb sweetener
- 1 tsp vanilla extract
- 1 cup fresh strawberries, hulled and sliced
- 1 cup fresh blueberries
- 1 cup fresh raspberries
- 1/2 cup fresh blackberries
Instructions
-
1In a large mixing bowl, beat the softened cream cheese with an electric mixer until smooth and creamy.
-
2Add the heavy whipping cream, powdered erythritol, and vanilla extract. Continue to beat until the mixture is light, fluffy, and well combined.
-
3Gently fold in the strawberries, blueberries, raspberries, and blackberries until evenly distributed.
-
4Chill the salad in the refrigerator for at least 30 minutes before serving for best flavor and texture.
-
5Serve cold, garnished with additional berries if desired.
Approximate Information for One Serving
Nutrition Disclaimers
Number of total servings shown is approximate. Actual number of servings will depend on your preferred portion sizes.
Nutritional values shown are general guidelines and reflect information for 1 serving using the ingredients listed, not including any optional ingredients. Actual macros may vary slightly depending on specific brands and types of ingredients used.
To determine the weight of one serving, prepare the recipe as instructed. Weigh the finished recipe, then divide the weight of the finished recipe (not including the weight of the container the food is in) by the desired number of servings. Result will be the weight of one serving.
Did you make this recipe?
Please consider Pinning it!!




