Okay, so let me tell you—these Marshmallow Rice Krispies Halloween Brains are exactly the sort of thing my nephew begged for after seeing them on some wild YouTube channel last October. Honestly, when he first asked, I thought, “Are you sure you want to eat that?” (Brains, really?) But one batch later, everyone was howling, even my gran, who usually side-eyes anything dyed red. So, whether you’re hosting a monster bash or just in the mood to spook your own snack table, you’ll love this gooey, silly treat. And if you’re anything like me, you’ll probably end up with sticky hands and a kitchen that looks like a zombie invasion—fair warning!
Why You’ll Love Making These
I make these brains every year because, frankly, they’re dead simple (pun kind of intended) and people freak out in the best way when they see them. My family goes a bit bonkers for the marshmallow pull-apart texture—plus, it’s one of the few Halloween treats I can throw together while also wrangling the dog out of the candy bowl. The red food coloring used to stress me out (one year my fingers were stained for DAYS), but now it’s part of the fun. And when the brains come out a little lumpy? That’s just character.
What You’ll Need (and What I Sometimes Swap In)
- 6 cups Rice Krispies cereal (store-brand works too; my cousin uses Cocoa Krispies for a ‘rotten’ effect and nobody’s complained)
- 4 cups mini marshmallows (sometimes I use the big ones—just chop them up a bit, but don’t tell my neighbor I said that)
- 3 tablespoons unsalted butter (I’ve accidentally used salted, honestly can’t tell the difference)
- Red gel food coloring (liquid works in a pinch, but the gel is less messy—sort of)
- 1/2 cup white chocolate chips (optional; my gran claims these are necessary for ‘brain veins’ but I think she’s just after chocolate)
- Splash of vanilla extract (optional, but sometimes I forget and it’s still fine)
- Coconut oil or nonstick spray (I skip this sometimes and just butter my hands—it’s a little gross but effective)
The (Almost) Foolproof Directions
- First things first—melt your butter in a big pot over medium-low heat. (I always forget to pre-measure everything, so I’m usually scrambling here. It’s fine.)
- Toss in the marshmallows and stir slowly. They stick like nobody’s business, so keep at it. Once mostly melted, add that splash of vanilla if you remembered.
- This is where I sneak a marshmallow. No judgment, right?
- Now, add your red food coloring, bit by bit. If it looks a bit too pink or strangely orange at first—don’t panic. It darkens at the end. Just glop in more until you get a nice, ghoulish, brainy hue. (I once overdid it and the whole kitchen looked like a crime scene.)
- Kill the heat. Dump in the cereal and stir like mad. It’ll look weird, honestly, and maybe a bit dry—don’t worry. Just keep folding, and eventually, it turns into a sticky red mess. That’s what you want.
- Let it cool a minute or two (so you don’t burn your mitts). Rub your hands with a dab of butter or oil. Scoop up a handful and shape into rough brain forms—think two lumpy hemispheres, or just smooshy ovals. Perfection not required. Place on a baking sheet lined with parchment.
- Melt the white chocolate chips—microwave works, but watch it like a hawk, it seizes up fast. Drizzle over the brains for veiny details. Or not. Sometimes I skip this step if I’m in a rush.
- Let them set for about half an hour (unless your kitchen is sweltering, then pop them in the fridge). That’s it! Marvel at your gooey brains.
Random Notes from My Kitchen
- One time I tried shaping these with a fancy silicone mold—total disaster, stuck everywhere. Just use your hands.
- If you get red food coloring on your counters, a paste of baking soda and water gets it off. At least, it worked last time.
- Actually, I find these taste better the next day, if you can hold off. The texture is chewier and just a bit more satisfying.
Variations I’ve Attempted (Some Good, Some… Not So Much)
- Tried adding a drop of peppermint extract for “zombie brains.” Didn’t go over well. Lesson learned.
- Used marshmallow fluff instead of mini marshmallows once—messy, but it worked in a pinch.
- My neighbor swears by mixing in freeze-dried strawberries for a “bloody” look. Not my thing, but it’s a free country!
What If You Don’t Have All the Equipment?
I usually grab a big nonstick pot, but that one time it was dirty, I used a regular saucepan with extra butter. It stuck a little, but not enough to ruin the batch. For shaping, I just use my hands—no need for molds. If you’re really in a jam, you could use a muffin tin, but you’ll need to oil it well.
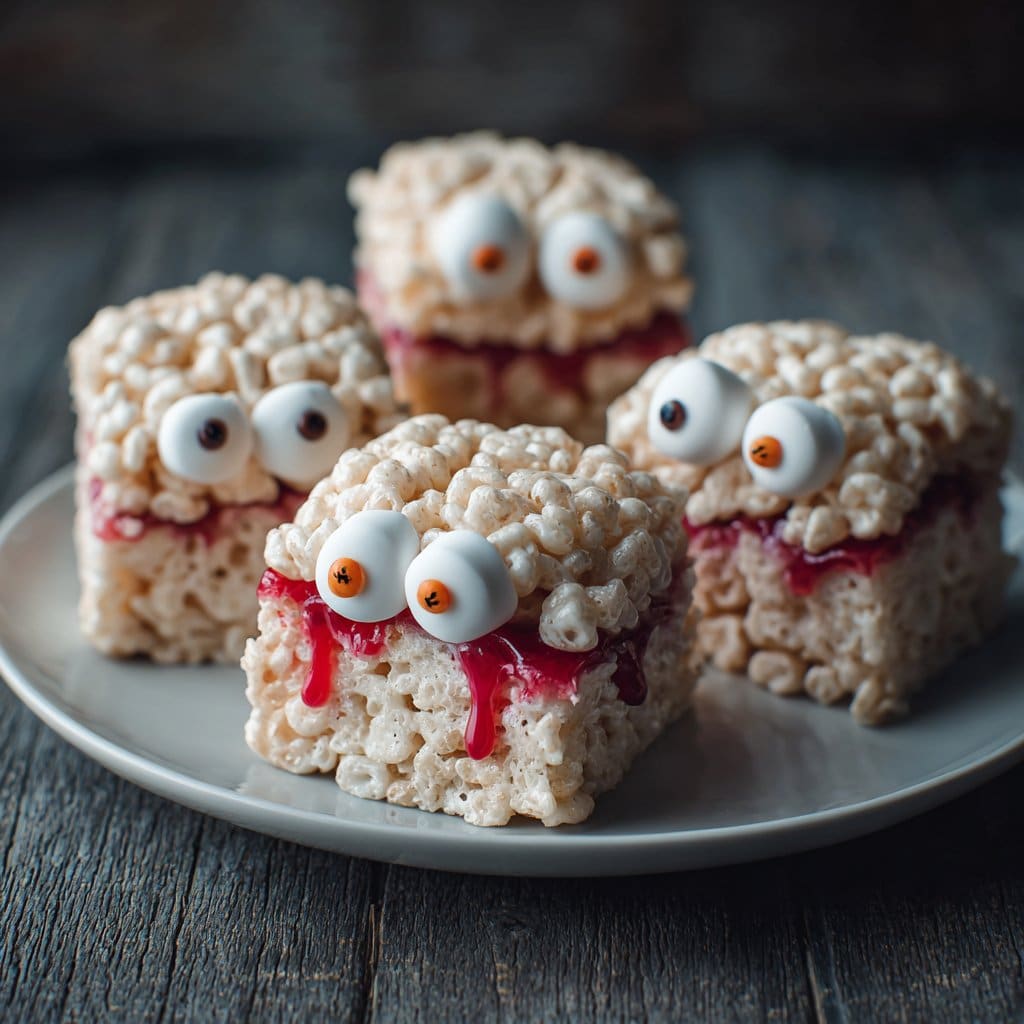
How to Store Your Brains (If They Last That Long)
Honestly, these rarely make it past the first day at my place. But if you’re more restrained, stash them in an airtight container on the counter. They’ll keep for 2 days, maybe 3 if you like them chewier. Don’t refrigerate unless your kitchen is baking hot; they just get weird and hard, trust me.
How I Serve ‘Em Up
I plop these brains onto a platter with some fake spiders for extra shock value—my little cousin tried to eat one, the fake spider, not the brain! Or, for parties, I plop them into cupcake liners so folks can grab and go. Once, I even nestled them in a bowl of gummy worms; looked gross, but everyone raved.
From My Kitchen Fails: Don’t Do This
- I once tried to rush the cooling step and burned my palms. Don’t be like me.
- If you use too much food coloring, expect red teeth. Not a great look in family photos.
- Don’t pack the cereal too tight or you’ll end up with bricks, not brains.
FAQ: Real Questions I Get
- Can I make these ahead? Yep! Sometimes I do them the night before (assuming I can keep sneaky hands out of the kitchen).
- Why are my brains hard? Usually too much cereal, or overcooking the marshmallows. Just keep it soft next time; it’s easier to fix than you think.
- Any way to make these vegan? You could try vegan marshmallows—I’ve read this recipe works, but honestly, I haven’t tried it myself.
- How do I get red food coloring off my hands? Good luck! Only half joking. Try scrubbing with lemon juice or check out this quick guide.
- Do I have to use Rice Krispies? You can use any crispy rice cereal, or even corn flakes if you’re desperate—just crush ’em up a bit.
Oh, and before I forget—if you want to get really wild, check out Gemma’s Rice Krispie Treat hacks for next-level ideas (and, well, probably fewer sticky mishaps than mine). Happy Halloween, ghouls and goblins!
Ingredients
- 3 tablespoons unsalted butter
- 1 package (10 oz) mini marshmallows
- 6 cups Rice Krispies cereal
- 1/2 teaspoon vanilla extract
- Red food coloring
- 1/4 cup white chocolate, melted (for decoration)
- Cooking spray (for shaping)
- Black decorating gel (optional, for veins)
Instructions
-
1In a large saucepan, melt the butter over low heat. Add the mini marshmallows and stir until completely melted and smooth.
-
2Remove from heat and stir in vanilla extract and several drops of red food coloring until the mixture is a light pink, resembling brain tissue.
-
3Quickly add the Rice Krispies cereal and stir until well coated with the marshmallow mixture.
-
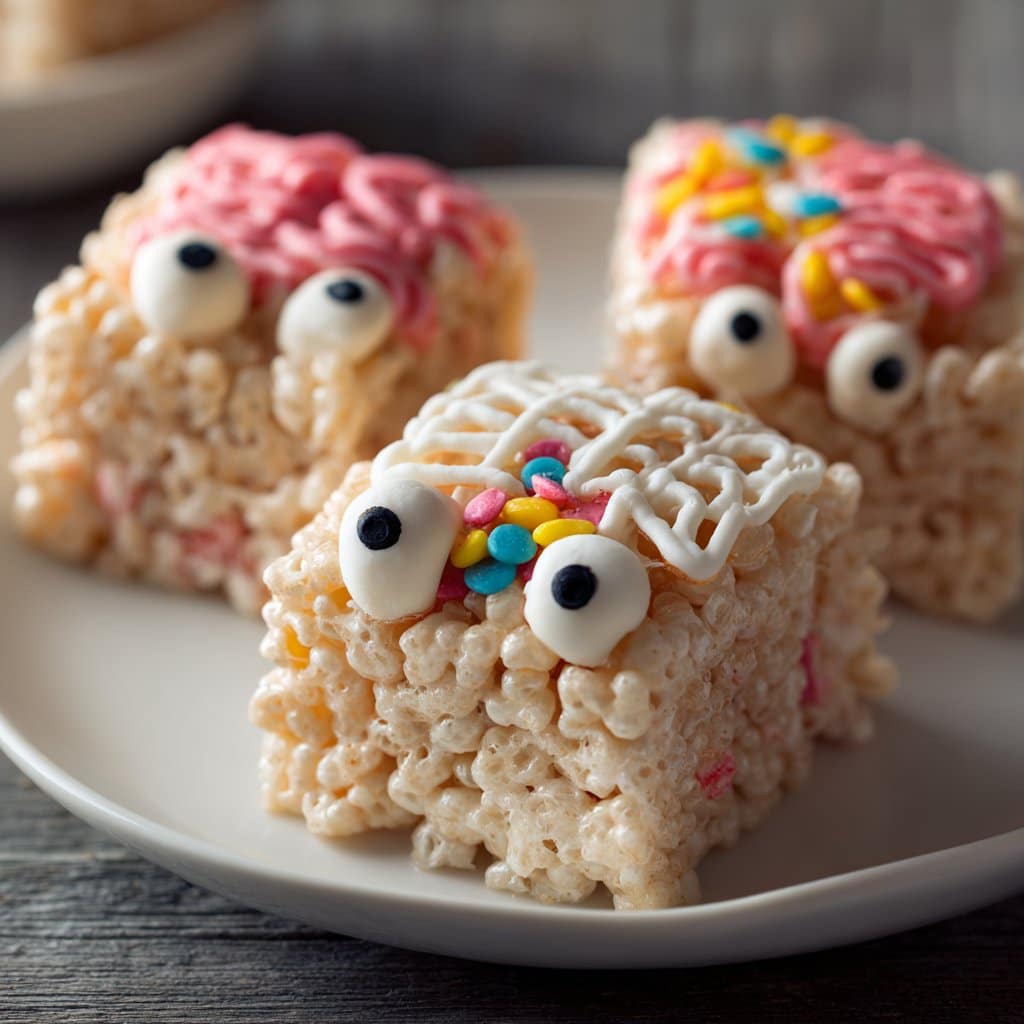
4Spray your hands with cooking spray. While the mixture is still warm, shape it into 8 oval mounds to resemble brains and place them on a parchment-lined tray.
-
5Drizzle melted white chocolate in squiggly lines over each mound to create the appearance of brain folds. Add black decorating gel for extra spooky veins, if desired.
-
6Allow the brains to cool and set for at least 10 minutes before serving.
Approximate Information for One Serving
Nutrition Disclaimers
Number of total servings shown is approximate. Actual number of servings will depend on your preferred portion sizes.
Nutritional values shown are general guidelines and reflect information for 1 serving using the ingredients listed, not including any optional ingredients. Actual macros may vary slightly depending on specific brands and types of ingredients used.
To determine the weight of one serving, prepare the recipe as instructed. Weigh the finished recipe, then divide the weight of the finished recipe (not including the weight of the container the food is in) by the desired number of servings. Result will be the weight of one serving.
Did you make this recipe?
Please consider Pinning it!!




