Alright, so let me just say—Mini S’more Pies are what happen when you want ooey-gooey campfire nostalgia but you’re also, you know, standing in your kitchen in mismatched slippers or it’s raining sideways out. The first time I made these, I actually burned the marshmallows (I was daydreaming about that trip up the coast with Becky, go figure), but even my marshmallow-mishap batch disappeared before I’d finished my tea. Truth is, it’s one of those desserts that looks cute, barely makes a mess, and disappears faster than you can say “save me a slice.” I still get excited every single time I pop them in the oven, even if I occasionally get a chocolate thumbprint right on my nice tea towel. Oops.
Why I Always Crave These (And You Might Too!)
I make these whenever someone in my house needs a pick-me-up (which is, let’s be honest, usually me). My family goes crazy for the gooey middle and crispy edge, and honestly I love that you don’t need a campfire or one of those fancy torch things. There’s this one weekend every summer when my cousin’s kids come over and, wow, let’s just say even the fussy one who “doesn’t eat marshmallows” wolfs them down. The hardest part is waiting for them to cool – there’s a reason my fingerprints won’t unlock my phone after, I’m always sneaking one that’s still a tad molten. If you’re feeling lazy, or maybe your marshmallows are a bit stale (yep, I’ve done it), these pies save the day.
What You’ll Need (With Substitutes that Actually Work)
- 6-8 graham crackers (or, honestly, I’ve used digestive biscuits in a pinch—my gran claims it’s “just as good”)
- About 3 tbsp melted butter—Salted or unsalted, whichever you grab first
- 100g (about a bar) milk chocolate—Chopped up Hershey’s works, but dark chocolate is great if you’re fancy or feel grown-up (I’m not, mostly)
- Mini marshmallows—2 cups or, if you’re like me and run out, just snip up bigger ones with scissors
- Pinch of sea salt (optional but it’s surprisingly good—try it once)
- Muffin pan, or those silicone muffin liners if you like to pretend you’re eco-conscious (I try!)
How I Throw These Together (and Where I Usually Sneak a Taste)
- Bash the graham crackers up pretty fine. I chuck them in a ziptop bag and let off some steam with a rolling pin, but honestly a jar or your fist works (careful though). Dump the crumbs in a bowl.
- Mix in melted butter, till it’s like damp sand. Not too wet—think “pretend beach” not “stuck in a bog.” (I’ve made it too soggy before, and let’s just say, spooning those out is a whole thing.)
- Spoon the mixture into your muffin pan—aim for about a tablespoon per cup. Press down with your fingers or, on a lazy Tuesday, the bottom of a small glass. Don’t stress if it looks lopsided!
- Pop in a 350°F (180°C) oven for ~5 minutes. You want them just a bit toasty, not brown.
- Once out, pile on the chocolate chunks. This is where I usually steal a bit for myself—quality control, obviously.
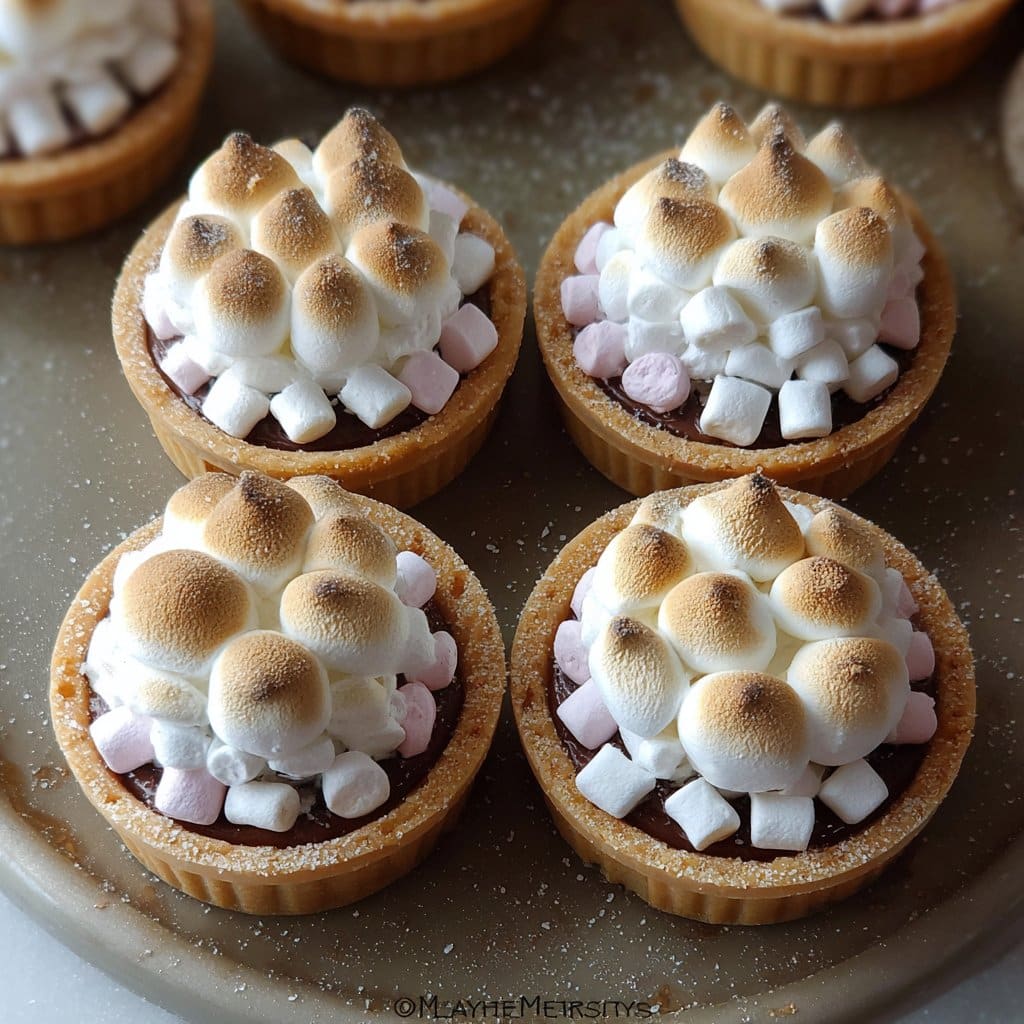
- Top them with a generous scoop of mini marshmallows. The more the merrier (except that one time I overdid it and ended up with a lava flow—kitchen looked like a marshmallow crime scene). Sprinkle sea salt if you like.
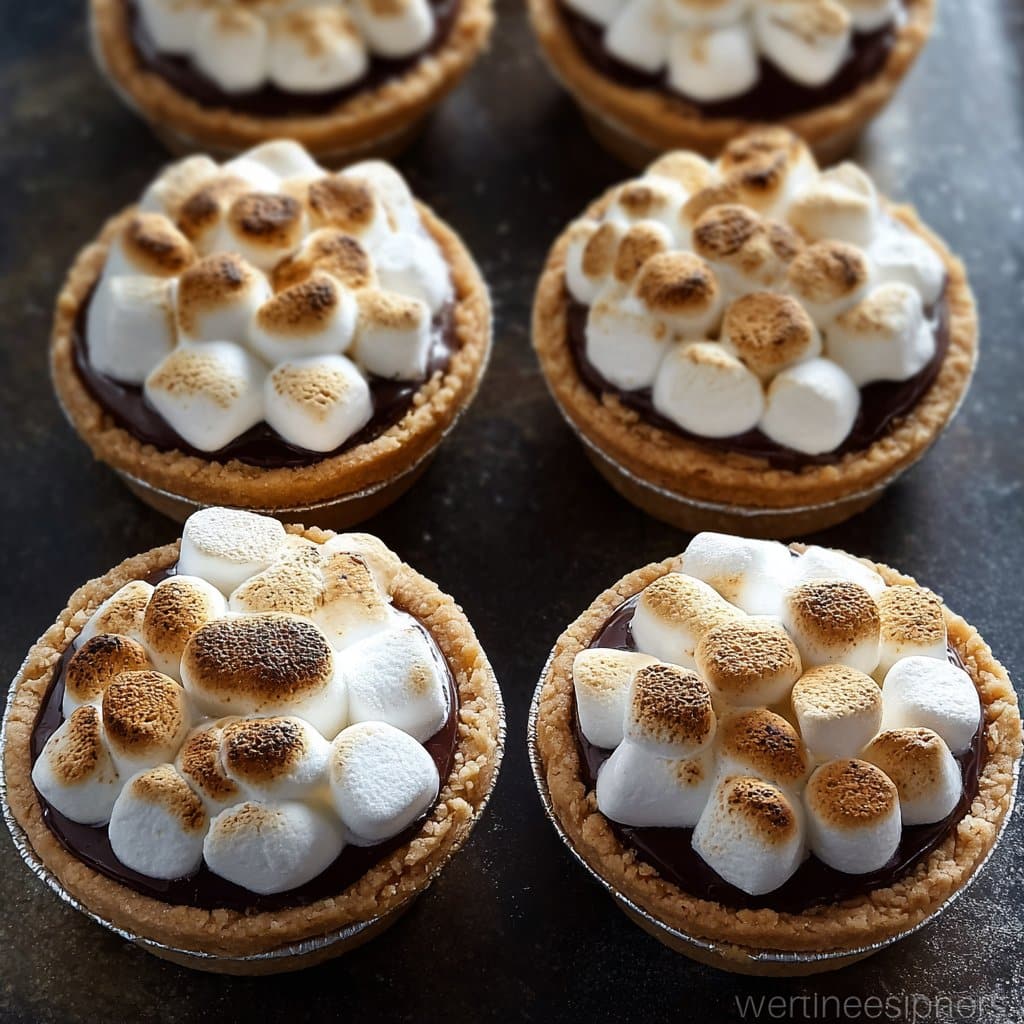
- Back into the oven for about 6-8 min, till marshmallows are golden and puffy-ish. Don’t wander off because it’s very easy to go from golden to “who turned off the smoke alarm?”
- Cool them for a few minutes. On second thought, give them at least 10 minutes or you’ll regret it, trust me.
Notes That Might Save Your Sanity
- If you use paper muffin liners, get the extra-sturdy kind; otherwise, it clings like a toddler at drop-off.
- I find the flavor actually gets even better if you let them fully cool, but warm is classic too.
- Darker chocolate cuts the sweetness if you feel like you’re getting a sugar rush.
Some Oddball Variations & Experiments (The Good, the Bad…)
- I once swapped out the chocolate for peanut butter cups—brilliant, but a bit OTT if you ask me.
- Chopped strawberries—surprisingly good, especially for breakfast (no judgment here)
- Vegetarian marshmallows: worked fine. Vegan ones…eh, texture kinda weird, maybe I did something wrong?
- Tried adding cinnamon once. Not my cup of tea, but my friend Joe loved it; you do you!
Do You Really Need Special Equipment?
If you don’t have a muffin tin, you could basically do these in a shallow heatproof bowl—just cut them up weirdly to serve. I used to use silicone cupcake liners on a baking tray before investing in a tin; works, but you have to chase them around a bit.
How (If?!) They Might Last
Store in an airtight container at room temp for a day or two, but honestly, in my house they never last longer than an afternoon. If you want to keep them longer, fridge is okay, but they get a bit chewy the next day (sometimes I like that, actually).
How I Like to Serve Them
We always bring a plate to the living room for a lazy movie night, or decant them into a basket for a picnic (yes, cold is fine too). And a scoop of vanilla ice cream on the side? Pretty much a home run in my book.
Things I Learned the Hard Way (So You Don’t Have To)
- Don’t try to pop them out hot. They crack! (Wait, or eat them with a spoon, no shame.)
- I once tried baking them longer for extra crunch—bad idea! The chocolate seized up weirdly. Stick to short bakes.
Wait, What If… (FAQ from Real Humans)
Can I use store-bought pie crusts?
Yup, seen it done, but they’re a bit thick. I still prefer graham crackers – fewer crumbs, honestly.
Will they taste okay with dark chocolate?
Oh, 100 percent—I think it’s even better (I’m a bit of a dark chocolate evangelist, sorry!).
Is there a way to make these gluten-free?
Definitely! There are some gluten-free graham crackers out there—Minimalist Baker’s recipe is fab. Or use those oat biscuits (if you’re not celiac picky).
How can I get the really toasted, campfire-y top?
If you’ve got a kitchen torch—go to town. I just blast mine under a hot broiler for a few secs, keeping the oven door open and fingers crossed. Usually does the trick (but keep an eye, seriously).
By the way, if you want more pie inspiration, Sally’s Baking Addiction has tons of fun recipes. And for s’mores obsession, Love From The Oven has a whole section. Dangerous, but delicious.
Anyway, let me know if you try any tweaks! And if you figure out how to keep chocolate off your shirt, you’re a better cook than me. Cheers!
Ingredients
- 1 1/2 cups graham cracker crumbs
- 1/4 cup granulated sugar
- 6 tablespoons unsalted butter, melted
- 24 mini milk chocolate squares
- 2 cups mini marshmallows
- 1/2 teaspoon vanilla extract
- Pinch of salt
- Nonstick cooking spray
Instructions
-
1Preheat oven to 350°F (175°C). Lightly grease a muffin tin with nonstick cooking spray.
-
2In a medium bowl, mix graham cracker crumbs, granulated sugar, melted butter, vanilla extract, and a pinch of salt until combined.
-
3Divide the graham mixture evenly among 8 muffin cups. Press firmly to form a compact crust on the bottom and slightly up the sides.
-
4Place three mini milk chocolate squares into each crust, then top each with about 1/4 cup mini marshmallows.
-
5Bake for 8-10 minutes, or until marshmallows are golden and melted. Let cool for 10 minutes before removing from the pan.
-
6Serve warm and enjoy the gooey, chocolatey goodness!
Approximate Information for One Serving
Nutrition Disclaimers
Number of total servings shown is approximate. Actual number of servings will depend on your preferred portion sizes.
Nutritional values shown are general guidelines and reflect information for 1 serving using the ingredients listed, not including any optional ingredients. Actual macros may vary slightly depending on specific brands and types of ingredients used.
To determine the weight of one serving, prepare the recipe as instructed. Weigh the finished recipe, then divide the weight of the finished recipe (not including the weight of the container the food is in) by the desired number of servings. Result will be the weight of one serving.
Did you make this recipe?
Please consider Pinning it!!