You Won’t Believe How Good These Are—Seriously
Okay, confession time! The first time I made these Nutella Banana Muffins, I was in my pajamas at 10am on a Saturday, hair up in some sort of nest—not even the birds recognized me. My kids had spotted the slightly tragic bananas languishing on the counter (does anyone else have this problem?) and insisted we bake something. Enter this recipe. And honestly? I haven’t gone back to plain banana muffins since. Even my skeptical husband, who usually tries to avoid anything ‘nutellicious’ before noon, hoovered down three in as many minutes. He’s not wrong.
Why You’ll Love This (Or: Why I Keep Making It Even When I Shouldn’t)
I make this when: I’ve got bananas that look like they belong in a fruit crime scene, someone’s coming over for a cuppa, or I just fancy something seriously comforting after a long week. My family goes crazy for these because they’re basically a chewy, chocolatey hug in muffin form (though my youngest once tried to eat the batter raw—let’s not talk about that…), and I’ve found they somehow manage to make Monday mornings slightly less offensive. Oh, and if a bit of Nutella ooze gets over the top? All the better! I used to try to swirl the Nutella prettily, but now I just let it sort of do its thing, ya know?
Stuff You’ll Need (But Substitute Away If You Need To)
- 2-3 very ripe bananas (I’ve totally used 1½ before when that’s all I could find—just add a smidge less flour)
- 1/3 cup (about 75g) melted butter—sometimes, when I’m out, I use neutral oil; honestly, no one noticed
- 3/4 cup (150g) brown sugar (I once mixed half white and half brown and it was grand)
- 1 large egg (I’ve stretched to two small ones in a pinch)
- 1 teaspoon vanilla extract (my grandmother always used that pink artificial stuff—use what you’ve got)
- 1 teaspoon baking soda
- Pinch of salt (or forget it—it won’t ruin things, promise)
- 1 1/2 cups (180g) all-purpose flour (wholemeal works, but the muffins come out a bit more earnest and less cake-ish)
- About 1/2 cup Nutella, loosened slightly in the microwave (Smooth or crunchy hazelnut spread—I once used store brand and nobody could tell the difference)
How I Actually Make These Muffins
- Preheat your oven to 180°C (350°F) and stick some paper cases in your muffin tin. (Yes, you do need the papers—I tried greasing once; it ended in muffin carnage everywhere.)
- Mash the bananas in a large bowl with a fork—doesn’t need to be smooth; lumpy bits actually make it taste better, in my humble opinion. (And this is where I usually sneak a bite. Judge away.)
- Pour in melted butter. Whisk in the sugar, egg, and vanilla. Don’t worry if the mixture looks a bit wonky right now. It honestly always does at this stage!
- Sprinkle over baking soda and salt, stir again, then fold in flour—lightly, for the love of fluffy muffins. Overmixing makes them tough, and I learned that the hard way (twice).
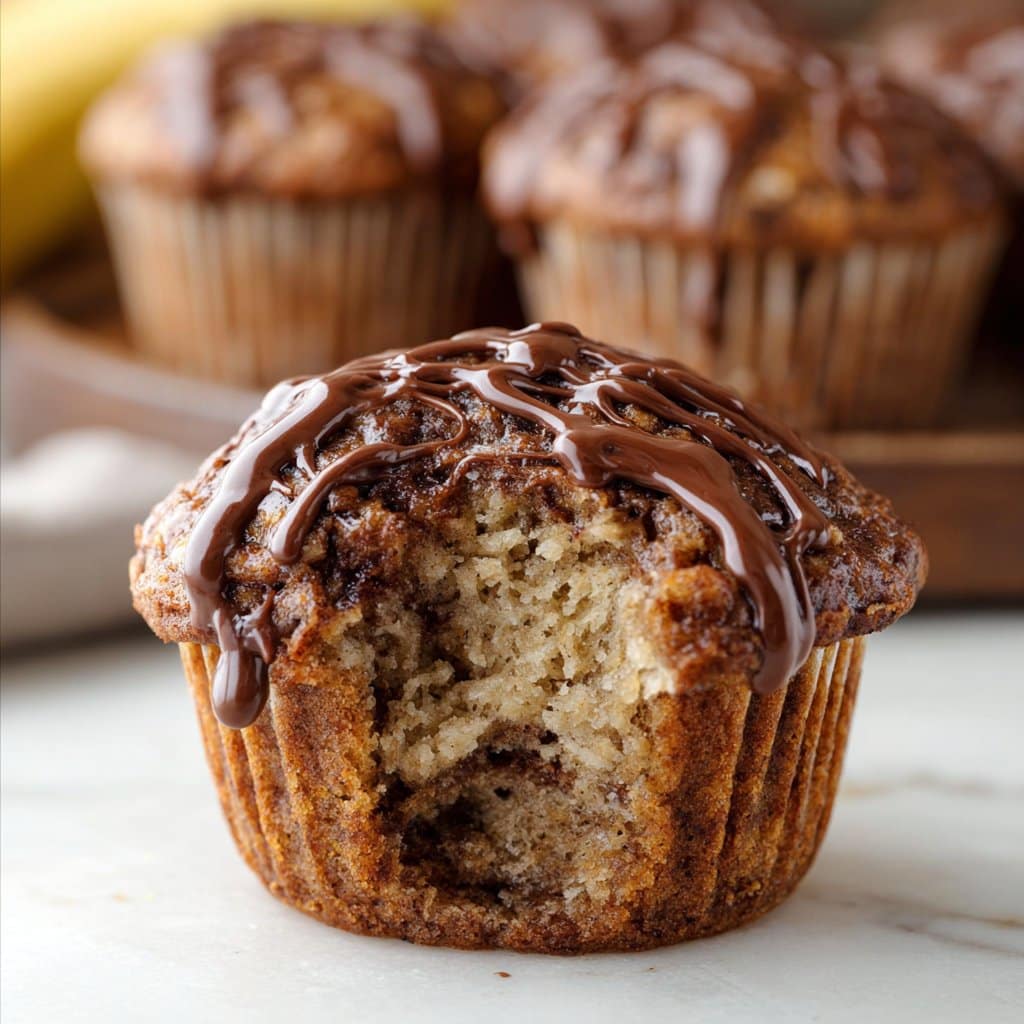
- Spoon half the mix into the muffin cases. Dollop Nutella into each (I do…maybe a teaspoon? But sometimes I get greedy and it’s more). Swirl a bit with a skewer, then top with the rest of the banana batter. Another cheeky swirl if you want.
- Bake 17-22 minutes. I find 18 is my sweet spot, but all ovens have their quirks. Tops should be golden, and a tester comes out with a crumb or two. Or mostly Nutella (which is fine. Actually, it’s better).
- Cool briefly, then dive in. Or, if you’re patient (unlike me), they’re even better warm but not hot.
Notes: Stuff I Found Out By Accident (Or Slight Panic)
- If your Nutella’s really firm, microwave it for 10 seconds. Once, I didn’t and just ended up tearing the batter up making a mess. Live and learn.
- Overripe bananas = best flavor. If your bananas aren’t quite there yet, you can bake them in their skin on a tray for 10 mins at 150°C (yep, it works!)
- Honestly, more Nutella never seems to ruin these. Less? Well, you might feel like something’s missing.
- I used to line the tray with reusable silicone liners, but I lost half of them (I swear the dishwasher eats them).
Things I’ve Tried: The Good, the Bad, and the Crumbly
- Tried adding chopped walnuts for crunch—oh yeah, loved that. Pecans are nice too.
- Chucked in some dark choc chips once. It went straight to my ‘keeper’ list.
- Tried making them with oat flour because my cousin’s gluten-free—it kinda worked, but they fell apart easier so maybe not for lunchboxes.
- Omitting sugar entirely? Nah. Just…don’t.
Equipment (And How To Wing It If You Don’t Have It All)
- Muffin tin (But honestly, I’ve just doubled the cases up on a baking tray in a pinch; not pretty, but it works!)
- Mixing bowl, fork, whisk, and a wooden spoon; vague measuring cups (I’ve used a coffee mug to estimate flour)
- Microwave for Nutella, but you could set the jar in some hot water too
Storage—All Seven Leftovers, If That
You can store these in an airtight tin or lunchbox for 2-3 days, but honestly, in my house, they rarely make it past breakfast the next day. If you need to, they freeze. Well. I wrap them individually; they defrost super quick. And sometimes taste even better the next day, though that may just be my wishful thinking when sneaking one at midnight.
How I Like to Serve These (And Other Traditions)
Here’s how we do it: on a big plate with lots of coffee (proper coffee, not the instant stuff, though I’ll never judge). Sometimes with a smidge of butter, sometimes just as-is. We often bring a few in the car on road trips—saves us stopping for dodgy petrol station snacks.
A Few Pro Tips I Wish I’d Learned Sooner
- I once tried rushing the ‘let them cool’ step, thinking they’d peel out fine. Nope—muffin paper welded to the bottom. So, yeah, patience is a virtue (sometimes).
- Actually, filling the cases all the way up made mine overflow—2/3 to 3/4 full is the magic ratio.
- If you forget the vanilla, don’t sweat. The Nutella mostly covers your tracks. Or distracts, anyway.
FAQ—Real Questions I Get (Yes, Including ‘Can I Use Peanut Butter?’)
- Can I use peanut butter instead of Nutella? You can! I’ve done it—just go for creamy PB, though, crunchy doesn’t swirl the same. Oh, and maybe add a few choc chips for balance.
- Can I make these vegan? I’ve swapped the butter for coconut oil and used Bob’s Red Mill egg replacer. Texture’s decent, though a bit less fluffy. If you find a better way, let me know?
- What if I don’t have muffin cases? I’ve used parchment squares pressed in (a bit fiddly), or just greased the tin really well and crossed my fingers.
- Bananas not ripe? Bake them in their skins as above, or check out Bon Appétit’s banana-ripening tricks—genuinely handy.
- How do I know when they’re done? I always poke with a skewer—if it comes out mostly clean but with a streak of Nutella, that’s when I call it.
- For more muffin ideas, King Arthur Baking’s muffin collection is dangerously inspiring.
And, by the by, if you end up eating these warm straight from the tin, I won’t tell anyone. Just make sure you’ve got enough milk handy, or one of those massive mugs of tea—the kind that threatens to break the handle off if you’re not careful. Happy baking!
Ingredients
- 2 ripe bananas, mashed
- 1/2 cup granulated sugar
- 1/3 cup unsalted butter, melted
- 1/4 cup milk
- 1 large egg
- 1 teaspoon vanilla extract
- 1 1/2 cups all-purpose flour
- 1 teaspoon baking powder
- 1/2 teaspoon baking soda
- 1/4 teaspoon salt
- 1/2 cup Nutella
Instructions
-
1Preheat your oven to 350°F (175°C) and line a 12-cup muffin pan with paper liners.
-
2In a large bowl, whisk together mashed bananas, sugar, melted butter, milk, egg, and vanilla extract until well combined.
-
3In another bowl, mix the flour, baking powder, baking soda, and salt. Gradually fold the dry ingredients into the wet mixture until just combined.
-
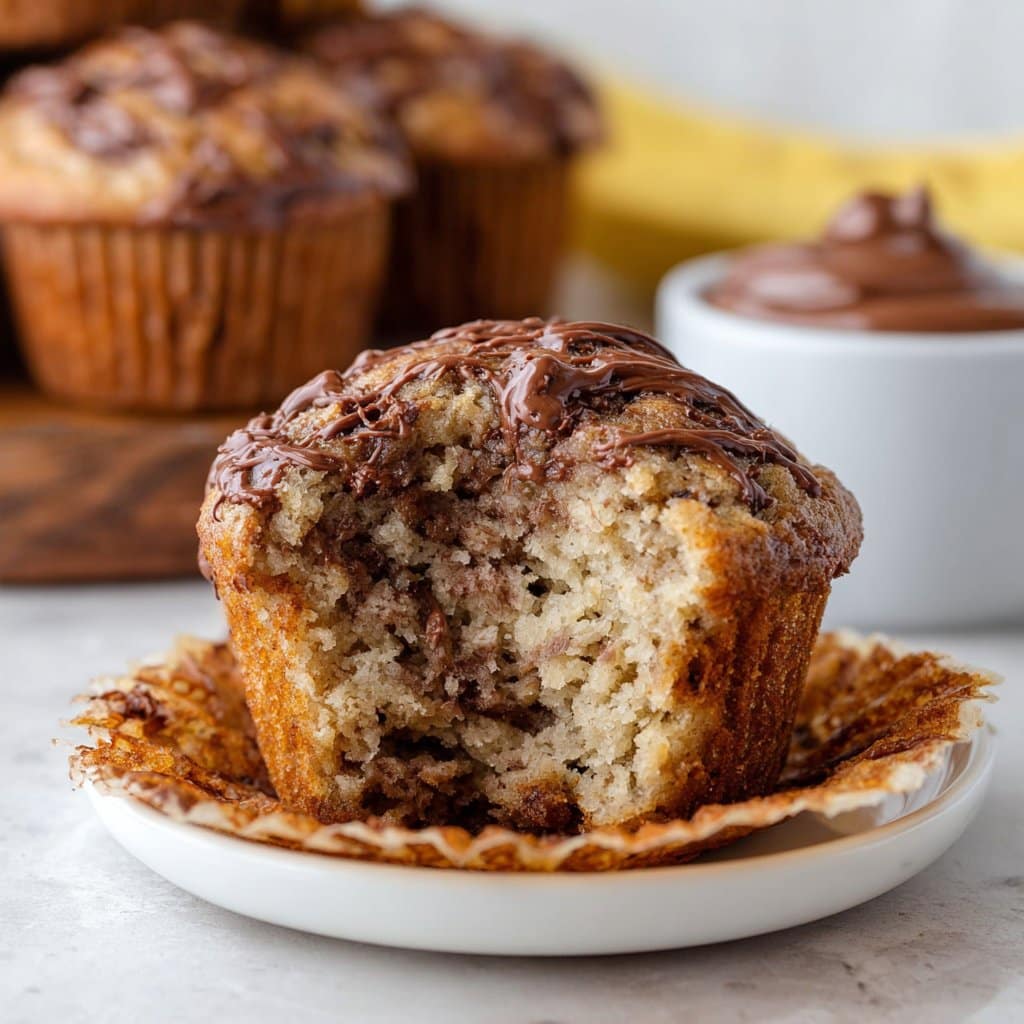
4Divide the batter evenly among the muffin cups. Drop a teaspoon of Nutella onto each muffin and swirl gently with a toothpick.
-
5Bake for 18–20 minutes or until a toothpick inserted in the center comes out clean.
-
6Cool the muffins in the pan for 5 minutes, then transfer to a wire rack to cool completely.
Approximate Information for One Serving
Nutrition Disclaimers
Number of total servings shown is approximate. Actual number of servings will depend on your preferred portion sizes.
Nutritional values shown are general guidelines and reflect information for 1 serving using the ingredients listed, not including any optional ingredients. Actual macros may vary slightly depending on specific brands and types of ingredients used.
To determine the weight of one serving, prepare the recipe as instructed. Weigh the finished recipe, then divide the weight of the finished recipe (not including the weight of the container the food is in) by the desired number of servings. Result will be the weight of one serving.
Did you make this recipe?
Please consider Pinning it!!