So… This Recipe Is Basically How I Survived a Heatwave
Let me set the scene. It’s July, the AC is making complaining noises, and my sweet tooth is, frankly, out of control. Turning on the oven? Absolutely not, not unless I wanted to roast myself alongside the cookies. So, I started fiddling around with what I had, and these No-Bake Chocolate Peanut Butter Cheesecake Bars were born. The first time, I was honestly just trying to keep my nephew occupied (if you’ve ever let a 6-year-old help in the kitchen, you know why half my sprinkles are still under the fridge). But really, these bars have become my go-to for potlucks, movie nights, and… okay, sometimes breakfast. No judgment, right?
Why You’ll Love This (Or At Least Why I Do)
I make this whenever I want dessert but can’t handle another round of baking—all the joy, none of the oven sweat. My family goes bananas for these bars because they’re rich, chocolatey, and come together in, like, 20 minutes (not counting the fridge time—sorry, I wish I could hack that). Apparently, the combo of chocolate and peanut butter is “dangerously good” according to my cousin, who’s usually not this effusive unless there’s money involved. Oh, and if you’re also the kind of cook who gets chocolate everywhere, welcome to the club. I used to have trouble getting cheese filling smooth but, actually, I find it works better if you use room temp cream cheese—lesson learned after basically arm wrestling the mixer.
What You’ll Need (And How I Sometimes Wing It)
- 1 1/2 cups chocolate cookie crumbs (I’ve used graham crackers in a pinch; still tasty!)
- 1/3 cup melted butter (honestly, margarine works if you’re in a bind)
- 1 cup creamy peanut butter (chunky adds a bit of character but makes slicing messy—your call)
- 225g (8 oz) cream cheese, softened (my grandmother swore by Philadelphia, but I’ve used generic and, eh, no one noticed)
- 1 cup powdered sugar (sometimes I use a bit less if I’m feeling virtuous—rare, but hey)
- 1 tsp vanilla extract (imitation is fine, but real vanilla is *chef’s kiss*)
- 1 1/4 cups semi-sweet chocolate chips (milk chocolate if you want it sweeter; dark for grown-up vibes)
- 1/4 cup heavy cream (I subbed full-fat milk once and it was… okay, just not as rich)
How To Make No-Bake Chocolate Peanut Butter Cheesecake Bars (the Easy, Slightly Messy Way)
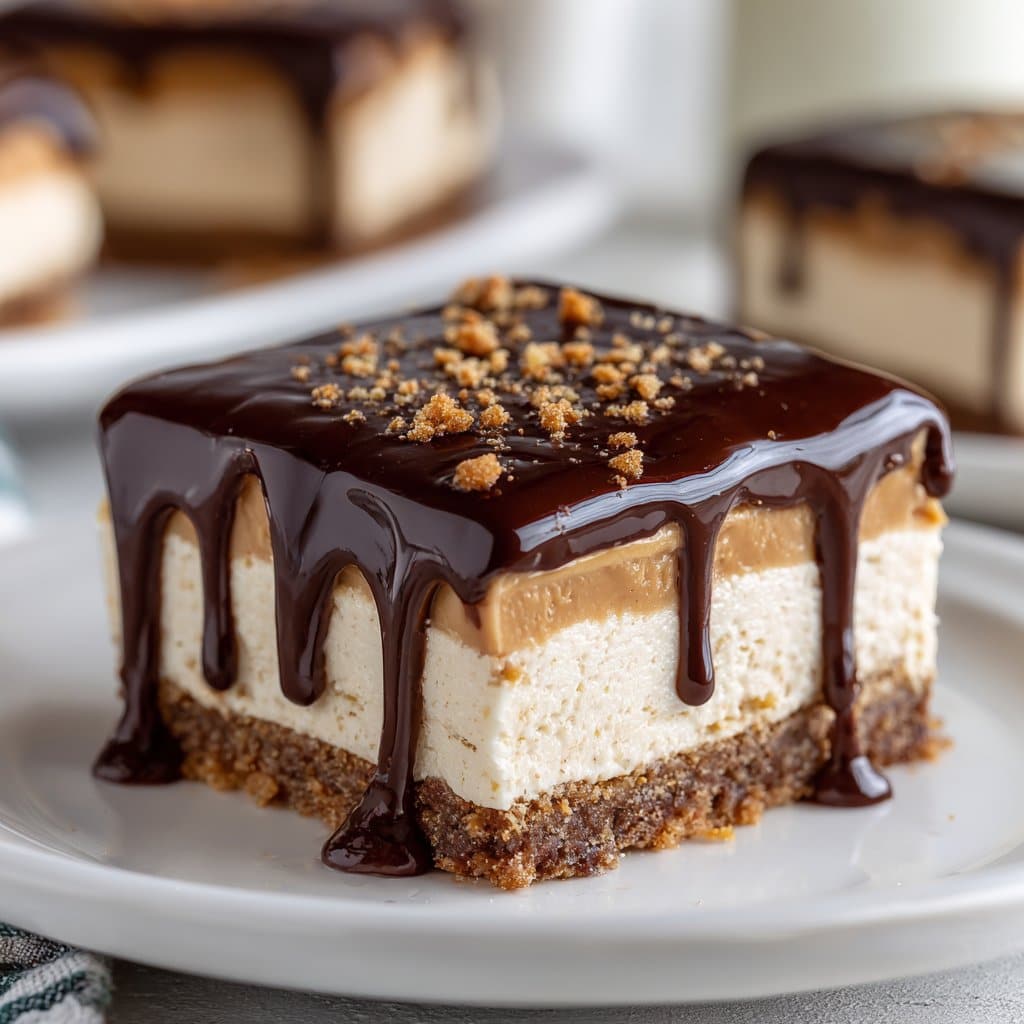
- Mix the base: In a medium bowl, stir together cookie crumbs and melted butter until it feels a bit like wet sand. Press into the bottom of a lined 8×8 inch pan (I use parchment paper but foil works—just don’t skip this or you’ll be chiseling bars out later). Pop it in the fridge while you move on.
- Peanut butter cheesecake layer: Grab a large bowl and beat together the peanut butter, cream cheese, powdered sugar, and vanilla until smooth and fluffy. This is where I usually sneak a taste—it’s basically peanut butter frosting, and resisting it is futile. Spread this over your chilled base with a spatula (or the back of a spoon if you can’t find the spatula, which happens more than I’d like to admit).
- Chocolate topping: In a microwave-safe bowl, combine the chocolate chips and heavy cream. Heat in 20-second bursts, stirring each time, until glossy and smooth. If you see it start to seize or look weirdly lumpy, just keep stirring—it usually comes back together. Pour over the peanut butter layer and use a spatula to get it all the way to the corners. But don’t worry if it’s not perfectly even; nobody’s checking.
- Chill for at least 3 hours, ideally overnight. I know, waiting is the worst! But the bars slice so much neater when cold. Actually, I think they taste even better the next day, but maybe that’s just me.
- Slice (a hot knife helps), serve, and watch them vanish. Pro tip: Clean knife between cuts if you want those nice sharp edges. Or just eat with your hands—it’s your kitchen.
Notes from My (Messy) Kitchen
- Once I tried using natural peanut butter, and the filling just didn’t set right—maybe too much oil. I’d stick with the classic stuff unless you like things a bit runnier.
- If the base seems too crumbly, add a spoonful more butter. If it’s too wet, sprinkle in a handful of extra cookie crumbs. I play this by ear.
- One time I swapped the chocolate topping for Nutella because I ran out of chips, and it was ridiculously rich (in a good way, but very sweet).
Variations I’ve Actually Tried (And At Least One Fail)
- Swapping the chocolate cookie base for pretzel crumbs—adds a salty crunch I love. My sister thought it was “weirdly addictive.”
- Add a sprinkle of flaky salt on top for a sweet-salty vibe (like from Bon Appetit’s salt rundown—I learned a lot there!).
- I once mixed in mini chocolate chips to the cheesecake layer, hoping for a cookies-n-cream effect, but it just made the bars tough to slice. Wouldn’t recommend, unless you like a bit of a chewing challenge.
Equipment Stuff (But Improv is Welcome)
- 8×8 inch pan (honestly, I’ve used a loaf pan in a pinch, but you get fatter bars)
- Electric mixer (hand whisk works, but you’ll get a workout—sometimes I just go lazy and use a fork for small batches)
- Microwave or stovetop for melting chocolate. If you’re in a dorm or somewhere without, try a heatproof bowl over a saucepan with simmering water—fussy, but it works.
How To Store These (But Expect Them To Disappear Fast)
Keep the bars chilled in the fridge, covered, for up to 4 days. You can freeze ‘em too, but honestly, in my house, they never last more than a day! If you do freeze, let them thaw for about 10 minutes at room temp so you don’t break a tooth.
How I Serve Them (And the Debates at Our Table)
I like to cut these into small-ish squares (they’re rich, so a little goes a long way). Sometimes we top with whipped cream or even a scoop of vanilla ice cream if we’re feeling fancy—or, if someone’s having a birthday, I stick candles in ‘em instead of making a cake. My aunt likes hers straight form the fridge, but I think they’re best when they’ve warmed up just a smidge (not room temp, just less chilly—maybe I’m picky).
Things I’ve Learned the Hard Way (Pro Tips, If You Will)
- Don’t rush the chilling time—once I tried slicing after an hour, and the middle just oozed out. Patience, grasshopper.
- If you don’t line your pan, getting the bars out is a nightmare. I once had to eat the whole thing right out of the pan with a spoon—tough day, but someone had to do it.
- Room temp cream cheese mixes so much easier, trust me. Cold cream cheese = lumpy filling; ask me how I know.
Real-Life Questions I’ve Gotten (And My Honest Answers)
- Can I make this gluten-free?
- Yep, just grab some gluten-free cookies for the base. I’ve done it with those chocolate gluten-free sandwich cookies, and nobody noticed the difference.
- Can I use almond butter instead of peanut butter?
- Sure can. I’ve tried it—it’s a bit less sweet, but still delicious. Cashew butter is nice too, if you’re feeling spendy.
- Do I have to chill overnight?
- Nope, but at least a few hours is best. If you’re in a rush, pop it in the freezer for an hour or so, but keep an eye out so it doesn’t freeze solid. (I once forgot and had to play microwave roulette.)
- What if I don’t have chocolate chips?
- I’ve melted down leftover Easter bunnies, Halloween bars, you name it. Any chocolate that melts will do. Actually, King Arthur Baking has some great guidance on chocolate swaps if you want to get nerdy about it.
- Is this as good as baked cheesecake?
- Mmm… it’s a different animal. Creamier, softer, more like a really indulgent mousse bar. But if you want easy, I’d say it’s just as satisfying. Plus: no risk of cracking!
And there you have it. It’s not rocket science, but it is a little slice of happiness. If you try a weird variation or have a kitchen mishap, tell me—I love hearing other people’s stories. For more super easy no-bake treats, I often check out Sally’s Baking Addiction when I need inspiration (not sponsored, promise). Enjoy, mate!
Ingredients
- 2 cups chocolate cookie crumbs
- 1/2 cup unsalted butter, melted
- 16 oz cream cheese, softened
- 1 cup creamy peanut butter
- 1 cup powdered sugar
- 1 tsp vanilla extract
- 1 cup heavy cream
- 1 cup semi-sweet chocolate chips
- 2 tbsp peanut butter (for ganache topping)
Instructions
-
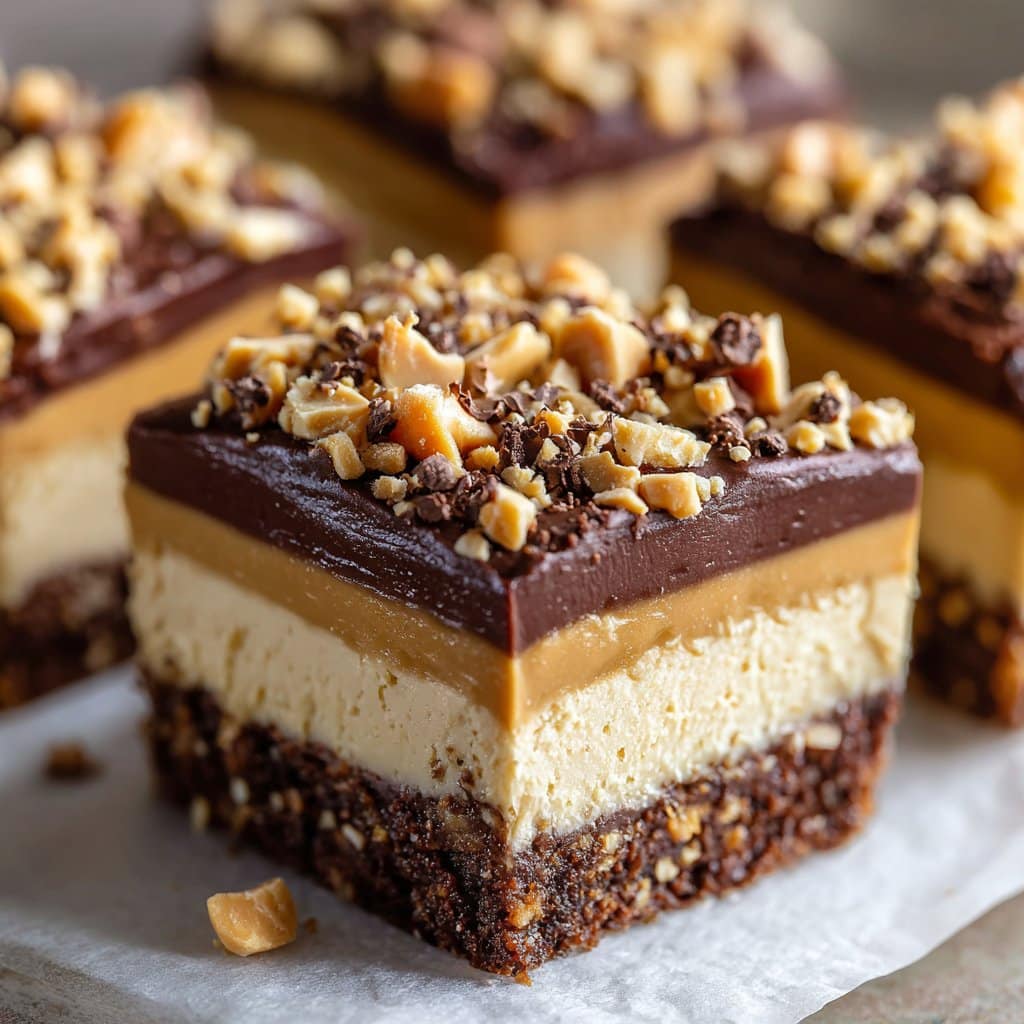
1Line an 8×8-inch baking pan with parchment paper, leaving an overhang for easy removal.
-
2In a medium bowl, combine chocolate cookie crumbs and melted butter. Press the mixture firmly into the bottom of the prepared pan to form the crust. Chill in the refrigerator while preparing the filling.
-
3In a large bowl, beat cream cheese, peanut butter, powdered sugar, and vanilla extract until smooth and creamy.
-
4In a separate bowl, whip the heavy cream until stiff peaks form. Gently fold the whipped cream into the peanut butter mixture until fully combined.
-
5Spread the cheesecake filling evenly over the chilled crust. Return to the refrigerator.
-
6For the ganache, melt chocolate chips and 2 tbsp peanut butter together in the microwave in 30-second intervals, stirring until smooth. Pour over the cheesecake layer and spread evenly. Refrigerate for at least 4 hours or until set before slicing into bars.
Approximate Information for One Serving
Nutrition Disclaimers
Number of total servings shown is approximate. Actual number of servings will depend on your preferred portion sizes.
Nutritional values shown are general guidelines and reflect information for 1 serving using the ingredients listed, not including any optional ingredients. Actual macros may vary slightly depending on specific brands and types of ingredients used.
To determine the weight of one serving, prepare the recipe as instructed. Weigh the finished recipe, then divide the weight of the finished recipe (not including the weight of the container the food is in) by the desired number of servings. Result will be the weight of one serving.
Did you make this recipe?
Please consider Pinning it!!




