So Here’s the Story Behind These Bars
I swear, every time I make these no-bake strawberry cheesecake bars, I remember that summer when the A/C broke, and the thought of turning on the oven felt like a cruel joke. My aunt Martha (who’s legally banned from bringing Jell-O salad to family gatherings now, long story) showed up with a tray of these, and the rest is history. I started making them as my lazy-day dessert, and frankly, they’re a lifesaver for the heat or when you just don’t wanna fuss. Plus, they’re pink. Who can say no to pink food?
Why I Keep Coming Back to This Recipe
I make these when it’s too hot to bake, or when I’ve got strawberries about to go south in the fridge. My family goes wild for them, especially my nephew who insists they’re breakfast food (I mean, there’s fruit in them; he’s got a point?). If I’m honest, I’ve had my fair share of disaster bakes—remember when my first attempt was basically a strawberry soup? But this one’s basically foolproof, unless you forget the fridge bit. Oops.
What You’ll Need (And What You Can Totally Swap)
- Graham cracker crumbs, about 2 cups (sometimes I use digestive biscuits because that’s what we call them back home—totally works)
- 1/2 cup unsalted butter, melted (honestly, salted works fine, too—just skip the pinch of salt later)
- 1/4 cup sugar (I’ve tried brown sugar; gives a nice, molassy vibe)
- 16oz cream cheese, room temp (my grandmother was all about Philadelphia, but store brand is solid. Just don’t use the low-fat stuff. Trust me)
- 1 cup powdered sugar
- 1 tsp vanilla extract (I’m liberal with this because why not?)
- 1 1/2 cups sliced strawberries, plus extra for topping
- 1 cup heavy whipping cream (in a pinch, I’ve used canned whipped cream, but it’s less sturdy)
- Pinch of salt (if your butter’s unsalted, otherwise skip)
Okay, Let’s Actually Make These
- Line your pan—I use an 8×8-inch square tin, but if you’re like me and can never find anything, a loaf tin works too. Line it with parchment (don’t skip or you’ll regret every crumb later).
- Mix the base—Stir together graham crumbs, melted butter, and sugar. It should look like wet sand (but not gross). Press it into your pan; I use the bottom of a glass for this, but clean hands work just as well. Pop it in the fridge while you do the rest.
- Cheesecake filling time—Beat cream cheese with powdered sugar and vanilla until smooth. No lumps, please! (This is usually where I sneak a spoonful.)
- Whip the cream—In another bowl, whip the cream until stiff peaks form. If you overwhip, you’ll know because it starts looking a bit like butter. Just stop before then. Fold this into the cheesecake goo gently. Don’t flatten all the fluff out.
- Strawberry swirl—Take your sliced berries and mash them, or blitz them quickly in a blender. Sometimes I add a squeeze of lemon if I’m feeling fancy. Swirl most of the puree into the cheesecake mixture, saving some for the top.
- Assembly—Spread the filling over the chilled base. Dollop the rest of the strawberry stuff on top and swirl with a knife (make it pretty, or don’t—no judgment).
- Chill—Cover and refrigerate for at least 4 hours (though overnight’s even better). Don’t try to cut them early. I’ve done that and, well, spoon dessert anyone?
- Slice and Serve—Cut into bars. Top with extra strawberries if you remembered to save them. Then just bask in your own brilliance.
Stuff I’ve Learned Along the Way
- If your base is too crumbly, add a bit more butter. Too soggy? A tad more crumb. Don’t stress.
- I once tried mixing the strawberries straight into the cream cheese before whipping the cream—don’t. It went kind of weird and watery.
- Plastic wrap stuck to the top keeps fridge funk out. (You ever had cheesecake taste like onions? I have. Not recommended.)
Variations That Actually Work (And One That… Didn’t)
- Blueberry swap: Just sub the strawberries with blueberries. Blackberries were a bit too tart, but maybe I just got a weird batch.
- Chocolate crust: Use Oreo crumbs instead of graham crackers—seriously good, maybe even better? You tell me.
- I once tried adding a layer of lemon curd in the middle—honestly, it was a mess, but tasted like summer. If you’re feeling adventurous, give it a shot.
Tools I Use, Or Don’t
I say a stand mixer makes the filling a breeze, but a handheld electric one works. No mixer? You can go old-school with a sturdy whisk and some muscle (and perhaps a grumble or two). For the base, no food processor needed—just bash the crackers in a zip-top bag with a rolling pin. Good for stress relief.
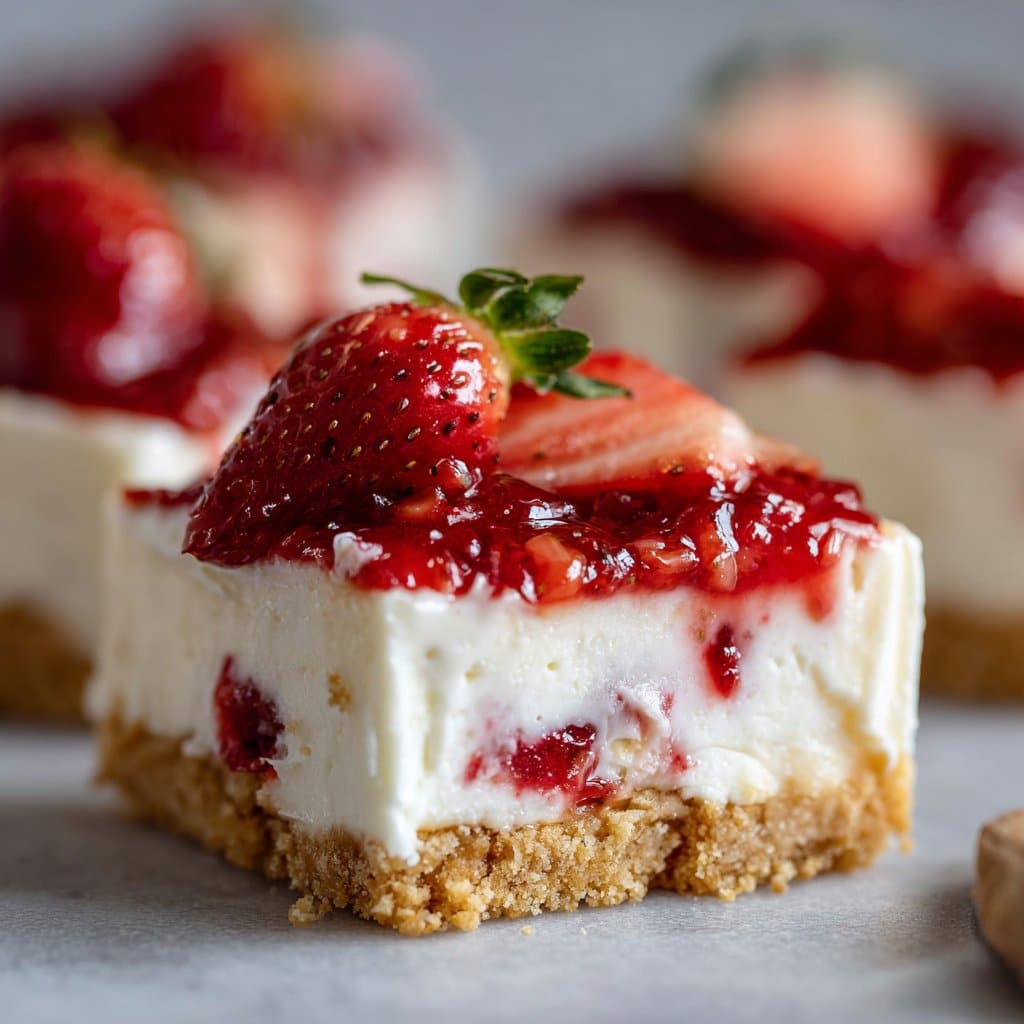
How I Store These (Not That They Last Long)
Keep bars in an airtight container in the fridge, and they’ll stay happy for 2-3 days. But honestly, in my house, they never last more than a day. If you’re more disciplined, you can freeze slices, just let them thaw a bit or they’ll taste like strawberry-flavored ice cubes.
Serving Them Up
I like to cut them into small squares and serve on a big tray with a few mint leaves scattered around. Sometimes we have them with afternoon tea, but my cousin Meg puts a scoop of vanilla ice cream on top for full drama. It’s a bit OTT but hey, her house, her rules.
Little Lessons (Learned the Hard Way)
- I once tried rushing the chilling time—don’t. You’ll end up with mush. Four hours minimum, or overnight if you can bear to wait.
- Don’t overmix the cream cheese; it’ll go runny if you get carried away.
- If your strawberries aren’t sweet, toss them in a bit of sugar and let them sit for 10 minutes—makes all the difference.
Questions I Actually Get Asked (Yes, Really)
- Can I make these ahead? Yep—actually, I think they taste better the next day, as long as you keep ‘em covered.
- My bars didn’t set! What gives? Usually it’s either the cream wasn’t whipped enough or not enough chilling time. Or, like me, you got impatient?
- Can I use frozen berries? You can, but thaw and drain them first. Otherwise, you get watery bars. Trust me, I found out the hard way.
- How do I get neat slices? Wipe your knife between cuts. I forget half the time, so don’t stress if they’re a bit messy.
- Any good resources for no-bake stuff? I love Sally’s Baking Addiction for general no-bake tips, and Serious Eats for the science-y angle if you’re into that.
And there you have it—my (sometimes messy) guide to no-bake strawberry cheesecake bars. If you give it a whirl, let me know how yours turn out, and if you don’t—well, you’re missing out. Just saying.
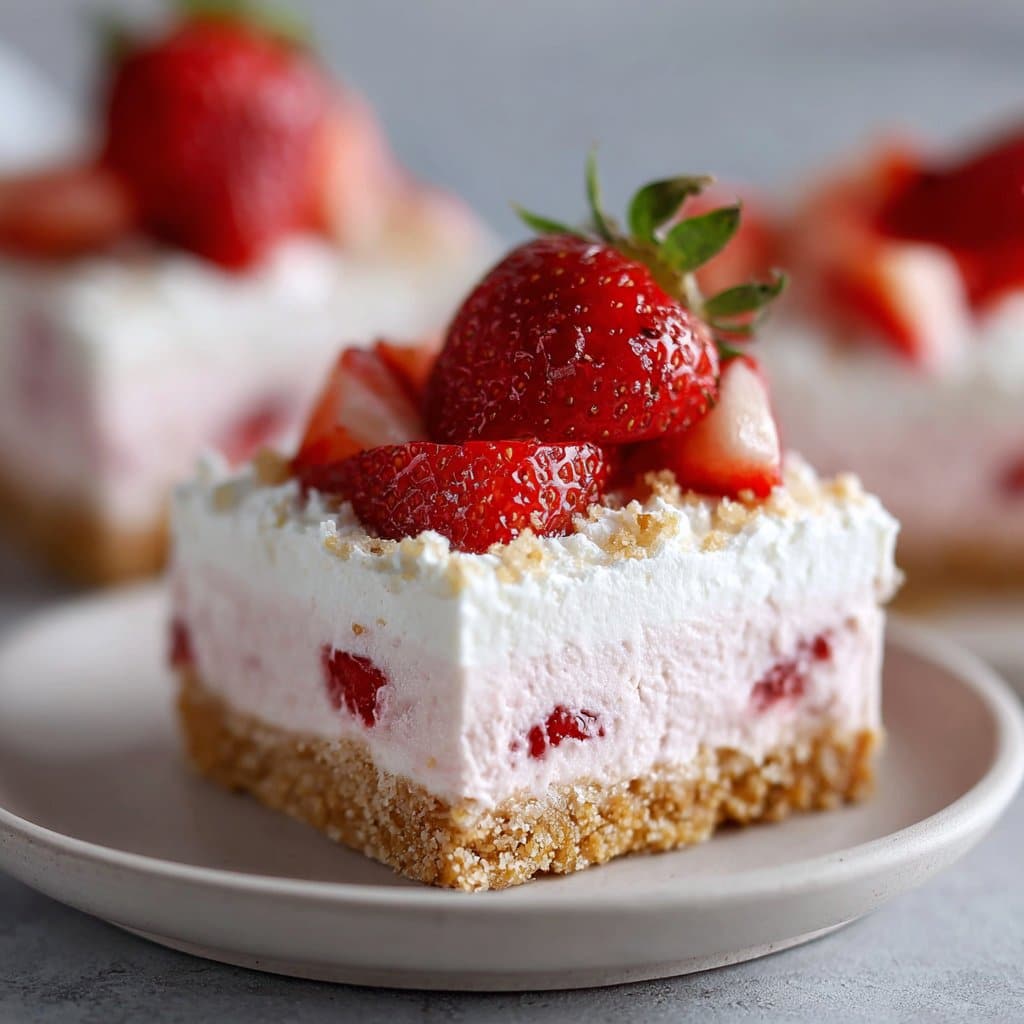
Ingredients
- 2 cups graham cracker crumbs
- 1/2 cup unsalted butter, melted
- 16 oz cream cheese, softened
- 1 cup powdered sugar
- 1 tsp vanilla extract
- 1 1/2 cups heavy whipping cream
- 2 cups fresh strawberries, hulled and sliced
- 1/4 cup strawberry jam
Instructions
-
1Line an 8×8-inch baking pan with parchment paper. In a medium bowl, combine graham cracker crumbs and melted butter. Press the mixture firmly into the bottom of the prepared pan to form the crust. Chill in the refrigerator while preparing the filling.
-
2In a large bowl, beat the softened cream cheese, powdered sugar, and vanilla extract until smooth and creamy.
-
3In a separate bowl, whip the heavy cream until stiff peaks form. Gently fold the whipped cream into the cream cheese mixture until well combined.
-
4Spread the cheesecake filling evenly over the chilled crust. Smooth the top with a spatula.
-
5In a small saucepan over low heat, warm the strawberry jam until it becomes pourable. Toss the sliced strawberries with the warm jam, then arrange them over the cheesecake layer.
-
6Refrigerate the bars for at least 4 hours, or until set. Slice into bars and serve chilled.
Approximate Information for One Serving
Nutrition Disclaimers
Number of total servings shown is approximate. Actual number of servings will depend on your preferred portion sizes.
Nutritional values shown are general guidelines and reflect information for 1 serving using the ingredients listed, not including any optional ingredients. Actual macros may vary slightly depending on specific brands and types of ingredients used.
To determine the weight of one serving, prepare the recipe as instructed. Weigh the finished recipe, then divide the weight of the finished recipe (not including the weight of the container the food is in) by the desired number of servings. Result will be the weight of one serving.
Did you make this recipe?
Please consider Pinning it!!




