Let Me Tell You About This Creamsicle Cake
If you’re looking for something that tastes like summertime and happiness (with a little messy kitchen thrown in), this Creamsicle Cake is basically edible sunshine. The first time I made it, I was trying to impress my cousins at a family BBQ; honestly, I was just hoping nobody noticed I’d used up the last of the orange soda in the mix. Spoiler: they noticed, they devoured it anyway, and my aunt still asks for the recipe every August. Oh—watch out, this thing will disappear quicker than you can say “who ate the last slice?”
Why Do I Keep Coming Back To This?
I whip this up when I need a cake that feels like a treat but doesn’t require a culinary degree or nerves of steel. My family goes mad for it (even the picky one; you know who you are, Jamie). The orange cream flavor just screams old-school ice cream truck—except I don’t have to chase anyone down the street. Sometimes the icing gets a little runny on a humid day, but hey, it’s cake, not rocket science.
What You’ll Need (And a Few Swaps)
- 1 box white cake mix (or yellow if you like it richer—my grandmother swore by Duncan Hines but, honestly, store brand does the trick)
- 1 cup orange soda (if you’re fresh out, orange juice works, but it’s less fizzy and, I admit, not quite as fun)
- 3 large eggs
- 1/2 cup vegetable oil (swapped in melted butter once; not my best idea, got a bit oily)
- 1 package (3 ounces) instant vanilla pudding mix (tried French vanilla once—no one complained)
- 1 teaspoon orange zest (optional, but I love the zing)
- For the Frosting:
- 1/2 cup unsalted butter, softened
- 2 cups powdered sugar (plus a little more for thickening if needed)
- 2 tablespoons orange juice (out of juice? A dash of orange extract plus milk can save the day)
- 2 tablespoons heavy cream (milk is fine in a pinch)
- 1/2 teaspoon vanilla extract
- Orange food coloring—a few drops (but you can skip it; the flavor’s the star)
How I Actually Make Creamsicle Cake
- Preheat your oven to 350°F (or 175°C, if you’re fancy). Grease a 9×13 inch pan. I’ve used glass, metal, ceramic—doesn’t seem to matter much, just don’t forget that nonstick spray.
- In a big bowl (I always use the yellow one, feels right), dump the cake mix, pudding mix, eggs, oil, orange soda, and orange zest. Beat it together until smooth—2 minutes is good. If you see a few lumps, don’t stress. This is the point where I usually sneak a quick taste, purely for quality control.
- Pour the batter into the pan and smooth the top. Bake 30-35 minutes. Check with a toothpick—if it comes out clean, you’re golden. Sometimes my oven cooks hotter on the left side, so I rotate halfway; if you forget, the world won’t end.
- Let the cake cool completely. Trust me, if you try to frost it early, you’ll regret it (learned the hard way—runny icing everywhere).
- For the frosting: Beat butter on medium until fluffy (I use a hand mixer because it’s what I have; stand mixer is great, or just use a sturdy whisk if you’re feeling strong).
- Add powdered sugar gradually, then the orange juice, cream, and vanilla. Beat until it’s smooth. Toss in food coloring if you like. If it’s too thin, sift in more sugar; too thick, more cream.
- Slather frosting all over the cooled cake. Don’t worry if it looks a little uneven. That’s rustic. Or as my mom says, “It’s homemade, not store bought!”
Notes From the Trenches
- If you’re in a hurry, the cake’s good warm, but honestly, I think it tastes better the next day (if you can wait).
- One time, I forgot the orange zest; didn’t ruin it, but it was missing that little sparkle.
- If your frosting is weirdly lumpy, just keep beating—or run it through a sieve. Or go make tea and try again in a bit.
Experimenting With Variations
I’ve swapped in lemon soda for orange—surprisingly tasty, but not quite that creamsicle vibe. Tried chocolate pudding mix once, thinking I was a genius; turns out, not a genius (tasted odd, but edible). A swirl of marmalade in the batter is pretty wild, too, if you’re feeling adventurous.
Do I Really Need Special Equipment?
Honestly, I just use my hand mixer. Don’t have one? A big whisk and some elbow grease works (or rope in a teenager, if you’ve got one nearby). No fancy tools needed—just a pan and some bowls. I’ve even baked it in a couple of loaf pans when my big one was MIA. Cake is cake.
How To Store (If You Actually Have Leftovers)
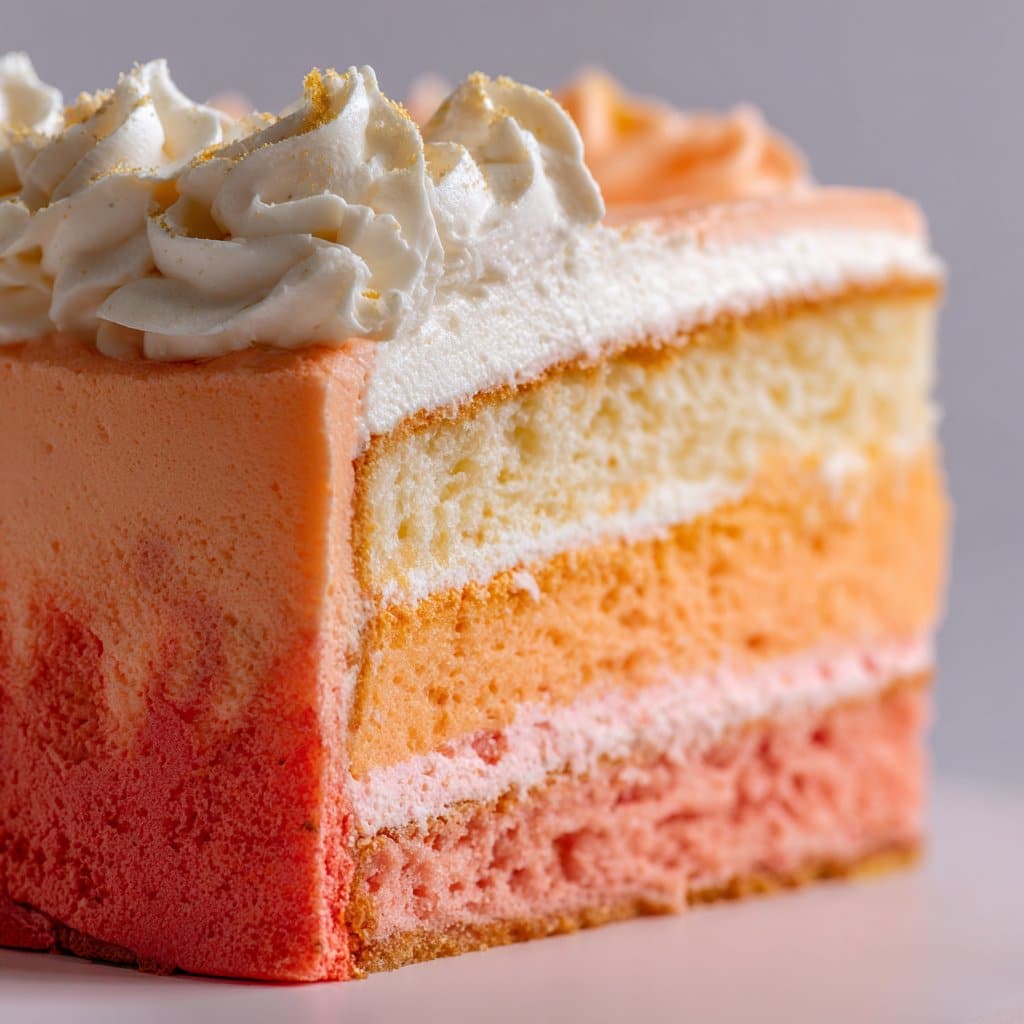
Stick it in the fridge, covered, and it’ll last 2–3 days. The flavors mellow together—delish. Though, honestly, in my house it never survives more than a day. One time I tried freezing individual slices; they thawed fine, but the frosting got a bit gritty. Still edible!
Serving Creamsicle Cake: The Fun Part
My favorite trick: a scoop of vanilla ice cream on the side. Makes it extra nostalgic. Sometimes we add sprinkles if there are kids around (or adults, let’s be real). At my cousin’s place, we once stuck mini popsicle sticks in every slice for laughs—actually made serving messier, but it looked cute for a photo.
Pro Tips, AKA Stuff I Learned The Hard Way
- Don’t rush the cooling step. I once tried icing a warm cake and the whole top layer slid off like an avalanche. Not my best.
- Measure the orange soda after the fizz settles, or you’ll short yourself (trust me, I did it—cake was weirdly dry).
- Actually, I find it works better if you sift the powdered sugar for the frosting, but sometimes I forget and just wing it.
Questions I Get All The Time
- Can I use diet soda? Sure, but it might bake up a bit differently. I tried it once and the crumb was slightly drier. Not bad, just not as rich.
- Is there a way to make this from scratch, no cake mix? Absolutely, but I, for one, am okay with shortcuts sometimes. If you want a homemade mix, Sally’s Baking Addiction (here) has a great vanilla cake base you could sub in.
- What if I don’t have instant pudding? You can skip it—cake will be a little less moist, but still tasty. I’ve even subbed in a scoop of Greek yogurt in a pinch. Not exactly traditional, but it worked.
- Can I double the recipe? Yep, just use two pans or a big old roasting tray. Watch the bake time—it’ll probably take a bit longer.
- Does it travel well? If you chill it first, yes, but if it’s hot out, the frosting can get soft. I sometimes wrap and travel with frosting in a jar, then slather it on at the party. Pro tip: bring extra napkins.
Oh, and if you want to get really nerdy about cake science, Serious Eats (check them out) has some deep dives. But honestly? Just make the cake. Enjoy the mess. And maybe call your mom while it bakes. (She’ll want a slice!)
Ingredients
- 2 1/2 cups all-purpose flour
- 1 1/2 cups granulated sugar
- 1/2 cup unsalted butter, softened
- 3 large eggs
- 1 cup orange juice
- 1/2 cup milk
- 2 teaspoons vanilla extract
- 2 teaspoons baking powder
- 1/2 teaspoon salt
- 1 tablespoon orange zest
- 1 cup heavy cream (for frosting)
- 1/2 cup powdered sugar (for frosting)
- 2 tablespoons orange gelatin powder (for frosting color and flavor)
Instructions
-
1Preheat the oven to 350°F (175°C). Grease and flour two 9-inch round cake pans.
-
2In a large bowl, cream together the butter and granulated sugar until light and fluffy. Add eggs one at a time, beating well after each addition.
-
3In a separate bowl, whisk together flour, baking powder, and salt. Gradually add the dry ingredients to the wet mixture, alternating with orange juice and milk. Mix in vanilla extract and orange zest.
-
4Divide the batter evenly between the prepared pans. Bake for 28-32 minutes, or until a toothpick inserted into the center comes out clean. Let cakes cool completely.
-
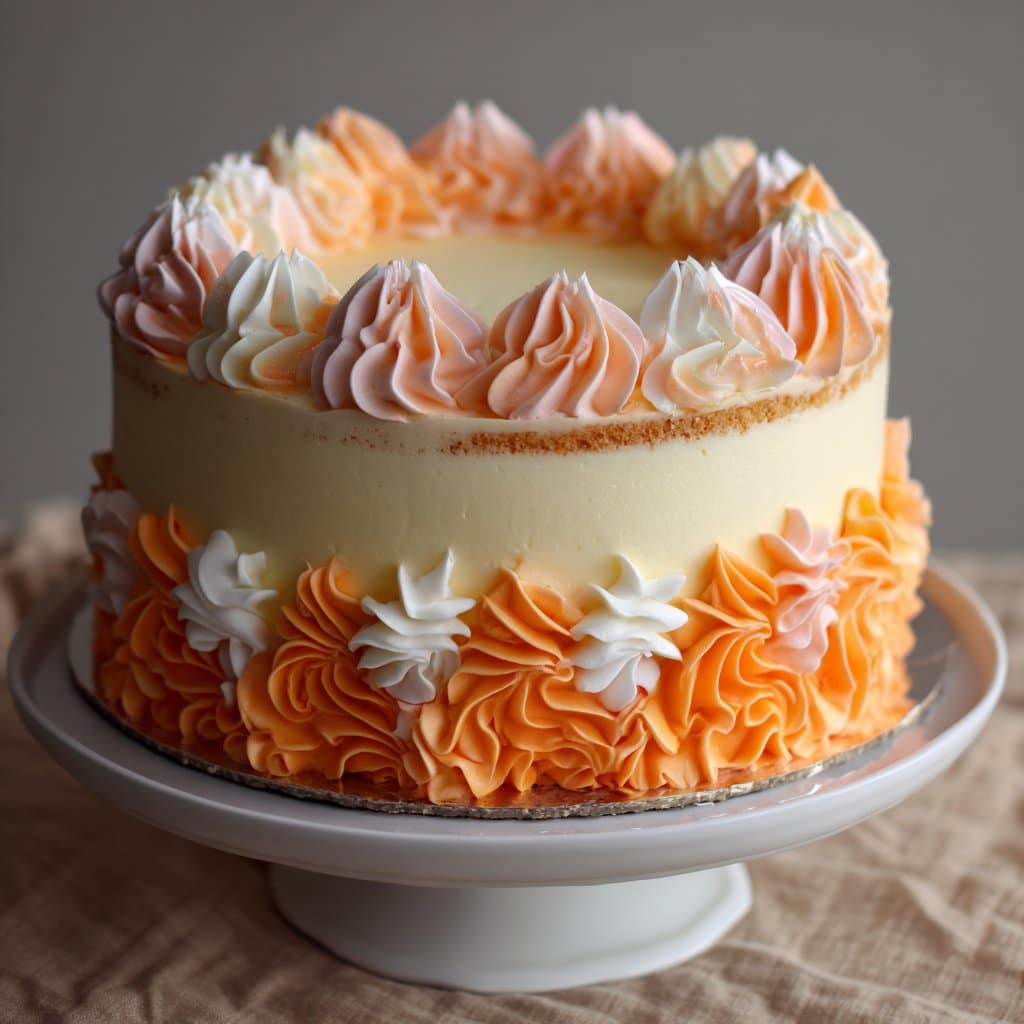
5For the frosting, whip heavy cream with powdered sugar and orange gelatin powder until stiff peaks form. Spread the frosting between the cake layers and over the top and sides.
-
6Chill the cake for at least 30 minutes before serving for best flavor and texture.
Approximate Information for One Serving
Nutrition Disclaimers
Number of total servings shown is approximate. Actual number of servings will depend on your preferred portion sizes.
Nutritional values shown are general guidelines and reflect information for 1 serving using the ingredients listed, not including any optional ingredients. Actual macros may vary slightly depending on specific brands and types of ingredients used.
To determine the weight of one serving, prepare the recipe as instructed. Weigh the finished recipe, then divide the weight of the finished recipe (not including the weight of the container the food is in) by the desired number of servings. Result will be the weight of one serving.
Did you make this recipe?
Please consider Pinning it!!




