These Buttermilk Donut Bars Are Pure Cozy Nostalgia (and Yes, the Glaze Is Ridiculous)
Okay, so—story time. I made a massive mess the first time I tried these Old-Fashioned Buttermilk Donut Bars with Brown Butter Maple Vanilla Bean Glaze. Think flour clouds, sticky fingers, and a glaze puddle the size of Lake Superior. But the smell! When that buttery, mapley, almost caramel aroma started drifting out of the kitchen—I thought I’d conjured up a bakery right out of one of those old-fashioned towns you see in Hallmark movies (the ones where everyone has a perfect kitchen and apparently endless time to bake).
Anyway, these donut bars are now my go-to treat when I want something that tastes like a hug from childhood—except upgraded with real brown butter and the kind of glaze that makes you involuntarily clean the bowl with a finger. My cousin Jen once ate three in one sitting and then tried to blame the missing fourth on the dog (for the record: our family dog is about 12 pounds and hates sweets).
Why You’ll Love This Recipe (Or Maybe Become a Little Obsessed)
- I make these, honestly, mostly when it’s raining and I want to fill the house with warm, sweet smells (or if I just want to avoid doing laundry, let’s be real).
- My family goes wild for these donut bars because they’re like a fresh bakery treat but you can wear your pajamas and nobody judges your second (or, er, third) helping. Once, I tried skipping the vanilla bean in the glaze—no dice; the crowd nearly rioted.
- The dough comes together so much easier than actual donuts (no rolling, barely any fuss), though I used to get dough everywhere before I figured out the parchment paper trick. I’ll tell you more in a sec.
- And (little secret) this is seriously the best use for that last bit of buttermilk lurking in the fridge—you know, the one you bought for pancakes like a month ago and then sort of forgot?
You’ll Need These Ingredients (but Feel Free to Improvise!)
- 2 1/2 cups all-purpose flour (I sometimes swap in half whole wheat, makes ’em a bit rustic. Grandma would not approve but I like it.)
- 2 teaspoons baking powder and 1/2 teaspoon baking soda
- 3/4 teaspoon salt, plus a pinch or two for the glaze
- 1/2 teaspoon freshly grated nutmeg (or ground, use what you have—I forget the nutmeg sometimes and nobody complains)
- 1/2 cup granulated sugar
- 1/4 cup packed light brown sugar (dark is fine, really amps up the flavor)
- 2 large eggs
- 1/2 cup buttermilk (or milk with a splash of vinegar if you forgot to buy buttermilk; trust me, been there!)
- 4 tablespoons unsalted butter, melted and cooled (salted works too, just skip a pinch of salt above)
- 1 teaspoon vanilla extract
- For the glaze:
- 4 tablespoons unsalted butter
- 1 1/4 cups powdered sugar
- 1/4 cup real maple syrup (don’t use pancake syrup, strictly forbidden—okay, not really, but real maple just tastes so much better)
- 1/4 teaspoon flaky sea salt (optional, but I dig it)
- 1/2 vanilla bean, seeds scraped (totally fine to use an extra teaspoon of vanilla extract if you don’t have beans lying around; I almost never do unless I’m feeling fancy)
Let’s Get Donutty: How To Make These Bars (Don’t Stress, It’s Easy)
- Preheat your oven. Crank it up to 350°F (that’s 175°C). Grab an 8×8-inch pan (or something close—9-inch is fine, the bars’ll just be a smidge thinner). Line it with parchment paper, letting a couple inches hang over two sides for easy lifting. Trust me, do the parchment! (I used to skip this and always ended up spackling stuck-on donut bits off the pan with a spoon.)
- Mix the dry stuff. In a big-ish bowl, whisk together the flour, baking powder, baking soda, salt, nutmeg, and both kinds of sugar.
- Whisk up the liquids. In another bowl—I know, annoying, but worth it—mix up the eggs, buttermilk, cooled butter (don’t add it hot or you’ll get weird scrambled eggs, ask me how I know), and vanilla.
- Combine and chill (the dough, not you). Pour the wet into the dry. Switch to a wooden spoon or a big spatula (or your hands, honestly, though it’s sticky). It might look a bit thick or even lumpy—that’s fine! Don’t overmix. Scrape it into the pan and smooth it as best you can. I usually lick the spatula here, just quietly.
- Bake it. Pop it in the oven for 25 to 28 minutes, or until a toothpick poked in the middle comes out clean or—better—a little moist. If your oven’s like mine and has a mind of its own, check early. Cool in the pan at least 10 minutes before glazing. (Go ahead and have a snack, but don’t eat these yet. They’re better with glaze.)
- Make the glaze. Brown your butter in a small saucepan: melt it over medium heat, then let it bubble and foam; swirl it a bit, and once it smells nutty and looks golden (almost like you’re about to worry it’s burning), take it off the heat. Pour the brown butter into a bowl, toss in the powdered sugar, maple syrup, sea salt, and those lovely vanilla bean seeds. Stir or whisk, add a splash of milk if it’s too thick. When you taste it here—and you will—just know you’re living your best life.
- Slather and set. Spoon glaze over the cooled bars in the pan. I like to go heavy on the corners where it pools up. Let it set 15 minutes (if you can wait), then lift out and cut into squares, rectangles, or weird trapezoids—whatever, I’m not judging shapes.
Random Notes and Odd Discoveries
- The first time I made these, I dumped the dry into the wet instead of the other way, and nothing exploded. So you could do it either way, honestly.
- If the glaze ever sets weirdly or separates, just zap it in the microwave for ten seconds and stir. Fixed!
- I really think these taste even better the next day, though honestly they almost never make it past the evening in my house.
Variations I’ve Tried (With Admittedly Mixed Results)
- I once tossed in a handful of chopped toasted pecans—delish. Walnuts, too, but pecans win in my book.
- Swapped half the buttermilk for sour cream. Made the bars even richer, but a little denser. Not bad, just… different.
- Tried drizzling with chocolate instead of the maple glaze. Eh. Maybe my chocolate was too dark? Stick with the maple if you ask me.
- Threw a pinch of cinnamon in the glaze once. Not sure it made any difference, but it sure made me feel like I was on a baking show.
What You Might Want for This (But Workarounds Are Totally Fine)
- An 8×8-inch baking pan—though you can wing it with a 9×9 or even a loaf pan in a pinch. They just come out thicker or thinner, no biggie.
- Parchment paper. I used to butter the heck out of the pan, but things always stuck. Parchment’s my best friend now—well, in the kitchen.
- A hand mixer is nice if you’re lazy (like me) but elbow grease works fine. Actually, my old wooden spoon does a perfectly good job, as long as I don’t get carried away.
How To Store (if You Somehow Have Leftovers)
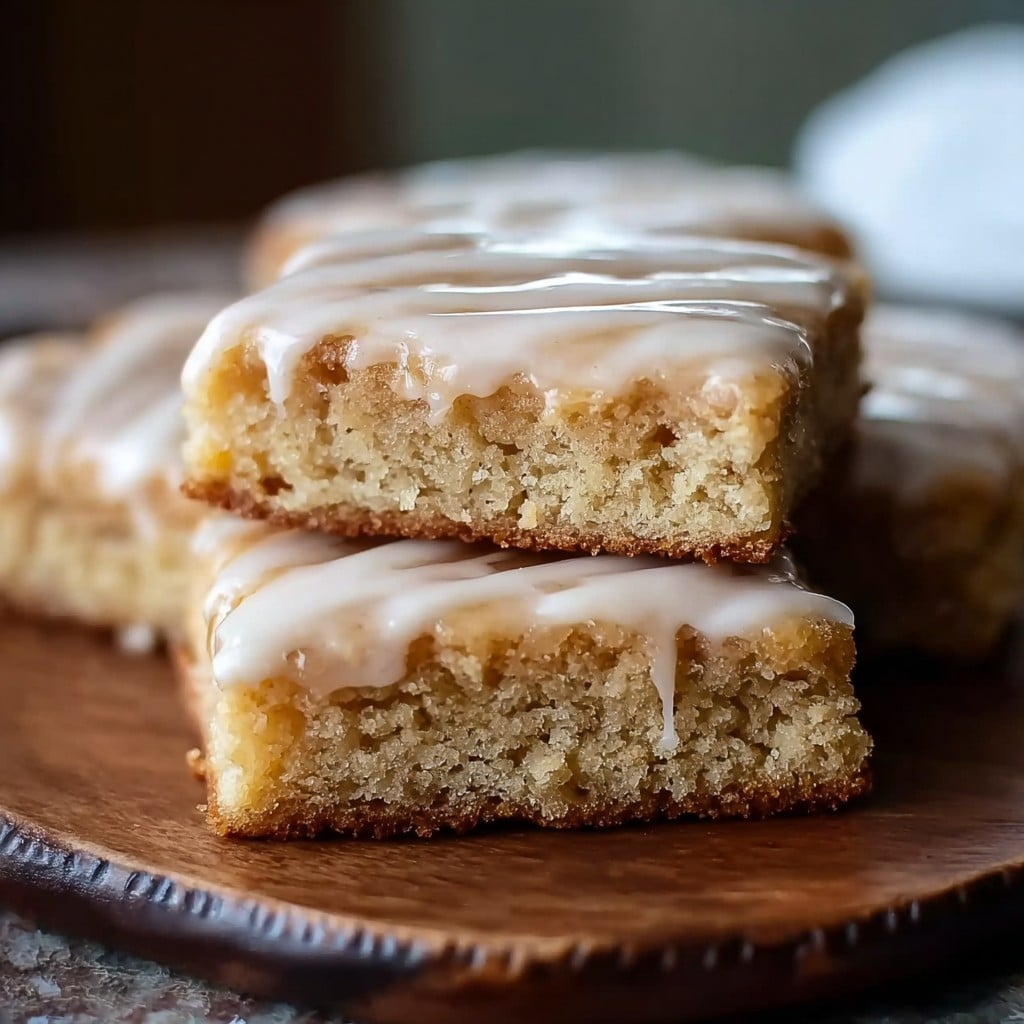
I pop these in an airtight container at room temp for up to 2 days—tho I’ve maybe only seen that happen once. If you want to keep them longer, fridge is okay, just make sure to bring them to room temp or even zap ’em in the microwave for a few seconds to soften ’em up (the glaze gets a bit firm but still good, trust me—actually, maybe even better).
Serving ‘Em Up (Or Just Eating Straight from the Pan… No Shame)
They’re perfect with a cup of strong coffee or hot chocolate (if you want to go full dessert: ice cream on the side, just sayin’). Sometimes we do breakfast-for-dinner and I serve these as the grand finale—nobody’s ever objected. Or you could try slicing them small and pretending they’re polite tea treats, but honestly my crew just grabs with their hands.
Things I’ve Learned the Hard Way (A.K.A. Pro Tips)
- I once tried to rush the cooling step. Regretted it instantly—glaze just runs off like a river. Patience, grasshopper.
- If the butter is too hot while mixing into the eggs, you get weird little cooked egg bits in your batter. Just wait a minute for it to cool.
- Don’t try baking this as a giant cookie sheet—totally flattens out. You want the sides of the pan to get that good, cozy thickness.
FAQ (from Friends, Cousins, and the Internet)
- Can I use non-dairy milk or vegan butter?
Yep! I’ve done it with almond milk and Earth Balance. The flavor’s not quite as rich, but they still vanish fast. - Is it better to bake or fry these?
These bars are meant for baking—I once tried frying the dough and, weirdly, they tasted bland. Probably needs more tweaking, but baking’s just all-around easier. - Do I really need a vanilla bean?
Nope, not at all—though it’s luxurious if you have one. I use straight vanilla extract most of the time. (If you want to read more on vanilla, this King Arthur post is super helpful.) - My glaze is thick—what’s the fix?
Just whisk in a teaspoon of milk, little by little. Or if you go wild and add too much, a spoonful more powdered sugar thickens it up quick. - Can I freeze these?
Actually, yes! Freeze unglazed bars in a bag, then thaw and glaze later. (I found this tip on Sally’s Baking Addiction and it saved me for a brunch last spring!)
Oh and, if anyone’s after a deep dive into brown butter magic, check out this explainer on Serious Eats. Changed the way I cook, honestly. Anyway—holler if you make these donut bars. Or if you run out of glaze mid-recipe and end up eating them plain… they’re still pretty darn good, promise.
Ingredients
- 2 cups all-purpose flour
- 1 teaspoon baking powder
- 1/2 teaspoon baking soda
- 1/2 teaspoon salt
- 1/2 cup granulated sugar
- 2 large eggs
- 1/2 cup buttermilk
- 1/4 cup unsalted butter, melted and cooled
- 1 teaspoon vanilla extract
- For the glaze:
- 1/4 cup unsalted butter
- 1 cup powdered sugar
- 2 tablespoons pure maple syrup
- 1/2 teaspoon vanilla bean paste
- 2–3 teaspoons milk (as needed)
Instructions
-
1Preheat the oven to 350°F (175°C). Lightly grease a 9×9-inch baking pan or line it with parchment paper.
-
2In a bowl, whisk together flour, baking powder, baking soda, salt, and granulated sugar.
-
3In a separate bowl, whisk eggs, buttermilk, melted butter, and vanilla extract until combined. Stir wet ingredients into dry ingredients just until combined.
-
4Spread batter evenly into prepared pan. Bake for 22–25 minutes, or until the top is golden and a toothpick inserted into the center comes out clean. Let cool slightly.
-
5For the glaze, cook butter in a small saucepan over medium heat until golden brown and fragrant. Remove from heat and whisk in powdered sugar, maple syrup, vanilla bean paste, and 2 teaspoons milk. Add more milk as needed for a pourable consistency.
-
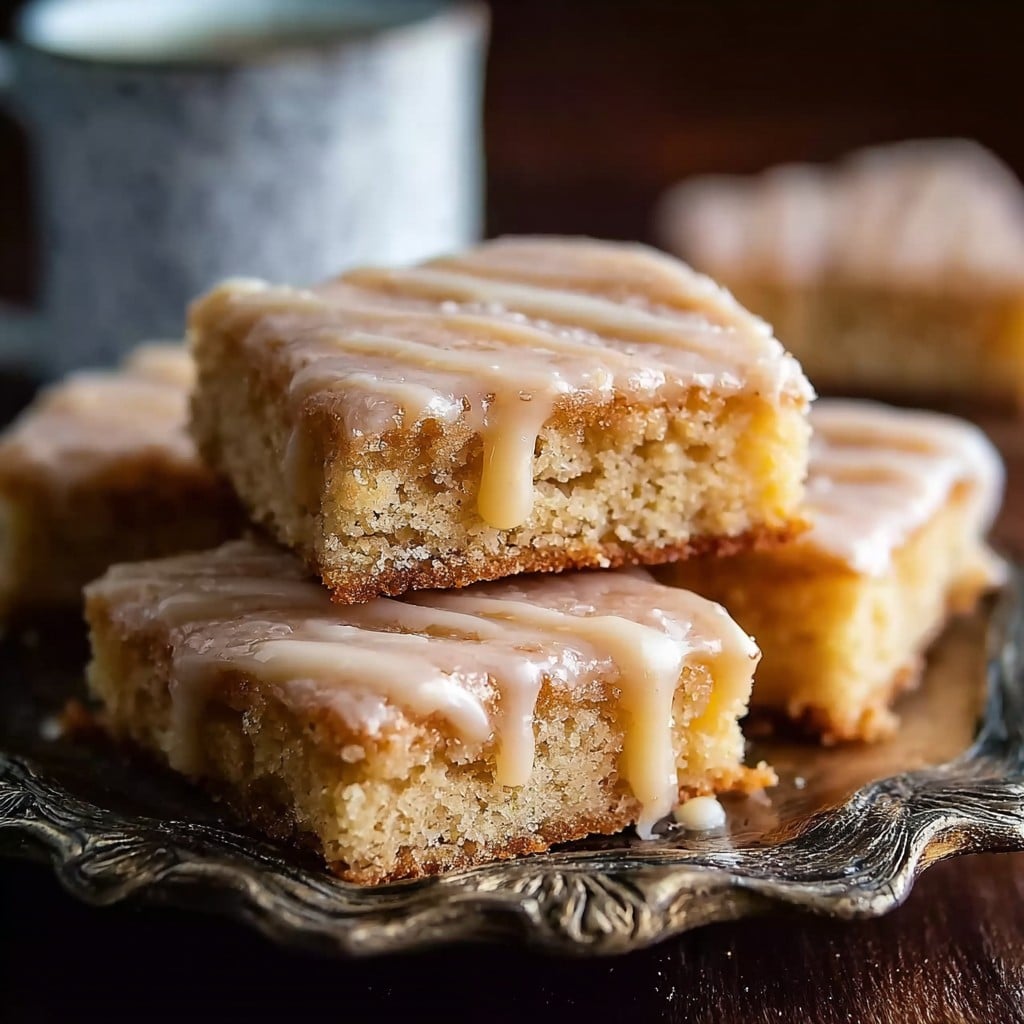
6Drizzle glaze over warm donut bars. Allow glaze to set before slicing into bars and serving.
Approximate Information for One Serving
Nutrition Disclaimers
Number of total servings shown is approximate. Actual number of servings will depend on your preferred portion sizes.
Nutritional values shown are general guidelines and reflect information for 1 serving using the ingredients listed, not including any optional ingredients. Actual macros may vary slightly depending on specific brands and types of ingredients used.
To determine the weight of one serving, prepare the recipe as instructed. Weigh the finished recipe, then divide the weight of the finished recipe (not including the weight of the container the food is in) by the desired number of servings. Result will be the weight of one serving.
Did you make this recipe?
Please consider Pinning it!!




