Let Me Tell You About This Lazy Chocolate Cake
So, you know those days where the idea of dirtying a million bowls just makes you want to throw in the towel? That’s pretty much how One-Bowl Chocolate Dump Cake entered my life. Maybe it’s just me, but there’s something wild about mixing everything in one big bowl and hoping for magic. And, honestly, this cake is magic—or at least, it tastes like it when you eat it warm straight from the pan and hide the evidence (my sister still talks about the time I made this for her birthday and forgot the vanilla; she didn’t notice, but I still cringe a bit).
Anyway, if you’re the sort who likes to bake without all the fuss (and maybe with a podcast burbling in the background), you’re going to love this. Oh, and don’t worry if you get distracted and mix the wet into the dry instead of the other way round (been there)—it still turns out fudgy and glorious.
Why I Keep Making This (And You Probably Will Too)
I make this when I’ve got about five spare minutes and people are coming over, or when it’s a Wednesday and I just need something chocolatey. My family goes mad for it, though my youngest claims he likes the raw batter more (I have to admit, I sneak a spoonful, too—sorry, not sorry). I once tried making it in a fancy stand mixer; didn’t get better, just had more to clean. This is a spoon-and-muscle, all-in-the-bowl job. Plus, no weird ingredients or fussy steps. (I do get annoyed with those recipes that call for melting six different kinds of chocolate—no thanks.)
The Ingredients List (With a Few Swaps I’ve Tried)
- 1 cup plain flour (sometimes I use whole wheat if I’m feeling virtuous, though my husband says it tastes “healthy” in a bad way…)
- 1 cup white sugar (my gran swore by caster sugar, but regular works, too—honestly, use whatever’s in the cupboard)
- 1/2 cup unsweetened cocoa powder (Dutch-process if you’re fancy, but supermarket stuff is fine, trust me)
- 1 tsp baking soda
- 1/2 tsp salt (I eyeball it—don’t tell my mother-in-law)
- 1/2 cup vegetable oil (melted butter if you’re feeling decadent, but oil keeps it softer)
- 1 cup milk (almond, oat, or even water in a pinch—done them all, all eatable)
- 2 eggs (or 1 egg and a good glug of Greek yogurt; weirdly works!)
- 1 tsp vanilla extract (I forget this half the time, and nobody complains)
- 1 cup chocolate chips or chopped chocolate (totally optional, but “necessary” if you ask my kids)
How I Actually Make It (No Judgement Zone)
- Preheat your oven to 175°C (350°F), or just sort of close if it’s one of those old ovens. Grease an 8×8 inch pan (or use parchment if you hate scrubbing, which I do).
- Throw all the dry stuff—flour, sugar, cocoa, baking soda, salt—into the biggest bowl you’ve got. Stir them together until it looks vaguely even. Don’t stress about lumps.
- Pour in the oil, milk, eggs, and vanilla. Mix until it’s just combined. I use a big wooden spoon, but a fork works. This is where I usually sneak a taste, though I probably shouldn’t admit that. If you see streaks of flour, give it another few stirs, but don’t overdo it—seriously, it can get tough.
- Fold in chocolate chips if you’re using them. Or don’t. Sometimes I don’t have any and the world doesn’t end.
- Pour the batter into your pan. It’ll look a bit sad and gloopy, but trust—it’ll bake up fine.
- Bake for 28–33 minutes. Start checking at 25 if your oven runs hot (mine’s like a dragon some days). A toothpick should come out mostly clean—if there’s fudgy bits, that’s not a bad thing.
- Let it cool for at least 10 minutes. Or dive in when it’s warm if you’re feeling reckless. I never wait long.
Stuff I Learned the Hard Way
- If you use butter, melt it fully—I once left it lumpy and got weird greasy pockets
- Don’t skip the salt, it really does make a difference (I once left it out and the cake tasted… flat? Not even sure that’s a thing but trust me)
- Actually, I find it works better if you don’t overmix. The batter’s meant to look scrappy.
Experiments and Variations (Not All Winners)
- Peanut butter swirl: Warm a couple spoons of PB and ripple through before baking. Turns out, everyone likes this except my brother-in-law, who claims it’s “too much.”
- Espresso powder: A teaspoon added to the dry mix kicks up the chocolate flavor. Or so Sally’s Baking Addiction says—I tried it, and, yeah, it’s pretty good.
- Leftover Halloween candy: Chopped up and thrown in. Looks questionable, tastes fun. Don’t try gummy bears though. Once was plenty.
- Vegan: Sub eggs for flax eggs and milk for alt-milk. It’s a little less fluffy, but my vegan friend gave it a thumbs up.
What You’ll Need (And What To Do If You Don’t)
- Big bowl (obviously)
- Wooden spoon or spatula. Or a regular metal spoon—won’t break the cake.
- 8×8 inch baking pan. One time I used a loaf tin; had to bake it way longer but it came out fine, just more… loafy.
- If you haven’t got parchment, try a bit of foil or just grease the pan really well. (I once used wax paper, it melted. Don’t do that.)
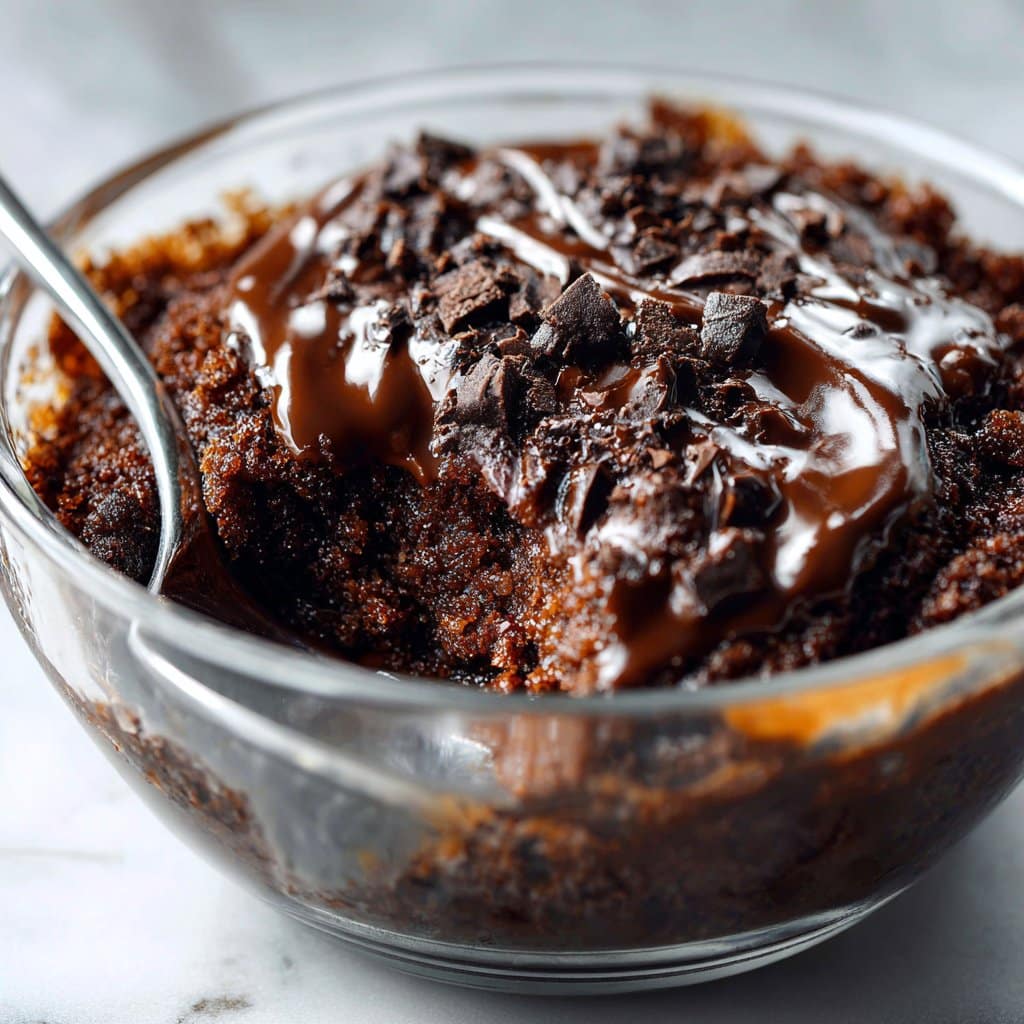
Keeping It Fresh (If It Even Lasts That Long)
Technically, you can store this cake covered at room temp for two days, or in the fridge for up to four. But honestly, in my house it never lasts more than a day—someone nicks a piece every time they walk through the kitchen. On the rare occasion there’s leftovers, microwaving it for 10 seconds brings back the gooey magic.
How I Like to Serve It (But You Do You)
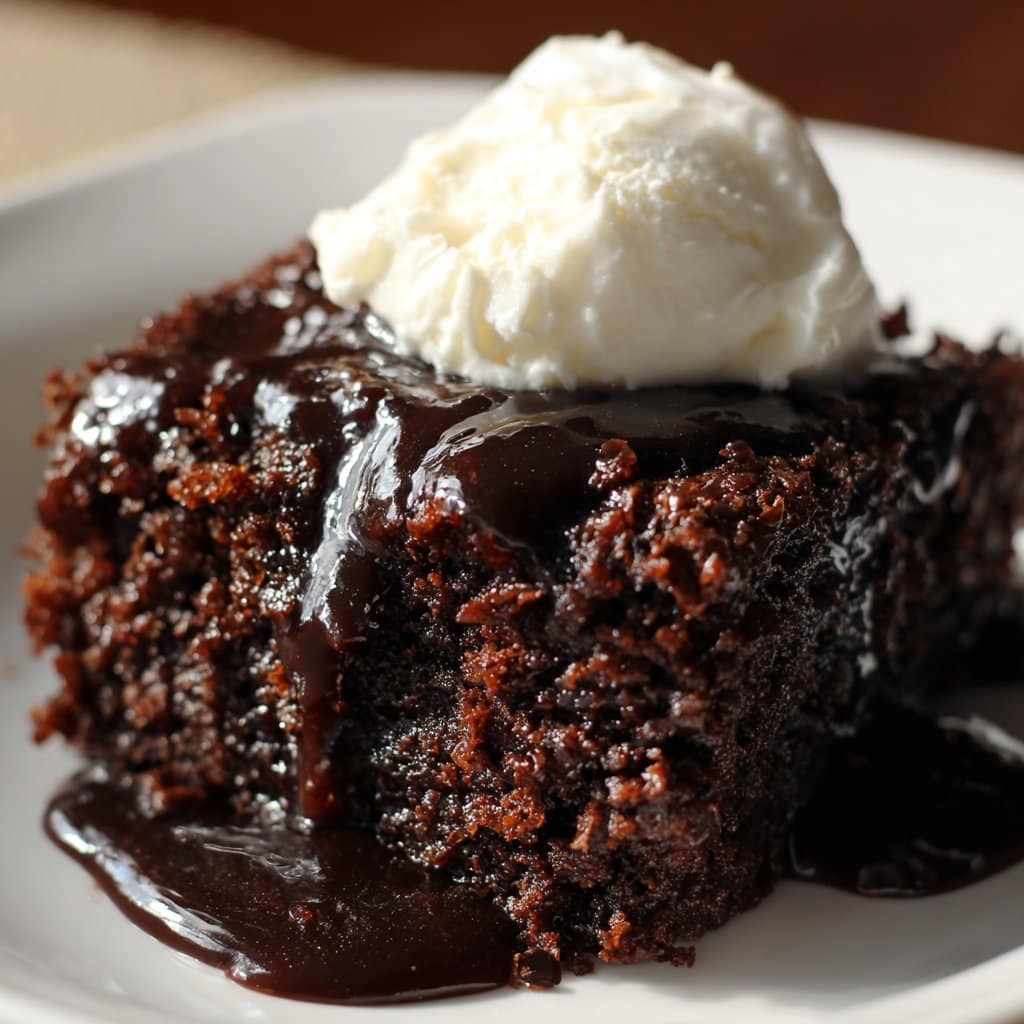
Here’s my move: a big scoop of vanilla ice cream right on top, maybe a handful of berries if I’m feeling fancy (or trying to pass it off as a balanced dessert, ha). My cousin swears by a drizzle of caramel sauce (check out these topping ideas for inspiration). Sometimes, I just eat it straight from the pan with a fork—no shame in my game.
Things I Wish I’d Known (Pro Tips from Minor Fails)
- Don’t rush the cooling—once I cut into it straight from the oven and it just collapsed into fudge. Tastes fine but don’t expect pretty slices.
- Baking powder can’t sub for baking soda here—I tried it once, cake was dense and sad (didn’t stop us eating it, but still).
- Actually, lining the pan with parchment really does make removing it easier—though sometimes I just scoop it out anyway.
Some Questions Folks Have Actually Asked Me
- Can I double this recipe? Yep, just use a 9×13 pan and check for doneness—it might need an extra 5–10 minutes. Don’t forget to check in the middle!
- Is it okay to use self-raising flour? I mean, you can, but cut the baking soda in half, or else it’ll puff up then drop like a soufflé (learned that the hard way).
- Milk alternatives—what’s best? I’ve used everything from oat to coconut milk; works fine, just changes the flavor slightly. Almond’s my go-to if I’ve run out of regular.
- Can I freeze it? Sure, but it gets a tiny bit drier after thawing. Wrap slices in cling film and freeze for up to a month—if you can wait that long.
- How do you make it gluten-free? I swap the flour for a 1:1 gluten-free blend (like Bob’s Red Mill); it’s not quite as springy, but still pretty tasty.
- Is this cake super sweet? It’s pretty chocolatey, not tooth-achingly sweet, but you can cut the sugar by a quarter cup if you prefer.
- Can I add nuts? Absolutely! Walnuts or pecans are great here, just stir in a handful with the chocolate chips. Pistachios once, but that got mixed reviews.
And that’s the whole shebang. If you try it, let me know what weird or wonderful swaps you come up with. Or if you just accidentally eat the whole thing in an afternoon (been there, no judgement). Happy baking!
Ingredients
- 1 1/2 cups all-purpose flour
- 1 cup granulated sugar
- 1/2 cup unsweetened cocoa powder
- 2 teaspoons baking powder
- 1/2 teaspoon salt
- 1 cup milk
- 1/2 cup vegetable oil
- 2 large eggs
- 1 teaspoon vanilla extract
- 1 cup chocolate chips
Instructions
-
1Preheat your oven to 350°F (175°C). Grease a 9×13-inch baking dish.
-
2In a large bowl, whisk together flour, sugar, cocoa powder, baking powder, and salt.
-
3Add milk, vegetable oil, eggs, and vanilla extract to the dry ingredients. Mix until just combined.
-
4Pour the batter into the prepared baking dish and sprinkle chocolate chips evenly over the top.
-
5Bake for 35 minutes, or until a toothpick inserted into the center comes out clean.
-
6Allow to cool slightly before serving. Enjoy your no-fuss chocolate dump cake!
Approximate Information for One Serving
Nutrition Disclaimers
Number of total servings shown is approximate. Actual number of servings will depend on your preferred portion sizes.
Nutritional values shown are general guidelines and reflect information for 1 serving using the ingredients listed, not including any optional ingredients. Actual macros may vary slightly depending on specific brands and types of ingredients used.
To determine the weight of one serving, prepare the recipe as instructed. Weigh the finished recipe, then divide the weight of the finished recipe (not including the weight of the container the food is in) by the desired number of servings. Result will be the weight of one serving.
Did you make this recipe?
Please consider Pinning it!!




