Let Me Tell You About This Cheesecake
Alright, friend—so, the first time I tried making a “proper” cheesecake, it was a total train wreck. I’m talking cracked top, weird lumpy bits, and, somehow, I managed to get cheesecake mix in my hair (still don’t know how, don’t ask!). But this one pot white chocolate cheesecake? Game-changer. It all started when I was too lazy to do a mountain of dishes after Sunday lunch, and I wondered, ‘Could I just chuck it all in one pot?’ Turns out, yes. Yes, you can. And I’ve never looked back.
Why You’ll Love This (Or At Least Why I Do)
I make this when I want something impressive but don’t need another culinary headache. My family goes absolutely bonkers for it, which is saying something because, let’s be honest, they’re not shy about critiquing my baking. Plus, it’s basically a blank canvas for toppings. The white chocolate makes everything feel a bit fancy, but it doesn’t require a million gadgets or steps (hallelujah). Oh, and I used to be terrified of water baths, but you don’t need one here. If you hate cleaning up, you’ll be singing my tune. Well, maybe not literally.
What You’ll Need (But I’m Not the Boss of You)
- 200g digestive biscuits (or graham crackers—I’ve used both, and honestly, whatever’s in the cupboard works)
- 80g unsalted butter, melted (my gran swore by Kerrygold, but store brand is fine)
- 400g full-fat cream cheese (Philadelphia if you’re feeling flush, otherwise supermarket’s own works too)
- 100g caster sugar (I’ve subbed in granulated in a pinch—didn’t notice much difference)
- 2 tsp vanilla extract (or a cheeky splash of vanilla bean paste, if you’re feeling posh)
- 3 large eggs
- 200g white chocolate, melted (I usually use baking chocolate, but any decent bar will do, just don’t go for the super cheap stuff—learned that the hard way)
- 100ml sour cream (I’ve also used Greek yoghurt and it works pretty well)
How It All Comes Together
- Smash the biscuits up in a zip-lock bag (rolling pin works, or just crush them in the bag with your hands if you’ve had a day) and mix with the melted butter. Tip it into your lined springform pan (20cm-ish) and press down—back of a spoon, bottom of a mug, whatever’s handy. Chill in the fridge while you do the rest.
- Melt the white chocolate gently. I do this in a heatproof bowl over a pot of simmering water, but honestly, I just nuke it in the microwave in 20 second bursts these days. Give it a good stir; don’t worry if it looks a bit weird at first, it comes together.
- In a big pot (yep, just one!) beat the cream cheese and sugar together until smooth. I use a wooden spoon, but a hand mixer is faster (and, okay, sometimes less messy, depending on my mood). Stir in the vanilla, then each egg, one at a time—no rushing, or you’ll get lumps (I’ve learned this the messy way).
- Add the melted white chocolate (try not to eat too much of it straight from the bowl, but no judgment here). Mix in the sour cream till it’s all glossy and smooth. At this point, I usually sneak a taste—quality control, right?
- Pour the lot over the biscuit base. Even it out. Give the pan a gentle tap on the counter to pop any bubbles. Bake at 150°C (fan) for 45-50 minutes. The edges will be set but the middle should have a little wobble (like a good jelly). And don’t freak out if it looks slightly underdone! It firms up as it cools.
- Leave to cool in the oven with the door ajar for about half an hour. Then let it come to room temp before chilling in the fridge for at least four hours. (I think it’s better the next day, but sometimes my willpower’s rubbish.)
Notes (Learned the Hard Way So You Don’t Have To)
- If your chocolate seizes or goes lumpy, don’t panic. Just add a splash of the cream cheese to loosen it up—it almost always fixes it.
- One time I used low-fat cream cheese. Wouldn’t recommend. The texture’s all wrong, sort of grainy?
- I once forgot the vanilla and, honestly, it was still pretty good. So don’t stress if you run out.
Variations (Experiments, Both Good and “Interesting”)
- Sometimes I swirl in raspberry jam before baking—looks swish and tastes great.
- Dark chocolate chips on top? Works a treat.
- I tried folding in crushed Oreos once, but, er, it went a bit grey. Not my best idea. Maybe just keep them as a topping.
Equipment (And What to Do If You Don’t Have It)
- Springform pan (but I’ve managed with a regular cake tin lined with cling film, so don’t sweat it if you’re caught short—just be careful when turning it out!)
- Big pot or deep mixing bowl
- Hand mixer or sturdy wooden spoon (I actually like mixing by hand, but it is a bit of an arm workout)
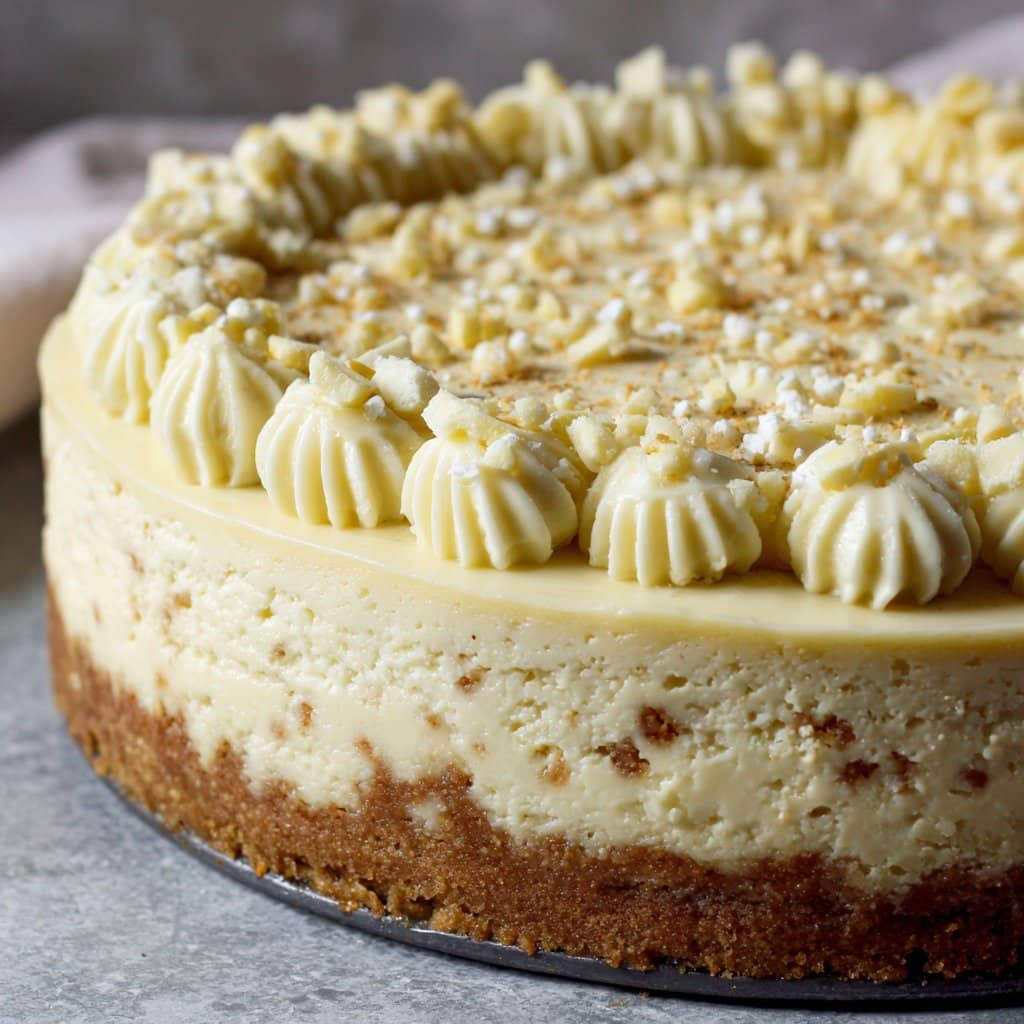
How to Store It (If It Lasts That Long)
Keep it in the fridge, covered, for up to three days—though, honestly, in my house it never lasts more than a day! If you do have leftovers (lucky you), I recommend sneaking a slice for breakfast. Not judging.
Serving Suggestions (Just My Two Cents)
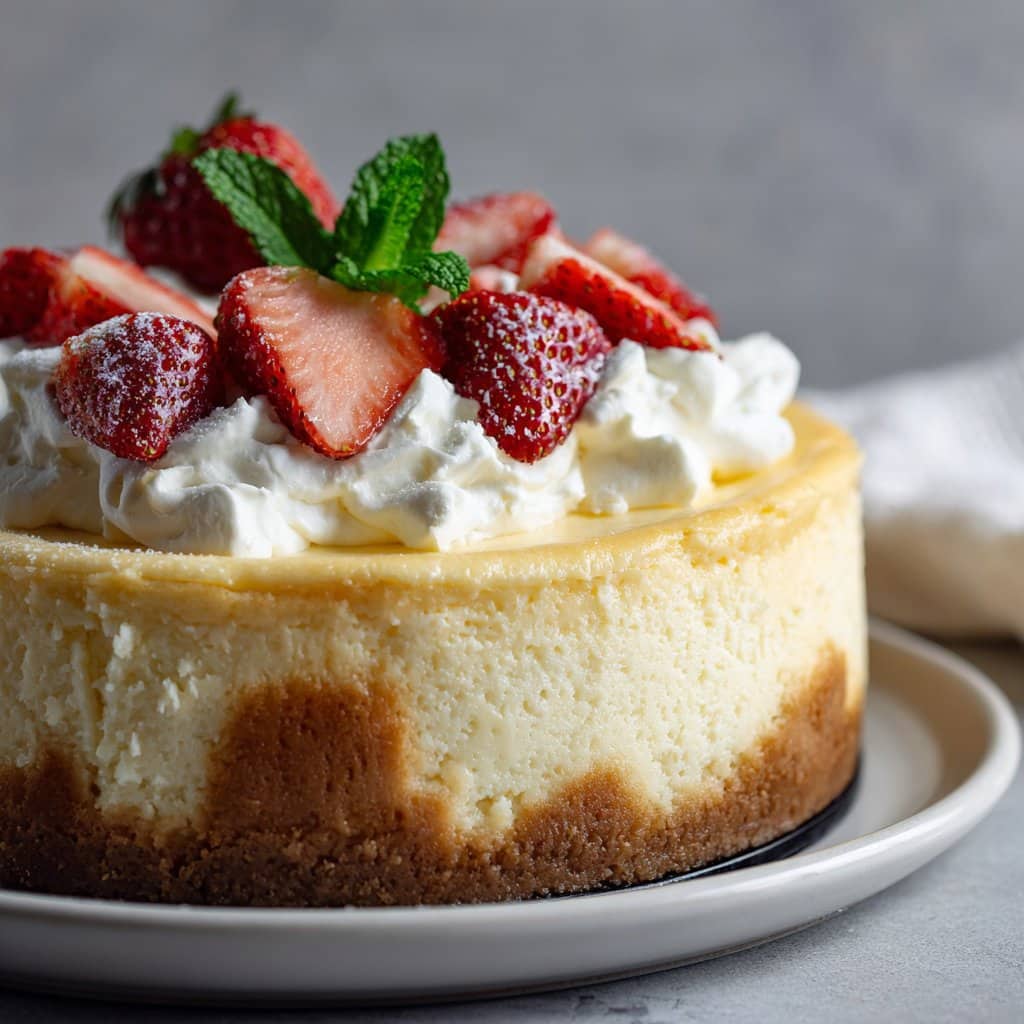
I love serving this with a handful of fresh berries (blueberries are my go-to), but my kids are all about the whipped cream and rainbow sprinkles for birthdays. Sometimes I just eat it straight from the pan with a fork after a long day—no shame. Oh, and a good cup of coffee on the side is non-negotiable for me. If you’re keen on homemade sauces, Sally’s strawberry sauce is fab. Slightly off-topic, but have you seen how easy it is to make your own caramel? Gemma’s recipe is brilliant.
Lessons Learned: My “Pro” Tips
- I once tried to bake it at a higher temp to speed things up. Big mistake—cracked top and dry edges. Low and slow is key, mate.
- Let it chill for a proper few hours. I’ve cut into it too soon before and, nope, not worth it. It’s a bit soupy otherwise.
FAQ (You Actually Asked These!)
- Can I freeze this cheesecake? Sure, but the texture goes a bit weird when defrosted—edible, but not quite as creamy. I’d just eat it fresh if you can.
- Do I really need sour cream? Nah, Greek yoghurt works too. Someone even told me crème fraîche is nice, but I haven’t tried it yet.
- My base is crumbly—what’s up with that? Oh, that’s happened to me. Maybe the butter-to-biscuit ratio was off, or you didn’t press it down enough. Actually, sometimes I just don’t care if it crumbles, it’s still delicious.
- Can I use milk chocolate instead? You can, but it’s a different vibe—sweeter and less subtle. Give it a go if you fancy, though!
- What if I don’t have a springform? I mentioned above, but lining a regular tin really well with cling film usually works. Just be gentle turning it out.
And, one last thing—if you ever end up with a bit too much chocolate, don’t just add it all in. I did once and the texture went kind of fudgey, which wasn’t a disaster, but not really what we’re after.
Ingredients
- 200 g digestive biscuits, crushed
- 80 g unsalted butter, melted
- 400 g cream cheese, softened
- 200 g white chocolate, chopped
- 100 g granulated sugar
- 2 large eggs
- 150 ml heavy cream
- 1 tsp vanilla extract
Instructions
-
1In a large pot, combine crushed digestive biscuits and melted butter. Press the mixture evenly into the bottom of the pot to form the crust.
-
2Melt the white chocolate in a heatproof bowl over simmering water or in the microwave. Set aside to cool slightly.
-
3In the same pot, beat together cream cheese and sugar until smooth. Add eggs one at a time, mixing well after each addition.
-
4Stir in the melted white chocolate, heavy cream, and vanilla extract until fully combined and smooth.
-
5Pour the cheesecake mixture over the biscuit crust in the pot. Cover and cook on low heat for 45 minutes, or until the center is just set.
-
6Allow the cheesecake to cool completely in the pot, then refrigerate for at least 4 hours before serving.
Approximate Information for One Serving
Nutrition Disclaimers
Number of total servings shown is approximate. Actual number of servings will depend on your preferred portion sizes.
Nutritional values shown are general guidelines and reflect information for 1 serving using the ingredients listed, not including any optional ingredients. Actual macros may vary slightly depending on specific brands and types of ingredients used.
To determine the weight of one serving, prepare the recipe as instructed. Weigh the finished recipe, then divide the weight of the finished recipe (not including the weight of the container the food is in) by the desired number of servings. Result will be the weight of one serving.
Did you make this recipe?
Please consider Pinning it!!




