Let’s Talk About Oreo Ice Cream Cake (Yes, With Extra Cookies)
Okay, so I have to confess: the first time I made this Oreo Ice Cream Cake with Chocolate Cookie Crust, it was for my nephew’s birthday because, well, he basically lives on Oreos. He even once tried to convince me that an Oreo counts as a serving of dairy because of the creme filling (nice try, kiddo). Anyway, it turned out to be such a hit that now, whenever there’s even a whiff of celebration, someone in my family will drop hints about “that ice cream cake with the chocolate crust.” No pressure or anything. And to be honest, there’s something hilariously satisfying about smashing up a whole sleeve of cookies—I’d recommend it for stress relief alone.
Why You’ll Love This (At Least, I Do)
I make this when life gets busy, or when I need a no-bake dessert that basically guarantees compliments. My family goes wild for this because it’s a cold, creamy treat with a massive Oreo kick (sometimes I throw in extra chocolate chips just for fun). And honestly, this recipe rescued me from more than one kitchen disaster—no fancy baking skills, and you don’t even have to turn on the oven (which, if you’ve survived a summer in my house, you know is a blessing). One minor annoyance: sometimes the crust sticks, but honestly, who cares about a perfect slice when it tastes this good? Oh, and it’s always gone before I can try it on the second day, but I think it tastes even better after a night in the freezer.
What You’ll Need (Plus My Occasional Swaps)
- 24 Oreo cookies (or any chocolate sandwich cookie—I’ve used store brands in a pinch, and nobody noticed)
- 5 tablespoons unsalted butter, melted (I’ve used salted before, and it was fine… maybe even better)
- 1.5 quarts vanilla ice cream (softened; or use cookies and cream if you want to double down; I’ve even tried chocolate, but that was a bit much for me)
- 8 extra Oreo cookies, roughly chopped
- 1 cup whipped cream (store-bought or homemade—my grandmother swore by the can, but I like to whip my own when I remember)
- Semi-sweet chocolate chips (a generous handful, honestly I just pour some in until it looks right)
- Optional: drizzle of chocolate syrup or hot fudge for serving
How I Throw This Together (With a Few Shortcuts)
- Smash the cookies—put 24 Oreos in a big zip-top bag and bash them with a rolling pin. Or a wine bottle. Or, if you’re my niece, your fists (she’s three, so results may vary). Mix with the melted butter until it feels like damp sand. Press into the bottom of a springform pan (or a pie dish, which I’ve done plenty of times when I can’t find the springform—no drama).
- Pop that crust into the freezer for like 15 minutes. If you forget and leave it in too long, no biggie. It’ll just be colder.
- Scoop the softened ice cream into a bowl and mix in the chopped Oreos and the chocolate chips. This is where I usually sneak a spoonful; it’s practically tradition.
- Spread the ice cream mixture over the crust. Sometimes it looks a little lumpy—don’t panic, it smooths out as it freezes.
- Freeze the whole thing for at least 4 hours. Overnight is best, but I’ve cut corners before and it still set up (mostly).
- Before serving, top with whipped cream and, if you’re feeling extra, a drizzle of chocolate syrup. Sometimes the whipped cream goes on lopsided; that’s just how it is around here.
Stuff I Figured Out Along the Way
- If you try to cut it straight form the freezer, you’ll be wrestling with it. Let it sit for 10 minutes first.
- I’ve had the crust stick to my pan more times than I’d admit; buttering the pan helps, or a strip of parchment if you’re feeling organized (which I almost never am).
- One time I used mint Oreos… not my finest moment, but the kids loved it. Go figure.
Wild Experiments: My Other Attempts
- Tried using peanut butter ice cream. Surprisingly tasty, but a bit much with the chocolate crust. Maybe that’s just me being old-fashioned.
- Swapped in gluten-free cookies once for a friend—nobody noticed, but they do get a bit crumblier.
- Tried making a double layer (ice cream, then a fudge layer, then more ice cream). Honestly, it was a mess, but a delicious one.
What You Need (And What To Do If You Don’t Have It)
- Springform pan—yes, it makes things easier, but I’ve done this in a regular pie pan, and even a loaf pan one time. Just line it with parchment for easier lifting.
- Big mixing bowl (or a clean salad bowl, whatever’s handy)
- Rolling pin, or honestly, anything heavy for smashing cookies
- Spoon, spatula, or your hands (I’m not judging)
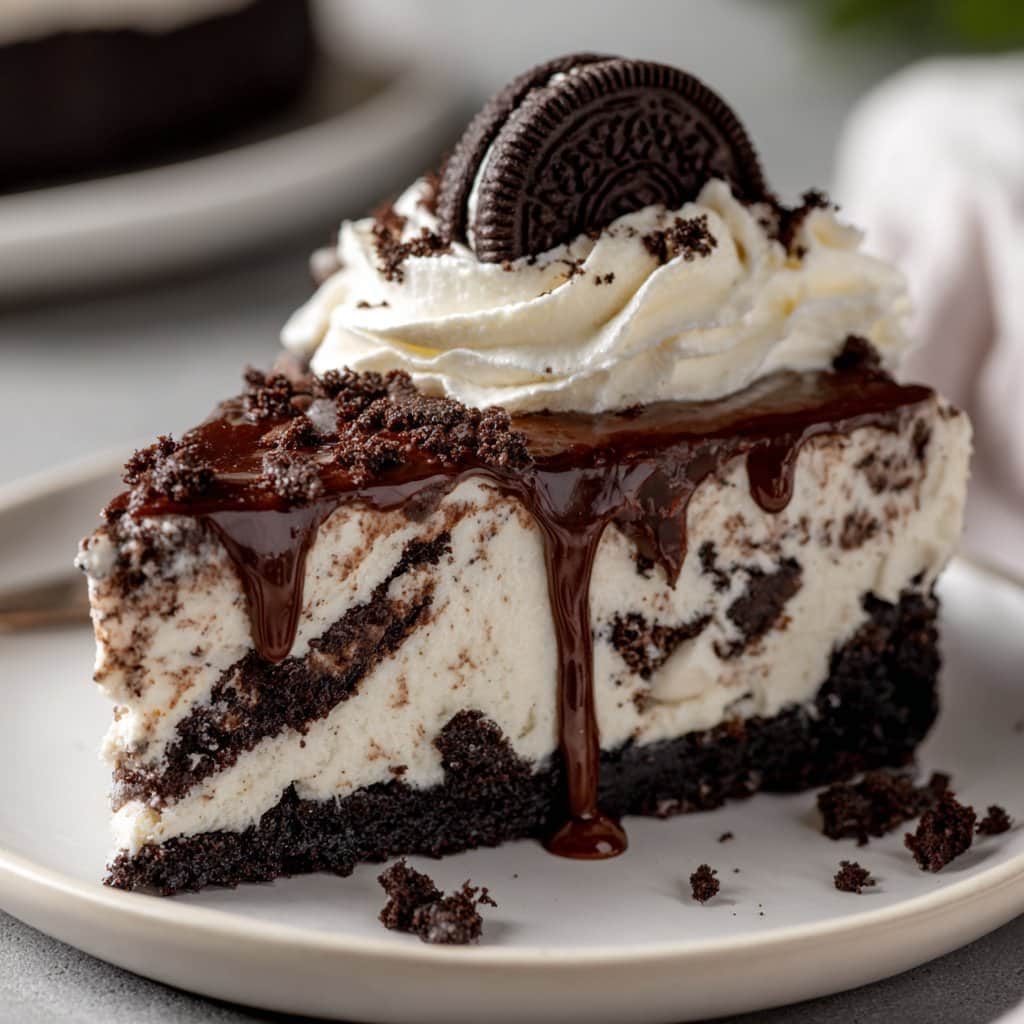
How to Store Your Cake (But It Won’t Last Long)
Just cover the cake with foil or plastic wrap and freeze. It’ll keep for up to a week—though honestly, in my house, it never lasts more than a day. If yours does, congrats on your self-control. Here’s a little more info on freezing cakes if you’re curious.
How We Serve It (And Why My Family Fights Over the Corners)
I usually cut big wedges and serve with extra whipped cream. Occasionally, someone will ask for sprinkles or a cherry on top (I’m not that fancy, but hey, it’s your party). For birthdays, we stick candles right in the cake—melty wax adds character, apparently.
The Things I Wish I’d Known: My “Pro” Tips
- I once tried to rush the freezing step; big mistake. The cake just slid apart. So, patience. Or at least as much as you can muster.
- Don’t skimp on smashing the cookies—you want crumbs, not chunks, or the crust falls to bits (lesson learned after a, um, particularly chunky attempt).
- Oh, and don’t overdo the chocolate chips. I got too enthusiastic once, and it was basically a brick. Less is more, sometimes.
Questions I’ve Actually Gotten (And Their Real Answers)
- “Do I have to use Oreos?” Nope! Any chocolate sandwich cookie works. Even graham crackers if you want a less chocolatey vibe, though I’ve only done that once.
- “Can I make this dairy-free?” Probably! I haven’t tried it, but I’ve heard coconut milk ice cream is a good swap. If you do it, let me know how it turns out.
- “Help, the crust stuck to my pan!” Happens to the best of us. Next time, butter it really well, or use parchment. Or just embrace the mess—tastes the same.
- “How long does it keep?” Technically like a week in the freezer, but honestly, good luck getting it to last that long.
- “Can I add fruit?” Actually, I find strawberries on top are great! Bananas, not so much, they go weird and icy.
And that’s about it. If you’ve never made an Oreo Ice Cream Cake with Chocolate Cookie Crust before, just give it a go—worst case, you end up with a delicious mess. Which, in my book, is still a win. If you’re curious about other no-bake treats, this blog has a bunch of fun ones to try. Anyway, time for me to dig in (again). Enjoy!
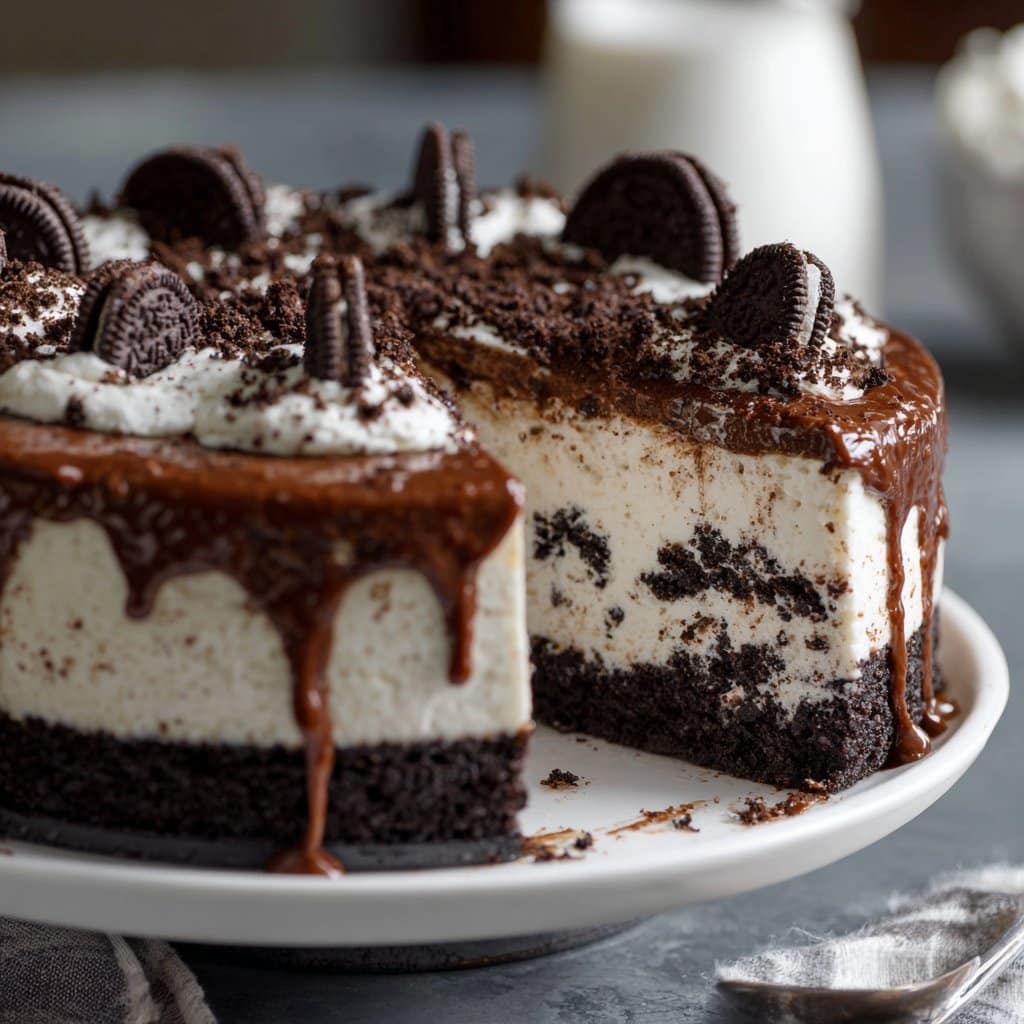
Ingredients
- 30 Oreo cookies, divided
- 1/2 cup unsalted butter, melted
- 1.5 quarts vanilla ice cream, slightly softened
- 1 cup heavy cream
- 1 cup semi-sweet chocolate chips
- 1/4 cup powdered sugar
- 1 teaspoon vanilla extract
- Extra Oreo cookies or chocolate shavings for garnish
Instructions
-
1Crush 24 Oreo cookies in a food processor until fine crumbs form. Mix with melted butter until well combined.
-
2Press the cookie mixture firmly into the bottom of a 9-inch springform pan to form the crust. Freeze for 15 minutes.
-
3Spread half of the softened vanilla ice cream over the crust. Sprinkle with half of the remaining crushed Oreos. Add the rest of the ice cream and top with the remaining crushed Oreos. Freeze for at least 4 hours or until firm.
-
4In a small saucepan, heat heavy cream until just simmering. Remove from heat and add chocolate chips, stirring until smooth. Let cool slightly, then pour over the frozen cake.
-
5Whip powdered sugar and vanilla extract into the remaining heavy cream until stiff peaks form. Pipe or spread whipped cream over the cake and garnish with extra Oreo cookies or chocolate shavings. Slice and serve.
Approximate Information for One Serving
Nutrition Disclaimers
Number of total servings shown is approximate. Actual number of servings will depend on your preferred portion sizes.
Nutritional values shown are general guidelines and reflect information for 1 serving using the ingredients listed, not including any optional ingredients. Actual macros may vary slightly depending on specific brands and types of ingredients used.
To determine the weight of one serving, prepare the recipe as instructed. Weigh the finished recipe, then divide the weight of the finished recipe (not including the weight of the container the food is in) by the desired number of servings. Result will be the weight of one serving.
Did you make this recipe?
Please consider Pinning it!!




