How I Fell for This Oreo Ice Cream Cake (Honestly, It Wasn’t Love at First Bite)
Okay, confession time: the first time I made an Oreo Ice Cream Cake with a whipped topping layer, I was mostly just avoiding baking in the summer heat (because why turn the oven on when you can just, well, not?). My cousin brought something similar to a family BBQ years ago and I remember thinking, “Why does this taste like the world’s best combination of cookies, ice cream, and pure happiness?” Flash-forward to now: my niece pretty much expects this at every birthday, and honestly, I love making it as much as eating it. There was that one time I forgot to let it thaw and we had to chisel it out, but I digress.
Why You’ll Love This Cake (Or, Why My Family Always Begs for It)
I make this when it’s sweltering outside and nobody wants to deal with the oven. And, let’s be real, sometimes I just crave a nostalgic dessert—zero special occasion required. My family goes a bit wild for this because it’s got that crunchy cookie base, creamy ice cream center, and the light, fluffy whipped topping. (And if you need an excuse, I once made it “just because it was Tuesday”—no regrets.) Oh, and not gonna lie, I’ve had my share of cookie crumbs everywhere. But it’s worth it.
What You’ll Need (And What I Sometimes Swap In)
- 1 package (about 14 oz) of Oreo cookies (or whatever chocolate sandwich cookies are on sale—I won’t tell)
- 1/4 cup melted butter (I’ve used coconut oil in a pinch; it’s fine, though a little coconutty)
- 1.5 quarts vanilla ice cream (or cookies and cream, or honestly, mint chip is ace too)
- 1 tub (8 oz) whipped topping (Cool Whip, or you can whip your own cream if feeling extra)
- Optional: chocolate syrup or more cookie crumbles for topping
- My grandmother always insisted on real Oreos, but honestly, store brands work out just dandy here
Here’s How to Throw It Together (Casual but Trustworthy Directions)
- First things first: let that ice cream sit out for about 10-15 minutes so it softens up. Not soup, but spreadable. (This is when I usually sneak a spoonful. You know, just to “test the quality.”)
- Crush the Oreos. I put them in a big zip-top bag and go to town with a rolling pin, but a food processor works if you don’t mind washing it. Save a handful for sprinkling on top.
- Mix the rest of the crumbs with the melted butter in a bowl. Press it into the bottom of a 9×13-inch pan (or something close—sometimes I use a round springform, honestly whatever’s clean). Don’t worry if it looks a bit patchy; after freezing, it firms up anyway.
- Now, spread the softened ice cream over your cookie crust. I use a spatula, but a big spoon works. Try to get it even-ish, but perfection is overrated here.
- Freeze for at least 1 hour, or until the ice cream layer is totally solid. Or longer, if you get distracted watching TV and forget about it like I have.
- Take it out, then spread your whipped topping over the ice cream. Sprinkle remaining cookie crumbs and drizzle with chocolate syrup if you’re feeling fancy.
- Back in the freezer it goes—another hour or two (or overnight if you like planning ahead, but that’s not usually me).
Notes from My Not-So-Perfect Kitchen
- I once tried using only half the butter in the crust to be “healthier”—would not recommend. The crust just fell apart. Live and learn.
- If you’re using homemade whipped cream, whip it to stiff peaks or it’ll go runny when you spread it. (Had that happen once. Still delicious but kind of a mess.)
- Actually, I find it works better if you line the pan with a bit of parchment for easy lifting, but it’s not the end of the world if you skip this.
Variations I’ve Tried (Plus One Epic Fail)
Sometimes I swap the vanilla ice cream for cookies and cream, which is honestly a bit meta, but amazing. Mint ice cream is great too if you’re into those cool vibes. I once tried peanut butter ice cream with chopped peanut butter cups on top—probably my most decadent experiment yet.
Oh, but don’t try to use frozen yogurt. I thought I was brilliant, but it turned into a weird icy brick; no one ate the leftovers. Lesson learned.
What You Need (But There’s Always a Way Around)
- 9×13-inch pan (but really, anything close works)
- Rolling pin or food processor (or even a sturdy mug—I’ve used one in a hotel kitchen once!)
- Large mixing bowl
- Spatula or big spoon (use your hands if you must, just don’t tell anyone)
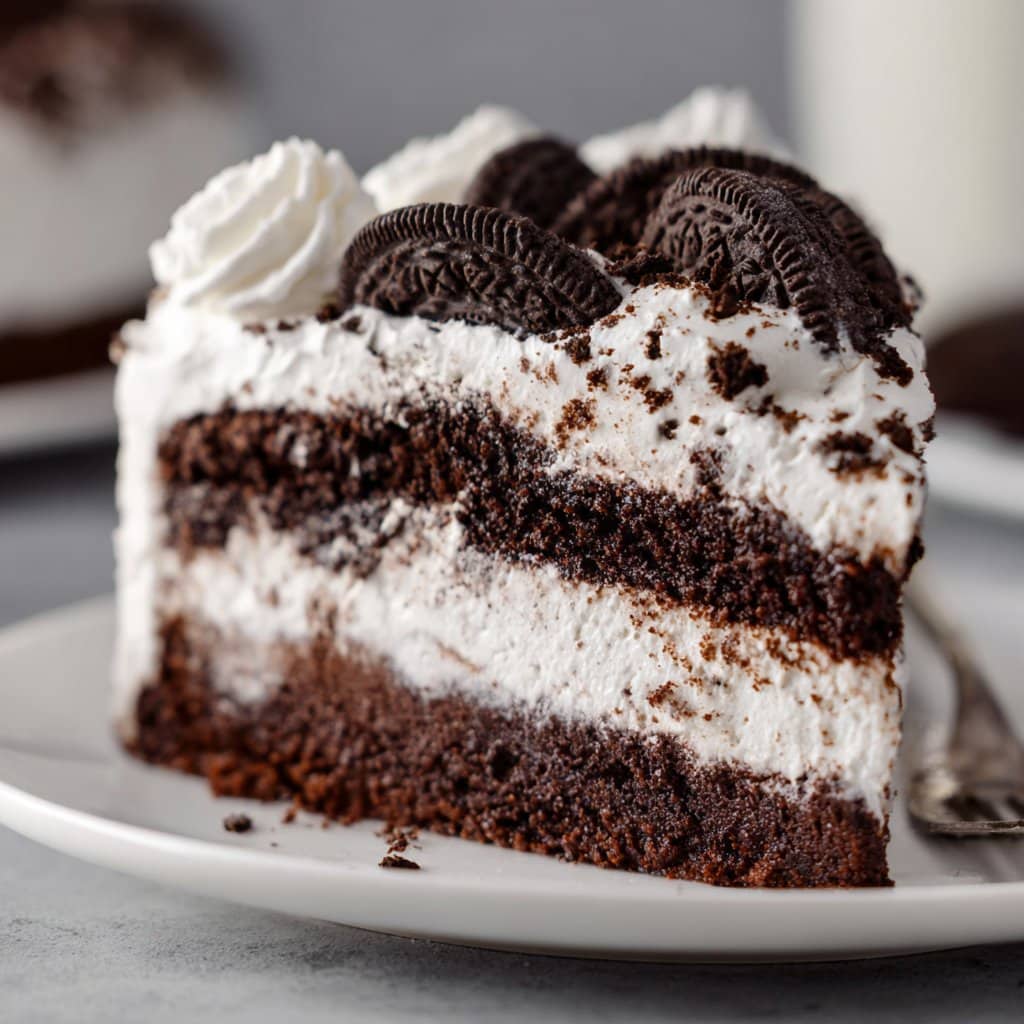
How to Store It—If You Have Any Left
Just cover the pan with foil or plastic wrap and keep it in the freezer. It’ll be good for about a week, but honestly, in my house it never lasts more than a day! If you’re the patient type, I think the flavors meld and it gets even better the next day.
Serving: Family Style or Fancy, Your Call
I usually cut big squares and serve it with a little extra chocolate syrup (sometimes even a cherry on top, if we’re feeling retro). My brother swears by adding a scoop of extra ice cream on the side, which is honestly overkill but I respect the hustle.
Pro Tips I Learned the Hard Way
- Let it sit out for about 10 minutes before slicing. I once tried to rush it and basically bent the knife. Just have patience, trust me.
- Don’t skimp on the cookie crumbs on top! It looks nicer and tastes better. There’s no such thing as too many cookies.
FAQ (Real Questions from Friends and Family… And Maybe Me)
- Can I make this gluten free? Yep! Just use gluten-free sandwich cookies—these ones from GoFreely are legit, or whatever you find at your local shop.
- Can I use homemade whipped cream? Absolutely, though it can get a little less stable in the freezer. I usually add a spoonful of powdered sugar to help.
- Do I have to wait the full hour between steps? Technically, yes… but sometimes I cheat and it’s fine. Just don’t try to spread the whipped topping on mushy ice cream or it’ll go sideways.
- Can I halve the recipe? Oh for sure—just use an 8×8-inch dish, or even layer it in mason jars for a single-serve vibe. (Check out this Serious Eats version for inspiration.)
- How do I get neat slices? Warm your knife in hot water first. Or just embrace the mess! (That’s what napkins are for, right?)
One last thing—I sometimes make this a day ahead, and honestly, it tastes even better after sitting overnight. Maybe it’s just me, but that extra bit of time makes the crust and ice cream kind of meld together. Try it and see. And if you come up with a wild variation, tell me about it, because I’m always on the lookout for a new excuse to eat more Oreo Ice Cream Cake.

Ingredients
- 30 Oreo cookies, crushed
- 1/4 cup unsalted butter, melted
- 1.5 quarts vanilla ice cream, softened
- 2 cups whipped topping (such as Cool Whip)
- 1/2 cup hot fudge sauce
- 1/4 cup mini chocolate chips
- Extra Oreo cookies for garnish
Instructions
-
1Line the bottom of a 9-inch springform pan with parchment paper. In a medium bowl, mix the crushed Oreo cookies with melted butter until well combined. Press the mixture firmly into the bottom of the pan to form the crust.
-
2Spread half of the softened vanilla ice cream evenly over the Oreo crust. Drizzle half of the hot fudge sauce over the ice cream layer.
-
3Add the remaining ice cream on top and smooth the surface. Drizzle the rest of the hot fudge sauce and sprinkle mini chocolate chips over the ice cream.
-
4Spread the whipped topping evenly over the top layer. Garnish with extra crushed Oreo cookies if desired.
-
5Cover the cake with plastic wrap and freeze for at least 4 hours or until firm. Remove from the freezer 10 minutes before serving for easier slicing.
Approximate Information for One Serving
Nutrition Disclaimers
Number of total servings shown is approximate. Actual number of servings will depend on your preferred portion sizes.
Nutritional values shown are general guidelines and reflect information for 1 serving using the ingredients listed, not including any optional ingredients. Actual macros may vary slightly depending on specific brands and types of ingredients used.
To determine the weight of one serving, prepare the recipe as instructed. Weigh the finished recipe, then divide the weight of the finished recipe (not including the weight of the container the food is in) by the desired number of servings. Result will be the weight of one serving.
Did you make this recipe?
Please consider Pinning it!!




