That Time I Accidentally Made Dessert the Star
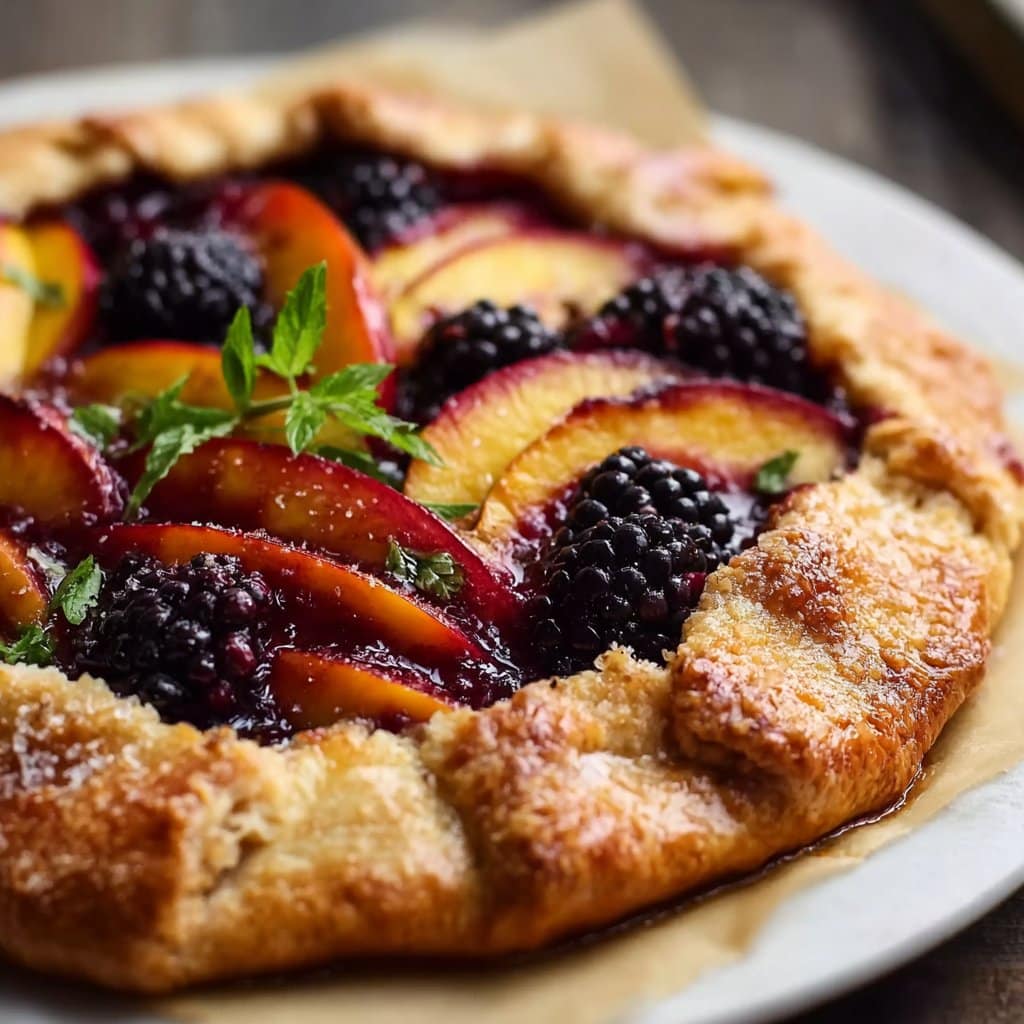
You know how some recipes just sort of worm their way into your regular rotation by accident? This Peach and Blackberry Galette is one of those for me. Last summer, armed with way too much fruit from the farmers’ market (seriously, I am incapable of restraint when stone fruit is in season), I decided to throw together a galette instead of tackling real pie. No rolling pins, no fussy crust crimping—just a big, rustic hug form a flaky crust and juicy fruit. My family still brings up the “galette thing” every time peaches appear, usually with a not-so-subtle hint. Incidentally, if you’re wondering, yes, this means I’m now legally obligated to make it all summer. Anyway, enough rambling—let’s get into it!
Why I Keep Making This Galette (And Maybe You Should Too)
I make this when I want all the pie feels without the pie drama (crust anxiety, soggy bottoms—you know the drill). My partner legit requests it now anytime dinner guests are mentioned, and even my picky niece says it’s her “favourite weird pie that’s not a pie.” Honestly, it’s a lifesaver when the fruit bowl looks a bit sad. Plus, if I mess up the dough and it’s a bit overworked? No one notices once that golden crust is out of the oven, trust me. Oh, and washing up is a breeze—one bowl, one sheet tray. Simplicity wins again.
What You’ll Need (Plus a Few Shortcuts)
- 1 1/4 cups (about 160g) all-purpose flour – Granny used King Arthur, but, let’s be honest, whatever’s in the cupboard usually works fine. You could go half whole-wheat if you like it a bit earthier.
- 1/2 tsp salt
- 1 tbsp sugar – I sometimes skip this when the fruit is super sweet (but also sometimes I double it when I’m feeling wild––no judgment).
- 1 stick (113g) cold unsalted butter, cubed – I’ve used salted butter in a pinch, just skip the extra salt if you do.
- 3–5 tbsp ice water
- 2 large peaches, sliced (don’t bother peeling unless you really want to) – Or nectarines. Honestly, either works. Plums, too, if that’s what you’ve got.
- 1 heaping cup fresh blackberries – I’ve totally defrosted frozen berries when I had to (just drain’em a bit first).
- 2 tbsp sugar – Sometimes I swap a tablespoon for honey if I’m feeling fancy.
- 1 tbsp cornstarch
- 1/2 tsp vanilla extract (optional, but, well, why not?)
- 1 egg, beaten (for brushing the crust—though, I’ve just used milk when out of eggs)
- Coarse sugar – For sprinkling. Or regular. Actually, I’ve even used cinnamon sugar once—yum.
Here’s My Kinda-Sorta Step-by-Step
- Make the dough. Whisk the flour, salt, and sugar in a bowl. Toss in your cold butter cubes. Use your fingers (or a pastry cutter if you’re fancy) to work the butter into the flour till it’s all pebbly —no stress if a few big bits remain. Now drizzle in water, one tablespoon at a time, gently mixing until it’s just coming together. It might look a bit ragged. That’s fine. Actually, that’s perfect. Wrap in clingfilm—plastic wrap, saran—you know what I mean—and chuck it in the fridge for 45 mins (or 30 if you’re impatient; I was once and it still turned out edible).
- Preheat & prep the fruit. Get your oven going at 200°C (400°F). Mix peaches, blackberries, sugar, cornstarch, and vanilla in a bowl. Give it a gentle stir so you don’t smash the berries too badly (unless you like a little jammy chaos).
- Roll out the dough. Toss a bit of flour on your surface. Roll your dough out into something resembling a 12-inch sorta-circle-ish shape. Circle is overrated, anyway. Transfer onto parchment (I once skipped this and, oof, regret—I won’t make you repeat my mistake).
- Assemble. Heap the fruit mix in the center, leaving a good 2-inch border. Nudge the fruit around if you like neatness (I never do). Fold the edges of the dough over the fruit. It’s rustic, remember—wonky is good.
- Brush ‘n’ bake. Brush the edges with the beaten egg (or that splash of milk), sprinkle with coarse sugar, and pop the whole thing—parchment and all—onto a baking sheet. Bake for about 30–35 minutes, until the crust is golden like a perfect summer tan.
- Cool first! Seriously, let it sit about 10–15 minutes before slicing. Trust me. That filling is like molten lava at first. This is where I usually (okay, always) steal a crispy bit of baked dough that fell off.
Stuff I’ve Figured Out (The Honest Notes)
- If your dough feels sticky, extra flour on your worktop sorts it. Dry? Add a splash more water—just go slow. I once drowned a dough and made a chewy mess.
- The fruit filling can look like a bit of a disaster before baking. It always comes around in the oven, though.
- If your galette leaks syrup, slide a piece of foil under while baking (learned this after scrubbing the oven…not fun).
Variations I’ve Tried—And a Misfire
- Plum and raspberry: Tart and colorful! Plums are a good stand-in.
- Apple and blueberry: Autumn vibes. Needs a bit more sugar, in my opinion.
- Gluten-free flour mix: Worked surprisingly well, though it was a bit more crumbly (eat with a fork, not your hands, trust me).
- One flop: Kiwi and pear. Don’t do it unless you love weirdly mushy green pies. I learned so you wouldn’t have to.
Actually, the best combo I stumbled upon was on a rainy day with whatever stone fruit was left on the counter—a true “use it or lose it” scenario.
No Fancy Tools? No Problem (Mostly)
- Rolling pin: Wine bottle works in a pinch (been there, and honestly, it’s a bit more fun).
- Baking sheet: I once baked this on an upside-down roasting pan covered with parchment—worked fine!
How To Store (Not That You’ll Need To, Probably)
This keeps okay covered at room temp for a day or in the fridge for 2–3 days—though honestly, in my house it never lasts that long, someone always “test tastes” it first thing next morning. Reheat slices in the oven so the crust crisps back up (microwave works, but you lose that magic crunch).
Here’s How I Like To Serve It
I’m not subtle: Big wedges, still warm, with a scoop of (slightly melted) vanilla ice cream. Or whipped cream if it’s Sunday. Sometimes my sister demands custard on the side—who am I to argue? Midnight snack straight from the fridge isn’t a crime, either.
My Honest, Hard-Won Pro Tips
- Don’t skip chilling the dough—I once tried, and it just dissolved into weird sticky sadness, honestly.
- Bake on parchment. Skipping it = heartbreak and stuck-on fruit carnage.
- Leave the galette to cool before attacking with a knife. I mean, the filling will run everywhere if you slice too soon. (Not that I have zero self-control…)
The FAQs—From My Kitchen Inbox
- Can I use frozen fruit?
- Yep, just thaw and drain it first. Otherwise, you’ll get a soggy mess—which is fine if you don’t mind soup with your pastry, I guess.
- Do I need a food processor?
- Not at all. I just use my (clean!) hands. Though, here’s a helpful guide to making pastry by hand if want to get picky.
- Could this be vegan?
- Sure thing! Use vegan butter and a splash of plant milk for brushing. Did it once for a friend and, honestly, nobody guessed.
- Bought shortcrust—yay or nay?
- Honestly, go for it if you’re short on time (or patience); see this galette shortcut idea. Homemade is great, but storebought gets you eating dessert faster.
Once, in the middle of making this, my cat decided the rolling pin was his new chew toy. So, don’t leave tools unattended… or just expect some extra whiskers in your workspace.
Need more galette inspiration? I sometimes check out Deb Perelman’s takes at Smitten Kitchen—so many ideas there if you fancy veering off the peachy path.
Ingredients
- 1 1/4 cups all-purpose flour
- 1/2 cup unsalted butter, cold and cubed
- 1/4 cup ice water
- 1/4 teaspoon salt
- 2 large peaches, sliced
- 1 cup fresh blackberries
- 1/4 cup granulated sugar
- 1 tablespoon cornstarch
- 1 tablespoon lemon juice
- 1 tablespoon coarse sugar, for sprinkling
- 1 egg, beaten (for egg wash)
Instructions
-
1In a large bowl, combine flour and salt. Cut in cold butter with a pastry cutter until mixture resembles coarse crumbs. Gradually add ice water, mixing just until dough comes together. Shape into a disk, wrap in plastic, and refrigerate for 30 minutes.
-
2Preheat oven to 400°F (200°C). In another bowl, toss peach slices and blackberries with granulated sugar, cornstarch, and lemon juice. Set aside.
-
3On a lightly floured surface, roll the chilled dough into a 12-inch circle. Transfer to a parchment-lined baking sheet.
-
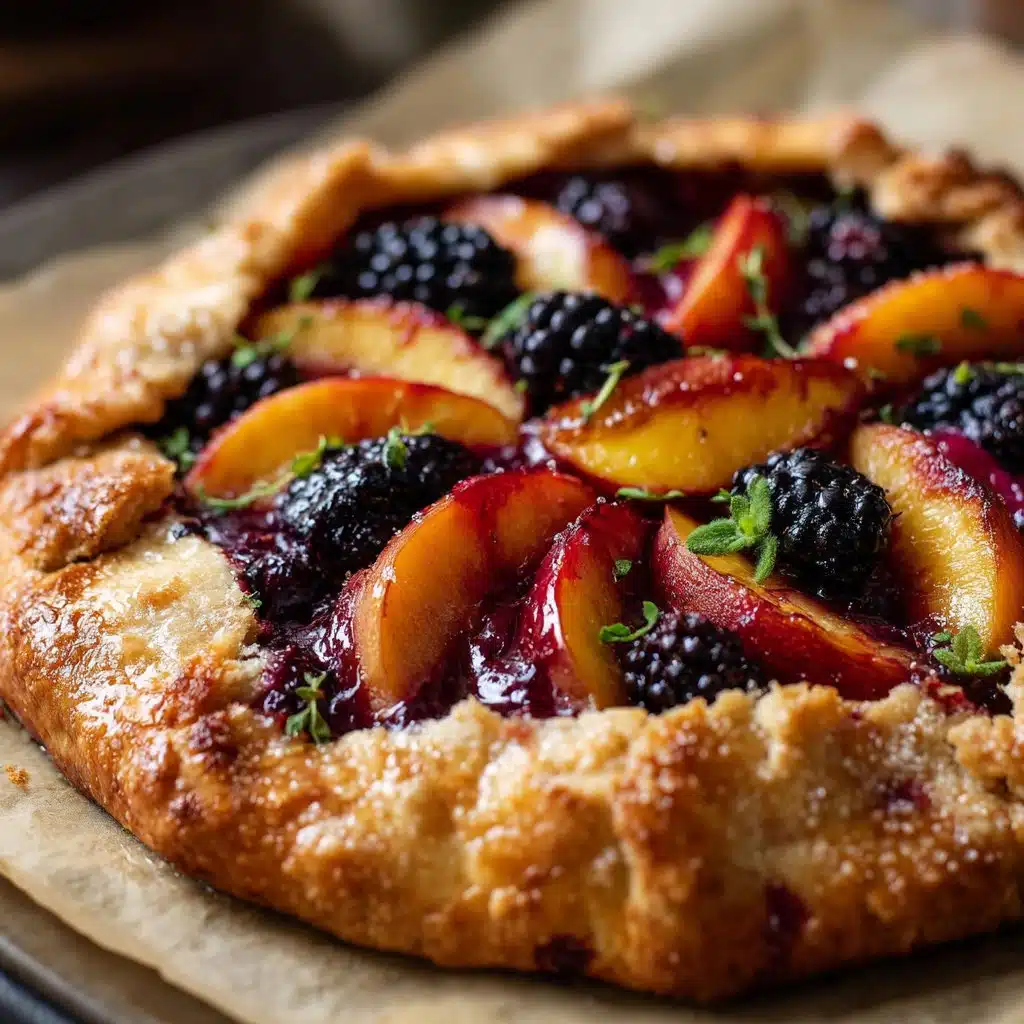
4Arrange the peach and blackberry mixture in the center of the dough, leaving a 2-inch border. Fold the edges of the dough over the fruit, pleating as needed.
-
5Brush the dough edges with beaten egg and sprinkle with coarse sugar. Bake for 35-40 minutes until the crust is golden and the fruit is bubbling.
-
6Allow the galette to cool for 10 minutes before slicing. Serve warm, optionally with vanilla ice cream.
Approximate Information for One Serving
Nutrition Disclaimers
Number of total servings shown is approximate. Actual number of servings will depend on your preferred portion sizes.
Nutritional values shown are general guidelines and reflect information for 1 serving using the ingredients listed, not including any optional ingredients. Actual macros may vary slightly depending on specific brands and types of ingredients used.
To determine the weight of one serving, prepare the recipe as instructed. Weigh the finished recipe, then divide the weight of the finished recipe (not including the weight of the container the food is in) by the desired number of servings. Result will be the weight of one serving.
Did you make this recipe?
Please consider Pinning it!!




