So, About These Peach Cheesecake Bars…
Okay, hear me out: I wasn’t always a cheesecake bar person. In fact, the first time I made these Peach Cheesecake Bars with Oatmeal Crust, I was just trying to use up a glut of peaches my neighbor gave me (seriously, bless her, but who can eat that many peaches before they go sad and squishy?). Anyway, what came out of the oven was so good that my family basically pounced on them like seagulls on a chip. Now, every summer, I look for excuses to make ’em—and maybe sometimes I invent a few. Also, don’t be surprised if you catch yourself eating one for breakfast. I do. No judgement here.
Why You’ll Love This (Trust Me, I Do)
I make this when fresh peaches are everywhere and I want something that feels kinda fancy but doesn’t actually require an extra trip to the store. My family goes crazy for these because they’re creamy and crumbly at the same time (though my brother complains if I skimp on the crust—duly noted, Greg). Plus, it’s a perfect bake-ahead treat for BBQs, potlucks, or just because you’re feeling snacky. Oh, and as a bonus, the oatmeal crust makes me feel like I’m getting at least some fiber (wishful thinking, maybe?).
What You’ll Need (Substitutions Welcome, Honestly)
- 1 1/2 cups rolled oats (I sometimes use quick oats if that’s all I have—don’t tell the purists)
- 1 cup all-purpose flour (whole wheat works, but it’s a bit heavier—my grandmother always insisted on Gold Medal, but any brand is fine)
- 1/2 cup brown sugar (light or dark, doesn’t really matter, and I’ve even used coconut sugar in a pinch)
- 1/2 tsp cinnamon (optional, but I like the coziness it adds)
- 1/4 tsp salt (I just use whatever salt’s handy—no need to get fancy)
- 3/4 cup (170g) unsalted butter, melted (or use a stick and a half and just eyeball it if you’re me)
- 2 cups peaches, diced (about 3 medium) (fresh is best but I’ve defrosted frozen ones and it’s fine; canned will do in a pinch—just drain well)
- 2 (8-oz) blocks cream cheese, softened (I’ve made this with low-fat but honestly, full-fat tastes better. Your call.)
- 1/2 cup granulated sugar
- 2 large eggs
- 1 tsp vanilla extract (I once used maple extract and… not my best idea, but hey, you do you)
- 1 tbsp cornstarch (for the peaches)
How To Make ‘Em (Don’t Stress)
- Preheat your oven to 350°F (175°C). Grease or line a 9×13 inch pan. If you only have an 8×8, just know they’ll be thicker and need a bit more time (or halve the recipe, but honestly, why would you?).
- Mix up the crust: In a big bowl, toss together oats, flour, brown sugar, cinnamon, and salt. Pour the melted butter on top and stir until it looks like wet sand. This is where I usually sneak a little taste. Spread it into your pan and press down—use your hands, a measuring cup, or the back of a spoon (or improvise with a jar if that’s what’s in reach). Bake for 12-14 minutes, just until it’s set and a bit golden. Don’t let it burn!
- Deal with the peaches: If using fresh peaches, peel (or don’t, I rarely bother if the skins aren’t fuzzy) and chop. Toss them with cornstarch to help them not get too runny.
- Cream cheese filling time: Beat cream cheese and sugar until smooth—lumps aren’t the end of the world, but try not to have too many. Add eggs, one at a time, and vanilla. Mix until combined. (Actually, I find it works better if the cream cheese is truly room temp, but I always forget to take it out early. Microwaving for 10 sec helps… sometimes.)
- Layer it up: Pour the cream cheese mix over the warm crust. Scatter the peaches on top. Sometimes I swirl them in, sometimes I just dump them—depends on my mood.
- Bake again: Back in the oven it goes for about 25-30 min, until the center doesn’t jiggle like a waterbed. Or, well, a slight wobble is fine. Cool completely on a rack, then chill in the fridge for at least 2 hours. Overnight is even better (I think this tastes better the next day, honestly).
- Slice and enjoy: Use a sharp knife. Wipe between cuts if you want clean bars, but who really cares?
Notes from Someone Who’s Made These Too Many Times
- If you’re using canned peaches, rinse them and dry a bit with a paper towel so you don’t get a soggy mess. Learned this one the hard way.
- The crust sometimes looks a little crumbly when you press it in. That’s fine. It’ll set up as it bakes. Don’t panic.
- I used to think you needed a stand mixer for the filling—actually, a hand mixer (or even just a sturdy whisk and some elbow grease) works just as well.
Variations I’ve Tried (and a Flop)
- Berry swap: Blueberries or raspberries instead of peaches—delicious. Strawberries kinda work, but they get a bit mushy. Your call.
- Nutty crust: Added chopped pecans once. HUGE win.
- Dairy-free: Used vegan cream cheese—honestly, not my favorite, but it’s decent if you need it.
- Trying with apricots: Didn’t go so well. Too tart for my taste, but if you’re a fan, maybe add a bit more sugar?
On Equipment (Or, What If You Don’t Have…)
I say use a 9×13 pan, but I’ve made this in a big Pyrex dish and even a roasting pan once (out of desperation). No hand mixer? A fork and a little patience gets you close enough. And if your oven runs hot or cold (mine’s as unpredictable as a British summer), just start checking early.
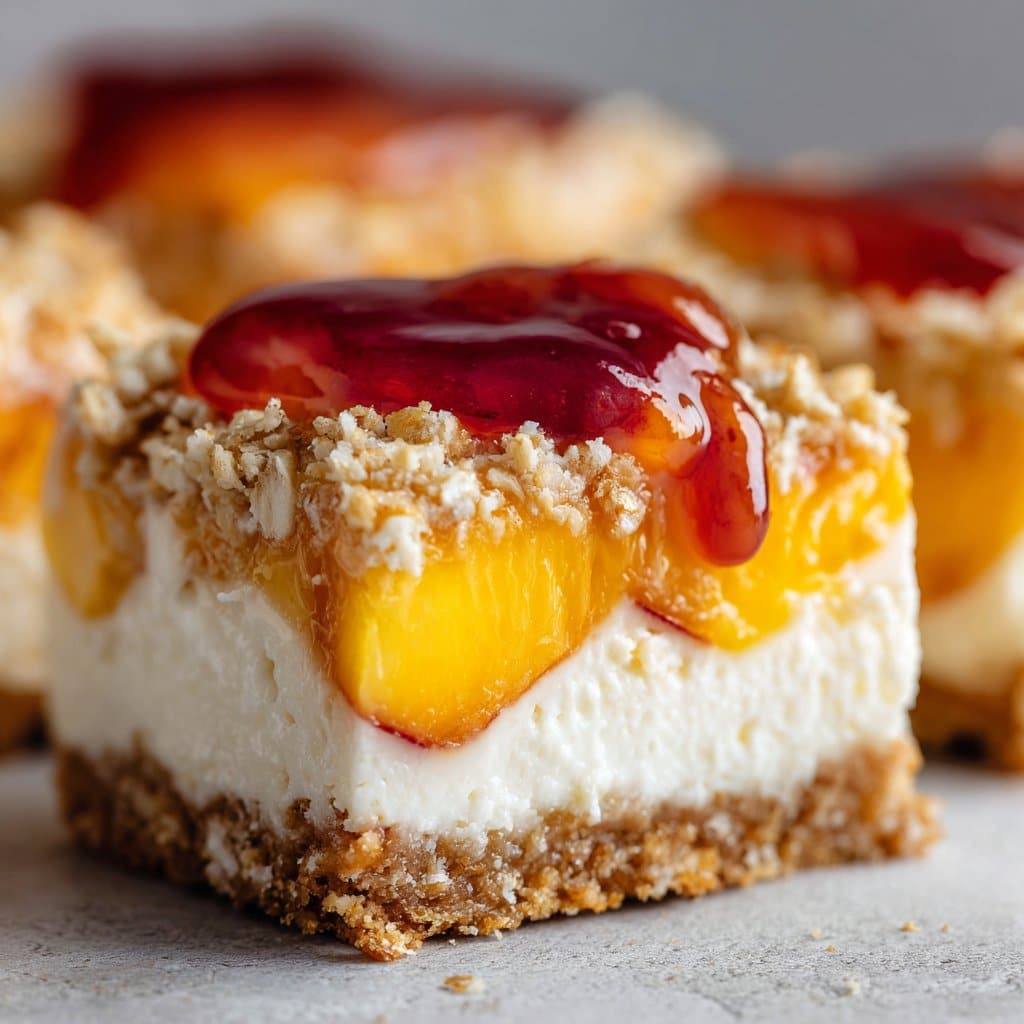
Storing Leftovers (But Will You Even Have Any?)
Keep leftovers in an airtight container in the fridge—should be good for 4 days, though honestly, in my house it never lasts more than a day! I sometimes sneak a bar for breakfast with coffee. If you want to freeze, wrap bars individually and they’ll keep for a month or so. Thaw in the fridge (or just eat them frozen, like my kid does).
How We Serve ‘Em Around Here
I like these cold, straight from the fridge, but my mom microwaves hers for 10 seconds and insists it’s better that way. Sometimes, we top with extra peach slices or a dollop of whipped cream on birthdays. Adds a little razzle-dazzle.
Pro Tips (a.k.a. What I’ve Messed Up Before)
- Don’t overbake—the edges can get dry really quick. I once tried rushing it by upping the temp. Big mistake. Just wait it out.
- Letting the bars cool in the pan before chilling in the fridge is key. I once got impatient and the filling got weirdly rubbery. Oops.
- Actually, I find it works better if you cut the bars while they’re still a little cold, but not rock hard. Less mess.
FAQ (Because People Always Ask…)
- Can I use nectarines instead of peaches?—Yep! No need to peel them either. Makes life easier, eh?
- Do I have to use oats for the crust?—You don’t have to, but it’s what gives the crust its chewy thing. You could try crushed graham crackers if you’re feeling rebellious.
- Can I make this gluten-free?—Probably! I haven’t tried it, but if you use a gluten-free flour blend and certified GF oats, it should be grand. Maybe don’t quote me, but check out this crust alternative if you need ideas.
- What if my cream cheese filling is lumpy?—Don’t stress. As long as it’s mostly smooth, it’ll taste great. Give it a bit more mixing next time. (Or, on second thought, maybe just call it “rustic.”)
- Where can I find good cream cheese?—I just pick up what’s on sale at the supermarket, but I’ve heard Sally’s Baking Addiction recommends Philadelphia brand for the creamiest texture. Worth a shot.
- Is it okay to double the recipe?—Sure, if you have a crowd! Use a half-sheet pan and bake a little longer. Or make two pans and stash one in the garage fridge (if, like me, you try to hide treats form your family… never works for long).
By the way, if you’re ever stuck with too many peaches, try this cobbler recipe too. It’s not cheesecake, but it’ll do in a pinch. Anyway, let me know if you try these bars—I’m always up for swapping kitchen stories. Happy baking!
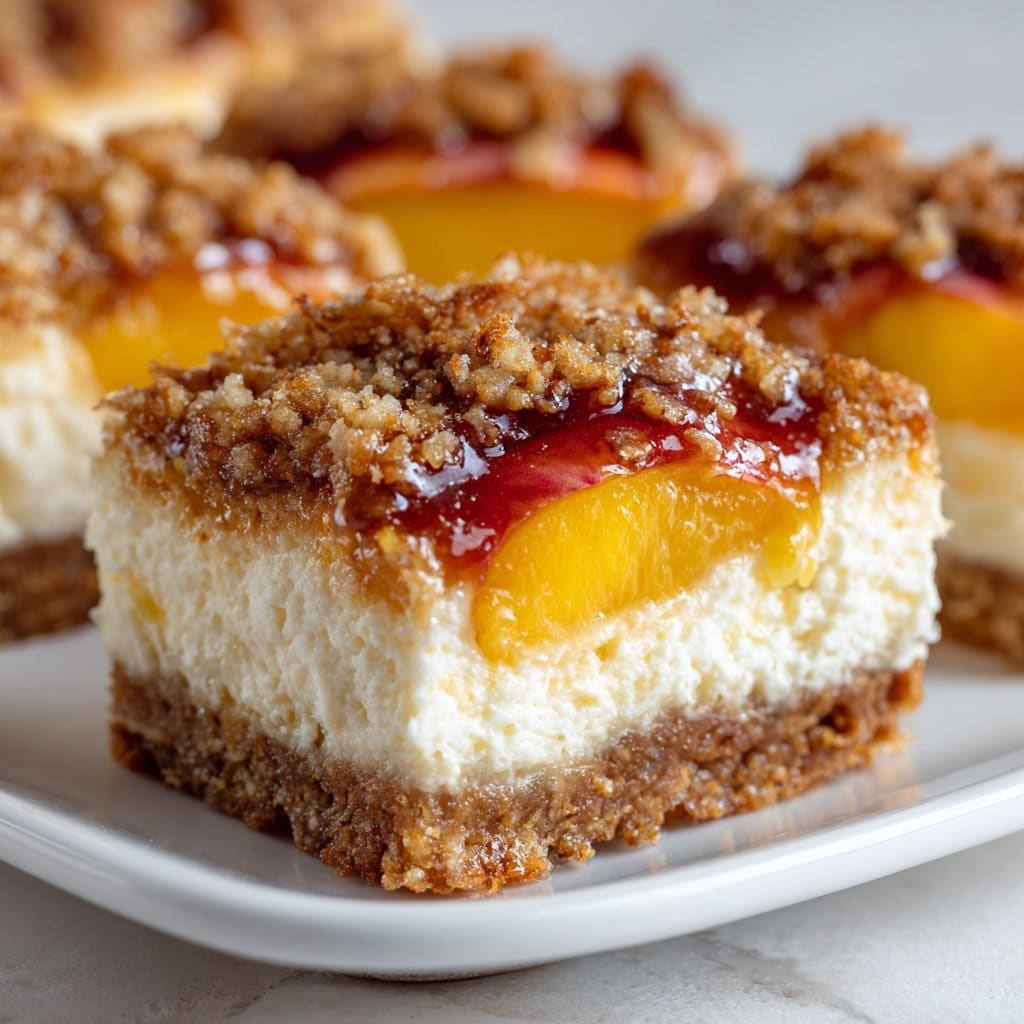
Ingredients
- 1 1/2 cups old-fashioned rolled oats
- 1 cup all-purpose flour
- 1/2 cup light brown sugar, packed
- 1/2 cup unsalted butter, melted
- 16 oz cream cheese, softened
- 2/3 cup granulated sugar
- 2 large eggs
- 1 tsp vanilla extract
- 2 cups fresh peaches, peeled and diced
- 2 tbsp cornstarch
- 2 tbsp lemon juice
Instructions
-
1Preheat oven to 350°F (175°C). Line a 9×13-inch baking pan with parchment paper.
-
2In a bowl, mix oats, flour, brown sugar, and melted butter until combined. Press mixture evenly into the bottom of the prepared pan to form the crust.
-
3Bake the crust for 10 minutes. Remove from oven and set aside.
-
4In a large bowl, beat cream cheese and granulated sugar until smooth. Add eggs and vanilla extract, mixing until just combined. Spread the cheesecake mixture over the baked crust.
-
5In a separate bowl, toss diced peaches with cornstarch and lemon juice. Evenly distribute the peach mixture over the cheesecake layer.
-
6Bake for 30 minutes or until the center is set. Cool completely, then refrigerate for at least 2 hours before slicing into bars.
Approximate Information for One Serving
Nutrition Disclaimers
Number of total servings shown is approximate. Actual number of servings will depend on your preferred portion sizes.
Nutritional values shown are general guidelines and reflect information for 1 serving using the ingredients listed, not including any optional ingredients. Actual macros may vary slightly depending on specific brands and types of ingredients used.
To determine the weight of one serving, prepare the recipe as instructed. Weigh the finished recipe, then divide the weight of the finished recipe (not including the weight of the container the food is in) by the desired number of servings. Result will be the weight of one serving.
Did you make this recipe?
Please consider Pinning it!!




