So, Here’s Why I’m Obsessed With This Fudge
You know that feeling when you walk into a house and it just smells like Christmas? That’s basically what happens every time I whip up this peppermint swirl fudge. I started making it during one very chaotic December—the year my cousin tried to hang a wreath with dental floss. (Ask me about the wreath disaster some time.) Anyway, the house smelled of peppermint, kids were licking the mixing spoon, and honestly, I was stress-eating fudge by the handful. It’s now sort of our thing every December. My brother always says, “Make more.” If I had a dollar for every time someone said that about this fudge, I’d probably have enough to buy a new saucepan by now!
Why You’ll Love Making (and Eating) This
I make this peppermint swirl Fudge when I want something festive without the headache of shaping 300 cookies. My family goes absolutely bonkers for it—especially after a snowball fight or when we have surprise visitors pop by (which is probably just an excuse for them to nab fudge, come to think of it). If you’re someone who gets slightly panicky at double-boilers, breathe—you melt everything in the microwave or just one saucepan. That said, don’t get cocky and try to do dishes while it melts; I did once and regretted it. Plus, it’s just as pretty as it is tasty, and honestly, a chunk or two in the evening is better than whatever reality TV is on. (Also: the peppermint swirl camouflages messy slicing. Sneaky bonus!)
The Not-At-All-Fancy Ingredients
- 3 cups white chocolate chips (sometimes, if I’m running low, I use 2 cups chips and a handful of chopped white chocolate bars—works fine)
- 1 14-ounce can sweetened condensed milk (my Gran swore by Eagle Brand, but honestly the store version has rescued me more than once)
- 1/2 teaspoon peppermint extract (don’t go wild, unless you want toothpaste fudge—learned that the, ahem, minty way)
- 1/2 teaspoon vanilla extract (optional, but I like the warmth it adds; leave it out if you’re a peppermint-only purist)
- Red gel food coloring (normal liquid stuff works too, but it might swirl a bit less dramatically)
- Candy canes, crushed (as many as your heart desires—sometimes I just bash up whatever bits are lurking in the cupboard)
Let’s Get Swirling: How To Make This Magic
- Line an 8×8 inch baking pan with parchment. (Or butter it, if that’s what you’ve got. The fudge will not judge.)
- In a saucepan, stir together white chocolate chips and sweetened condensed milk over low heat. Keep stirring; pretend you’re making risotto, but actually, it’s much lazier.
- Once everything’s melted and smooth, quickly stir in peppermint extract (and vanilla, if you’re using it). This is where I usually sneak a tasting spoon, just in case the peppermint’s a bit too shouty – or not enough.
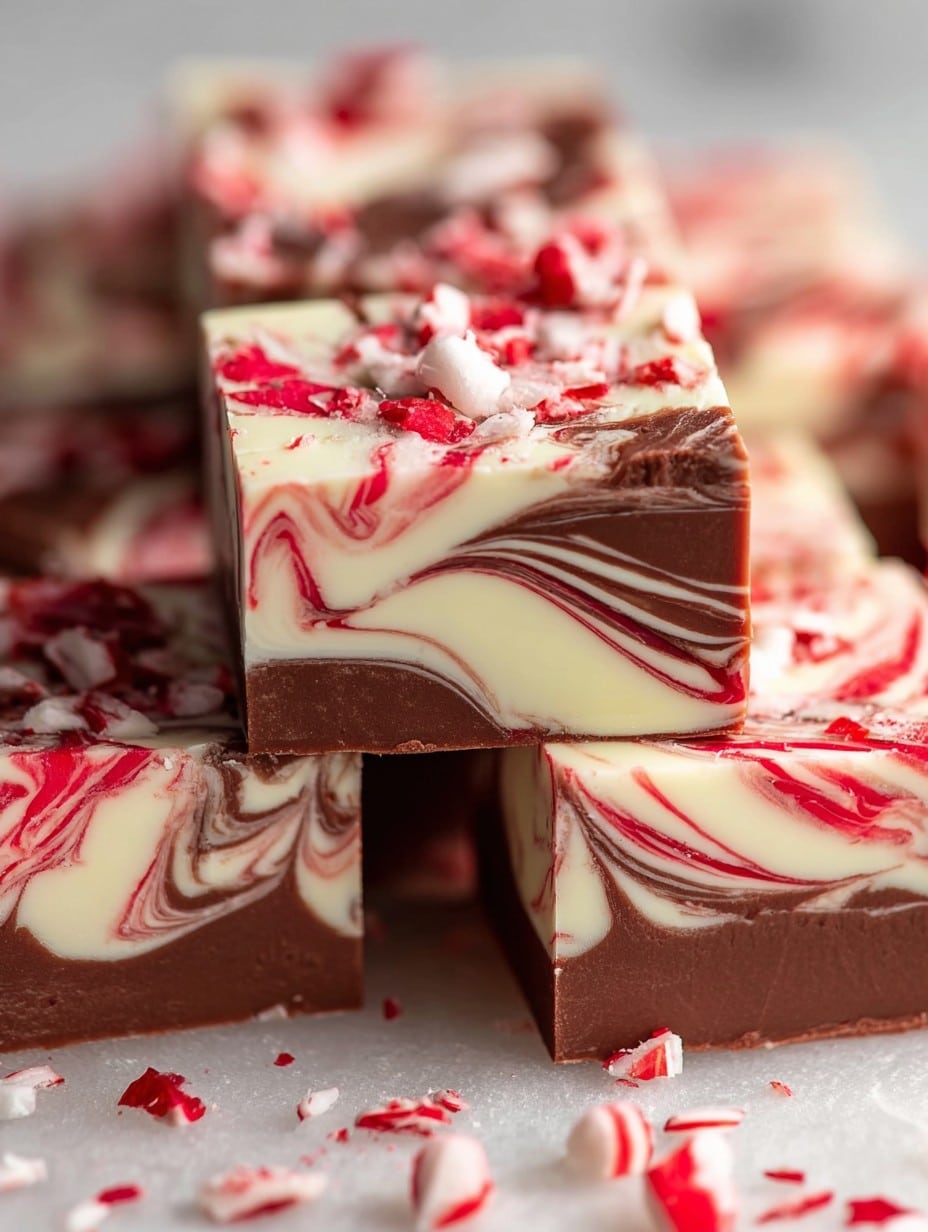
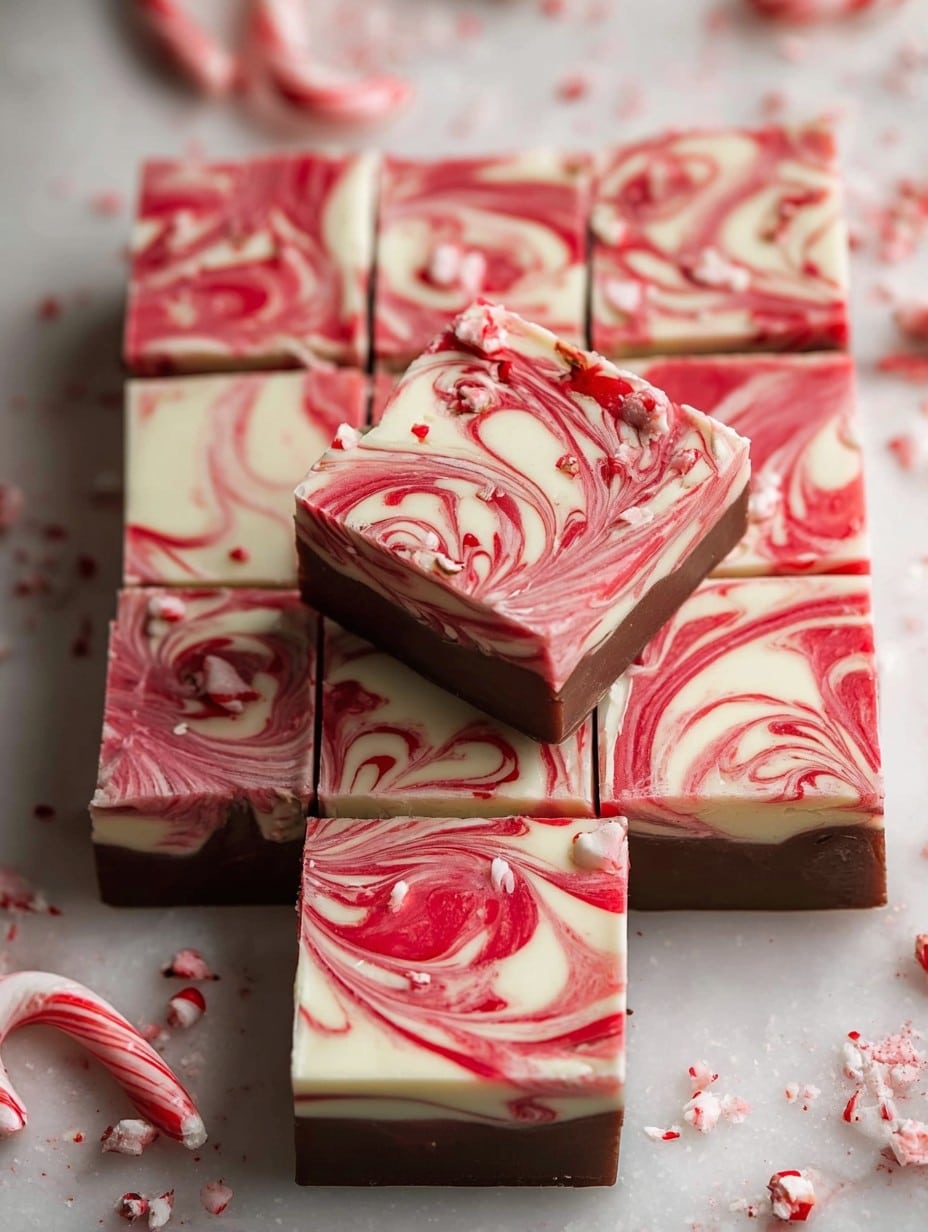
- Pour the mixture into your lined pan. Now, drop several blobs (technical term) of red food coloring over the surface. Swirl with a butter knife or a chopstick if you’re trendy. Don’t overmix; you want twirls, not baby pink everywhere. (If it looks odd, trust—once it sets it’ll look dreamy.)
- Sprinkle crushed candy canes on top. Use more than feels reasonable, unless you like picking bits off later. Press in gently with an offset spatula or your clean, slightly damp hand.
- Stick it in the fridge for at least 3 hours, or until set. On second thought, longer is better if you’re tempted to slice early—it’ll just mush and you’ll be cross with yourself (totally happened to me).
- Sling the fudge out using the parchment edges, slice into squares, and try to restrain yourself from eating half right away.
Stuff I’ve Learned the Hard Way
- If you overheat the white chocolate, it turns into a weird grainy mess. Go slow—even if friends are texting you about Secret Santa drama.
- I once poured fudge into a pan without lining it—bad idea. Had to chisel it out like an archaeologist.
- Peppermint extract is stronger than it looks. Trust the measurement, don’t just eyeball it (my kitchen smelled suspiciously dental that day).
Variations (and One Epic Fail)
- Swapped in dark chocolate once—delicious, but it kind of lost the festive vibe. If you’re a chocoholic, give it a whirl.
- Used green food coloring for a Grinchy fudge. Looks fun, but honestly my family prefers the classic red swirl.
- Tried adding marshmallows inside—maybe don’t. The texture went a bit off (imagine chewy mousse—you’ve been warned).
What If I Don’t Have Fancy Gear?
If you don’t have a microwave, a double boiler or even two saucepans will work. In a pinch, I’ve perched a heatproof bowl over a saucepan with simmering water (that’s my cheapskate double-boiler). Don’t stress—the fudge won’t care. Also, a glass baking dish is fine if you don’t have an 8×8 tin. I once used a loaf pan and just cut chunkier slices. Actually, not a bad problem to have!
How to Store (Assuming It Lasts That Long)
Fudge keeps best airtight, in the fridge—up to a week, supposedly. Though honestly, in my house it never lasts more than a day! If you’re blessed with leftovers, you can even freeze squares in a zip-top bag for sneaky treats later. They’re pretty forgiving as candies go. Midnight snacks, anyone?
Serving This Fudge: My Favorite Ways
I’m all for setting a big plate of fudge squares on the table and just watching everyone grab. But my Aunt Patty likes to nestle them into little paper cups (the kind for truffles) and line them up in pretty boxes as gifts. If you’re feeling extra, try stacking with other holiday sweets for a cookie platter. I swear, it’s the fastest way to get invited back to every gathering.
Fudge Tips (From Many Fudgy Mistakes…)
- I once tried to rush the cooling in the freezer. It looked fine on top but was a molten mess underneath. Trust the fridge, friend.
- Don’t cut before it’s cold throughout. It gets pretty sticky, and the swirls might smear. Patience is, unfortunately, required for once.
- Wipe the knife between slices (or use dental floss, which is ironically useful for both fudge and hanging wreaths).
Got Questions? Let’s Chat
- Do I really need parchment paper? My cousin skips it, but I find it makes everything way easier—otherwise you’re kind of scraping it out. So, up to you!
- Can I make this ahead of time? Oh, 100%. I usually make it the night before. Actually, I think it tastes better the next day, weirdly.
- Help! My fudge seized and looks gross. Ah, bad luck! It’s usually from overheating the chocolate. If it happens, I’ve rescued it with a splash of hot milk and some elbow grease, but sometimes you just gotta start over (and eat the mistakes—silver linings!).
- Can I use peppermint candies instead of candy canes? Yep! I bash ’em up in a zip-top bag with a rolling pin. Same effect, less festive mess.
Some days, the fudge is neater, sometimes it’s a bit wild—kind of like family. And hey, if you want even more fudge fun, my friend swears by this double-chocolate version for brownie points with the chocolate crowd. Anyway, time to put on the kettle and taste-test…for quality control, obviously.
Ingredients
- 3 cups white chocolate chips
- 1 can (14 oz) sweetened condensed milk
- 1/4 cup unsalted butter
- 1 teaspoon vanilla extract
- 1/2 teaspoon peppermint extract
- 3 drops red gel food coloring
- 1/2 cup crushed peppermint candies
- Pinch of salt
Instructions
-
1Line an 8-inch square baking pan with parchment paper, leaving some overhang for easy removal.
-
2In a medium saucepan over low heat, combine white chocolate chips, sweetened condensed milk, butter, and salt. Stir constantly until melted and smooth.
-
3Remove from heat. Stir in vanilla extract and peppermint extract until well combined.
-
4Pour the mixture into the prepared pan and smooth the top. Drop small amounts of red food coloring on top and use a knife to swirl it through the fudge.
-
5Sprinkle the crushed peppermint candies evenly over the fudge and gently press them in.
-
6Refrigerate for at least 1 to 2 hours or until completely set. Lift from the pan, cut into squares, and serve.
Approximate Information for One Serving
Nutrition Disclaimers
Number of total servings shown is approximate. Actual number of servings will depend on your preferred portion sizes.
Nutritional values shown are general guidelines and reflect information for 1 serving using the ingredients listed, not including any optional ingredients. Actual macros may vary slightly depending on specific brands and types of ingredients used.
To determine the weight of one serving, prepare the recipe as instructed. Weigh the finished recipe, then divide the weight of the finished recipe (not including the weight of the container the food is in) by the desired number of servings. Result will be the weight of one serving.
Did you make this recipe?
Please consider Pinning it!!




