Let Me Tell You About My Philly Cheesesteak Breadsticks
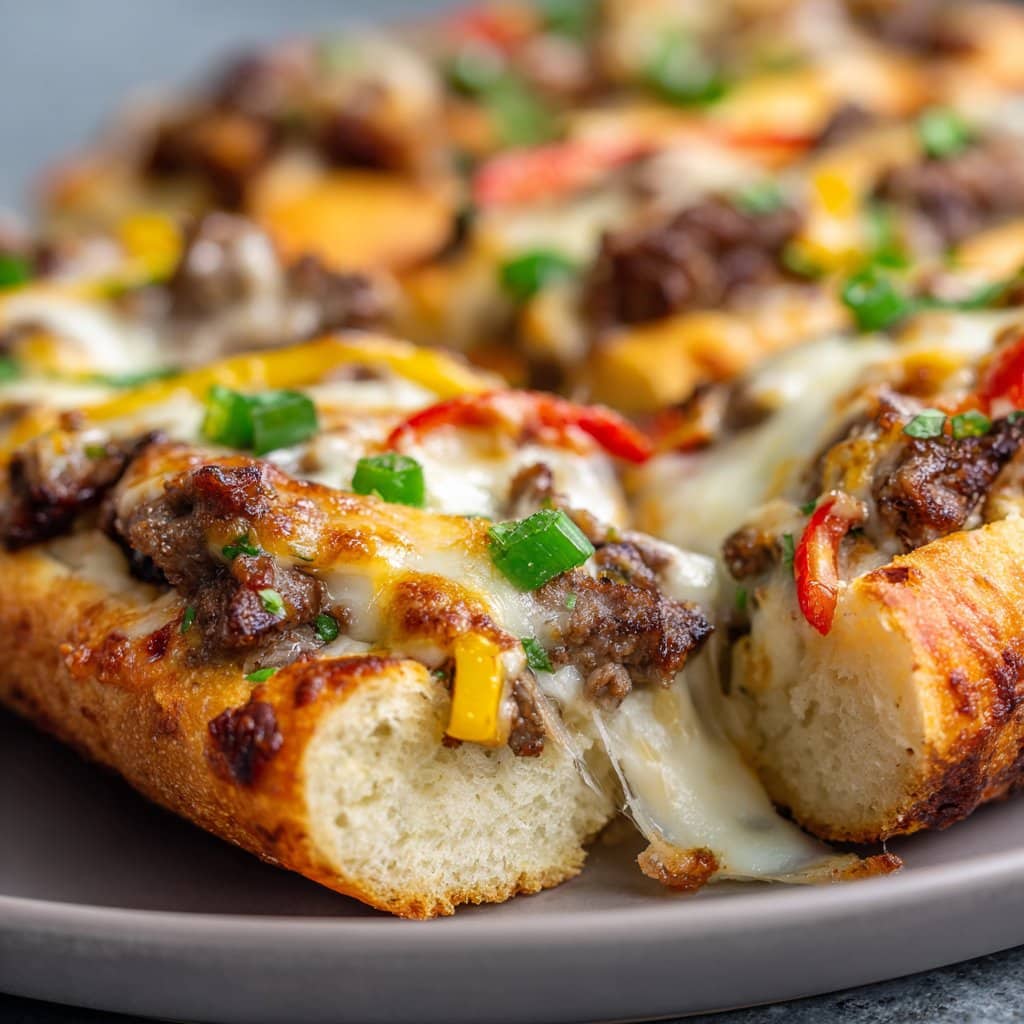
Okay, picture this: it’s game night, everyone’s yelling at the TV, and I’m in the kitchen frantically rolling up these Philly Cheesesteak Stuffed Breadsticks (while sneaking bites, obviously). The first time I made them, I thought I’d outsmart the usual snack spread and, honestly, my cousin still talks about them like they’re mythical beasts. I’ve had some proper disasters with homemade bread before—don’t ask about the time I mistook salt for sugar—so the fact these turn out so good, even for me, is saying something. Oh, and if you’re worried about them being tricky, trust me, the hardest part is not devouring the filling before you wrap it up.
Why These Are Always a Hit
I make these when I want something wow but also finger food-ish (if that’s a word?). My family goes absolutely bonkers for them, especially my little brother, who claims he can eat a whole tray himself. I think it’s because they hit that sweet spot between cheesy and meaty and, you know, carby. Plus, you can prep most of it ahead (which saves my sanity). Once, I tried to skip the garlic in the butter brush—big mistake. It’s honestly the secret sauce. Well, not literally. You get me.
What You’ll Need (and a Few Swaps!)
- 1 tube refrigerated pizza dough (sometimes I use homemade, but let’s be real, the tube saves my bacon on busy nights)
- 250g sliced ribeye steak or roast beef (I’ve used leftover steak, deli roast beef, even ground beef once when I was out—it all works, but ribeye is king)
- 1 small onion, thinly sliced (sometimes I skip this if I’m in a hurry, but caramelized is best)
- 1 green pepper, thinly sliced (red or yellow work too, or just leave it out if peppers aren’t your thing!)
- 1 cup shredded provolone or mozzarella (my grandmother swore by Sargento, but honestly, any shredded cheese that melts nicely will do; cheddar is a bit wild but not bad in a pinch)
- 2 tbsp butter, melted
- 2 cloves garlic, minced (jarred garlic is fine but fresh is… fresher, no shock)
- Salt and black pepper to taste
- Optional: a sprinkle of Italian seasoning or even a pinch of red pepper flakes if you want some zip
How I Throw These Together
- Get prepped: Preheat your oven to 400°F (200°C). If you have a pizza stone, now’s the time to flex it. I don’t always bother—plain baking sheet is fine. Line it with parchment or, honestly, just grease it up well.
- Cook the steak and veggies: Heat a skillet over medium-high. Toss in the steak (with a splash of oil). Sizzle it quick—less than a minute if it’s thin—then throw in your onions and peppers. Cook ’em down till the onions are soft and the peppers have a bit of char. Salt, pepper, all that. Sometimes (actually, often), I pick out a few onions for myself here.
- Roll out the dough: Unroll your pizza dough onto a floured surface. If it fights you, let it hang out at room temp for a few mins. Slice it into about 8 rectangles (ish—nobody’s measuring).
- Add the filling: Pile a line of steak, peppers, onions, and a handful of cheese down the center of each rectangle. Don’t overstuff (I always do, and it leaks, but who cares?).
- Roll it up: Fold the dough over the filling and pinch shut. Seam side down on the sheet. If they look a bit lumpy, you’re doing it right.
- Brush and bake: Mix melted butter and garlic together. Brush all over the tops. Sprinkle a bit more cheese if you’re feeling wild. Into the oven they go for 14–18 minutes, or until golden. Sometimes they leak. It’s fine. That cheesy crust is my secret favorite part.
What I Learned (the Hard Way)
- If you overfill, yes, it leaks. But also, more crispy cheese bits. Win?
- Chilling the steak a bit makes it easier to slice thin. I always forget this step and regret it, but you don’t have to.
- Actually, store-bought dough isn’t cheating, it’s efficient.
Some Variations I’ve Tried (and One Fail)
- Chicken instead of steak is surprisingly great, especially with a sprinkle of smoked paprika.
- Mushrooms and spinach if you want a vegetarian twist—tastes almost like a Philly-meets-spanakopita situation.
- I once tried a BBQ version. Not my best work. The sauce made the bread soggy. Lesson learned!
What If I Don’t Have All the Right Equipment?
No pizza stone? No worries, I usually just use a battered old sheet pan lined with baking paper. A rolling pin is nice, but honestly, a wine bottle works just as good (though you might look a bit daft). The only thing you really can’t skip is a sharp knife for the steak.
How Long Do These Last? (Spoiler: Not Long)
In theory, you can store them in an airtight container in the fridge for 2–3 days. In practice? They vanish before they’ve even cooled off. If you do manage to save a few, reheat in the oven for the best texture. Microwave gets ’em kinda floppy, but still tasty in a pinch.
How I Like to Serve ‘Em
Honestly, these never even make it to the table—people just grab them right off the baking tray. But if I’m feeling fancy, I cut them in half and serve with a little ramekin of warm marinara. Or ranch, if I’m being honest (don’t tell Philly purists). We sometimes do a dipping bar. My cousin puts hot sauce on everything. To each their own.
Pro Tips (Learned the Messy Way)
- Don’t rush the filling—if you try to stuff it in hot, the dough gets sticky and tears. I tried it once, thought I could save time—nope.
- Let the breadsticks rest a few minutes after baking so the cheese doesn’t ooze everywhere (unless you love ooze—which, I mean, fair).
- For extra flavor, brush again with garlic butter after baking. Is it excessive? Maybe. But yum.
Some Real Questions I’ve Gotten (and My Answers)
- Can I make these ahead?
- Yep, just assemble and chill in the fridge, covered, then bake when you’re ready. Or freeze ’em (uncooked) and bake from frozen—add a few minutes to the bake time.
- What if I don’t eat beef?
- Try thin-sliced chicken or mushrooms instead. Actually, even jackfruit would probably work, though I haven’t tried that myself (yet).
- My dough won’t roll out! What gives?
- Let it sit at room temp for 15 mins (maybe longer if your kitchen’s chilly). Cold dough fights back—it’s stubborn like my cat.
- Can I use cheese slices instead of shredded?
- Definitely. Tear them up and layer ’em in. I’ve done this when I was out of shredded, nobody noticed.
One Last Thing (Because I Can’t Help Myself)
If you want to deep-dive into Philly cheesesteak lore, I found this guide to be endlessly fascinating (and a bit mouthwatering). Also, for homemade dough enthusiasts, King Arthur’s pizza dough recipe is pretty foolproof, even for clumsy hands like mine. Not sponsored, just a fan.
So, that’s it! Philly Cheesesteak Stuffed Breadsticks, straight from my kitchen to yours (occasionally with flour on my face). Happy snacking, mate!
Ingredients
- 1 lb thinly sliced beef steak (such as ribeye or sirloin)
- 1 tablespoon olive oil
- 1 small onion, thinly sliced
- 1 small green bell pepper, thinly sliced
- 1 cup shredded provolone cheese
- 1 can refrigerated pizza dough (about 13.8 oz)
- 1 teaspoon garlic powder
- 1 tablespoon melted butter
- Salt and black pepper to taste
Instructions
-
1Preheat oven to 400°F (200°C). Line a baking sheet with parchment paper.
-
2Heat olive oil in a skillet over medium-high heat. Add sliced beef, season with salt and pepper, and cook until browned, about 3-4 minutes. Remove beef and set aside.
-
3In the same skillet, add onions and green bell pepper. Sauté until softened, about 4-5 minutes. Return beef to the skillet and stir to combine. Remove from heat.
-
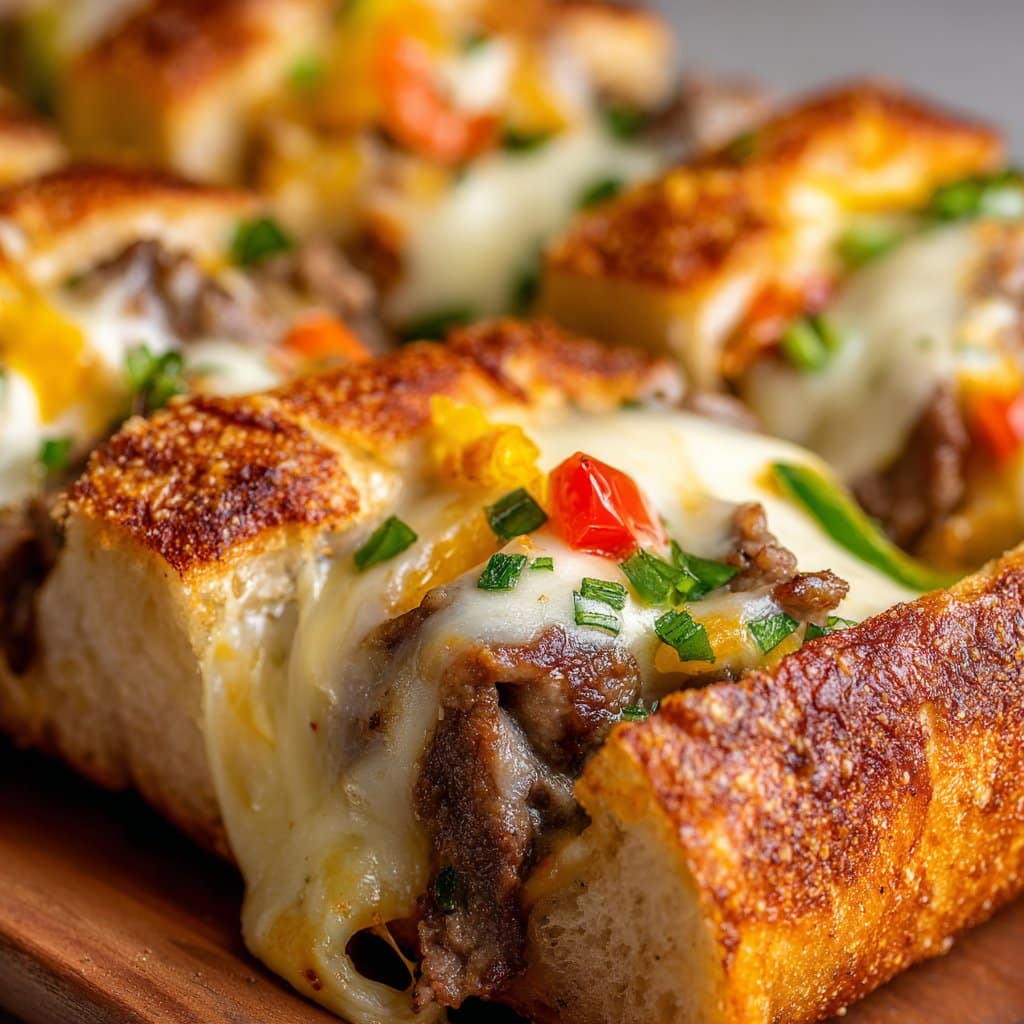
4Unroll pizza dough and cut into 4 rectangles. Spoon the beef mixture and shredded provolone cheese evenly onto each rectangle. Fold and seal the edges to enclose the filling, forming breadsticks.
-
5Place breadsticks seam-side down on the prepared baking sheet. Brush tops with melted butter and sprinkle with garlic powder.
-
6Bake for 18-20 minutes or until golden brown. Let cool slightly before serving.
Approximate Information for One Serving
Nutrition Disclaimers
Number of total servings shown is approximate. Actual number of servings will depend on your preferred portion sizes.
Nutritional values shown are general guidelines and reflect information for 1 serving using the ingredients listed, not including any optional ingredients. Actual macros may vary slightly depending on specific brands and types of ingredients used.
To determine the weight of one serving, prepare the recipe as instructed. Weigh the finished recipe, then divide the weight of the finished recipe (not including the weight of the container the food is in) by the desired number of servings. Result will be the weight of one serving.
Did you make this recipe?
Please consider Pinning it!!