Pull Up a Chair: Let’s Talk About Cookie Icing
If you’ve ever tried to make your own sugar cookie icing and ended up with either rock-hard sugar pebbles or rainbow puddles that refuse to dry (trust me, I’ve been there—messy counter and all), you’re in good company. I remember the first time I brought my so-called ‘festive snowflake cookies’ to a holiday swap—let’s just say they looked…abstract. Taste was alright, but the icing was either too thick to spread or so runny that it resembled a Jackson Pollock painting (not in a good way). After some trial, error, and let’s be honest, several cookie casualties, I finally landed on this professional bakery-style sugar cookie icing that delivers that glossy, crisp finish—without requiring a culinary degree. Plus, you can make it in your pajamas. Which, as far as I’m concerned, is the best way to bake.

Why This Icing Just Hits Right
I make this especially around the holidays when my nieces come over and demand (not ask, demand!) they get to paint cookies that look “fancy enough to sell”. The big win for me here is that it dries hard enough that you can actually stack the cookies without them gluing themselves together. My family goes crazy for this because, honestly, it doesn’t turn teeth blue for days and tastes sweet, but not, you know, toothache sweet. Plus, unlike royal icing, you don’t need to wrangle eggs or meringue powder—you just stir and go. And, when I’m feeling lazy (which is often), I skip piping bags and just use a ziptop bag with the corner cut off. Works like a charm; maybe not the prettiest method, but hey, it’s all edible art.
What You’ll Need (and Some Cheeky Subs)
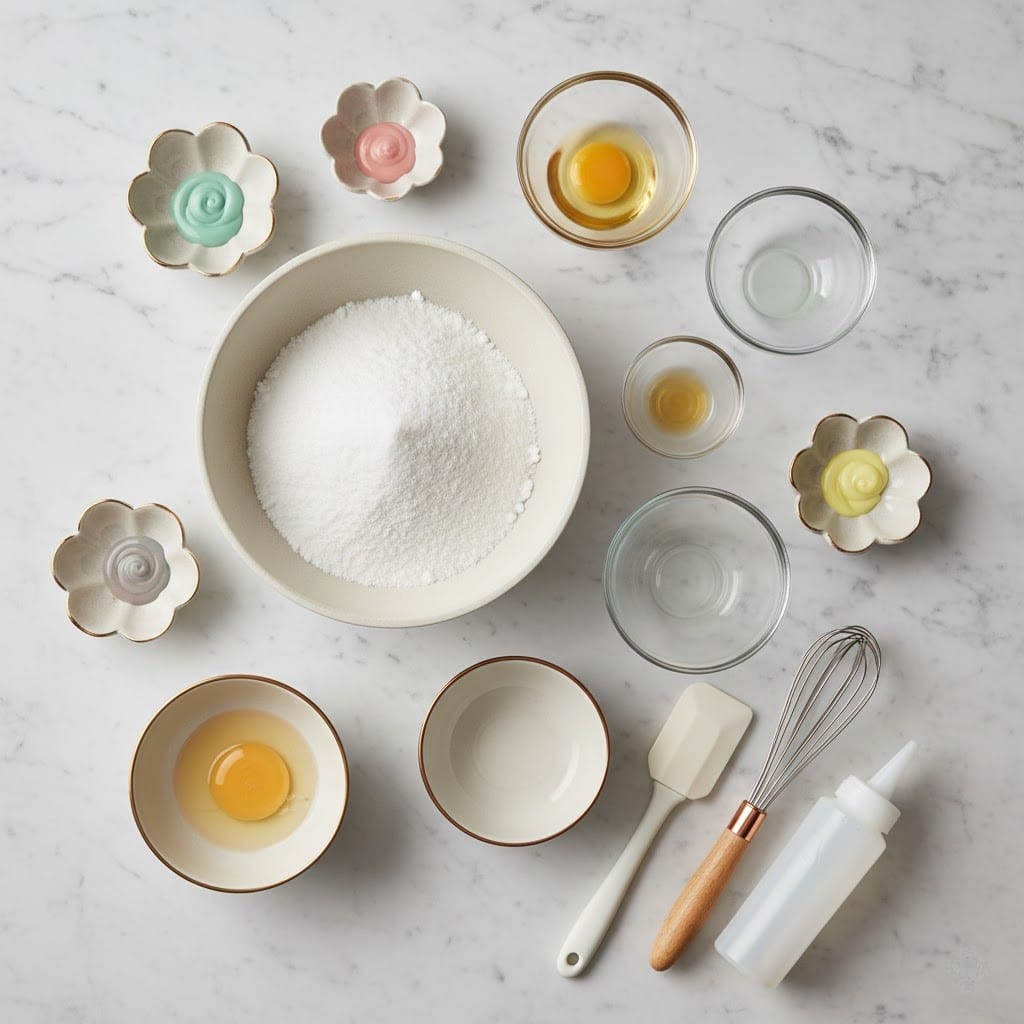
- 2 cups powdered sugar (a.k.a. icing sugar; I’ll confess, I’ve even used the store brand when the fancy bag was empty. Grandmother would be scandalized but it works fine.)
- 2-3 tablespoons milk (whole milk makes it richer, but I’ve used oat or almond when that’s all I had—it’s all good)
- 1 tablespoon light corn syrup (okay, so this gives it that shiny bakery finish, but honey sort of works if you’re in a pinch—it’ll be a bit less glassy, though)
- 1/2 teaspoon pure vanilla extract (sometimes I do almond extract for a twist, but that’s just me being fancy)
- Pinch of salt (don’t skip this! I forgot it once and my kids noticed. Or they pretended to, just to bug me, but still…)
- Gel food coloring (optional, but honestly—rainbow cookies make everything more fun. I have a drawer of colors that always wants to jump out at me)
How to Make Professional Bakery-Style Sugar Cookie Icing
- In a medium-ish mixing bowl, dump in the powdered sugar first. Then pour in 2 tablespoons of milk, the corn syrup, vanilla, and the tiniest pinch of salt. Stir slowly—this stuff tries very hard to leap out of the bowl if you’re not careful.
- Mix until smooth and glossy. If it seems too thick, just add in milk (a half teaspoon at a time) until it’ll run off a spoon in thick ribbons. If it’s too thin, a bit more sugar and all is right in the world. This is where I usually sneak a lick, because quality control is important.
- If you’re going colorful, divide into bowls and mix in gel food coloring—start with a tiny drop, it goes a looooong way. Kids love this bit: just, maybe put down some newspaper.
- For piping or outlines, use the icing as is. For flooding (that glorious, smooth finish), I thin it out with a teensy splash more milk until it flows but doesn’t just run off the cookie and onto your counter. I use a chopstick to direct things. And if you don’t have piping bags, just snip the end off a ziptop—no one will know.
- Let your decorated cookies dry on a wire rack (or just a baking tray, I’ve used both) for several hours—overnight is safest if you want them stackable. Resist touching them too soon; learned that the hard way, smudged half a dozen because I was impatient. Classic me.
Bits and Bobs I’ve Learned (Notes)
- Tried using water instead of milk once—yeah, don’t. Turns out kind of chalky and just…eh.
- If your kitchen’s super humid, they might take ages to set—sometimes I pop them near a fan, really ups the efficiency. Or just eat them anyway, slightly soft. Who’s judging?
- Corn syrup is controversial, I know, but it’s what gives you that glossy bakery look. Someone once told me maple syrup would work—doesn’t. Tastes weird, too.
Variations (Some Get a Bit Wild)
- Add almond extract instead of vanilla for that classic wedding cookie flavor. People always ask what the secret is.
- A couple times I tossed in lemon zest—surprisingly nice, brightens the whole thing up.
- Once tried cocoa powder for a chocolate version…uh, don’t. Wasn’t the disaster of the year but didn’t set right. Back to the drawing board for that one.
Equipment—Don’t Panic!
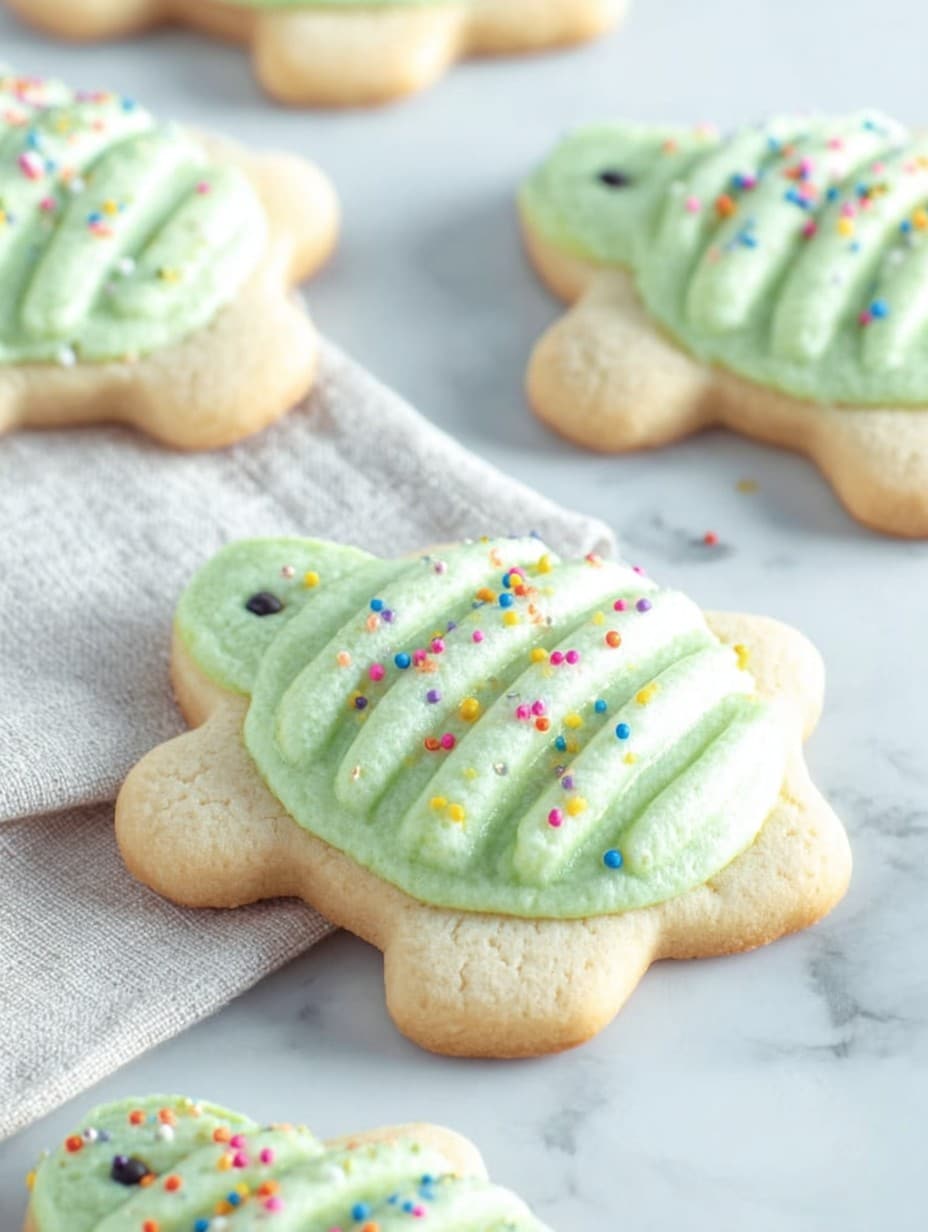
- Mixing bowl
- Whisk or sturdy spoon (fork works in a pinch—I’ve done it more than I care to admit)
- Piping bags or plastic ziptop bags (or, so help me, a cleaned-out ketchup bottle in a moment of desperation)
- Food coloring (if you’re getting creative)
If you don’t have a wire rack, cooling the cookies on parchment atop the counter works fine too. I mean, perfect kitchen or not, you’ll get icing everywhere anyway.
How I Store It (or, In Theory…)
Supposedly, you can keep the cookies in a single layer in an airtight container for about a week…though honestly, in my house it never lasts more than a day, maybe two. If you’ve somehow managed to make enough that there are leftovers, the icing will stay good in the fridge for a week—just press cling film directly on the surface or it’ll crust up like forgotten toothpaste.
Ways I Love to Serve (But You Do You)
Every December, we set up a cookie decorating station/runway, put on some old Bing Crosby, and let everyone grab a spoon. Half the fun is making a mess. This icing is great for kid parties—their creations rarely survive transport home, but the smiles make it worth it. Also, sneaking a cookie with tea late at night…chef’s kiss.
My Best Pro Tips (Learned the Hard-ish Way)
- I once tried rushing the drying step and…well, let’s just say I ended up with a tray of smushed, sticky sugar blobs. Give ’em time.
- Don’t worry about it looking perfect—the homemade slightly-wonky look is charming (that’s my story and I’m sticking to it)
- Wash your hands before coloring icing unless you want rainbow fingerprints everywhere…
FAQ—Because These Always Come Up
- Can I use water instead of milk? You can, but it won’t taste as creamy—and honestly, it’s less forgiving if you over-thin it.
- How long does this take to dry, really? Depends! On a good day, you can stack ’em after 6 hours, but overnight is safer. I’ve ruined a whole batch by stacking ’em too soon—live and learn.
- Is there a vegan version? Easily! Use any plant milk and swap agave or golden syrup for corn syrup. Still dries lovely.
- Why is my icing too runny? Probably added too much liquid (happens to the best of us). Just mix in a bit more sugar until it’s where you want.
- Do I really need corn syrup? For the classic glossy look, yes. But skip it if you’re determined—just expect a matte finish.
- Can I freeze the iced cookies? Sure—but be careful with tight stacking or heavy packaging, the icing can crack if you knock them around too much. I mean, there’s your excuse to eat them straight from the freezer, right?
Oh, and if you see me licking the bowl—no you didn’t!
Ingredients
- 2 cups powdered sugar
- 2-3 tablespoons milk
- 1 tablespoon light corn syrup
- 1/2 teaspoon pure vanilla extract
- Pinch of salt
- Gel food coloring (optional)
Instructions
-
1In a medium-ish mixing bowl, dump in the powdered sugar first. Then pour in 2 tablespoons of milk, the corn syrup, vanilla, and the tiniest pinch of salt. Stir slowly—this stuff tries very hard to leap out of the bowl if you’re not careful.
-
2Mix until smooth and glossy. If it seems too thick, just add in milk (a half teaspoon at a time) until it’ll run off a spoon in thick ribbons. If it’s too thin, a bit more sugar and all is right in the world. This is where I usually sneak a lick, because quality control is important.
-
3If you’re going colorful, divide into bowls and mix in gel food coloring—start with a tiny drop, it goes a looooong way. Kids love this bit: just, maybe put down some newspaper.
-
4For piping or outlines, use the icing as is. For flooding (that glorious, smooth finish), I thin it out with a teensy splash more milk until it flows but doesn’t just run off the cookie and onto your counter. I use a chopstick to direct things. And if you don’t have piping bags, just snip the end off a ziptop—no one will know.
-
5Let your decorated cookies dry on a wire rack (or just a baking tray, I’ve used both) for several hours—overnight is safest if you want them stackable. Resist touching them too soon; learned that the hard way, smudged half a dozen because I was impatient. Classic me.
Approximate Information for One Serving
Nutrition Disclaimers
Number of total servings shown is approximate. Actual number of servings will depend on your preferred portion sizes.
Nutritional values shown are general guidelines and reflect information for 1 serving using the ingredients listed, not including any optional ingredients. Actual macros may vary slightly depending on specific brands and types of ingredients used.
To determine the weight of one serving, prepare the recipe as instructed. Weigh the finished recipe, then divide the weight of the finished recipe (not including the weight of the container the food is in) by the desired number of servings. Result will be the weight of one serving.
Did you make this recipe?
Please consider Pinning it!