Let’s Talk Pumpkin Cheesecake Truffles (And Why I Can’t Stop Making Them)
You ever start making something and think, well, this is either going to be a disaster or my new favorite snack? Yeah, that was me the first time I tried these pumpkin cheesecake truffles. It was late October, my kitchen smelled like cinnamon and that faint whiff of panic you get when you realize you’ve already dirtied every mixing bowl you own. But anyway, these truffles came out so good, even my neighbor (who claims to hate pumpkin, imagine!) asked for the recipe. Truth be told, I keep a stash in the freezer for, you know, those days when you just need a little sweet comfort.
Why You’ll Love Pumpkin Cheesecake Truffles (or Why I Do, Anyway)
I make these honestly every year when the first leaf hits the ground. My family goes a bit wild for them—last Thanksgiving, my cousin tried to sneak extra into her purse, which I respect. They’re perfect because they taste like autumn in a bite, and you don’t even need to turn on the oven (which means no baking disasters—look, it’s happened). Plus, you get all that cozy pumpkin spice flavor without the fuss of a pie. And if you have little ones around, they love helping roll the balls—even if half gets eaten in the process. (And yes, I used to think truffles were too fancy for a weeknight, but here we are.)
What You’ll Need (Plus Some Cheeky Substitutions)
- 1/2 cup pumpkin puree (not pumpkin pie filling—learned that the hard way. Canned or homemade, both work. I sometimes swap with mashed sweet potato if I’m out.)
- 115g (about 4 oz) cream cheese, softened (Full-fat is best for richness, but I’ve used light in a pinch. My grandmother always insisted on Philadelphia, but honestly, supermarket own-brand is fine.)
- 1 cup graham cracker crumbs (Digestive biscuits are fine if you’re in the UK—just crush ’em up)
- 1/2 cup powdered sugar (More or less to taste. Sometimes I go a bit heavy-handed, not sorry.)
- 1 teaspoon pumpkin pie spice (Or a mix of cinnamon, ginger, and nutmeg if you’re the DIY type.)
- Pinch of salt
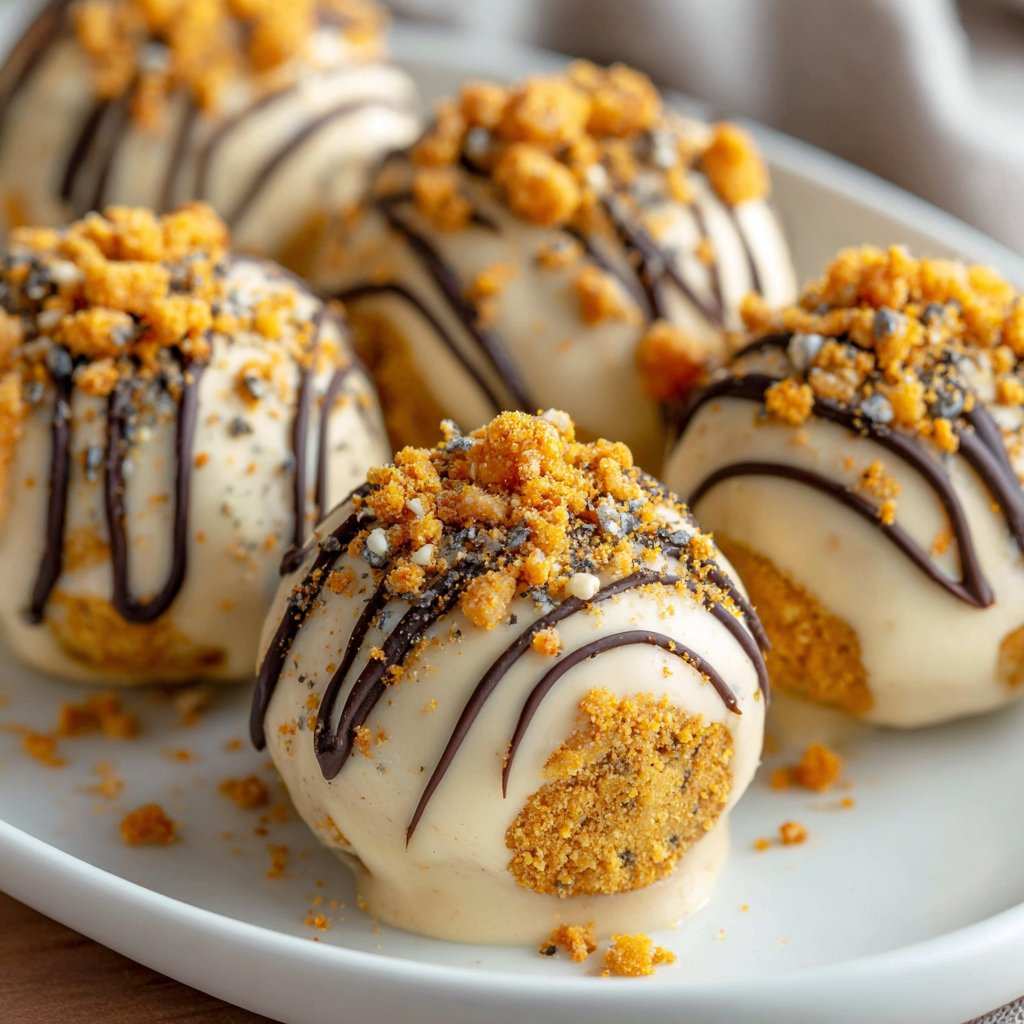
- 200g (about 7 oz) white chocolate, for coating (Dark chocolate is fab too, but white is classic here. I even tried milk chocolate once, but it didn’t quite hit the mark.)
- Optional: crushed pecans, extra graham crumbs, or sprinkles for topping (I like a bit of crunch)
How To Make These Little Gems: Step by Step (Sort Of)
- Mix the Filling: Grab a medium bowl (or whatever’s clean, to be honest) and mix the pumpkin puree, softened cream cheese, powdered sugar, pumpkin pie spice, and pinch of salt. I use a fork, but a mixer works if you’re feeling fancy. The mixture will look a bit odd at this stage—kind of gloopy and not very photogenic. That’s normal. This is where I usually taste a bit, just to check the spice.
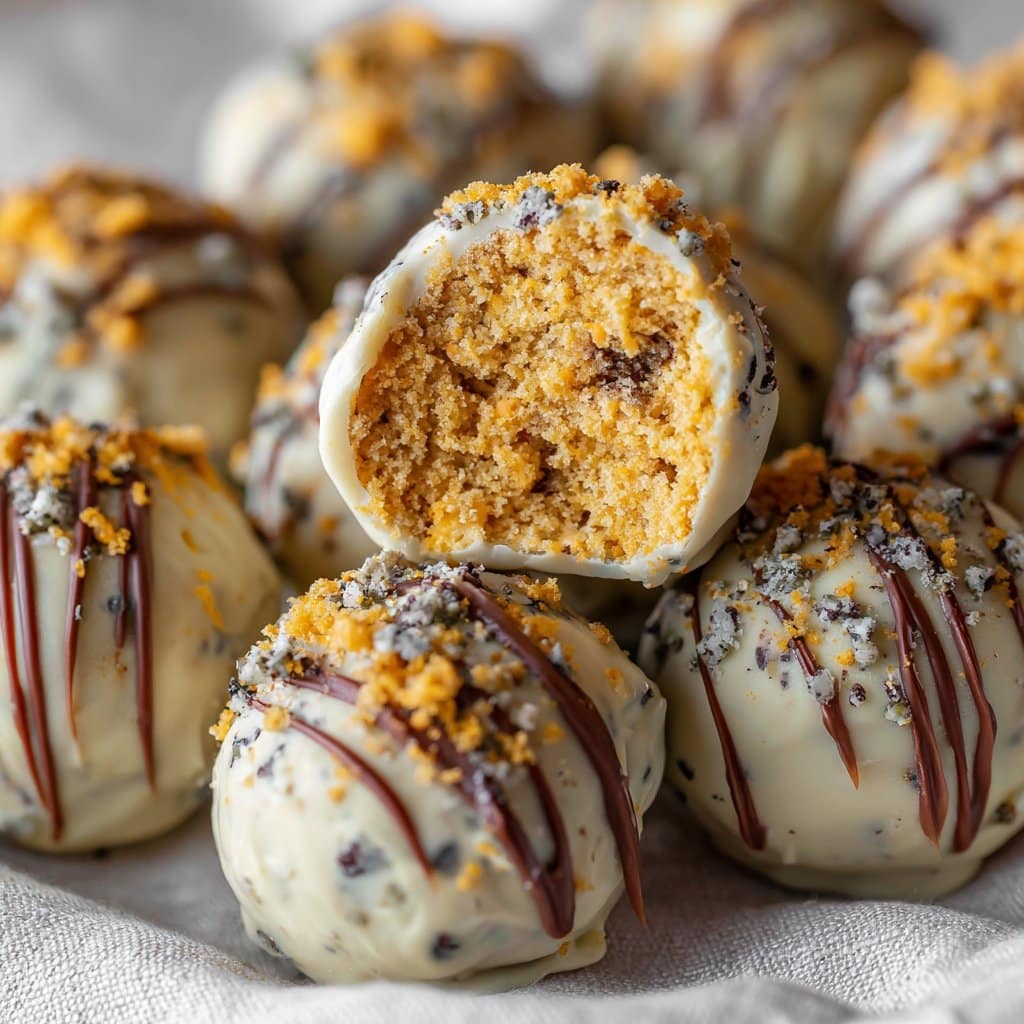
- Add the Crumbs: Stir in the graham cracker crumbs until it thickens up and you can roll it, more or less, into balls. If it’s too sticky, toss in a bit more crumbs. (Don’t stress if it’s messy—mine always are.)
- Chill Out: Pop the bowl in the fridge for at least 30 minutes. Or the freezer if you’re impatient like me. You want the mix to firm up so it’s easier to handle.
- Roll ‘Em: Scoop out a heaping teaspoon, roll into balls between your hands (it’s sticky, so maybe dust your hands with crumbs or powdered sugar), and set them on a parchment-lined tray. Honestly, I usually make them a bit uneven—perfection is overrated.
- Chill Again: Freeze the balls for 15-20 minutes until they’re good and solid. This helps the chocolate coating later. I sometimes forget this step and regret it when things get messy, so don’t skip!
- Coat in Chocolate: Melt the white chocolate in the microwave (short 20-second bursts, stirring in between, so it doesn’t turn into a weird seized lump). Dip each pumpkin ball in chocolate, let the extra drip off, and return to the tray. I use a fork for this, but have also done it with my fingers when I couldn’t find the right tool. Sprinkle with nuts or crumbs if you want.
- Let Set: Chill again until the chocolate is firm. Then try not to eat half before sharing.
Notes From My (Sometimes Chaotic) Kitchen
- Once, I tried skipping the second chilling step because I was running late—it’s not worth it. The balls fell apart in the chocolate bath, looked like a pumpkin crime scene.
- I think these actually taste better on day two, but honestly they rarely last that long in my house.
- If your mixture is too wet, just add more crumbs a tablespoon at a time. If it’s too dry? A bit more pumpkin or cream cheese fixes it.
Variations (Some Winners, One Not-So-Much)
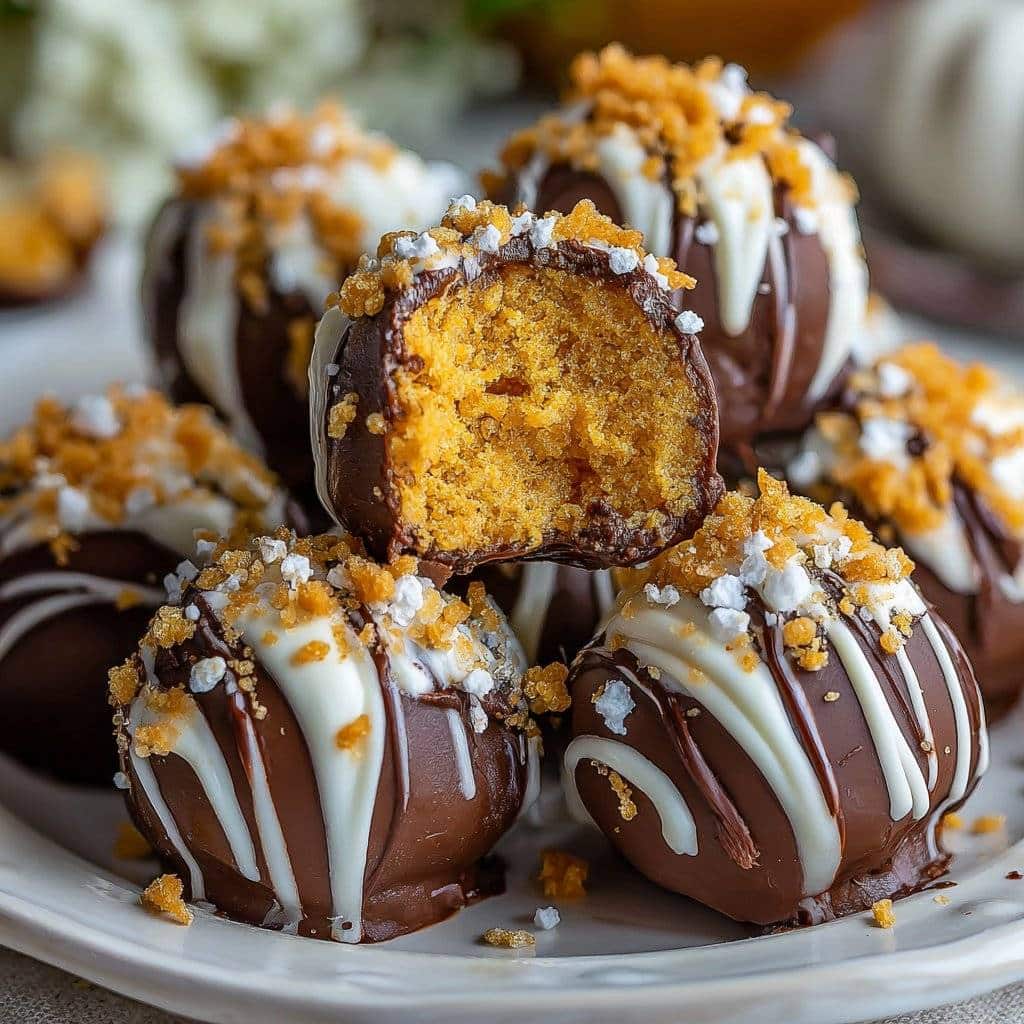
- I tried using dark chocolate once—really rich! Maybe too intense for my taste, but my dad loved it.
- Swapped in crushed ginger snaps for the crumbs, which gave it a spicy kick—super autumnal.
- Added chopped candied ginger one time; not my best idea. Too strong. Maybe just a pinch next time.
What If I Don’t Have All the Equipment?
You don’t need a fancy truffle scoop. I just use my old measuring spoon, or even clean hands. Parchment paper makes it easy, but honestly, I’ve used foil, wax paper, or just a plate sometimes. If you’re melting chocolate and don’t have a microwave, a heatproof bowl set over a saucepan of hot water (a makeshift double boiler) does the trick. Improvising is half the fun.
How to Store These (But Good Luck Making Them Last)
Keep them in an airtight container in the fridge for up to five days, or the freezer for a month (supposedly). Truth is, they’ve never made it past day two around here. If you want to gift them, pop them in little cupcake liners—they travel pretty well, unless you leave them in the sun. Ask me how I know.
Serving Ideas (And a Family Tradition)
We always put these out with coffee after dinner, but they’re also great as a mid-afternoon treat with (way too much) whipped cream on the side. My nephew likes to stick a toothpick in his and pretend it’s a lollipop. Sometimes I’ll crumble one over vanilla ice cream if I’m feeling extra.
Pro Tips I Learned the Hard Way
- Seriously, don’t rush the chilling steps. I once tried to skip the freezer because I was running late—what a mess. Chocolate everywhere, truffles turned into blobs.
- If you use low-fat cream cheese, the mixture can get runny. Actually, I find it works better if you just stick to the full-fat stuff.
- Don’t overheat the chocolate. Burnt chocolate smells like sadness and is impossible to rescue.
FAQ (Real Questions, Real Answers)
- Can I make these ahead of time? Yep! I actually think they taste better the next day, as the flavors settle in. Just keep them chilled.
- What if I don’t like white chocolate? Use dark or milk chocolate instead—totally works, though it changes the vibe. Or, skip coating altogether and just roll them in cocoa or more crumbs.
- Is fresh pumpkin better than canned? If you’ve got time to roast and mash, go for it, but honestly, canned is easier and just as tasty for truffles. No one’s judging.
- How do you melt chocolate without a microwave? I do the double boiler trick—bowl over a pot of simmering water. Slow and steady wins the race here.
- Where did you get your inspiration? Bits and pieces form all over: Smitten Kitchen (worth a read!), Sally’s Baking Addiction (great for troubleshooting), and honestly just experimenting in my own messy kitchen.
So there you go—my not-so-perfect but always delicious pumpkin cheesecake truffles. Give them a go, try your own twist, and let me know if you come up with a flavor combo that knocks your socks off. Or, just eat them straight from the freezer at midnight like the rest of us.
Ingredients
- 4 oz cream cheese, softened
- 1/2 cup pumpkin puree
- 1 cup graham cracker crumbs
- 1 cup powdered sugar
- 1/2 tsp pumpkin pie spice
- 1/2 tsp vanilla extract
- 10 oz white chocolate, chopped or chips
- 1 tbsp coconut oil (optional, for melting chocolate)
Instructions
-
1In a medium bowl, beat together the softened cream cheese and pumpkin puree until smooth and well combined.
-
2Add the graham cracker crumbs, powdered sugar, pumpkin pie spice, and vanilla extract. Mix until a thick dough forms.
-
3Scoop out tablespoon-sized portions of the mixture and roll into balls. Place them on a parchment-lined baking sheet.
-
4Freeze the truffle balls for 20 minutes to firm up.
-
5Melt the white chocolate with coconut oil (if using) in a microwave or double boiler until smooth.
-
6Dip each chilled truffle into the melted white chocolate, coating completely. Place back on the baking sheet and refrigerate until set.
Approximate Information for One Serving
Nutrition Disclaimers
Number of total servings shown is approximate. Actual number of servings will depend on your preferred portion sizes.
Nutritional values shown are general guidelines and reflect information for 1 serving using the ingredients listed, not including any optional ingredients. Actual macros may vary slightly depending on specific brands and types of ingredients used.
To determine the weight of one serving, prepare the recipe as instructed. Weigh the finished recipe, then divide the weight of the finished recipe (not including the weight of the container the food is in) by the desired number of servings. Result will be the weight of one serving.
Did you make this recipe?
Please consider Pinning it!!




