So, Here’s Why I Keep Making This Every Fall
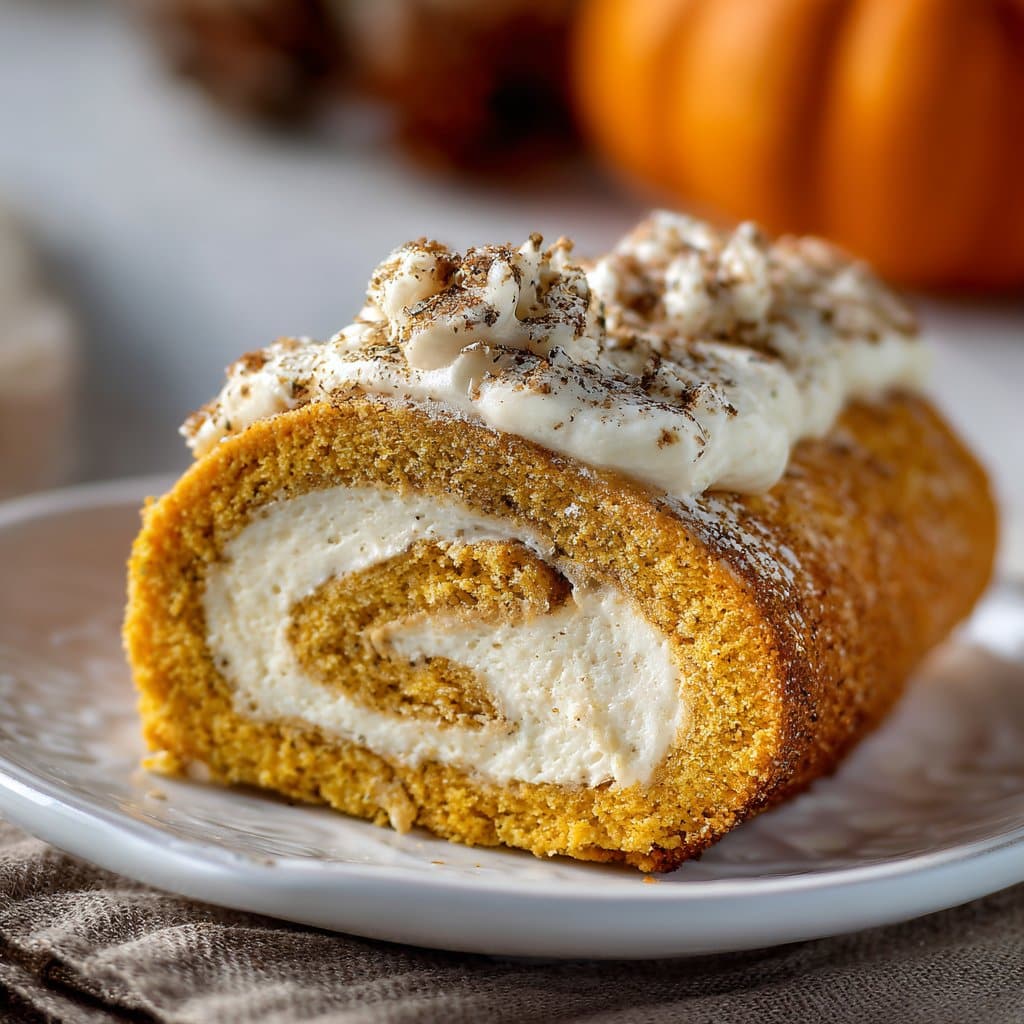
Let me just say, the first time I made this pumpkin cream cheese roll for a fall get-together, it wasn’t exactly a graceful affair. Picture me with powdered sugar in my hair (don’t ask how), the kitchen smelling like October, and my dog eyeing the counter. But you know what? That first slightly lopsided roll basically vanished in ten minutes. My friend Jenna even tried to sneak a second piece into her purse! Now it’s a totally non-negotiable part of our autumn hangouts, right up there with fuzzy socks and arguing about whose turn it is to bring cider. Oh, and fair warning: this recipe brings out the inner dessert thief in everyone.
Why You’ll Love This (Or at Least Why I Do)
I make this when the weather turns sweater-worthy and I want my house to smell like a candle shop. My family goes a bit wild for it (especially my brother—he claims it’s breakfast food, which is a stretch but I let it slide). Sometimes the rolling part gives me fits, but once I got the hang of it, even the wobbly ones taste dreamy. It’s one of those things where the cream cheese and pumpkin just cozy up together, and if you’re a sucker for fall flavors like I am, you’re in for a treat. Plus, the leftovers—if there are any—taste even better the next day. Actually, scratch that, the next-morning slice with coffee is chef’s kiss.
What You’ll Need (Ingredients + My Shortcuts)
- For the Pumpkin Cake:
- 3/4 cup (95g) all-purpose flour (or honestly, whole wheat flour if you’re feeling virtuous—it works fine)
- 1/2 teaspoon baking powder
- 1/2 teaspoon baking soda
- 1/2 teaspoon ground cinnamon (sometimes I add a pinch of nutmeg if I can find it in the spice chaos)
- 1/2 teaspoon ground ginger (optional, but worth it!)
- 1/4 teaspoon salt
- 3 large eggs, room temp (or two jumbo eggs, but I’d rather not do the math)
- 1 cup (200g) granulated sugar (my grandma swore by brown sugar; I think it’s a toss-up)
- 2/3 cup (160g) canned pumpkin puree (not pumpkin pie filling—learned that the hard way!)
- 1 teaspoon vanilla extract
- For the Filling:
- 8 oz (225g) cream cheese, softened (I sometimes use Neufchâtel if I’m feeling fancy, but store brand is totally fine)
- 1 cup (120g) powdered sugar, sifted (or not sifted when I’m impatient, just a bit lumpier)
- 6 tablespoons butter, softened
- 1 teaspoon vanilla extract
- Extra:
- Powdered sugar for dusting (totally optional but looks pretty)
- Parchment paper
So, Here’s How I Make It (With a Few Real-Life Tangents)
- Preheat and Prep: Crank your oven to 375°F (190°C). Grab a 10×15-inch jelly roll pan—honestly, a rimmed baking sheet works too. Line it with parchment, with a little overhang for easy cake-lifting. (I may or may not have skipped this once and regretted it. Don’t do that.)
- Mix the Dry Stuff: In a biggish bowl, whisk flour, baking powder, baking soda, cinnamon, ginger, and salt. Just give it a good mix; it doesn’t have to look perfect.
- Make It Pumpkiny: In another bowl, beat your eggs and sugar until it’s light and, well, fluffyish. Stir in the pumpkin puree and vanilla. This is when the color gets all autumnal—my favorite part.
- Blend It All Together: Dump the dry mix into the wet. Stir gently! You don’t want to overmix, but honestly, I haven’t noticed a huge difference if I get distracted here. Pour it onto your prepared pan and smooth it out. It’ll look thin. That’s normal.
- Bake: Pop it in the oven for about 13–15 minutes. You want it springy, not dry. My oven runs a touch hot, so I start checking at 12 minutes. (If your kitchen starts smelling like fall, you’re on the right track.)
- Roll it Up (Don’t Panic): While it’s baking, lay out a clean kitchen towel and sprinkle it generously with powdered sugar. When the cake’s done, flip it out immediately onto the towel. Carefully peel off the parchment. (Don’t freak out if it sticks a bit—just patch it with your fingers.)
Roll it up with the towel, starting at the short end. Yes, while it’s warm! It feels wrong, but trust me. Allow it to cool rolled up (usually takes 30–40 mins, but who’s watching the clock?). - Make the Filling: Beat cream cheese, powdered sugar, butter, and vanilla until smooth. This is where I sneak a little taste, because life’s too short.
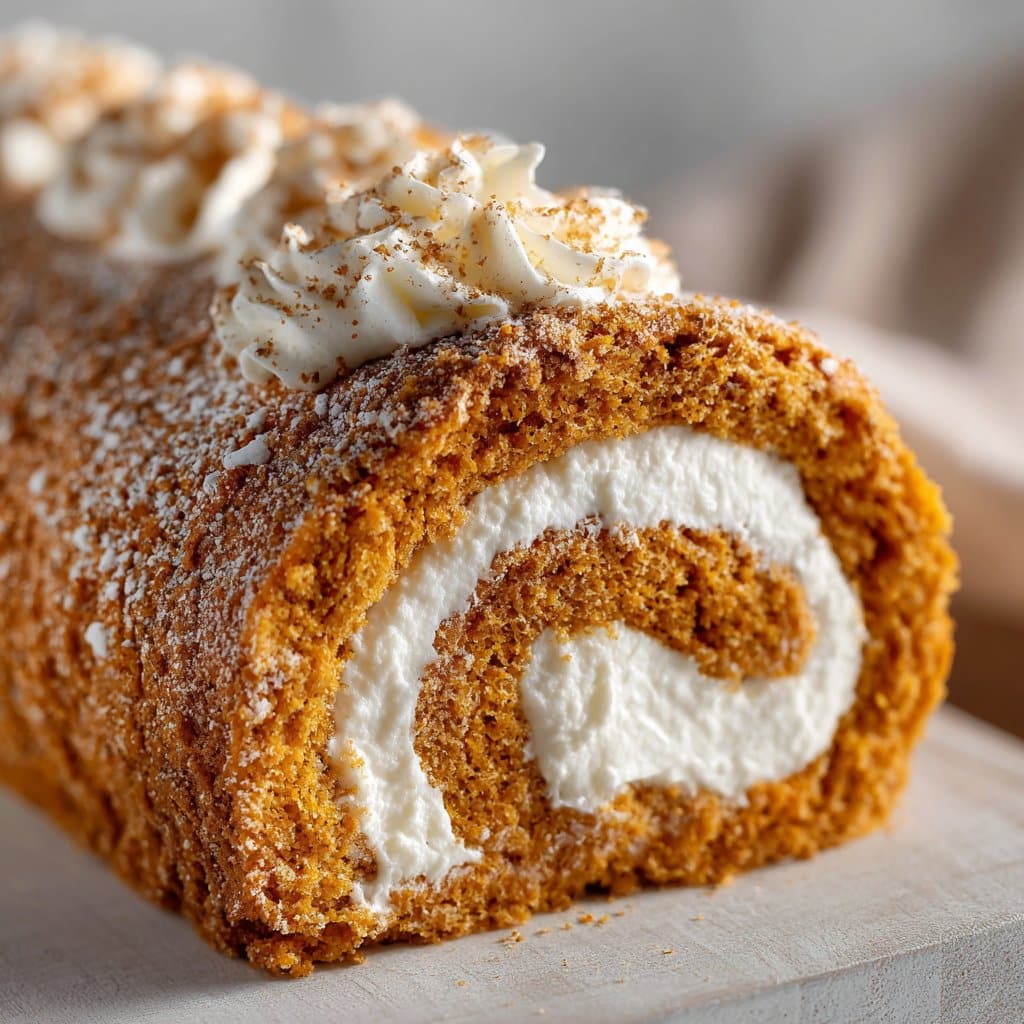
- Assemble: Unroll the cooled cake, spread the filling evenly, and reroll (without the towel—been there, done that). If it cracks a little, just call it “rustic”—everyone will still eat it.
- Chill, Slice, and Enjoy: Pop it in the fridge for at least an hour if you can stand it. Dust with extra powdered sugar before serving. Or, if you’re me, slice a piece off while it’s still a little warm and call it quality control.
Things I’ve Learned (the Hard/Fun Way)
- Don’t try to rush the cooling part—I once did, and the filling pretty much melted out the sides like a sad pumpkin lava flow.
- If the cake cracks, just dust more sugar and smile. No one’s grading you.
- Parchment paper is your best mate here, but once I used foil (bad idea, sticks like crazy).
- If you forget the powdered sugar on the towel, the cake might stick, but a spatula helps coax it free (and you get to eat the scraps—win-win).
Stuff I’ve Tried (Some Good, One Not So Much)
- Swapping in maple syrup for part of the sugar—actually gives it a nice earthy sweetness, but cut back on the liquid elsewhere.
- Making it gluten-free with almond flour. It gets a bit crumbly but tastes decent. I wouldn’t serve it to my pickiest aunt, though.
- Once I tried adding mini chocolate chips to the filling. Wouldn’t do it again—made the roll hard to slice and kinda weirdly sweet. Live and learn.
About The Gear: Do You Really Need a Jelly Roll Pan?
Look, a 10×15-inch pan makes life easier, but I’ve managed with a regular rimmed baking sheet (just don’t overfill). No stand mixer? Electric hand mixer is fine. I even mixed the filling by hand once when my mixer broke—took some elbow grease but worked. If you’re in a pinch, parchment paper is more crucial than any fancy tool. Oh, and if you’re short on bowls, just rinse and reuse—no one’s looking.
How Long Does It Keep? (Not That You’ll Need This)
Technically, in an airtight container in the fridge, it should keep up to four days. But honestly, in my house, it never lasts more than a day, maybe two if I hide a few slices behind the yogurt. I think it tastes even better after chilling overnight (if you can resist!).
Serving Ideas (And a Little Family Chaos)
We usually serve thick slices with mugs of hot cider—sometimes I add a scoop of vanilla ice cream on the side if I’m feeling festive. My sister insists on whipped cream. Once, for a brunch, we cut tiny slices and made them the centerpiece, which looked fancier than it really was. The roll also travels well, so it’s a lifesaver for potlucks (as long as you remember to bring a knife—I once forgot and had to use a plastic fork; not recommended).
Things I Wish I’d Known (A Few Hard-Earned Pro Tips)
- Don’t try to unroll the cake while it’s still warm. I once did—mistake! It just sort of slumped into a sad pile (still delicious, though).
- Sift the powdered sugar if you have time; otherwise, expect a few lumpy bits. No one complains.
- Clean as you go—otherwise, you’ll end up with powdered sugar footprints all over the kitchen. Ask me how I know.
Some Real-Life FAQ (Stuff Friends Actually Asked)
- Can I use fresh pumpkin?
Sure thing! Just roast, puree, and drain it well. It’s a bit more work but tastes great. Canned is honestly easier (and less risk of watery cake). If you want a good guide on prepping pumpkin, this one from Simply Recipes is solid. - What if my roll cracks?
Totally normal! Just dust with extra sugar, cut it on the diagonal, and call it rustic. Been there, still tasty. - Can I freeze it?
Yep! Wrap tightly in plastic, then foil. Thaw overnight in the fridge. The texture’s maybe a bit softer, but still really good. I usually don’t bother, since it goes fast. - Is it okay to make ahead?
Oh, definitely. Sometimes I make it the night before a party, and I think the flavors meld more. Plus, less last-minute chaos. - Do I need a stand mixer?
Nope. Hand mixer, or even good old-fashioned muscle, works fine. If all else fails, a whisk and determination (and a little break for your arms). - Can I make it vegan?
Honestly, I’ve never tried, but I did see Minimalist Baker’s vegan pumpkin roll that looks promising. Let me know if you have success!
One last thing—I sometimes put on my favorite autumn playlist while baking this. If you’re going to make your kitchen smell like a pumpkin patch, might as well set the mood, right? Enjoy the coziness, and don’t forget to lick the beaters (carefully, obviously). Happy baking!
Ingredients
- 3/4 cup all-purpose flour
- 1/2 teaspoon baking powder
- 1/2 teaspoon baking soda
- 1/4 teaspoon salt
- 1 teaspoon ground cinnamon
- 3 large eggs
- 1 cup granulated sugar
- 2/3 cup canned pumpkin puree
- 8 oz cream cheese, softened
- 1 cup powdered sugar
- 6 tablespoons unsalted butter, softened
- 1 teaspoon vanilla extract
Instructions
-
1Preheat oven to 375°F (190°C). Line a 15×10-inch jelly roll pan with parchment paper and lightly grease.
-
2In a medium bowl, whisk together flour, baking powder, baking soda, salt, and cinnamon.
-
3In a large bowl, beat eggs and granulated sugar until thick. Add pumpkin puree and mix until well combined. Gradually stir in the flour mixture.
-
4Spread batter evenly in prepared pan. Bake for 13-15 minutes or until the cake springs back when lightly touched.
-
5Immediately loosen cake and turn onto a clean kitchen towel dusted with powdered sugar. Carefully peel off parchment paper. Roll up cake and towel together, starting with the short end. Cool completely.
-
6For the filling, beat cream cheese, powdered sugar, butter, and vanilla until smooth. Unroll the cooled cake, spread filling evenly, then re-roll. Chill before slicing and serving.
Approximate Information for One Serving
Nutrition Disclaimers
Number of total servings shown is approximate. Actual number of servings will depend on your preferred portion sizes.
Nutritional values shown are general guidelines and reflect information for 1 serving using the ingredients listed, not including any optional ingredients. Actual macros may vary slightly depending on specific brands and types of ingredients used.
To determine the weight of one serving, prepare the recipe as instructed. Weigh the finished recipe, then divide the weight of the finished recipe (not including the weight of the container the food is in) by the desired number of servings. Result will be the weight of one serving.
Did you make this recipe?
Please consider Pinning it!!




