Let’s Talk About Rice Krispie Cheddar Crackers
You know that moment you’re standing in your kitchen, looking for something snacky, but not the same old kettle chips or popcorn? Yeah, that’s me, at least twice a week. My Aunt Mags used to whip up these Rice Krispie Cheddar Crackers when we all crammed into her house after school—her kitchen always smelled like melting cheese and mischief. I swear, as a kid, I thought Rice Krispies were just for breakfast or those sticky marshmallow bars, but oh boy, these crackers changed my tune. And if you’re picturing some fancy, fussy recipe, don’t worry. These are dangerously easy, and, well, sometimes a bit too easy to eat. (Ask my jeans.)
Why You’ll Probably Love These (I Do!)
I make these whenever my family’s begging for a snack but I really don’t want to go to the store. Or when I have bits of cheese that aren’t enough for a sandwich, but too good to waste. My crew goes nuts for them—though, confession, the first time I tried, I added way too much butter and ended up with a greasy mess (I mean, edible, but yikes). They’re crisp, cheesy, and somehow the Rice Krispies make them light but still crunchy. Plus, you get to eat them while they’re still warm which is… well, it’s the best. If you need a break from sweet snacks or want to impress at a potluck, these are your ticket. Also, making crackers feels weirdly grown up, even if half the ingredients are from the cereal aisle.
What You’ll Need (And What I Swap Sometimes)
- 1 stick (about 113g) of cold salted butter (sometimes I use unsalted and just chuck in an extra pinch of salt—no biggie)
- 1 cup sharp cheddar cheese, grated (honestly, pre-shredded is fine, though my gran would probably haunt me for saying that)
- 1 cup plain flour (all-purpose, but I once tried half whole wheat and it was… dense. Not my brightest idea)
- 1/2 teaspoon smoked paprika (not traditional, but it gives a little kick I love)
- 1 1/4 cups Rice Krispies cereal (I’ve tried the generic kind—totally fine. My brother swears it has to be the blue box, but I think he’s just picky)
- Pinch of cayenne or black pepper, optional (for a little heat; I sometimes forget this and nobody ever notices)
So, How Do You Make ‘Em?
- Get your oven going: Preheat to 350°F (about 175°C). I usually forget this part and have to wait while everything else sits on the counter. Don’t be me.
- Mix the dough: Cube your butter and toss it in a big bowl with the flour and seasonings. Rub together with your fingers until it’s all crumbly. Could you use a food processor? Sure, but my hands are already messy so, why bother washing extra stuff?
- Add the cheese: Stir in the grated cheddar. This is where I sometimes sneak a taste, just to “test” the cheese. You know, for science.
- Fold in the Rice Krispies: Gently mix in the cereal. It’ll look kind of odd and lumpy—don’t panic. That’s the magic.
- Shape the crackers: Scoop out teaspoon-sized bits, roll into balls, and plop onto a lined baking sheet. I flatten them down a tad with my palm. If it sticks, just flour your hands a little.
- Bake: Pop in the oven for 14–16 minutes until golden on the edges. If you want them extra crunchy, go longer, but keep an eye out—they go from golden to “uh oh” pretty quick. (I’ve learned this the hard way.)
- Cool a bit: Let them sit on the tray for a few minutes before moving. This is the part where I usually nibble a hot one and burn my tongue. Every. Single. Time.
Things I Learned the Hard Way (Notes)
- If you’re too rough mixing in the Rice Krispies, they’ll crush up and you lose the crunch. Gentle hands, trust me.
- I once tried using extra-aged cheddar. Tasted great but made the dough kind of oily. Regular sharp cheddar is my sweet spot.
- If the dough feels too crumbly, it probably just needs a squish—don’t add more butter right away. Actually, I find it works better if you chill it for 10 minutes before shaping. Or, just plow ahead if you’re impatient like me.
Stuff I’ve Tried (Some Worked, Some Not So Much)
- Switching in pepper jack cheese: Yummy, though a little sticky. Worth it if you like a bit of heat.
- Adding chopped chives or a sprinkle of sesame seeds on top before baking. It made them fancier, according to my sister.
- I once tried gluten-free flour and… let’s just say the birds seemed to like those more than we did. Maybe your results will be better?
What You’ll Need, Tool-Wise (And What If You Don’t?)
- A big mixing bowl
- Baking sheet—if you don’t have parchment, just butter the pan, it’ll work
- Grater for the cheese (though in a pinch, I’ve hacked at a block with a knife—good enough!)
How to Store (If They Last That Long)
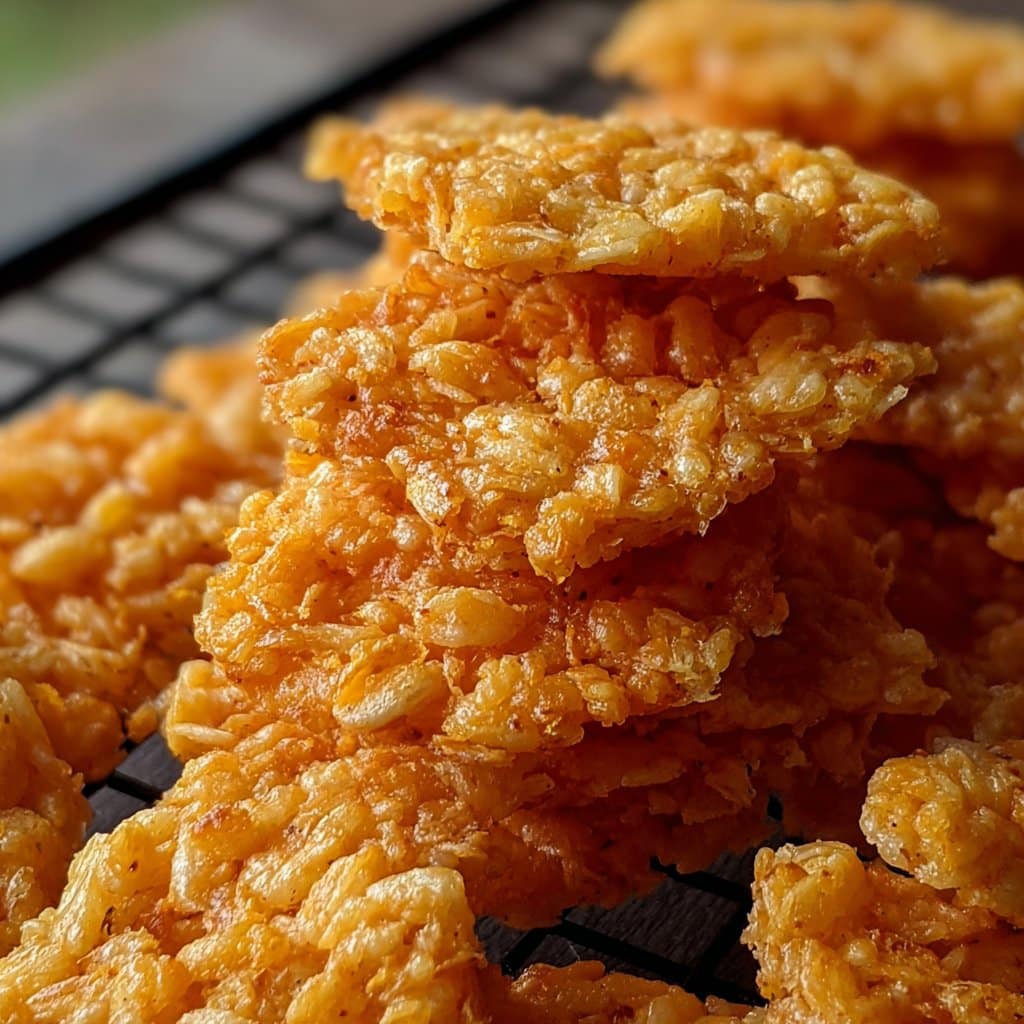
Seal in an airtight tin or container. They’ll stay crisp for 2–3 days. Or so I’m told—in my house, they disappear before lunch the next day!
Here’s How I Serve Them
Right out of the oven, with a mug of soup for lunch (try this classic tomato soup recipe—absolute comfort food). Or sometimes I put out a little plate with apples and grapes for a snacky spread. My nephew dips them in ranch, which is… creative.
If I Could Give Just One Tip (Based on Mistakes)
I once tried to rush the baking while multitasking (never a good idea), yanked them out too early, and they were kind of chewy—not in a good way. So, don’t skimp on baking time. Also, don’t bother making these on a super humid day; they just go soft.
Questions I Get About These Crackers
- “Can I make these ahead?” Yep! Actually, I think this tastes better the next day, but that could just be me.
- “Is there a way to make them without dairy?” I tried vegan cheese once—eh, not great, but you might find a brand that melts better. Let me know if you do!
- “Do I need a mixer?” Nope, a big spoon or your hands are just fine. I read somewhere (maybe on Serious Eats) that mixing by hand is better for texture anyway.
- “Can you freeze the dough?” Probably, though I haven’t tried it. If you do, let me know how it goes?
Anyway, if you give these a whirl, let me know how yours turn out—or if you invent a version that blows mine out of the water! Oh, and if you’re suddenly on a homemade cracker kick, there’s a killer round up of ideas at King Arthur Baking. Cheers to kitchen experiments and snack breaks!
Ingredients
- 1 cup (120g) all-purpose flour
- 1/2 teaspoon salt
- 1/4 teaspoon cayenne pepper
- 1/2 cup (113g) unsalted butter, softened
- 2 cups (200g) sharp cheddar cheese, shredded
- 1 1/2 cups (45g) Rice Krispies cereal
- 2 tablespoons cold water
Instructions
-
1Preheat oven to 350°F (175°C). Line a baking sheet with parchment paper.
-
2In a medium bowl, whisk together the flour, salt, and cayenne pepper.
-
3In a large bowl, cream the softened butter and shredded cheddar cheese until smooth.
-
4Gradually add the dry ingredients to the cheese mixture, mixing until combined. Stir in the Rice Krispies cereal.
-
5Add cold water, 1 tablespoon at a time, until the dough comes together. Roll dough into 1-inch balls and place on the prepared baking sheet. Flatten each ball slightly with a fork.
-
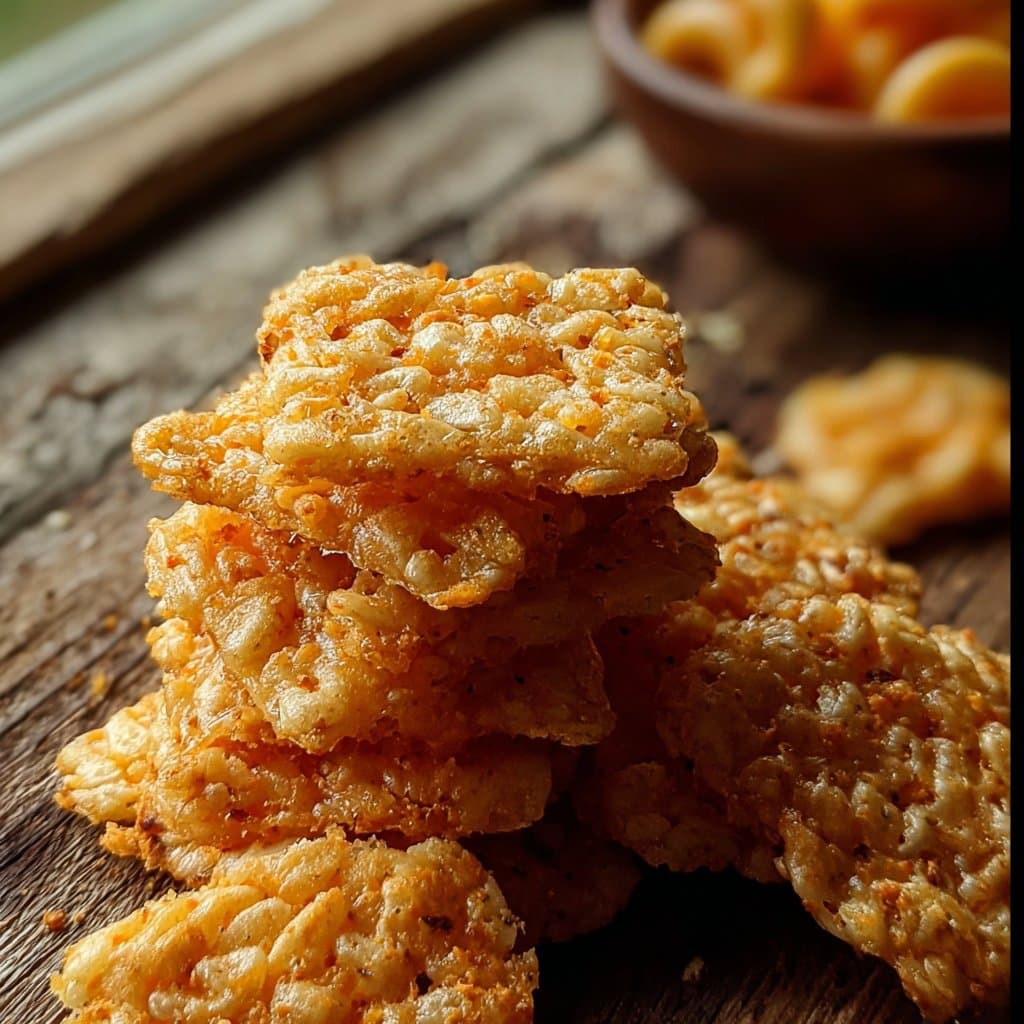
6Bake for 12-15 minutes, or until the crackers are golden and crisp. Cool on a wire rack before serving.
Approximate Information for One Serving
Nutrition Disclaimers
Number of total servings shown is approximate. Actual number of servings will depend on your preferred portion sizes.
Nutritional values shown are general guidelines and reflect information for 1 serving using the ingredients listed, not including any optional ingredients. Actual macros may vary slightly depending on specific brands and types of ingredients used.
To determine the weight of one serving, prepare the recipe as instructed. Weigh the finished recipe, then divide the weight of the finished recipe (not including the weight of the container the food is in) by the desired number of servings. Result will be the weight of one serving.
Did you make this recipe?
Please consider Pinning it!!




