Let’s Chat About Salted Caramel Apple Bars (and How I Fell for Them)
Alright, story time: the first time I made these Salted Caramel Apple Bars was for a neighborhood potluck, and I legit spent half the afternoon peeling apples while my dog stared at me like I might drop something. Spoiler: I did, and he was thrilled. But the bars? People asked for the recipe before dessert was even cleared! Honestly, these are the kind of bars that somehow taste better when you don’t stress about making them perfect. I mean, who has time for fussy desserts? I certainly don’t. Also, if I’m being honest, I once forgot to put in the salt and—wouldn’t you know—it just wasn’t the same. Lesson learned!
Why I Keep Making These (Even When It’s Not Apple Season)
I make these when I want something that feels a little special but doesn’t require twelve bowls and a food processor the size of my kitchen. My family goes wild for them (though, full disclosure, my brother picks out the nuts), and they’re pretty forgiving—if you slice the apples too thick, it still works. The salted caramel bit is what gets everyone, though. Sometimes I just buy the caramel sauce and call it a day when I’m in a rush. No one has complained… yet. Oh, and I’ve absolutely burned the caramel once or twice, which, honestly, is the universe’s way of saying “just buy the jar next time.”
What Goes In? (And What You Can Swap)
- 2 cups all-purpose flour (though whole wheat works in a pinch—just a bit denser)
- 1/2 cup rolled oats (my gran insisted on Quaker, but really, any will do)
- 1 cup brown sugar, packed (I sometimes sub in coconut sugar if that’s what I’ve got)
- 1/2 tsp baking powder
- 1/2 tsp salt (sea salt for more flavor; table salt is fine too)
- 3/4 cup unsalted butter, melted (honestly, I use salted butter and just cut back on the added salt)
- 2 medium apples, peeled, cored, and chopped (I’ve used Granny Smith and Honeycrisp; both are great)
- 1/2 tsp cinnamon (nutmeg is nice, too, if you’re feeling fancy)
- 1/2 cup chopped pecans or walnuts (unless, like my brother, you have nut issues)
- 1/3 cup store-bought or homemade salted caramel sauce (Sally’s recipe is fab, but ready-made works fine!)
- Optional: a handful of raisins or dried cranberries—sometimes I add them, sometimes I forget
So Here’s How I Throw It All Together
- Preheat your oven to 350°F (about 175°C). Grab an 8×8 inch pan. You could line it with parchment, or just grease it up—parchment makes lifting easier, but it’s totally optional.
- Mix flour, oats, brown sugar, baking powder, and salt in a big bowl. Pour in the melted butter and stir until it’s all kind of crumbly. This is where I usually sneak a taste—just wash your hands first!
- Press about two-thirds of the mixture into the bottom of your pan. It won’t look like enough, but trust me; it spreads.
- In another bowl (or honestly, just use the same one), toss the apples with cinnamon (and nutmeg if you want). Layer the apple mixture evenly over your crust. Don’t worry if it looks a bit messy—it always does at this stage.
- Drizzle the caramel sauce over the apples. I try to get it into the corners—apples are sneaky and hide there.
- Sprinkle the nuts (plus raisins/cranberries, if you’re in the mood) over the apples and caramel.
- Top everything with the rest of your crumbly dough. I just use my hands and drop clumps here and there. It never covers entirely, but that’s part of the charm.
- Bake for 35 to 40 minutes. The top should look golden and a little crisp around the edges. If you smell burning, you probably waited too long (I’ve done that; it still tasted good, oddly enough).
- Let cool before slicing. Or don’t—just know it’ll be gooier and messy, but sometimes that’s the vibe.
Notes From My Many Attempts (and a Tangent on Apples)
- Once, I tried using pears instead of apples—totally different texture. Not my best call, but the flavor was fine!
- I think these taste better if you let them sit overnight, but the crust does soften a bit.
- If the caramel hardens on top, just warm a bar for ten seconds in the microwave. Magic.
- Oh, and don’t stress if your apples are a little bruised—I’m convinced it just adds character. Anyway, bruised apples remind me of the orchard trips we’d take as kids, filling bags with every variety under the sun (and sneaking a bite or two, obviously).
If You Want to Switch It Up
- Chopped dried cherries instead of cranberries—so good.
- Double the cinnamon for a fall flavor bomb.
- Once, I tossed in white chocolate chips. They melted weirdly, but some people loved it.
- Swapped half the apples for pears once. Not sure I’d do that again, but hey, live and learn.
Equipment (And How I Make Do)
- 8×8 inch baking pan (or, honestly, a 9-inch round cake tin works in a pinch—just adjust baking time)
- Mixing bowls (I use one bowl for almost everything; less to wash)
- Parchment paper, IF you’re fancy. Otherwise, just grease it up.
- A decent knife for apples (peelers are nice, but I’ve used a regular paring knife plenty of times)
- I once used a glass casserole dish when every pan was dirty—it worked, but took longer to bake
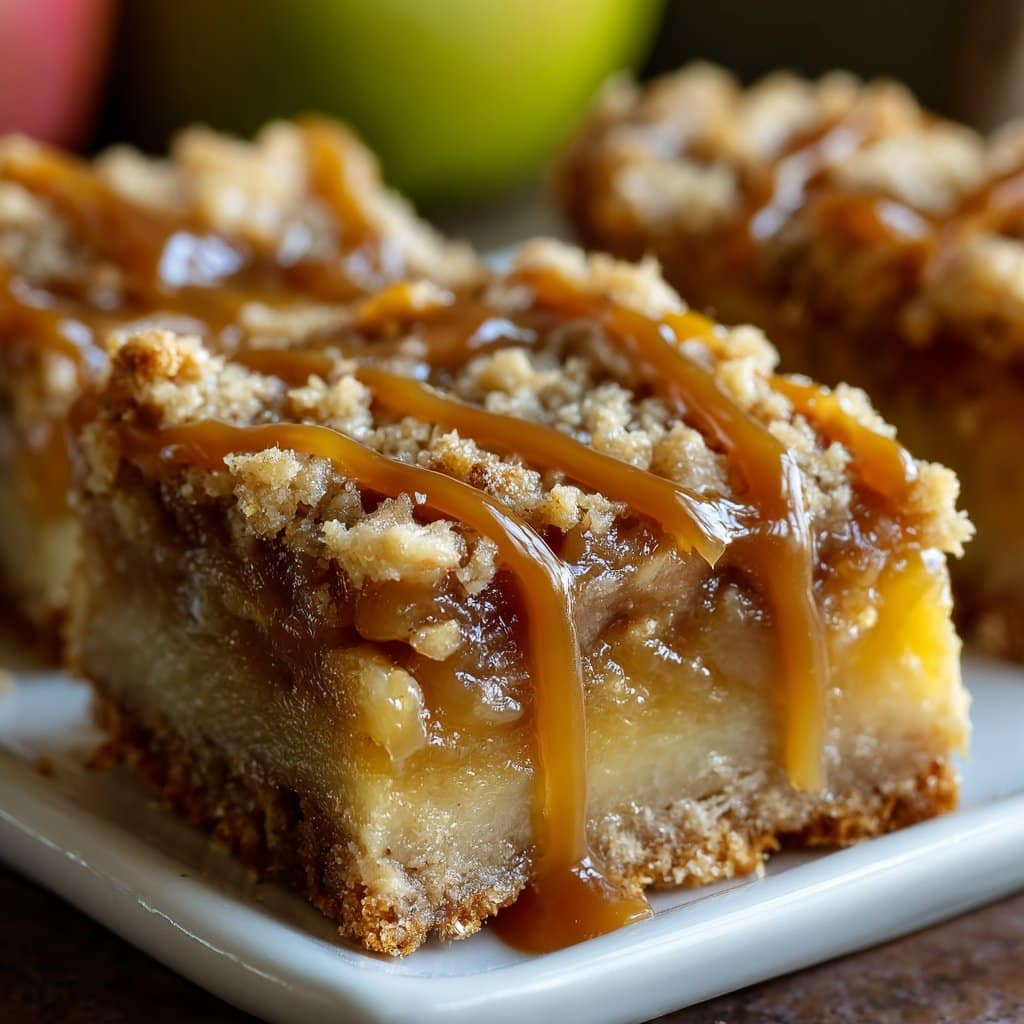
How to Store Salted Caramel Apple Bars (If You Even Have Leftovers)
Store in an airtight container at room temp for two days, or in the fridge for up to 4. But, honestly, in my house, they never last more than a day. If you do manage to save some, they freeze okay—wrap them up tight, and they’ll be fine for a month or so. I’ve eaten them slightly frosty, and, not bad!
How I Like to Serve These Bars
Warm with vanilla ice cream is the classic, but sometimes I just have one with coffee for breakfast (no judgment, right?). My cousin likes them with cheddar cheese, which I thought was strange until I tried it—surprisingly good. If it’s a family get-together, we usually pass the bars around on a big old tray and everyone just grabs with their hands. Very sophisticated, I know.
Mistakes I’ve Made (So You Don’t Have To)
- Don’t rush cooling—if you try to cut them when hot, they’re a mess. I once did this because I was late for a party; ended up with a pile of delicious rubble.
- Overbaking makes the crust rock-hard. Actually, I find it works better if you check at 35 minutes.
- Salt is important. Early on, I thought I could skip it. Nope—it’s what makes the caramel pop.
Questions People (Actually) Ask Me
- Can I use store-bought caramel sauce? Absolutely. I do it all the time—no shame. This list has good picks if you want to compare brands.
- Do I have to peel the apples? Nope. Sometimes I leave the peel on if I’m in a hurry or feeling lazy. Texture’s a bit chewier, but still tasty.
- What if I don’t have oats? You can skip them, but the base is less hearty. Or just add a bit more flour—it’s not rocket science.
- Can I double the recipe? Yep—use a 9×13 pan and bake a bit longer. Just don’t burn it like I did once!
- How can I make them gluten-free? Use your favorite 1:1 GF flour blend and certified GF oats. I’ve tried it with Bob’s Red Mill and it was spot on.
So that’s my Salted Caramel Apple Bars Dessert Idea. If you make them, let me know how your version turns out (or what you swapped in!). And if you’re feeling inspired, check out these other apple desserts for more ideas. Happy baking, mate!
Ingredients
- 1 1/2 cups all-purpose flour
- 1/2 cup unsalted butter, softened
- 1/2 cup granulated sugar
- 1/4 teaspoon salt
- 2 large apples, peeled, cored, and diced
- 1/2 teaspoon ground cinnamon
- 1/4 cup brown sugar
- 1/2 cup salted caramel sauce (plus extra for drizzling)
- 1/4 teaspoon sea salt
Instructions
-
1Preheat oven to 350°F (175°C). Line an 8×8-inch baking pan with parchment paper.
-
2In a bowl, mix flour, granulated sugar, and salt. Cut in the butter until the mixture resembles coarse crumbs. Press evenly into the prepared pan to form the crust.
-
3Bake the crust for 15 minutes until lightly golden.
-
4In a separate bowl, toss diced apples with brown sugar and cinnamon. Spread the apple mixture evenly over the baked crust.
-
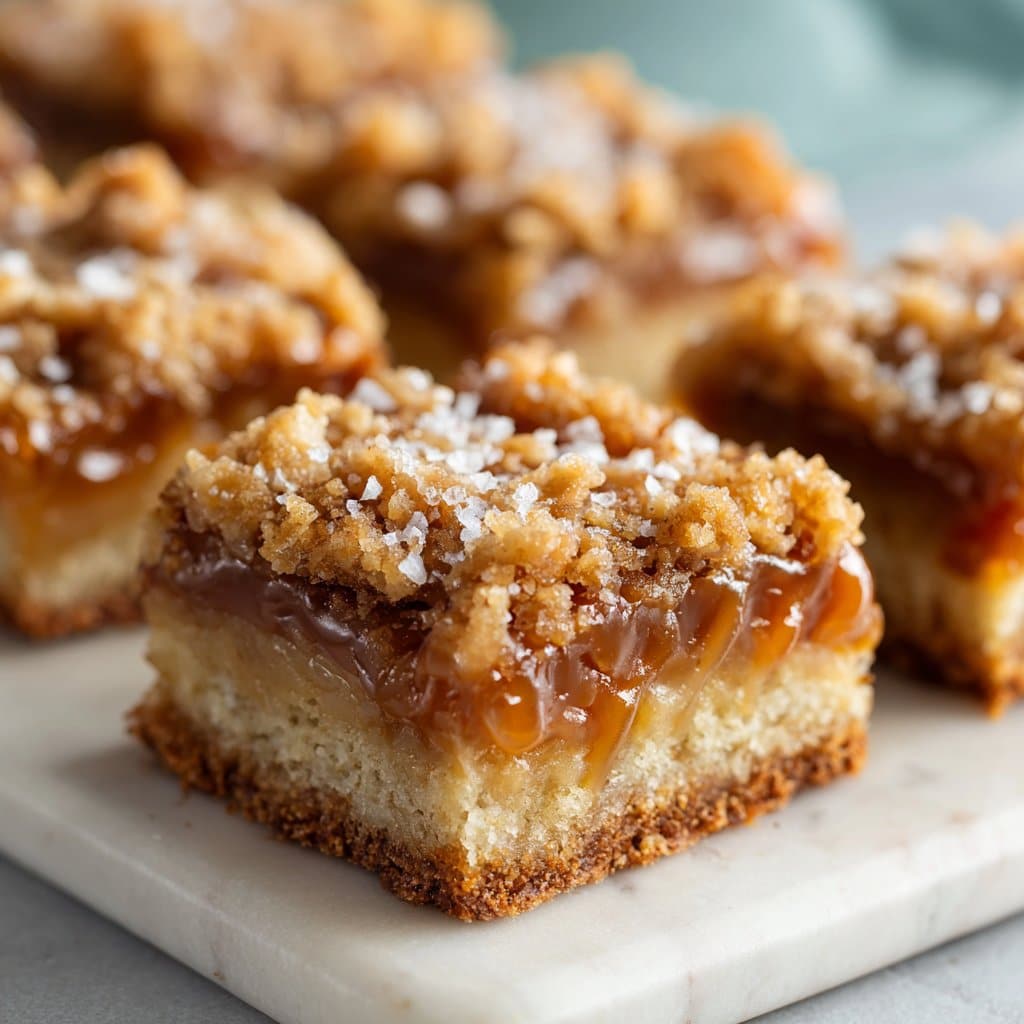
5Drizzle salted caramel sauce over the apples. Sprinkle with sea salt.
-
6Bake for an additional 25 minutes, or until apples are tender. Cool completely, drizzle with extra caramel, slice into bars, and serve.
Approximate Information for One Serving
Nutrition Disclaimers
Number of total servings shown is approximate. Actual number of servings will depend on your preferred portion sizes.
Nutritional values shown are general guidelines and reflect information for 1 serving using the ingredients listed, not including any optional ingredients. Actual macros may vary slightly depending on specific brands and types of ingredients used.
To determine the weight of one serving, prepare the recipe as instructed. Weigh the finished recipe, then divide the weight of the finished recipe (not including the weight of the container the food is in) by the desired number of servings. Result will be the weight of one serving.
Did you make this recipe?
Please consider Pinning it!!




