Let’s Talk About These Smores Pies (and Why I’m Obsessed)
So, you know those days when it’s so hot the thought of turning on the oven sounds like punishment? Yep, that’s when I reach for my trusty Smores Pies recipe. And honestly, every time I make these, I think of that one summer—oh, must have been 2017—when we tried to do classic campfire s’mores in our backyard. Long story short: the only thing that got toasted was my patience (and maybe a lawn chair). After that, this no bake version became my go-to. Less drama, less risk of accidental grass fires. Plus, they just taste like pure summer nostalgia wrapped up in a pie shell.
Why You’ll Love This (or at Least Why My Family Does)
I whip these up when I want something sweet but can’t even with the oven (or opening the windows for smoke!). My family goes a little bonkers for them, especially because they taste like the best part of a camping trip without any bugs. Sometimes I improvise with what’s in the pantry—once I used mini peanut butter cups instead of chocolate and oh man, my mom wouldn’t stop texting me for the recipe. I’ll admit, the first time I made these, I tried melting the marshmallows too quick and ended up with a sticky disaster. Live and learn, right?
What You’ll Need (And What I Substitute When I Run Out)
- 6 graham cracker pie crusts (the mini ones—store brand is fine, or crush a pack and press into muffin tins if you’re feeling ambitious)
- 1 cup chocolate chips (I’ve used chopped chocolate bars too—my grandma swears by Hershey’s, but honestly, whatever’s lurking in your pantry will work)
- 1.5 cups mini marshmallows (or big ones torn up—no judgment)
- 2 tablespoons milk (I’ve done it with almond milk when we’re out—turns out fine)
- Pinch of salt (optional, but I think it balances the sweetness)
- Handful of extra graham cracker crumbs for topping (sometimes I skip this when I’m lazy)
How I Put These Smores Pies Together
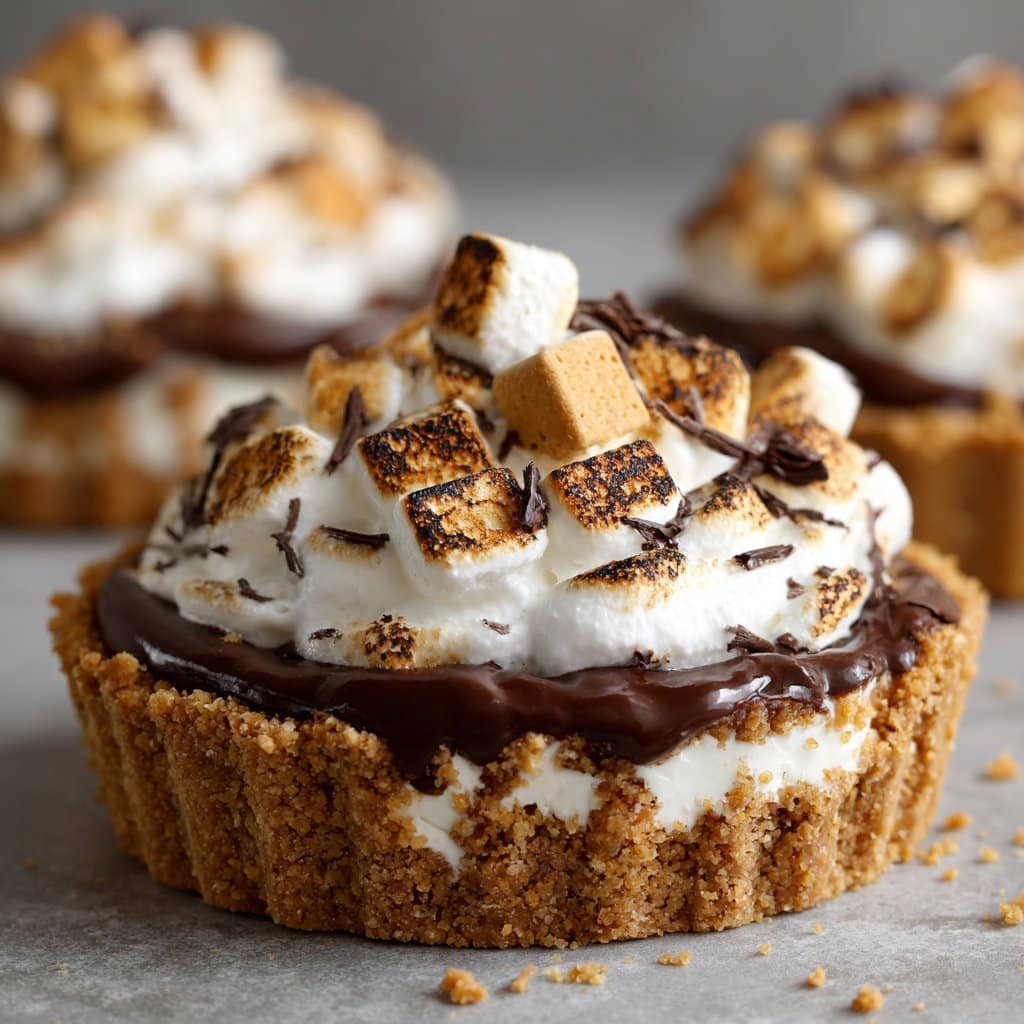
- Get your crusts ready. If you’re using store-bought mini crusts, just plop them out of the package. If not, press graham cracker crumbs mixed with a bit of melted butter into muffin tins. Don’t stress if it looks kinda rustic—rustic = charming, right?
- Melt the chocolate. Either toss the chocolate chips and milk into a microwave-safe bowl and zap it in 20-second bursts (stir after each, trust me—it can burn fast), or melt it gently on the stove if you’re fancy. Add a pinch of salt if you like.
- Divide the chocolate between the crusts. This is where I usually sneak a taste, just to make sure it’s, uh, safe.
- Top with marshmallows. Pile them up as much as you want. I go heavy because why not?
- Toast the tops. Ok, so this is the only slightly tricky bit. If you have a kitchen torch (I got mine for cheap here, not sponsored), give the marshmallows a quick toast. If not, pop them under the broiler for just long enough to go golden—watch like a hawk, they go from golden to, well, cremated in seconds.
- Sprinkle with extra crumbs if you’re feeling it. Or don’t. I skip this when my patience is thin. Let ’em cool a bit—they’re lava hot at first.
Stuff I’ve Learned (Usually the Hard Way)
- If you use the broiler, don’t walk away. Not even for a second. I once ended up with pie-shaped charcoal.
- Mini marshmallows melt weirdly at different rates, so if it looks uneven, that’s just the way the cookie crumbles.
- Actually, I find it works better if you let the pies sit for 10 min before eating—less goo, more hold.
Variations I’ve Messed With
- Peanut butter swirl: Dropped a spoonful in with the chocolate. Delicious.
- Salted caramel drizzle: Tried it—too sweet for me, but my neighbor’s kid loved it.
- Banana slices under the marshmallow layer: It got a little mushy, but hey, at least it was sort of healthy?
- Once I tried adding bacon bits (don’t ask), and it was, well, not my finest hour.
What You Need (and What You Can Improvise)
- Microwave or stovetop for melting chocolate (if all you’ve got is a hair dryer, maybe just buy a brownie, ha!)
- Kitchen torch or broiler—if you don’t have either, you can technically skip the toasting, but it’s not really a s’more then, is it?
- Spoon for spreading. Or your finger in a pinch (wash up first, obviously).
Keeping Them Fresh (Like That Ever Happens)
These technically keep in an airtight container in the fridge for 2 days. But honestly, in my house, they never last more than a day. Sometimes even breakfast gets interrupted by a disappearing pie or two.
How We Eat Them (And the Family’s Weird Traditions)
I like serving these slightly warm—just enough so the marshmallows are still gooey. My uncle insists on a scoop of vanilla ice cream on top (it’s not traditional, but who am I to judge?). Out on the porch with a glass of iced tea? Perfect summer evening, honestly.
Things I’ve Learned the Hard Way (Pro Tips, Sort Of)
- Don’t try to rush the melting. I once blasted the chocolate in the microwave and ended up with a sad, gritty mess. Patience, grasshopper.
- Let the pies cool before eating—unless you like third-degree marshmallow burns.
Questions Folks (Actually) Ask Me
- Can I make this ahead? Yep, but they taste best the same day. Maybe that’s just me. They’re fine the next day, but the crusts soften up a bit.
- What if I don’t have mini crusts? Muffin tins and homemade crusts work. Or crush cookies—shortbread, digestives, whatever. It’s all good.
- Can I use dark chocolate? Of course! I sometimes mix milk and dark. Once, I threw in a handful of white chips just to see—no one complained.
- How do I toast marshmallows without a torch? Broiler is your friend (just stay close). Or check out this clever guide if you want more ideas.
- My pies are too runny—what gives? Maybe too much milk or not letting them cool enough (don’t worry, still tastes great).
By the way, if you’re ever in the mood to nerd out about s’mores history, there’s a surprisingly interesting article here. But honestly, just eat the pies. They’re better than reading about them.
Ingredients
- 1 1/2 cups graham cracker crumbs
- 1/3 cup unsalted butter, melted
- 2 tablespoons granulated sugar
- 1 cup semi-sweet chocolate chips
- 1/2 cup heavy cream
- 1 1/2 cups mini marshmallows
- 1/4 cup milk chocolate, chopped (for topping)
- 1/4 cup graham cracker pieces (for garnish)
Instructions
-
1In a medium bowl, combine graham cracker crumbs, melted butter, and sugar. Mix until the crumbs are evenly coated.
-
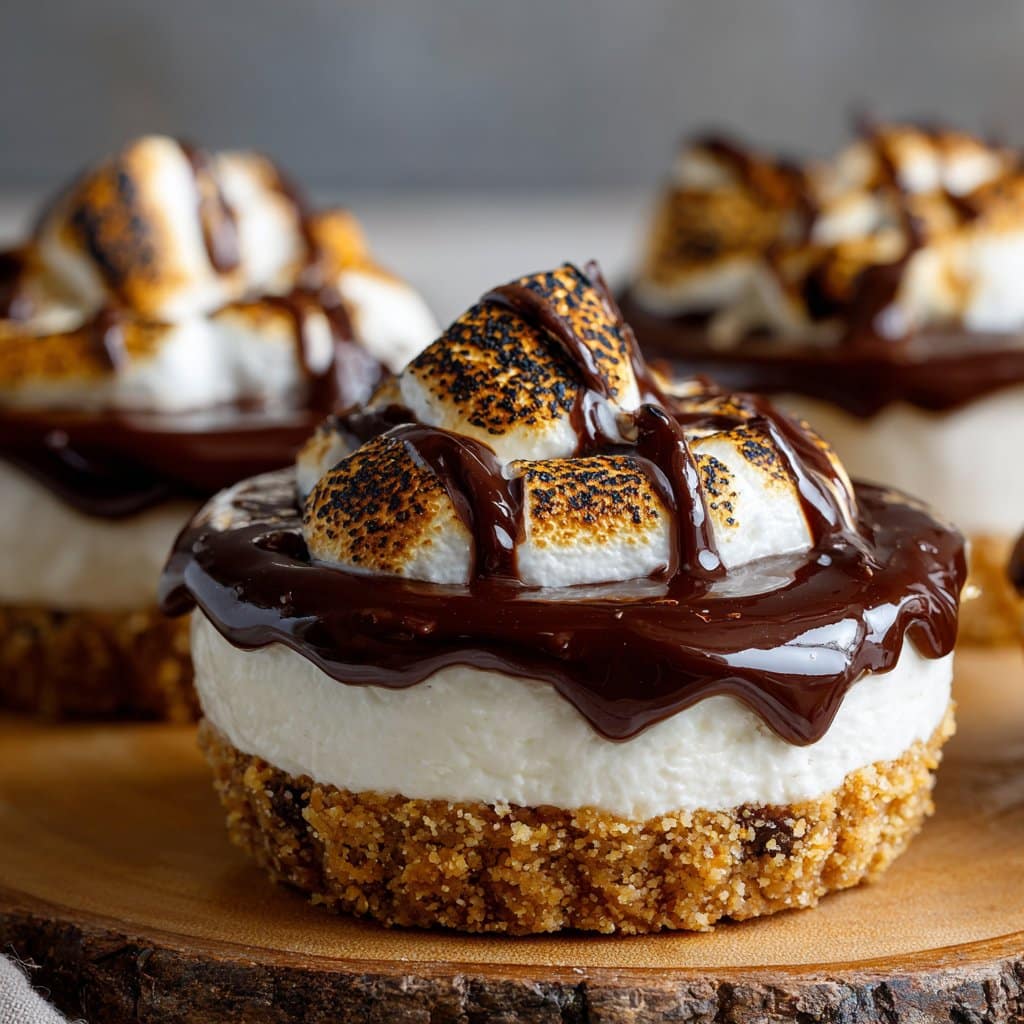
2Press the crumb mixture firmly into the bottoms of six small pie tins or ramekins to form the crusts.
-
3In a microwave-safe bowl, heat the semi-sweet chocolate chips and heavy cream in 30-second intervals, stirring until smooth and melted.
-
4Pour the chocolate mixture evenly over the prepared crusts. Refrigerate for at least 15 minutes to set.
-
5Top each pie with mini marshmallows. Use a kitchen torch to lightly toast the marshmallows, or place under a broiler for 1-2 minutes if desired.
-
6Garnish with chopped milk chocolate and graham cracker pieces before serving.
Approximate Information for One Serving
Nutrition Disclaimers
Number of total servings shown is approximate. Actual number of servings will depend on your preferred portion sizes.
Nutritional values shown are general guidelines and reflect information for 1 serving using the ingredients listed, not including any optional ingredients. Actual macros may vary slightly depending on specific brands and types of ingredients used.
To determine the weight of one serving, prepare the recipe as instructed. Weigh the finished recipe, then divide the weight of the finished recipe (not including the weight of the container the food is in) by the desired number of servings. Result will be the weight of one serving.
Did you make this recipe?
Please consider Pinning it!!




