Let Me Tell You About Sticky Chinese Honey Garlic Chicken
Right, so. This is one of those dishes I accidentally discovered, kind of like when you find a fiver in your old jeans and suddenly your day gets a whole lot brighter. The first time I made sticky Chinese honey garlic chicken, honest truth, I was just trying to impress my nosy neighbor (we swap dinners sometimes, long story). It turned into my signature dish, or, well, that’s what my kids call it when they’re not complaining about the broccoli. And if you think you need fancy chef skills for this—nah, just a bit of enthusiasm and maybe a spoon you don’t mind getting sticky. But more on that in a bit.
Why You’ll Love This (Or, Why I Keep Making It)
I make this on weekdays when I want something fancier than plain old roast chicken but can’t quite face the mountain of washing up. The sauce is so good, my husband (who claims he doesn’t like chicken, go figure) literally licks his plate. Every. Single. Time. Plus, it’s forgiving – if you forget an ingredient, or use a bit too much honey (guilty), it’s still smashing. (There was that one time I used orange blossom honey and the whole thing tasted like a spa day, but that’s another tale!)
What You’ll Need (But Don’t Stress If You Don’t Have It All)
- 1.5 lbs chicken thighs, boneless and skinless (I sometimes just grab chicken breast if that’s all I’ve got. My grandmother swears thighs are juicier, but honestly, breasts work fine too.)
- Salt and pepper, to taste (I usually eyeball it, to be honest)
- 2–3 tablespoons cornstarch (or plain flour in a pinch; it won’t be quite as glossy though)
- 2 tablespoons vegetable oil (or sunflower, or whatever’s knocking about)
- 4–5 garlic cloves, minced (I’ve used the jar stuff in desperation and, well, it’s okay!)
- 1/3 cup honey (runny honey is easier to work with, but any works)
- 1/4 cup soy sauce (low sodium if you’re watching the salt – I don’t, but you might!)
- 2 tablespoons rice vinegar (apple cider vinegar is alright too)
- 1/2 teaspoon chili flakes (totally optional – my kids boycott if I add it)
- 1 teaspoon sesame oil (I skip this sometimes, nobody notices)
- Handful green onions, chopped (for topping – but parsley works if you’re out!)
- Sesame seeds, to finish (I forget these half the time, honestly)
How I Make It (And Where I Usually Make a Mess)
- First things first: Pat your chicken dry with a bit of kitchen roll, then cut it into bite-sized pieces. I usually go for ‘about an inch’, but again, no one’s marking your homework here.
- Season chicken with salt and pepper, then toss it around in cornstarch till it’s dusted on all sides. This is where my dog comes sniffing—he knows it’s about to get tasty.
- Heat a big frying pan over medium-high (nonstick is best, but I’ve used a battered old wok too), add the oil, and chuck the chicken in. Don’t overcrowd it! If you do, it’ll just steam instead of crisping up, which is not the end of the world but not quite the dream either. Cook for about 4–5 minutes on each side till golden and cooked through.
- While the chicken’s doing its thing, whisk together honey, soy sauce, vinegar, and sesame oil in a bowl. Add chili flakes if you’re feeling brave. Sometimes I lick the spoon, just to check the balance—totally normal, right?
- Once the chicken’s browned, scoot it to the edge of the pan (or just pile it up a bit). Chuck in the garlic and let it sizzle for 30 seconds. Ah, that smell—if only you could bottle it!
- Pour in the sauce mix. Don’t panic if it bubbles like a mad science experiment for a minute; that’s good. Stir everything together and simmer for 2–3 minutes till it’s thick and coats the chicken in lovely stickiness.
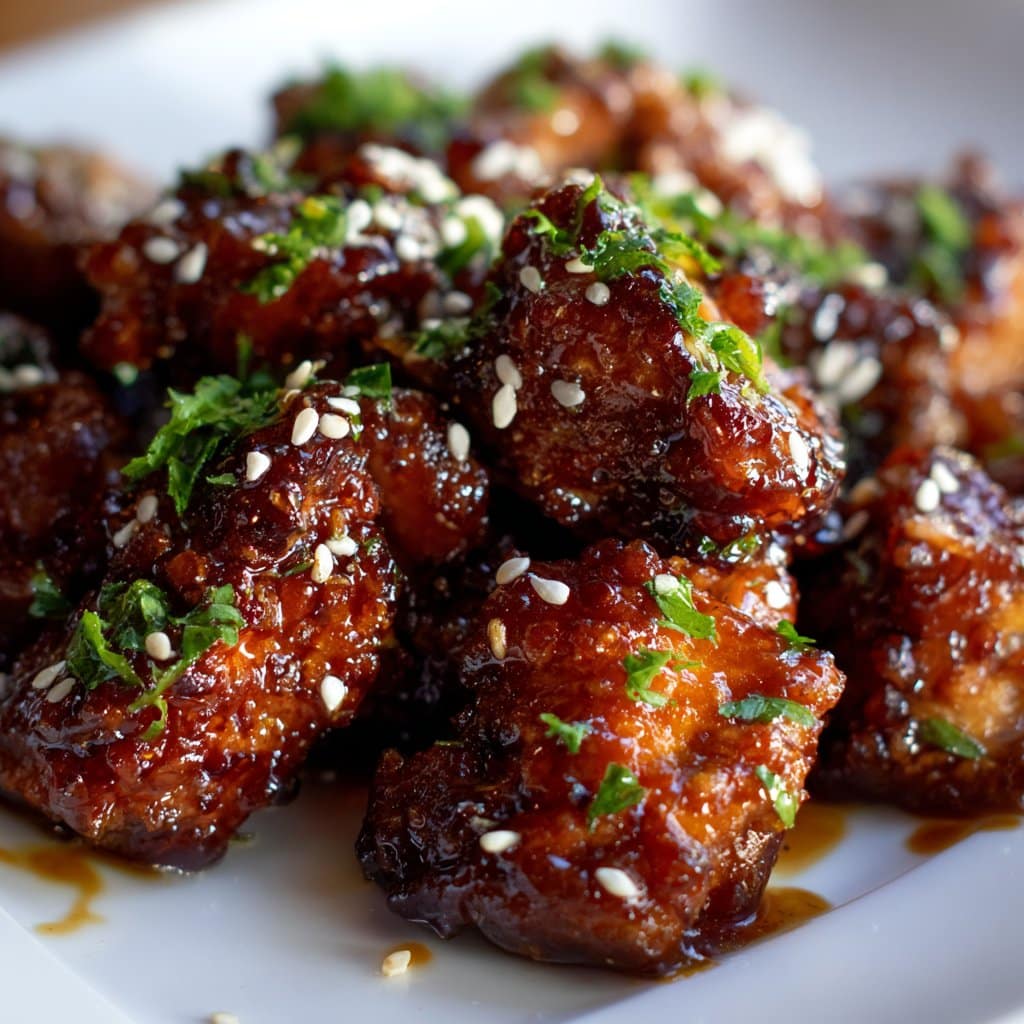
- Scatter over green onions and sesame seeds (if you remember them). Take a photo for Instagram, or just dig in straight away—no judgment.
Tried And True Notes (Stuff I Learned The Hard Way)
- If you’re in a rush, don’t skip dusting the chicken in cornstarch. It really helps the sauce cling on. I used to be lazy about this, but now I just give in and do it.
- The sauce thickens up a ton as it cools. I once thought it was too runny and added more cornstarch, and, well, ended up with chicken glue. Patience is a virtue (supposedly).
- Leftovers taste even better. I think the garlic gets a bit mellower overnight.
Variations (Some Winners, Some Not)
- Swapped chicken for tofu once for my vegan mate, and it actually worked! Just press the tofu well and fry until golden.
- Tried adding broccoli to the pan. It’s fine, but the sauce doesn’t cling as nicely, so maybe steam it separately if you’re picky about texture.
- Once I got wild and added pineapple chunks. It was… interesting? Not in a bad way, just not my cup of tea.
Do You Need Fancy Gear?
Look, a nonstick pan is lovely, but honestly, I’ve used my mum’s ancient stainless steel skillet and it didn’t complain. If you don’t have a whisk, just shake the sauce ingredients in a jar (bonus: fewer dishes to wash!).
How I Store It (But I Rarely Need To)
Stick any leftovers in an airtight box in the fridge. It’s meant to last up to three days, but, truthfully, it’s always gone by lunch the next day in my house (sometimes even before breakfast—no judgment!). If you want to reheat it, a quick zap in the microwave or a gentle reheat in a pan does the trick.
What To Serve With It (A Matter Of Taste)
I usually plonk it down with a big bowl of fluffy white rice (sometimes brown, if I’m feeling virtuous). My son insists on peas, and my sister dunks hers in chili oil—each to their own, right? If you’re feeling fancy, check out this rice cooking guide I use when I want to show off. Or, serve it with steamed greens—maybe bok choy, if you can be bothered.
Pro Tips (Said With The Wisdom Of Many Messy Dinners)
- Don’t try to rush the sauce thickening stage. I did once and ended up with more of a soup than a glaze—tasted good, but not quite right.
- Don’t get distracted by your phone mid-sauté. Burnt garlic is no one’s friend, and once it turns bitter, there’s no going back.
- Actually, I find it works better if you let the chicken rest for a few minutes before serving. The sauce clings more. Or maybe that’s just my wishful thinking; try it and let me know?
FAQ (These Questions Have Actually Landed In My Inbox!)
- Can I use chicken breast instead of thighs?
- Absolutely, mate. It’ll be a tiny bit less juicy, but just don’t overcook it and you’re golden.
- How sweet is this dish?
- It’s sticky and sweet, but the vinegar and soy sauce keep things balanced. If you’re not a sweet tooth, dial back the honey a bit. Or, on second thought, try swapping in maple syrup if you fancy a twist.
- Is it spicy?
- Only if you want it to be! I keep it mild for the kids, but if you’re a fan of heat, whack in more chili flakes. Or even a splash of sriracha.
- Can I make this gluten-free?
- Just use tamari instead of soy sauce and double check your cornstarch is pure. Easy as pie.
- Where can I get more easy Asian-inspired recipes?
- Oh, loads of places! I love RecipeTin Eats for down-to-earth ideas, and Serious Eats if you want to geek out on technique.
And just a random thought: If you ever find yourself with too much leftover sauce (does this happen?), try drizzling it over roasted veggies or even scrambled eggs. Sort of an odd combo, but hey, it works.
Ingredients
- 1.5 lbs boneless, skinless chicken thighs, cut into bite-sized pieces
- 1/3 cup honey
- 1/4 cup soy sauce
- 4 cloves garlic, minced
- 2 tablespoons rice vinegar
- 1 tablespoon cornstarch
- 2 tablespoons water
- 2 tablespoons vegetable oil
- 1 teaspoon sesame seeds (optional, for garnish)
- 2 green onions, sliced (optional, for garnish)
Instructions
-
1In a small bowl, whisk together honey, soy sauce, minced garlic, and rice vinegar to make the sauce.
-
2Heat vegetable oil in a large skillet over medium-high heat. Add chicken pieces and cook until browned and cooked through, about 6-8 minutes.
-
3Pour the sauce over the cooked chicken. Stir to coat and let simmer for 2-3 minutes.
-
4In a separate small bowl, mix cornstarch and water to create a slurry. Add the slurry to the skillet and stir until the sauce thickens and becomes sticky, about 2 minutes.
-
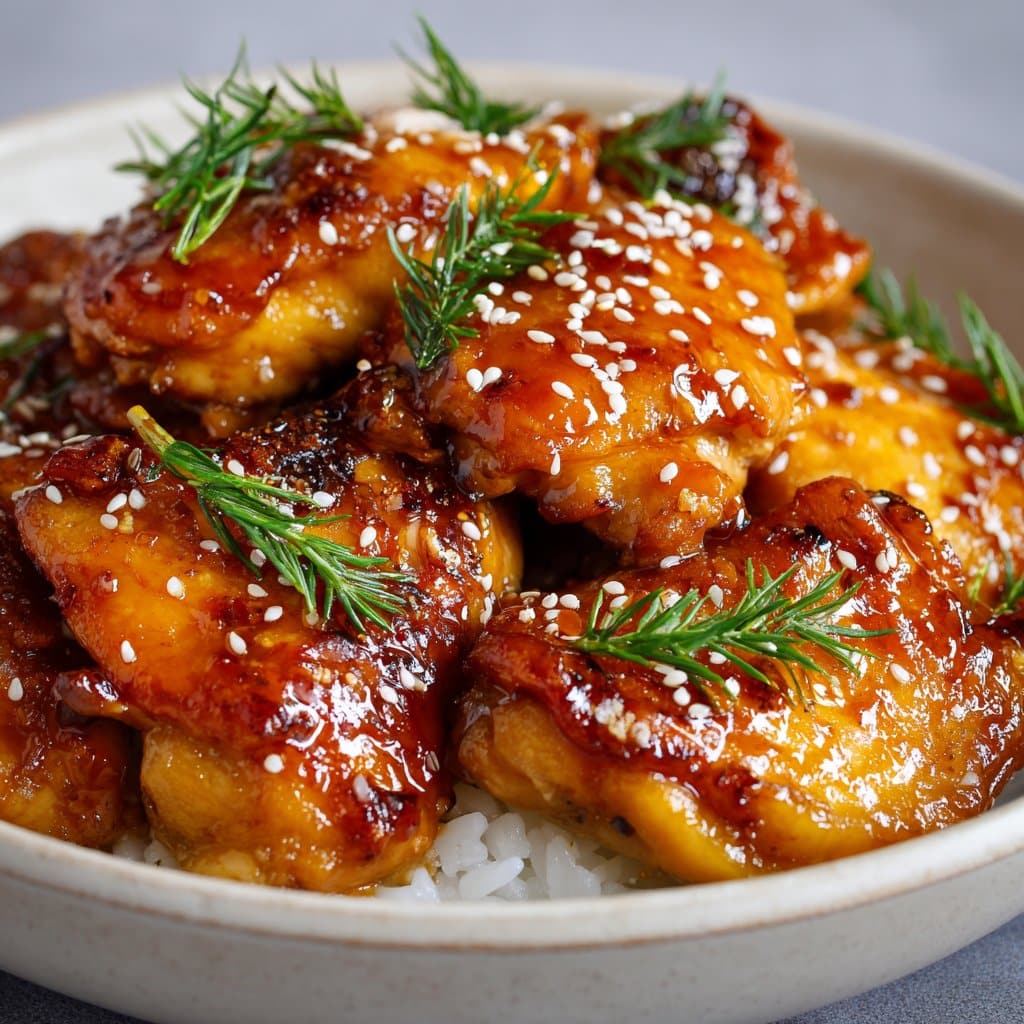
5Remove from heat. Garnish with sesame seeds and sliced green onions if desired. Serve hot with steamed rice.
Approximate Information for One Serving
Nutrition Disclaimers
Number of total servings shown is approximate. Actual number of servings will depend on your preferred portion sizes.
Nutritional values shown are general guidelines and reflect information for 1 serving using the ingredients listed, not including any optional ingredients. Actual macros may vary slightly depending on specific brands and types of ingredients used.
To determine the weight of one serving, prepare the recipe as instructed. Weigh the finished recipe, then divide the weight of the finished recipe (not including the weight of the container the food is in) by the desired number of servings. Result will be the weight of one serving.
Did you make this recipe?
Please consider Pinning it!!




