The Backstory—Why I Can’t Stop Making These
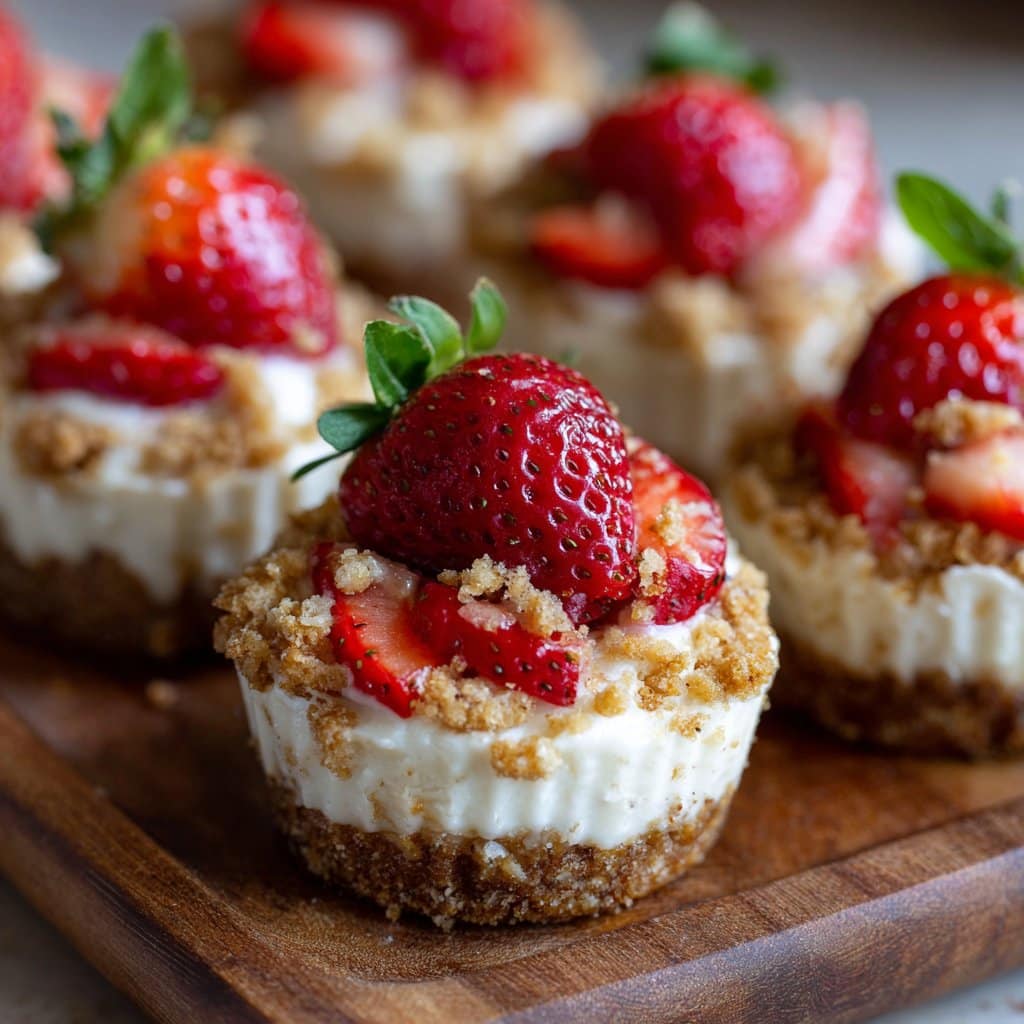
You ever just get that craving for something sweet but not, you know, full-on cheesecake commitment? That’s how these Strawberry Cheesecake Crunch Bites with Cookie Crust came to live in my kitchen. Honestly, I first tried these after a bake sale disaster—my big pan of cheesecake decided to stick like a stubborn old boot, so I scooped the salvageable bits and mushed them into crumbled cookies. Not my proudest moment, but oh man, did my family go wild for the “scraps.” Now I make them on purpose. I’ll confess: I eat at least three before they even make it to the plate. If you spot stray graham cracker crumbs on my shirt, you’ll know why.
Why You’ll Love This (or at Least Why I Do)
I make this when I want something that actually feels a little fancy without the production of a big cheesecake. My family goes crazy for these because they’re bite-sized (which theoretically means you can eat five without guilt). Also, they’re perfect for using up that box of strawberries about to head south in the fridge. I used to dread cheesecake recipes—some kind of psychological trauma form a water bath that leaked once—but these are refreshingly drama-free.
What You’ll Need (with a Few Cheeky Substitutions)
- 1 1/2 cups graham cracker crumbs (sometimes I grab digestive biscuits when I’m out of grahams—nobody’s noticed yet)
- 1/4 cup melted butter (or coconut oil, which my cousin swears by, but it tastes a bit tropical to me)
- 250g cream cheese, softened (Philadelphia is classic, but store brand does the job fine; my grandmother always insisted on the name brand, but eh…)
- 1/4 cup powdered sugar (or more, if you like things sweet—sometimes I pinch in brown sugar if I’m feeling rustic)
- 1 tsp vanilla extract (don’t worry if it’s the imitation stuff this time—I’ve lived)
- 1 cup fresh strawberries, diced small (frozen work okay, but they can get a bit mushier—just pat ‘em dry)
- 1/2 cup crunchy cookie bits (I’ve smashed up vanilla wafers, shortbread, even gingersnaps once…not my fave, but you do you)
- Pinch of salt (I sometimes forget this and it’s still good)
How I Throw These Together (Not Always Perfectly)
- Mix up the crust: In a bowl, combine the graham cracker crumbs and melted butter. It should look like damp sand—maybe a little clumpy, but not soupy. Press a spoonful into mini muffin liners or a silicone ice cube tray if you’ve got one of those (trust me, they pop out easier). I’ve even done it in regular cupcake tins—just use more crust per bite.
- Whip the filling: Beat the cream cheese, sugar, salt, and vanilla with a hand mixer till smooth and fluffy. You can do this by hand, but prepare for a workout. This is also where I sneak a taste (for quality control, obviously).
- Add the berries: Fold in the diced strawberries gently. Don’t go all Hulk on it or you’ll end up with pink mush. It looks a bit weird at this point, trust me—it always does. That’s the charm.
- Spoon and chill: Plop a spoonful of filling onto each cookie crust base. Sprinkle the tops with crushed cookies for that extra crunch. Sometimes I overdo it (oops!) but is there really such a thing as too much crunch?
- Refrigerate: Pop the whole tray in the fridge for at least 2 hours to let them set. If you’re impatient (like me), the freezer works in a pinch—just watch you don’t leave them too long or they turn into tiny icebergs.
Notes I Wish Someone Had Told Me
- Actually, I find it works better if the cream cheese is super soft. Otherwise, you’ll be chasing lumps forever.
- Don’t sweat it if your crust doesn’t stick perfectly—these are meant to be a little messy.
- Oh, also, if you use frozen strawberries, give them a good squeeze in a paper towel first or the filling gets runny.
Some Wild Variations I’ve Tried
- Lemon zest in the filling—fresh as a daisy. Highly recommend.
- Chocolate sandwich cookies instead of grahams for the base… honestly, a bit too rich for my taste, but my nephew loved them.
- Once I tried swirling in a bit of peanut butter—big mistake. It kind of overpowered everything. Maybe you’ll have better luck?
What If I Don’t Have the Right Tools?
No mini muffin tin? No problem. I’ve used ice cube trays and even just free-formed little disks on a lined baking sheet, then scooped the filling on top. They looked a bit rustic, but nobody complained (well, except my sister, but she’s picky about shapes).
How to Store These (Assuming Any Survive)
Keep them in an airtight container in the fridge—they’ll stay for about 3 days. Though honestly, in my house it never lasts more than a day! If you do end up freezing them, let them thaw a bit so you don’t break a tooth.
How I Like to Serve—And a Weird Family Tradition
These are fab with a dollop of whipped cream (sometimes, if I’m feeling fancy, I drizzle a little melted dark chocolate on top). My cousin dips hers in extra cookie crumbs, which is, in her words, “the only way to eat them.” At family gatherings, we stick a cocktail pick in each one and call them “party cheesecake lollipops.”
What I Learned the Hard Way—Real Pro Tips
- I once tried rushing the chilling step—don’t. They’ll just blob everywhere. Patience is not optional here.
- Don’t use too much butter in the crust; I got cocky once and ended up with a soggy bottom (and a ruined batch).
- Actually, letting them sit overnight makes the flavors pop more. I think this tastes better the next day, but good luck waiting that long.
FAQ From My Kitchen to Yours
- Can I make these ahead?
- Yep, and they’re actually better after a night in the fridge. Not that they ever last long enough to get stale around here.
- Do I have to use fresh strawberries?
- Nope. Frozen works, but like I said above, drain ‘em well. Or swap for raspberries (I did that once when I was out of strawberries and it was a hit).
- Could I use a food processor for the crust?
- Sure, but it’s honestly not worth the faff. A plastic bag and a rolling pin (or wine bottle—no judgment) work just fine.
- Is this gluten-free?
- If you use gluten-free cookies and grahams, yep! Tastes just as good.
A Brief Detour: Why Cheesecake Bites Beat Regular Cheesecake (for Me)
Maybe it’s just me, but individual bites mean less slicing, more mingling, and, if you’re hosting, fewer dirty plates. Plus, you can sneak one before guests arrive. And if you’re looking for a full-sized cheesecake, this is my ride-or-die recipe. For more strawberry ideas, here’s a great list I scroll through when I’m stuck in a rut.
So, give these Strawberry Cheesecake Crunch Bites with Cookie Crust a whirl next time you’re craving something sweet but don’t want to make a fuss. And if you figure out a way to keep them from disappearing in less than 24 hours, let me know. I’m still working on that.
Ingredients
- 1 cup crushed vanilla sandwich cookies
- 3 tablespoons unsalted butter, melted
- 8 oz cream cheese, softened
- 1/3 cup granulated sugar
- 1 teaspoon vanilla extract
- 1 cup diced fresh strawberries
- 1/2 cup whipped topping
- 1/2 cup freeze-dried strawberries, crushed
- 1/4 cup crushed golden sandwich cookies (for topping)
Instructions
-
1Preheat the oven to 350°F (175°C). Line a mini muffin tin with paper liners.
-
2In a bowl, mix crushed vanilla sandwich cookies with melted butter. Press about 1 tablespoon of the mixture into the bottom of each liner to form the crust.
-
3In a separate bowl, beat cream cheese, sugar, and vanilla extract until smooth. Fold in diced strawberries and whipped topping.
-
4Spoon the cheesecake mixture evenly over the prepared crusts in the muffin tin.
-
5Bake for 12-15 minutes, until set. Allow to cool completely, then refrigerate for at least 1 hour.
-
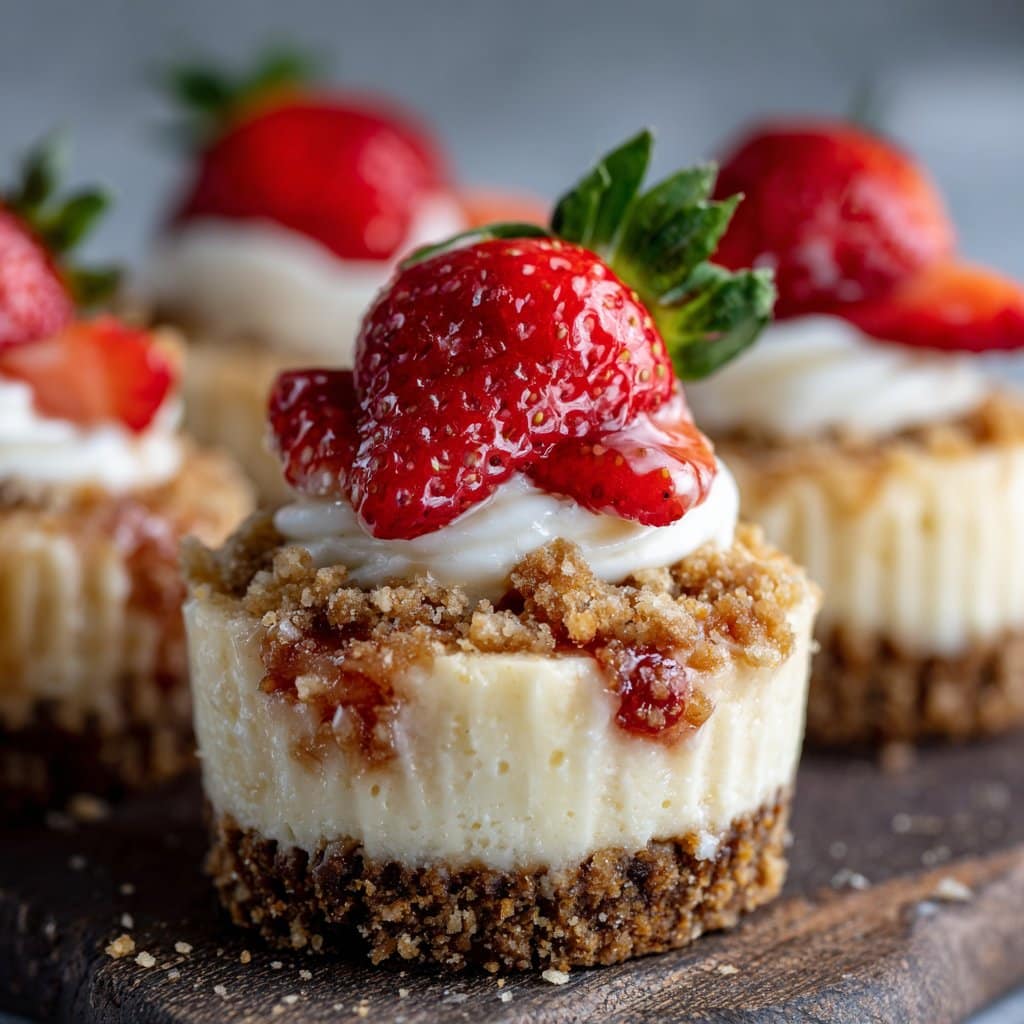
6Before serving, combine crushed freeze-dried strawberries and golden sandwich cookies. Sprinkle the strawberry crunch topping over each cheesecake bite.
Approximate Information for One Serving
Nutrition Disclaimers
Number of total servings shown is approximate. Actual number of servings will depend on your preferred portion sizes.
Nutritional values shown are general guidelines and reflect information for 1 serving using the ingredients listed, not including any optional ingredients. Actual macros may vary slightly depending on specific brands and types of ingredients used.
To determine the weight of one serving, prepare the recipe as instructed. Weigh the finished recipe, then divide the weight of the finished recipe (not including the weight of the container the food is in) by the desired number of servings. Result will be the weight of one serving.
Did you make this recipe?
Please consider Pinning it!!




