So, Strawberry Cheesecake Crunch Bites—My Go-To for Sweet Cravings
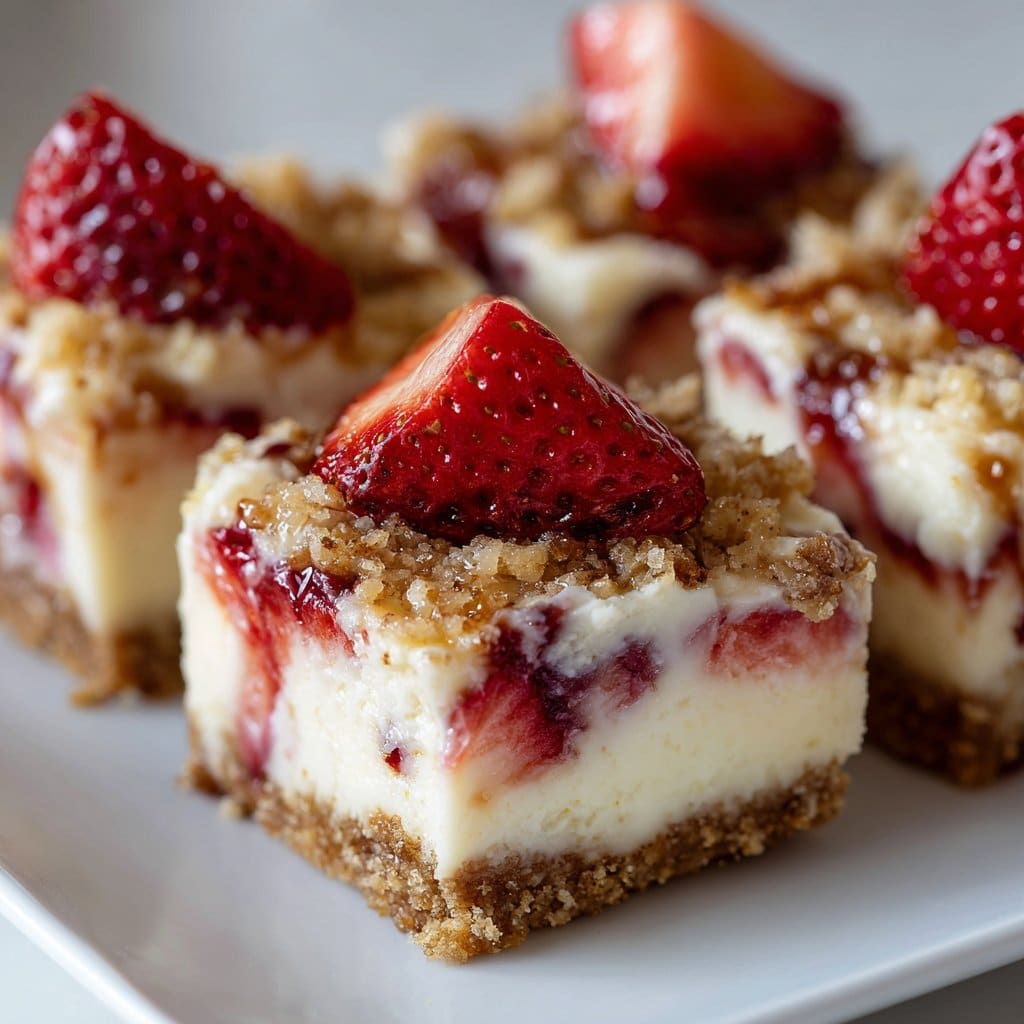
Alright, so let me tell you, these Strawberry Cheesecake Crunch Bites with Cookie Crust kind of started out as a happy accident. I wanted cheesecake, but honestly, who has the patience to bake a whole cheesecake on a muggy Saturday? Not me. Plus, my brother was coming over (the one who eats dessert before dinner) and I needed something quick, fun, and not too messy. Cue these bites. They’re basically everything I love about cheesecake, shrunk down and given a crispy little cookie jacket. Oh, and the first time I made them, I managed to drop half the strawberries on the floor, but that’s another story. If you ever need a dessert that’s both adorable and practically vanishes from the plate, this is it.
Why You’ll Love This (Even if You’re Not a Cheesecake Person)
I make this when I’ve promised dessert but secretly want to spend more time catching up with friends than washing dishes. My family goes a bit wild for these, probably because they’re poppable and you can actually hold one in your hand without a fork—big plus. And if you’re the impatient type (raising my hand), you don’t have to wait hours for everything to set like with a regular cheesecake. Honestly, if you mess up the drizzle or the cookie crush gets a bit lumpy, nobody notices; they’re too busy grabbing seconds. One warning: I used to try to double the recipe and hide a few bites for myself, but my nephew found my stash. Sigh.
Stuff You’ll Need (And a Few Shortcuts)
- About 1.5 cups crushed vanilla cookies (I grab Nilla Wafers, but graham crackers or those leftover shortbread cookies from Christmas work too)
- 3 tablespoons melted butter (I’ve used coconut oil in a pinch, no one’s ever complained)
- 200g (about 7 oz) cream cheese, room temp—Philadelphia is my go-to, but any full fat will do
- 1/3 cup powdered sugar (sometimes I swap for icing sugar if that’s what’s in the cupboard; it’s basically the same)
- 1/2 teaspoon vanilla extract (my grandmother swore by Nielsen-Massey, but honestly, the supermarket bottle is fine)
- 1 cup diced fresh strawberries (if I’m feeling lazy, frozen works, just let ’em thaw and drain off the juice)
- 2 tablespoons strawberry jam (optional, but I think it kicks up the flavor a notch)
- Extra cookie crumbs for rolling (because who doesn’t love more crunch?)
Let’s Get Into It—How to Throw These Together
- Mix the Cookie Crust: In a bowl, mix your crushed cookies with melted butter. It should look like damp sand, but if it seems too dry, just toss in an extra splash of butter. Press about a teaspoon of the mixture into lined mini muffin cups. If you don’t have a muffin tin, honestly, you can just shape little circles on a sheet pan. Pop these in the freezer while you work on the rest.
- Make the Cheesecake Filling: In a bigger bowl, whip cream cheese, powdered sugar, and vanilla extract until smooth. At this point, I always sneak a little taste—quality control, right? Fold in the diced strawberries. If it looks a bit streaky, that’s actually perfect.
- Jam Swirl (If Using): If you’re feeling fancy, warm up the strawberry jam for about 10 seconds in the microwave and swirl it through the cheesecake mixture. Don’t overthink it, just a swirl with a fork does the trick.
- Assemble: Spoon a generous heaping of cheesecake filling onto each chilled cookie base. Don’t worry if it overflows a bit—they’re bites, not masterpieces.
- Crunchy Topping: Sprinkle or roll the tops in extra cookie crumbs (sometimes I add chopped nuts for more crunch, but that’s optional).
- Chill Out: Refrigerate for at least 1 hour. Or, if you’re as impatient as me, stick them in the freezer for 20 minutes. Just don’t forget about them, or you’ll chip a tooth (ask me how I know).
Stuff I Learned (Occasionally the Hard Way)
- If you use low-fat cream cheese, the filling can get runny and honestly, it never tastes quite right. Full fat all the way, even if your gym coach says otherwise.
- Frozen strawberries are okay in a pinch, but you gotta drain them really well or you’ll end up with soup instead of cheesecake bites.
- Once, I tried microwaving the whole thing to speed up the process. Don’t do it. Just… don’t.
Switch It Up! (Some Hits, One Miss)
- Swapped strawberries for raspberries and used lemon zest—totally delicious!
- Crushed Oreos instead of vanilla cookies for the base—my cousin said they tasted like a fancy dessert from a cafe.
- Tried chocolate chips in the filling once. Eh, not my favorite. Made it weirdly gritty. Maybe don’t bother.
- I’ve even made a savory-ish version with goat cheese and fig jam—don’t tell the cheesecake police.
What If I Don’t Have a Mini Muffin Tin?
No stress! I’ve made these in silicone ice cube trays, and once, just free-formed blobs on a parchment-lined tray. They looked a bit scruffy but tasted just as good. Actually, sometimes I like the rustic look better. If you’re feeling really resourceful, try those paper ketchup cups from takeout—just don’t tell anyone I said that!
Keeping Them Fresh (If They Last That Long)
In theory, you can store these in an airtight container in the fridge for up to 3 days. But, honestly, in my house, they barely make it to the next morning. If you do want to freeze them, put parchment between the layers so they don’t stick together. I’ve forgotten the parchment before… had to chisel them apart with a butter knife. Fun times.
How to Serve ‘Em (Beyond Just Eating Over the Sink)
I usually stack ‘em on a big plate and let people fight it out. My sister likes a little extra jam on top, while my dad dips his in coffee (I know, sounds weird, but it works). Sometimes, for holidays, I’ll sprinkle a few freeze-dried strawberries on top—makes them look posh. Or you could set out a bowl of whipped cream and just let everyone go wild.
Stuff I Wish I’d Known (Aka, Pro Tips)
- I once tried to rush the chilling step because I was running late and, yeah, everything slumped into a sad little puddle. Now, I just give them time—or stick in the freezer if I really need to speed things up (but not for too long, trust me).
- Don’t skip lining your tray or muffin tin, even if you think they won’t stick. They always stick. I learned the hard way—ended up eating the first batch with a spoon.
- If you’re doubling the recipe, don’t double the strawberries unless you like extra juicy bites that ooze everywhere. One cup is plenty, even for a big batch.
Questions People Keep Asking Me
- Can I use other fruits?
- Yep! Raspberries, blueberries, or even chopped mango work. Tried kiwi once, wouldn’t recommend—went kinda mushy.
- Do I have to use cream cheese?
- I mean, technically, you could try mascarpone or even Greek yogurt, but cream cheese gives the classic taste. Once I tried cottage cheese, but honestly, never again.
- How do I crush the cookies?
- If you don’t have a food processor, just pop them in a zip bag and bash with a rolling pin (or wine bottle, if that’s handy—no judgment).
- What if I don’t have powdered sugar?
- You can blitz regular sugar in a blender for a minute or so and it’ll do in a pinch. Learned that one form a friend who bakes way more than me.
- Where did you get those cute little liners?
- Honestly, I just ordered them off Amazon. But I’ve also seen great ones on King Arthur Baking if you’re in the US.
Oh, and unrelated, but if you’re ever looking for a good guide to cream cheese basics (I always forget how long it lasts in the fridge), check out Serious Eats’ rundown here. Seriously useful.
So, that’s my not-so-secret guide to Strawberry Cheesecake Crunch Bites with Cookie Crust—fun to make, quick to disappear, and endlessly adaptable. Let me know if you try a new twist, or just want to swap tales of fallen strawberries… I’ll be here, probably sneaking another bite.
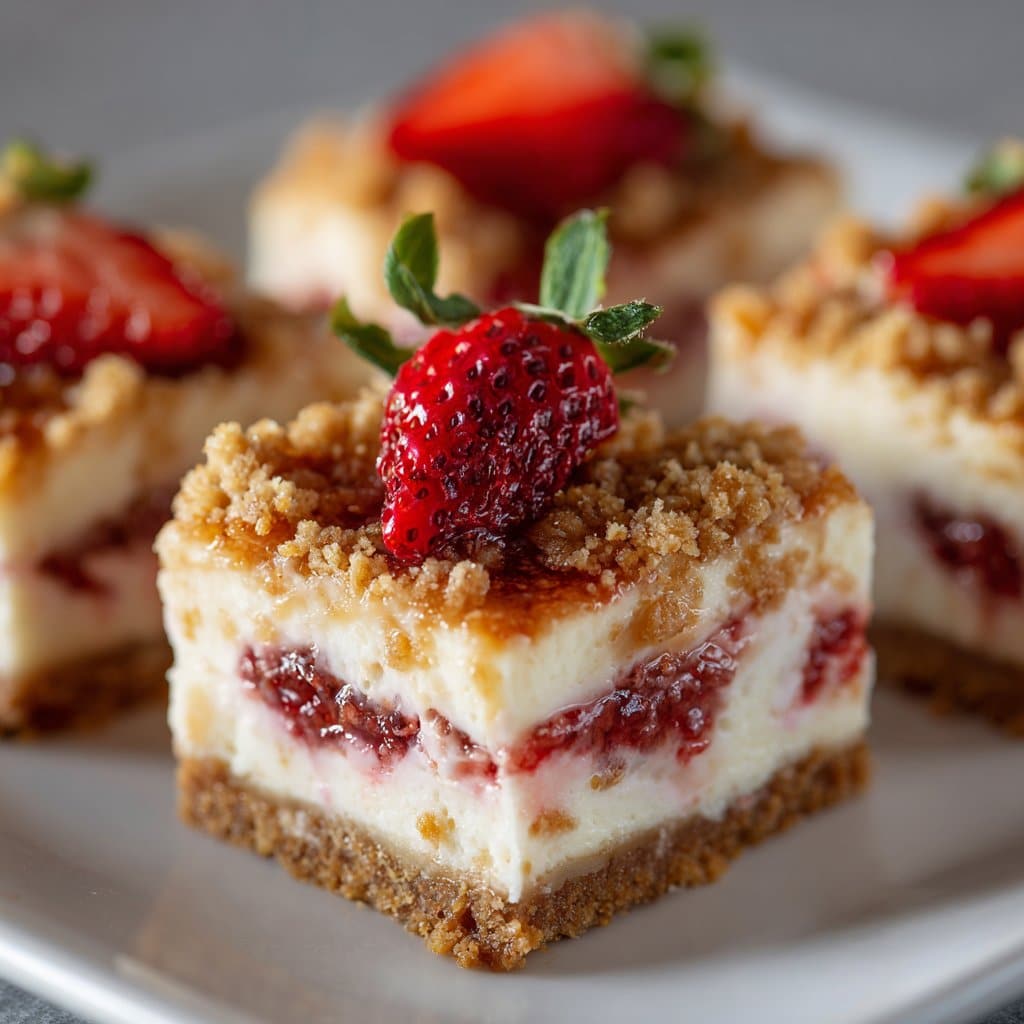
Ingredients
- 1 cup crushed vanilla sandwich cookies
- 3 tablespoons unsalted butter, melted
- 8 oz cream cheese, softened
- 1/3 cup granulated sugar
- 1 teaspoon vanilla extract
- 1/2 cup diced fresh strawberries
- 1/2 cup freeze-dried strawberries, crushed
- 1/2 cup white chocolate chips, melted
Instructions
-
1Line a mini muffin tin with paper liners. In a bowl, mix crushed vanilla sandwich cookies with melted butter until combined.
-
2Press about 1 tablespoon of the cookie mixture into the bottom of each liner to form the crust. Chill in the refrigerator for 10 minutes.
-
3In a separate bowl, beat cream cheese, granulated sugar, and vanilla extract until smooth. Fold in diced fresh strawberries.
-
4Spoon the cheesecake mixture over the chilled cookie crusts, filling each liner almost to the top.
-
5Combine crushed freeze-dried strawberries with melted white chocolate chips to make the strawberry crunch topping. Sprinkle generously over each cheesecake bite.
-
6Chill the bites in the refrigerator for at least 1 hour before serving. Enjoy cold.
Approximate Information for One Serving
Nutrition Disclaimers
Number of total servings shown is approximate. Actual number of servings will depend on your preferred portion sizes.
Nutritional values shown are general guidelines and reflect information for 1 serving using the ingredients listed, not including any optional ingredients. Actual macros may vary slightly depending on specific brands and types of ingredients used.
To determine the weight of one serving, prepare the recipe as instructed. Weigh the finished recipe, then divide the weight of the finished recipe (not including the weight of the container the food is in) by the desired number of servings. Result will be the weight of one serving.
Did you make this recipe?
Please consider Pinning it!!




