Let’s Chat: Why I Love Making Strawberry Cream Cheese Turnovers
Okay, so here’s the deal: The first time I made these strawberry cream cheese turnovers, I was actually just trying to use up a leftover sheet of puff pastry and the slightly sad strawberries I found hiding (okay, lurking) at the back of my fridge. Somehow, what started as a last-ditch snack attempt turned into a family favorite—I swear, my brother-in-law once ate three before dinner. And, well, who am I to judge? (Full disclosure: I’ve done worse, like the time I ate cold leftovers straight from the baking sheet. No shame.)
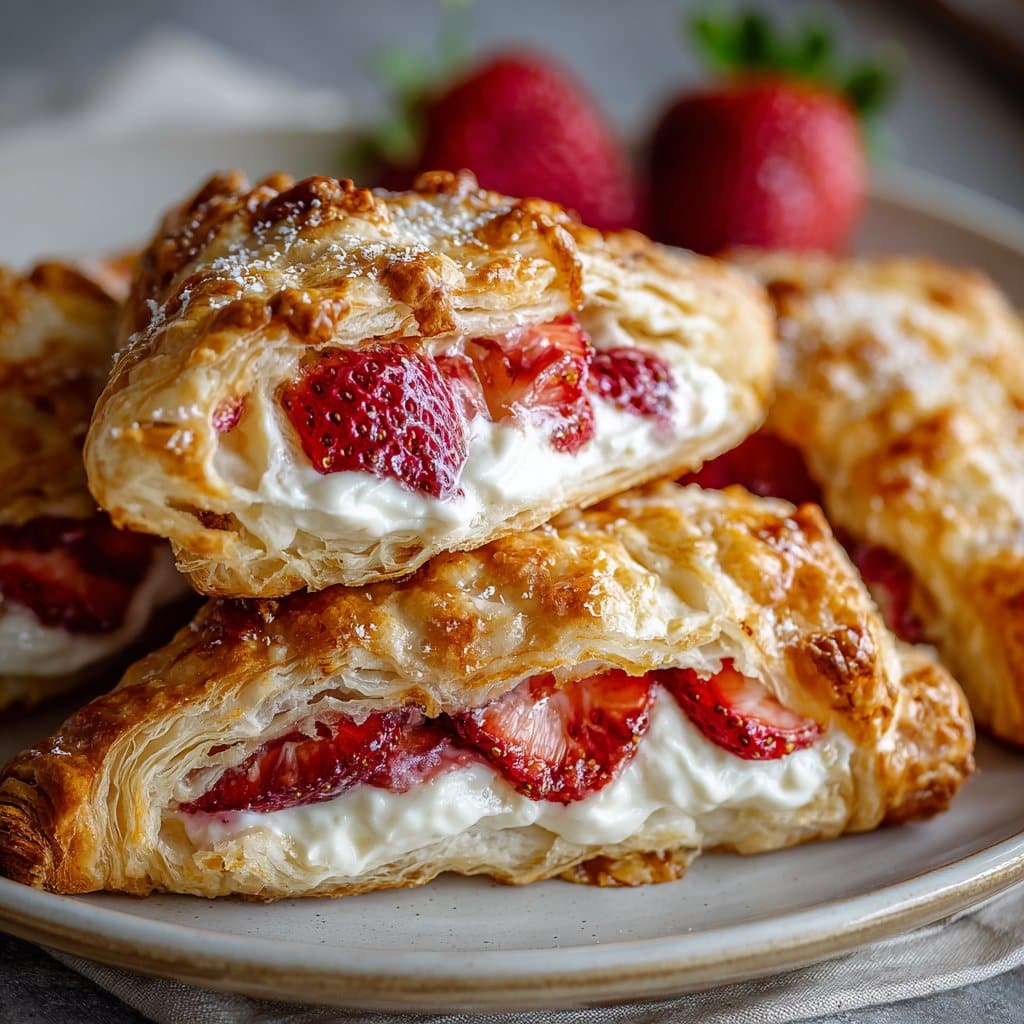
Honestly, there’s something kind of magical about the combo of creamy filling and sweet, slightly tart strawberries tucked inside flaky pastry. Plus, the smell when they’re baking? It’s almost enough to make the neighbors jealous—or at least come peeking over the fence asking what I’ve got in the oven. Which, let’s be honest, is the only proper way to make friends on my street.
Why You’ll Love This (Or, When I Make ‘Em)
I pull out this recipe for breakfast treats on lazy Sundays, or when I need a quick dessert and don’t want to mess around with a fancy cake. My family goes a bit bananas for these, especially because they’re grab-and-go. (Though, word to the wise: the filling gets hot. Ask my cousin Andy, who learned the hard way and now approaches them like they’re tiny lava traps.)
I make these with whatever fruit I have—blueberries work, raspberries too, but strawberries are just a classic. They’re also my go-to when I want to impress guests but secretly can’t be bothered with complicated recipes. Oh, and you know when pastry sticks to your fingers and you want to chuck the whole thing? Stick with it; these are worth the hassle. I promise.
What You’ll Need (With My Two Cents)
- 1 sheet frozen puff pastry, thawed (I use whatever’s on sale—grandma swore by Pepperidge Farm, but honestly, any brand will do)
- 3 oz (about 85g) cream cheese, softened (full-fat is best, but the light stuff works in a pinch)
- 2 tbsp granulated sugar (sometimes I use brown sugar if I’m feeling wild)
- 1/2 tsp vanilla extract (or almond if you love that marzipan vibe)
- 1 cup strawberries, chopped (fresh is great, but I’ve used thawed frozen before and it’s fine, just drain really well)
- 1 tsp cornstarch (optional but helps with runny berries)
- 1 egg, beaten for egg wash (or just a splash of milk—works about the same)
- Powdered sugar for dusting (completely optional, but it looks fancy)
How I Actually Make These (Warts and All)
- Preheat your oven to 400°F (200°C). Line a baking sheet with parchment. Or, if you’re like me and out of parchment, a lightly greased pan is fine. It might stick a bit—just soak it later.
- Stir together the softened cream cheese, sugar, and vanilla in a bowl until smooth. This is where I usually sneak a taste (for, um, quality control).
- In another bowl, toss the chopped strawberries with cornstarch (if using). No need to be precise here; just give them a quick mix.
- Unfold the puff pastry on a floured surface. Roll it out just a tad if you want more turnovers (I rarely do—bigger turnovers mean fewer arguments). Cut into 4 squares (or rectangles, if your rolling game is off—doesn’t matter in the end).
- Dollop a spoonful of cream cheese mixture onto one half of each square, then top with a few spoonfuls of strawberries. Don’t overstuff—learned this the hard way when they oozed all over my oven once. If it looks a bit messy, you’re doing it right.
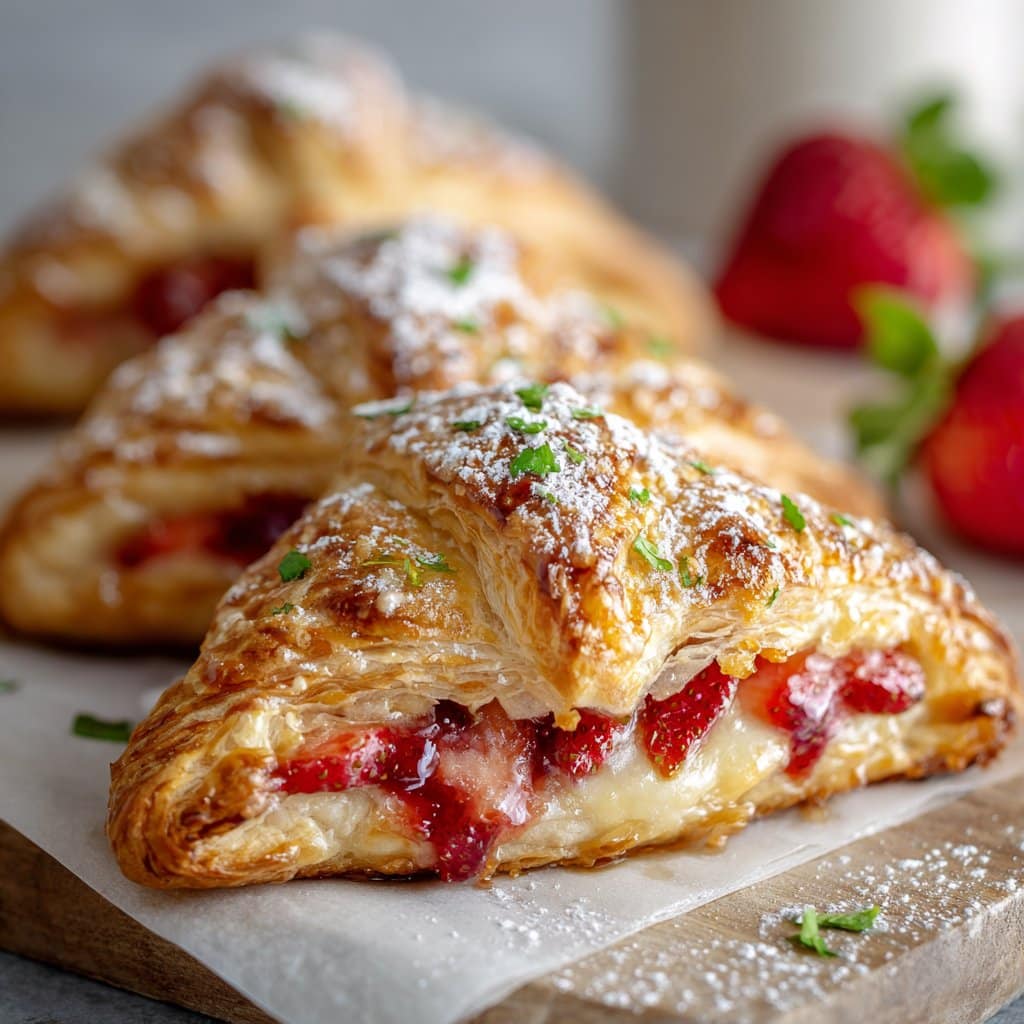
- Fold each square over into a triangle (or, well, as close as you can get). Press the edges with a fork to seal—sometimes they pop open in the oven, but I think that makes them look homemade.
- Brush with egg wash (or milk, if you forgot the egg). Cut a little slit in the top for steam. More like a little escape hatch for the filling.
- Bake 18–22 minutes, until golden and puffed. The smell is the best kitchen timer.
- Let cool for at least 10 minutes (good luck). Dust with powdered sugar if you like. Try not to eat them all while standing over the counter—though, no judgment if you do.
What I’ve Learned (AKA Notes)
- If you forget to thaw the pastry, ten minutes in the fridge usually does the trick, though it’ll crack more.
- Cream cheese lumps? Just power through. Nobody complains when there’s sugar and berries involved.
- Actually, I find it works better if you chill the filled turnovers for 10 minutes before baking—less leakage. Sometimes I remember, sometimes I don’t.
Variations I’ve Tried (Plus One Fail)
- Blueberry with a squeeze of lemon is lovely, but once I tried peach and didn’t drain them, and it turned into a soggy mess.
- Nutella instead of strawberries—my niece calls them “breakfast chocolates.”
- You can add a little lemon zest to the cream cheese for zing, though my husband claims it’s “too fancy.”
Stuff I Use (And What If You Don’t Have It?)
- Baking sheet—any old pan will do, even a pizza tray in a pinch.
- Parchment or silicone mat—honestly, greasing the pan works if you’re out.
- Pastry brush? I use my fingers when it’s in the wash.
- Fork for sealing—no need for special crimping tools, though I once saw a tutorial on King Arthur Baking that looks fun if you’re feeling fancy.
How I Store These (When They Last)
Store in an airtight container on the counter for up to 2 days (ha—mine never make it past breakfast). If you want to re-crisp them, a few minutes in a low oven works wonders. Fridge is fine, but the pastry goes a bit chewy.
How We Eat ‘Em (Serving Suggestions)
I like these best slightly warm, with coffee. My son insists on ice cream (for breakfast, no less). Sometimes I bring them to potlucks—just cut them smaller for sharing. If you’re feeling posh, a drizzle of simple lemon glaze is lovely, but honestly, I usually forget.
What I Wish I Knew (Pro Tips From My Goofs)
- I once tried rushing the pastry thawing—ended up with a weird mushy mess. Patience, grasshopper.
- Overfilling is tempting, but trust me, it’ll leak everywhere. Less is more. (Actually, sometimes I just eat the leftover filling with a spoon. No regrets.)
- Don’t skip the steam slit! I did once, and the turnovers exploded like little strawberry volcanoes. Entertaining but not ideal.
FAQ (Real Questions I Get—And My Honest Answers)
- Can I make these ahead of time?
- Sort of! You can assemble and chill them a few hours before baking. I suppose you could freeze them too, but I always forget and just bake fresh.
- Can I use jam instead of fresh strawberries?
- Absolutely! Just go light—the jam gets super runny. Sometimes I mix a spoonful with the cream cheese to cheat a bit. Works a treat.
- Do I need to use a rolling pin?
- Nah, I usually just flatten with my hands. But if you want more, smaller turnovers, a rolling pin helps.
- How do I make them vegan?
- Swap in a vegan cream cheese (Trader Joe’s is pretty good, in my opinion), and use a plant-based milk for the wash. Puff pastry is often vegan by default, but check the label.
- Why did my turnovers leak?
- Probably too much filling, or the edges weren’t sealed. Or, maybe you just have rebellious pastry—that happens to the best of us!
If you want another easy treat, I’ve also made a killer microwave cheesecake—I know, sounds nuts, but it’s legit.
Anyway, let me know how yours turn out. And if you find a way to keep them around more than a day, tell me your secret, will you?
Ingredients
- 1 sheet frozen puff pastry, thawed
- 4 oz cream cheese, softened
- 2 tbsp granulated sugar
- 1/2 tsp vanilla extract
- 1 cup fresh strawberries, diced
- 1 tbsp strawberry jam
- 1 egg, beaten (for egg wash)
- 1 tbsp coarse sugar (optional, for sprinkling)
Instructions
-
1Preheat the oven to 400°F (200°C) and line a baking sheet with parchment paper.
-
2In a bowl, mix the cream cheese, granulated sugar, and vanilla extract until smooth.
-
3In another bowl, combine diced strawberries with strawberry jam.
-
4Roll out the puff pastry and cut into 6 equal squares. Place a spoonful of cream cheese mixture and strawberry filling in the center of each square.
-
5Fold each square into a triangle, seal the edges with a fork, and brush with beaten egg. Sprinkle with coarse sugar if desired.
-
6Bake for 16-18 minutes or until golden brown. Let cool slightly before serving.
Approximate Information for One Serving
Nutrition Disclaimers
Number of total servings shown is approximate. Actual number of servings will depend on your preferred portion sizes.
Nutritional values shown are general guidelines and reflect information for 1 serving using the ingredients listed, not including any optional ingredients. Actual macros may vary slightly depending on specific brands and types of ingredients used.
To determine the weight of one serving, prepare the recipe as instructed. Weigh the finished recipe, then divide the weight of the finished recipe (not including the weight of the container the food is in) by the desired number of servings. Result will be the weight of one serving.
Did you make this recipe?
Please consider Pinning it!!




