Let Me Tell You About This Silly, Sweet Strawberry Pop-Tart Pie
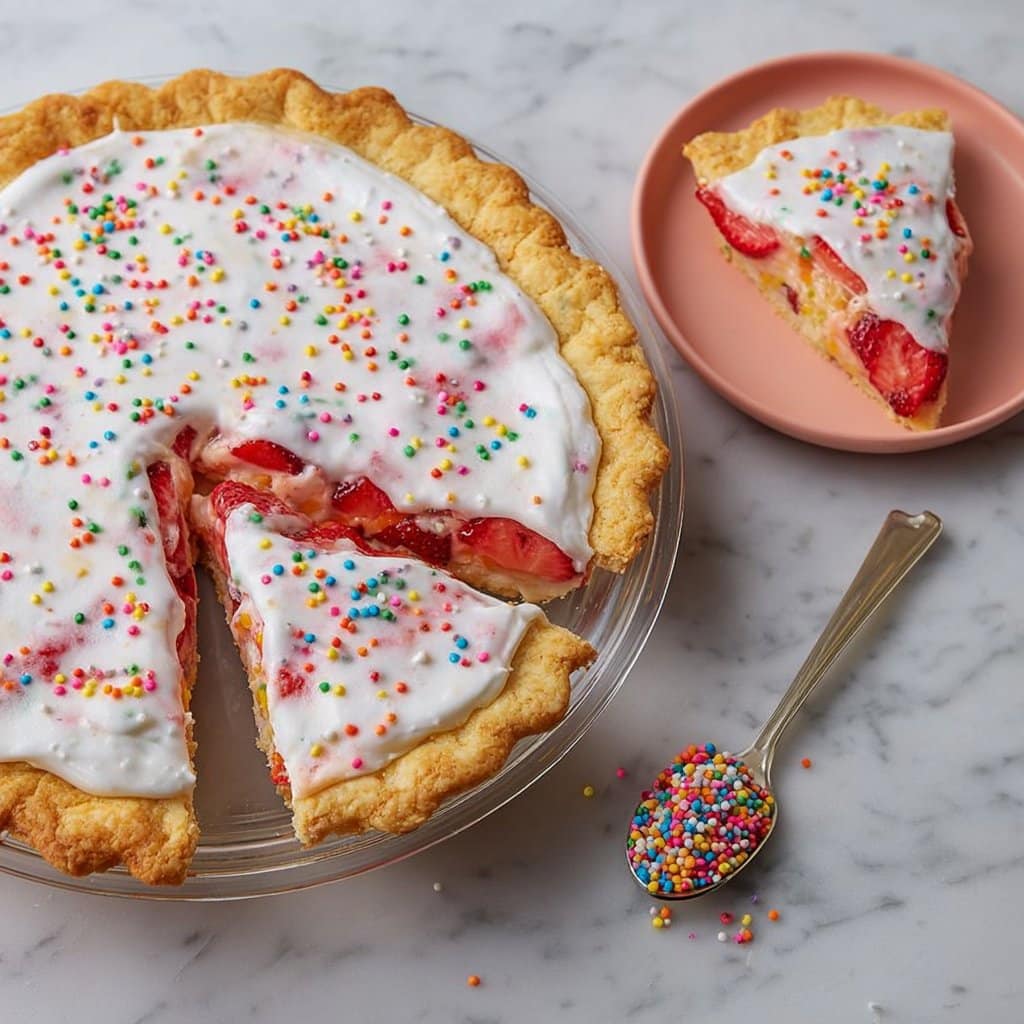
Okay, so picture this: It’s Saturday, I’ve just finished cleaning out the oddest assortment of half-empty snack boxes in my pantry—don’t ask—and I spot three lonely Pop-Tarts hiding behind a jar of forgotten pickles. And that’s when I remembered the first time I made this wild Strawberry Pop-Tart Pie (it was after a rainy soccer game, actually, and everyone came home famished and a bit muddy). It’s sort of what would happen if your favorite breakfast treat and a summery fruit pie had a sugar-fueled baby. If this pie sounds over-the-top, well, it is—and honestly, that’s its charm. Plus, it’s ridiculously fun to make. By the way, if you’re ever tempted to eat Pop-Tarts straight from the freezer, I say go for it. No judgment here.
Why You’ll Kinda Love Making This
I pull out this recipe when I’ve got leftover Pop-Tarts or just want to see my kids’ faces light up (my partner pretends not to be interested but he always asks for seconds). You know how sometimes pies feel like too much fuss? This one’s a breezy exception, except for the part when the icing gets everywhere—on the counter, my hands, occasionally the cat (long story). My family goes crazy for it, maybe because it’s a bit nostalgic, or maybe because there’s icing and sprinkles. Either way, it’s a win. And, yes, I’ve had the middle collapse once—don’t stress, just call it “rustic.”
What Goes In This Pie (and Some Swaps)
- 5 strawberry Pop-Tarts (or any fruity flavor, really—blueberry is legit for a change)
- 1 1/2 cups fresh strawberries, sliced (I use frozen in the winter, just thaw and drain a bit)
- 3/4 cup white sugar (I’ve snuck in brown sugar a couple times, not bad!)
- 2 tablespoons cornstarch (my gran used arrowroot, but who keeps that handy?)
- 1 refrigerated pie crust (or homemade, if you’ve got the energy—sometimes I use a graham cracker crust, and honestly it’s fine)
- 1/2 cup powdered sugar
- 2-3 teaspoons milk (any kind—I’ve tried oat milk in a pinch and it’s, well, okay)
- Sprinkles, as much or as little as you like—my niece dumps the whole jar, which is a vibe
How I Throw This Together (Don’t Stress the Mess)
- First things first, crank your oven to 375°F (190°C). Grab your pie plate—9-inch works great, but I’ve used an 8-inch when that was all I could find. Just squish the crust up the sides a bit more.
- Press the pie crust into the plate. If it tears, patch it with your fingers—nobody’s judging (least of all me).
- Layer Pop-Tarts across the bottom. Sometimes I break them up to fill gaps; sometimes I don’t bother. Up to you.
- In a bowl, toss strawberries, sugar, and cornstarch. Give it a good stir. This is where I usually sneak a berry—so sue me.
- Dump the strawberry mix right over the Pop-Tarts. Don’t worry if it looks too chunky—that’s the magic.
- Bake for 30-35 minutes, until it’s bubbling and the crust looks golden. Sometimes my oven runs hot so I check at 25 (my smoke alarm is, unfortunately, the timer I trust most).
- Let it cool—seriously, let it cool. I once tried to frost it warm and ended up with a sad, runny lake.
- Stir powdered sugar with milk (start with 2 tsp, add more if you like it thinner—sometimes I go wild and toss in a splash of vanilla).
- Drizzle icing all over the cooled pie, then let the kids (or your inner child) go nuts with sprinkles.
- Slice and serve, slightly warm or room temp. Cold from the fridge is surprisingly good, too.
Things I’ve Learned the Hard Way (Notes)
- If your icing is too runny, just add more powdered sugar. Or pretend it’s intentional.
- Don’t skip the cornstarch. I tried once and ended up with pie soup. Still tasty, but not ideal for slices.
- Fresh strawberries will look prettier, but frozen ones taste just as lovely (and sometimes juicier, but they do make it a bit messier).
Variations That Worked (and One That Didn’t)
- Blueberry Pop-Tarts with lemon zest in the icing? Stellar.
- Once tried chocolate fudge Pop-Tarts with raspberries. Not my best idea, a bit too sweet even for me.
- Try a cinnamon sugar Pop-Tart base with apple slices for autumn. It’s a cozy one, but I still prefer strawberry.
What You’ll Need (And What If You Don’t Have It)
- 9-inch pie plate (but you can use any ovenproof dish, even a square pan—just call it a “pie bar,” ha!)
- Mixing bowl and spoon (I’ve used a mug when everything else was in the dishwasher)
- Sharp knife for slicing (a butter knife if you’re patient—trust me, I’ve been there)
Storing Leftovers (If Any Stick Around)
Store leftovers (covered, in the fridge) for up to 2-3 days. Though honestly, in my house it never lasts more than a day. If you’re the planning sort, you could even freeze slices, but in reality I only did that once and forgot about them until freezer-burn set in. Whoops.
How We Serve It (and Sometimes With a Twist)
We like big, messy slices with a scoop of vanilla ice cream (it’s basically non-negotiable). Sometimes my brother insists on whipped cream and calls it “deluxe.” I tried serving it for breakfast once and honestly, I didn’t hate it—just maybe cut the sugar a pinch if you’re planning to go that route.
Stuff I Wish I’d Known The First Time (Pro Tips)
- I rushed the cooling before and ended up with a puddle instead of icing stripes. Actually, I find it works better if you wait a full hour to ice it.
- Don’t skip patching any holes in the crust—filling leaks out and sticks like glue. Ask me how I know.
- If you use frozen strawberries, really drain them first. Or, you know, don’t, and just serve it in a bowl. I mean, it’s all going to the same place.
Answering Actual Questions (Mostly From Family Group Chats)
- Can you use store-bought icing? Technically yes, but homemade takes two seconds and tastes less, well, fake. I’ve used Betty Crocker in a pinch, though. No shame.
- What if I don’t have Pop-Tarts? You could use toaster pastries from Aldi, or even pastry crust with a bit of jam spread on it. On second thought, it’s not quite the same, but it works.
- Is this a breakfast or dessert? Who’s judging? I say both. My cousin called it “brunch pie.”
- How do I make it vegan? Use vegan pastry, vegan Pop-Tarts (they exist, really!), and plant milk for the icing. Check out this vegan Pop-Tart guide if you’re curious.
- Can I make it gluten-free? Sure, just grab gluten-free pastry and Pop-Tarts. They’re a little pricier but my friend swears by Kinnikinnick’s version.
Before I forget—if you want a deep-dive on making your own pie crust (which, I admit, I rarely do), Sally’s Baking Addiction has a step-by-step I actually understood. Not sponsored, just a fan.
Anyway, that’s my not-so-secret, slightly silly Strawberry Pop-Tart Pie. If you make it, send me a picture, or just tell me how much icing you got on your shirt. That’s half the fun, honestly.
Ingredients
- 2 1/2 cups all-purpose flour
- 1/2 cup unsalted butter, cold and cubed
- 1/4 cup granulated sugar
- 1/2 teaspoon salt
- 1/2 cup strawberry jam
- 1 cup fresh strawberries, diced
- 1 large egg
- 1 cup powdered sugar
- 2 tablespoons milk
- 1/2 teaspoon vanilla extract
- 2 tablespoons rainbow sprinkles
Instructions
-
1Preheat the oven to 375°F (190°C). Grease a 9-inch pie dish.
-
2In a large bowl, combine flour, sugar, and salt. Cut in the cold butter until the mixture resembles coarse crumbs.
-
3Add the egg and mix until the dough comes together. Press two-thirds of the dough into the bottom and sides of the pie dish.
-
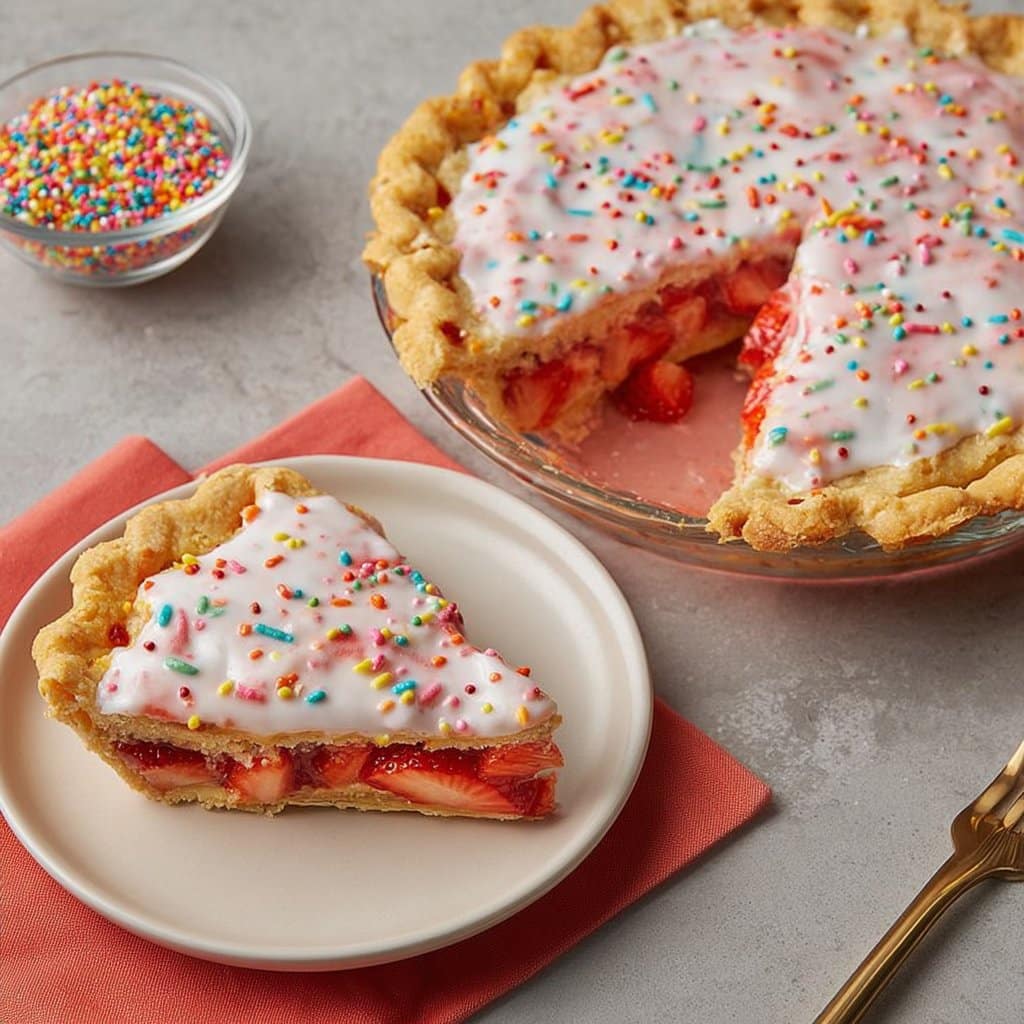
4Spread strawberry jam evenly over the crust, then top with diced strawberries. Crumble the remaining dough over the filling.
-
5Bake for 35 minutes or until the crust is golden brown. Let the pie cool completely.
-
6In a small bowl, whisk together powdered sugar, milk, and vanilla extract to make the icing. Drizzle over the cooled pie and decorate with rainbow sprinkles before serving.
Approximate Information for One Serving
Nutrition Disclaimers
Number of total servings shown is approximate. Actual number of servings will depend on your preferred portion sizes.
Nutritional values shown are general guidelines and reflect information for 1 serving using the ingredients listed, not including any optional ingredients. Actual macros may vary slightly depending on specific brands and types of ingredients used.
To determine the weight of one serving, prepare the recipe as instructed. Weigh the finished recipe, then divide the weight of the finished recipe (not including the weight of the container the food is in) by the desired number of servings. Result will be the weight of one serving.
Did you make this recipe?
Please consider Pinning it!!




