Let’s Talk About Strawberry Rhubarb Crisp (And Why I Keep Coming Back To It)
Alright, confession time. I first made strawberry rhubarb crisp because I’d bought rhubarb at a farmer’s market, thinking it was rainbow chard. Classic me. But I wasn’t about to waste it, so I threw some strawberries in the mix (mostly because they were on sale and, let’s be honest, I always over-buy fruit). The result? Well, the kitchen smelled like the inside of a sweet shop, and my neighbor popped by ‘just to say hi’—but I totally caught her eyeing the baking dish. Now, every spring, I get asked when I’m making ‘that crisp thing’ again. There’s something magic about it—tangy, jammy, crumbly on top. You get the picture. Anyway, let’s make some memories (and a killer dessert) together.
Why I Keep Making This (And Maybe You Will Too)
I bake this when strawberries are actually ripe and not those sad winter ones. My family goes a bit bonkers for it, especially when it’s still warm and there’s vanilla ice cream around (I mean, who wouldn’t?). It’s the one dessert I can whip up after work without fuss, and I even made it in a friend’s questionable rental kitchen once—no fancy gear required. Sometimes the rhubarb leaks pink juice everywhere, but honestly, it just looks like a dessert Picasso would make. If you’ve got picky eaters (or that one cousin who claims to hate fruit), this usually wins them over. Plus, not gonna lie, I’ve eaten it for breakfast, cold, straight from the fridge. No shame in my game.
What You’ll Need—the Ingredients (And a Few Shortcuts)
- About 4 cups chopped rhubarb (fresh is best, but frozen honestly works fine; just defrost and drain first)
- 2 to 2.5 cups sliced strawberries (I sometimes use frozen—just don’t tell my mom)
- 3/4 cup white sugar (or swap in brown sugar if you’re feeling wild; my grandma swears by half-and-half)
- 2 tablespoons cornstarch (or plain flour if you’re out; learned that the hard way once)
- 1 teaspoon vanilla extract (any brand, but the good stuff does make a difference… probably)
- Pinch of salt (I’ve forgotten it before—it’s fine, but better with)
- 1 cup rolled oats (I’ve tried quick oats, but they go mushy; your call though!)
- 3/4 cup all-purpose flour
- 1/2 cup brown sugar (light or dark—I don’t really notice a difference, but someone on Reddit swears dark is best)
- 1/2 cup cold butter, cubed (I once used margarine, but the crisp was a bit sad—just saying)
- Optional: 1/2 teaspoon cinnamon, handful of chopped nuts, or a splash of lemon juice for zing
How I Actually Make Strawberry Rhubarb Crisp (Winging It Welcome)
- Preheat your oven to 375°F (190°C). Or honestly, anywhere close if your oven runs hot or cold. Grease a 9×13-inch baking dish; I just smear a bit of butter around, but spray oil is fine too.
- In a big bowl, toss the rhubarb and strawberries with the sugar, cornstarch, vanilla, and salt. Mix till glossy and everything’s coated. I sometimes add a splash of lemon if the berries are extra sweet.
- Pour the fruity mix into your dish. It might look like a soup at this point, but don’t panic. The oven works magic.
- For the topping, combine oats, flour, brown sugar (and cinnamon if using) in another bowl. Toss in the cubed butter and squish it all together with your fingers until it’s crumbly—think gravel, not sand. Don’t worry if there are bigger bits; those are the best bites.
- Scatter the topping over the fruit. I usually sneak a tiny taste here—just to check for quality control, you know?
- Bake for about 40–45 minutes. The top should be golden, and you’ll probably hear some bubbly, hissing fruit sounds. If it’s browning too fast, cover loosely with foil (speaking from experience…)
- Let it cool for at least 10 minutes before diving in. Actually, I tend to ignore my own advice and burn my tongue every time, but you do you.
Little Notes & Discoveries (AKA My Oops Moments)
- I once baked it in a toaster oven on a camping trip—came out weirdly good, but the topping was less crisp. Maybe don’t try that at home…
- If you use frozen fruit, drain off some juice or the bottom goes a bit soupy. Not the worst thing, but you might need a spoon instead of a fork.
- Actually, I find it works better if you let it sit for half an hour after baking—the flavors mellow out, and it slices (sorta) nicer.
Stuff I’ve Tried (And What Flopped)
I’ve swapped in blackberries for some strawberries (yum), and once threw in apple when I was low on rhubarb. That worked, but the time I tried adding shredded coconut? Let’s just say no one asked for that again. Some people add orange zest—I liked it, but my brother said it tasted like cleaning spray (brothers, right?).
What If I Don’t Have All The Tools?
Honestly, you only need a baking dish and a bowl. I use my hands for the topping, but a pastry cutter is fancy if you have one. No pastry cutter? Two forks work, or go rogue and use clean hands. I once used a pie dish instead of a casserole—worked fine, though the filling bubbled over a bit. Just put a baking sheet underneath if you’re worried about sticky oven mess (I always forget and then regret it…)
Keeping Leftovers (If You Manage To Have Any)
Cover and refrigerate for up to three days. But honestly, in my house it never lasts more than a day! Oh, and it reheats really well—just pop it in the microwave or oven for a bit. I actually think it tastes better the next morning, especially with yogurt (breakfast of champions, right?).
How I Serve This (And You Should Try It Too)
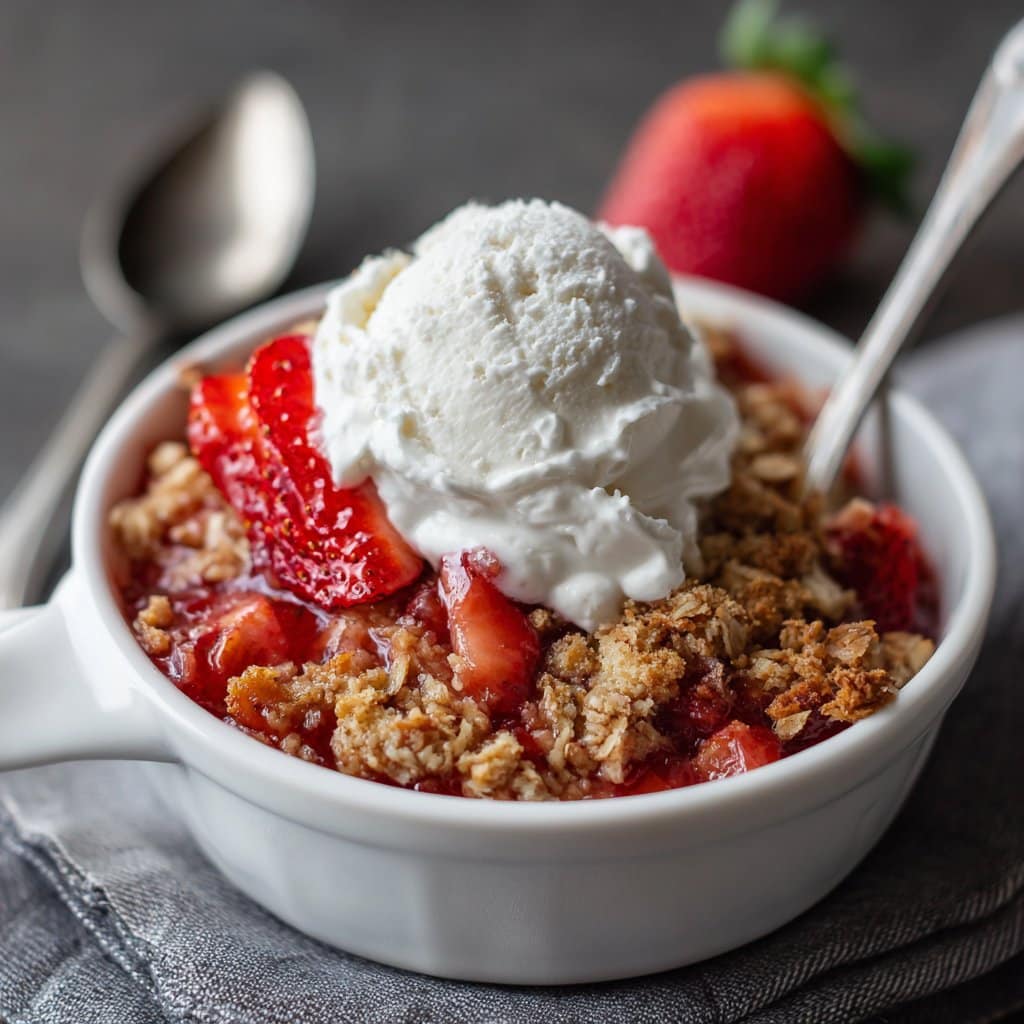
Vanilla ice cream is a must for us. Sometimes whipped cream if I’m out of ice cream. Or just plain, with a big mug of tea. My aunt tops hers with a dollop of crème fraîche, which is way fancier than I bother with. Oh, and we once ate it cold out of the pan at a picnic—no plates, just spoons. Don’t judge.
Lessons I Learned The Hard Way (AKA Pro Tips)
- Don’t skip the cornstarch or flour in the filling. I once left it out and the whole thing was a puddle. Oops.
- If you rush the topping and don’t chill the butter, it melts too fast and loses the crunch. I tried using melted butter once—not recommended!
- Let it cool a bit before serving. I know, I know—it smells amazing, but I promise you’ll enjoy it more if you wait. (Plus, your tongue will thank you.)
Questions People Actually Ask Me
- Can I make this gluten-free?
- Totally! Use a gluten-free flour blend and be sure your oats are GF certified. Still turns out great—my cousin does this all the time.
- Can I freeze strawberry rhubarb crisp?
- You can! Freeze before baking for best texture, but I’ve frozen baked leftovers too. They’re a bit softer after thawing, but that never stops us.
- What if I only have rhubarb?
- I’ve made it with just rhubarb—just up the sugar a little, or it’ll make your cheeks pucker. Maybe add apple for sweetness if you have some lying around.
- Where do you get good rhubarb?
- Farmers markets are my go-to, but I’ve used the bagged frozen stuff from Trader Joe’s when it’s out of season. For more rhubarb chat, Smitten Kitchen has great tips (and another awesome recipe).
- Is this dessert super sweet?
- Not really! It’s tangy-sweet. But you can tweak the sugar up or down—my sweet tooth kicks in sometimes, so I add an extra spoon.
One Last Thing (A Quick Side Note)
Funny story—while writing this, my cat tried to swipe a strawberry off the counter. She prefers chicken, but I guess even cats know a good thing when they see it. Anyway, hope you have fun baking. And remember, the best part is sharing (if you can bear to).
Ingredients
- 2 cups fresh strawberries, hulled and sliced
- 2 cups rhubarb, chopped
- 3/4 cup granulated sugar
- 2 tablespoons cornstarch
- 1 cup old-fashioned rolled oats
- 3/4 cup all-purpose flour
- 1/2 cup packed light brown sugar
- 1/2 cup unsalted butter, melted
- 1/4 teaspoon ground cinnamon
- Pinch of salt
Instructions
-
1Preheat oven to 350°F (175°C). Lightly grease a 9-inch baking dish.
-
2In a large bowl, combine strawberries, rhubarb, granulated sugar, and cornstarch. Toss until fruit is evenly coated.
-
3Transfer the fruit mixture to the prepared baking dish and spread evenly.
-
4In a separate bowl, mix oats, flour, brown sugar, melted butter, cinnamon, and salt until crumbly.
-
5Sprinkle the oat mixture evenly over the fruit.
-
6Bake for 40 minutes, or until the topping is golden brown and the fruit is bubbling. Let cool slightly before serving.
Approximate Information for One Serving
Nutrition Disclaimers
Number of total servings shown is approximate. Actual number of servings will depend on your preferred portion sizes.
Nutritional values shown are general guidelines and reflect information for 1 serving using the ingredients listed, not including any optional ingredients. Actual macros may vary slightly depending on specific brands and types of ingredients used.
To determine the weight of one serving, prepare the recipe as instructed. Weigh the finished recipe, then divide the weight of the finished recipe (not including the weight of the container the food is in) by the desired number of servings. Result will be the weight of one serving.
Did you make this recipe?
Please consider Pinning it!!




