Let Me Tell You About These Trifles (and the Mess I Made)
Okay, first off, strawberry shortcake is basically the taste of summer for me. I grew up with my mum making something kind of like this, but hers was more of a, well, lopsided pile on a big plate (love you, mum, but you know it’s true). Anyway, the first time I tried putting these in mason jars was when I was running late for a brunch at Amy’s and I just grabbed a bunch of jars because, honestly, all my pretty bowls were in the dishwasher. Turns out, these jars make the whole thing look like I planned it—plus, no one can see if you accidentally drop a strawberry down the side (which is good, because I always do).
Oh, and if you end up with whipped cream on your elbow, you’re doing it right. At least, that’s my theory.
Why You’ll Love This Messy, Layered Dessert
I make this when the strawberries at the farmers’ market look so good I can’t walk past them without buying way too many. My family goes bonkers for these at brunch (especially my dad, who says it’s the only reason he shows up before noon). Sometimes I even make them for myself after a long week, since the assembly part is weirdly relaxing. Plus, if you mess up the layers, no one cares. Actually, the messier, the better—trust me, I’ve tried the fancy way and it just stressed me out. Bonus points: you serve them right in the jars, so less dish-washing. That alone is a win in my book.
Here’s What You’ll Need (Swaps Welcome!)
- About 2 cups fresh strawberries (or honestly, sometimes I mix in raspberries or even blueberries if I’m running low. Frozen works in a pinch, but thaw them well.)
- 1/3 cup granulated sugar (I once used brown sugar when I was out, and it was still tasty—more caramel-ish.)
- 1 teaspoon lemon juice (optional, but I think it wakes up the berries)
- Shortcake or pound cake (roughly 3 cups cubed; my grandmother swore by Sara Lee, but any basic pound cake or even a store-bought angel food cake does the trick. In a bind, I’ve used vanilla muffins!)
- 1 cup heavy cream (or double cream for the posher among us)
- 2 tablespoons powdered sugar (regular sugar works if you beat it enough—don’t stress if you don’t have the fancy stuff)
- 1 teaspoon vanilla extract (I’ve used almond extract in a moment of chaos—tastes different, but not bad!)
How I Actually Make These (With a Few Detours)
- Chop the Strawberries: Hull and slice your strawberries into not-too-tiny pieces. Toss them in a bowl with the sugar and lemon juice. Let them hang out for 10-15 minutes until juicy. (This is when I usually sneak a few bites. Quality control, right?)
- Cake Time: Cube your cake into bite-sized pieces. I sometimes just tear them up if I’m in a hurry. No one notices.
- Whip the Cream: Pour the cream into a cold bowl. Add powdered sugar and vanilla. Beat with a mixer until you get soft peaks. If you go too far and it starts looking like butter, hey, been there. Add a splash more cream to loosen it.
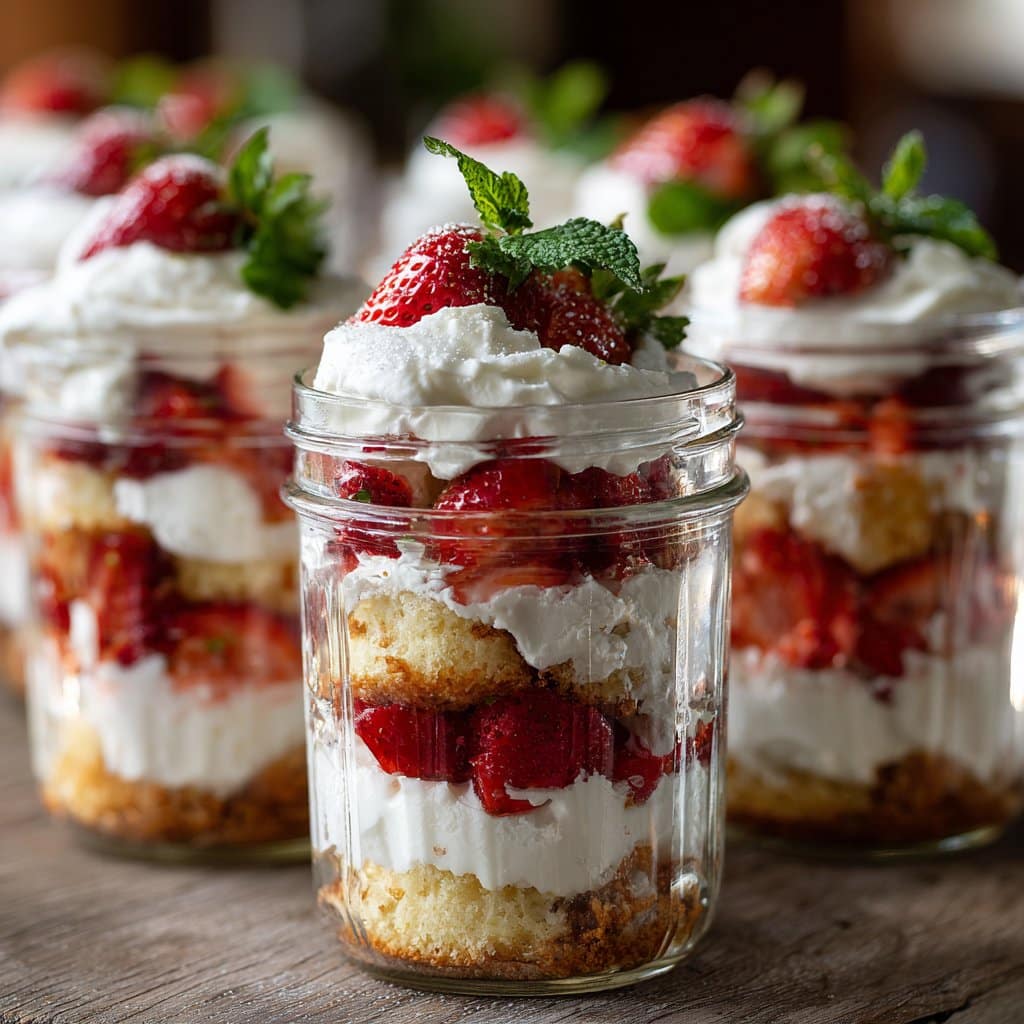
- Layer It Up: Grab your mason jars (or, honestly, whatever glass you have). Start with a layer of cake cubes, then spoon over some juicy strawberries with their syrup. Add a good dollop of whipped cream. Repeat the layers until you fill the jar. I usually end with strawberries on top because it looks cute, but follow your heart.
- Chill (if you can wait): Cover the jars and let them sit in the fridge for about 30 minutes. Makes the cake extra good. But sometimes I just eat one right away. Oops.
Some Notes From My Kitchen Disasters
- The first time I made these, I used low-fat cream. Wouldn’t recommend. You want full-fat for that dreamy texture.
- Letting the strawberries sit really does make a difference. Once I skipped it, and things were just…meh.
- If you use store-bought whipped cream, no judgment. Just know it gets a bit soupy if left too long.
How I’ve Switched It Up (and Not Always for the Better)
- Tried it with peaches once—pretty good, but a bit mushier than I’d hoped.
- Chocolate pound cake instead of regular? Oddly delicious.
- I once added basil to the strawberries because a fancy recipe said to—let’s just say my family was not impressed.
- Sometimes I use Greek yogurt for half the cream if I’m feeling virtuous. Not quite as lush, but it works.
Don’t Worry About Equipment (Seriously)
Look, if you don’t have mason jars, use drinking glasses, jam jars, or even teacups. One time I used old salsa jars—washed, obviously! If you don’t own an electric mixer, you can totally whip the cream by hand. It’s just a good arm workout. Or rope in a kid or a mate.
Storing These (If You Somehow Have Leftovers)
These trifles keep well in the fridge for about 24 hours (though honestly, in my house they never last more than a day!). The cake gets softer, which I actually think makes it taste even better the next day. Just cover the jars with lids or a bit of cling film if you’re going to stash them overnight. If you use store-bought whipped cream, maybe eat sooner rather than later.
How We Serve ‘Em (And a Bit About My Dad)
I love serving these straight from the jar with little spoons—everyone can grab their own, so no fighting over the corner piece like when I serve a big trifle. My dad always insists on extra whipped cream on top, so now it’s tradition to just bring out a bowl for “topping up.” Not fancy, just fun.
Lessons I Learned (Usually the Hard Way)
- If you rush the whipped cream, you’ll regret it—gritty cream is not the vibe.
- Don’t assemble these too far ahead; the cake will get too soggy. An hour or two is fine, though.
- I once tried to halve the sugar and, well, it was a bit tart. Don’t skimp unless your berries are very sweet!
Questions People Actually Ask Me
- Can I make these with gluten-free cake?
Yep, absolutely. I sometimes use a gluten-free pound cake from this recipe and it works grand. Just be gentle with the cubes—they’re a bit crumblier. - What if my whipped cream turns runny?
Oh, I’ve had this happen. If it’s still soft, just keep whipping for another minute. If it goes soupy, sometimes starting over is quickest, but you can try chilling the bowl and seeing if it thickens up. Or just call it a “creamy sauce” and hope for the best! - Do I have to use mason jars?
Nope! Any vessel works. I actually love using little teacups for a fancy brunch look. Or even mugs—no one’s judging. - Where do you get cute jars?
Honestly? I save old jam jars. But if you want the real deal, I get mine from Weck Jars or sometimes just the local supermarket. No need to get fancy (unless you want to). - Can I use Cool Whip?
Sure, if that’s your thing. I find it a bit sweet, but my sister loves it, so…family democracy.
Oh, before I forget, if you want a proper homemade shortcake (when you have time to spare), King Arthur Baking has a classic recipe that’s spot-on. But, honestly, in summer, I’m all about keeping it easy and tasty—and, you know, not sweating to death in the kitchen.
So there you go: strawberry shortcake trifles in mason jars—my favorite summer brunch treat, complete with all the mess and memories. Enjoy (and don’t stress if yours are a little wonky; that’s half the fun)!
Ingredients
- 2 cups fresh strawberries, hulled and sliced
- 3 tablespoons granulated sugar
- 1 1/2 cups heavy whipping cream
- 3 tablespoons powdered sugar
- 1 teaspoon vanilla extract
- 1 prepared pound cake or shortcake, cut into 1-inch cubes
- 2 tablespoons strawberry jam (optional)
- Fresh mint leaves, for garnish
Instructions
-
1In a medium bowl, toss the sliced strawberries with granulated sugar. Let sit for 10 minutes to macerate and become juicy.
-
2In a large mixing bowl, whip the heavy cream with powdered sugar and vanilla extract until soft peaks form.
-
3Cut the pound cake or shortcake into 1-inch cubes.
-
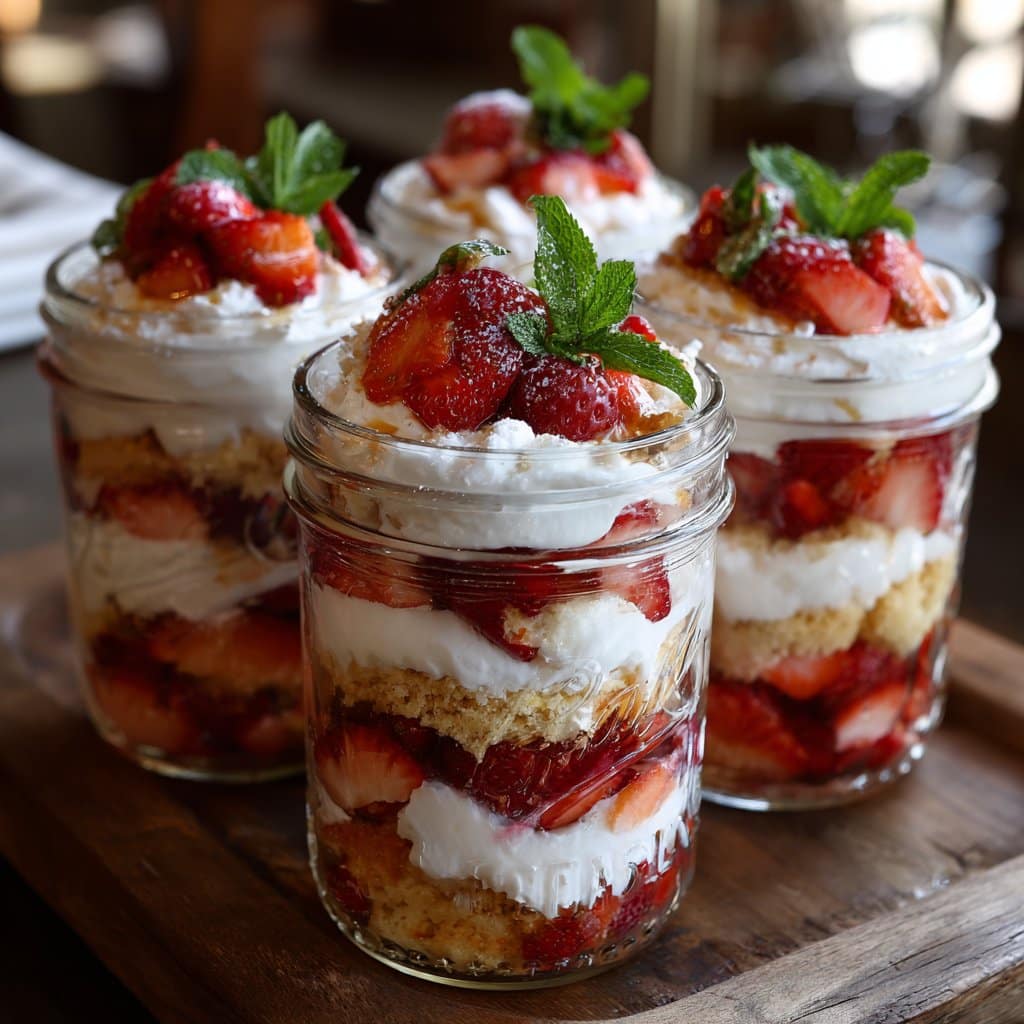
4To assemble, layer cake cubes at the bottom of each mason jar, followed by a spoonful of strawberries (and a drizzle of strawberry jam if using), then a layer of whipped cream. Repeat layers until jars are filled, finishing with whipped cream on top.
-
5Garnish each trifle with a few extra strawberry slices and a fresh mint leaf. Serve immediately or chill until ready to serve.
Approximate Information for One Serving
Nutrition Disclaimers
Number of total servings shown is approximate. Actual number of servings will depend on your preferred portion sizes.
Nutritional values shown are general guidelines and reflect information for 1 serving using the ingredients listed, not including any optional ingredients. Actual macros may vary slightly depending on specific brands and types of ingredients used.
To determine the weight of one serving, prepare the recipe as instructed. Weigh the finished recipe, then divide the weight of the finished recipe (not including the weight of the container the food is in) by the desired number of servings. Result will be the weight of one serving.
Did you make this recipe?
Please consider Pinning it!!




