Well, Here’s the Story Behind This Skillet Wonder
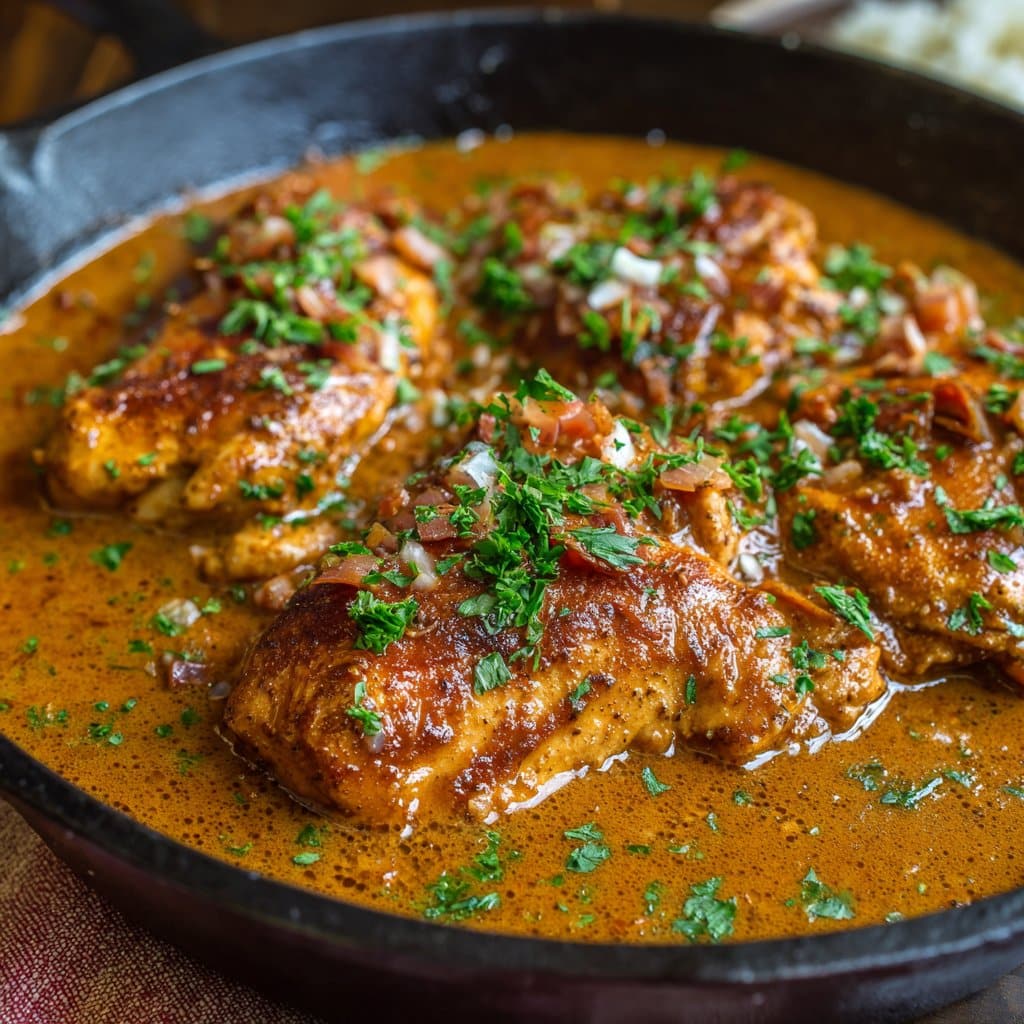
You know how sometimes you just want a meal that feels like a big ol’ hug from the inside out? That’s what this Texas Roadhouse Butter Chicken in One Skillet is for me. I think I first stumbled into making it after a long day wrangling kids, when I realized I had chicken, butter, and not much else in the fridge (except maybe a questionable bag of spinach). My husband’s obsessed with the Roadhouse version, but honestly, I can’t always be bothered to drive across town—plus, I like mine saucier. Anyway, one skillet means fewer dishes, so I can get back to my real passion: hiding in the pantry with a cookie after dinner.
Why I Keep Making This Texas Roadhouse Butter Chicken
I make this when I’ve got half an hour before hangry kids start a small-scale riot or when my sister drops by (unannounced, obviously) and expects dinner. My family goes bonkers for this because it’s got that silky, buttery sauce that somehow makes you forget about the pile of laundry lurking behind you. Sometimes, if I’m feeling wild, I throw in extra garlic—because really, when has extra garlic ever been the wrong move? Admittedly, I used to struggle with chicken getting all dry in skillet recipes, but this one stays juicy. (Not to brag, but the kids actually eat seconds.)
What You’ll Need – And Some Swaps I’ve Tried
- 2 big chicken breasts (or thighs if you want it richer—sometimes I just use whatever’s on sale, honestly)
- 2 tablespoons butter (Salted is fine, but my grandmother always said unsalted is for baking. Take that as you will.)
- 1 tablespoon olive oil (Or skip it and add another dab of butter—no judgment here.)
- 3 cloves garlic, minced (Jarred garlic works in a pinch, but it’s kind of cheating, right?)
- 1 teaspoon smoked paprika (Or regular—one time I grabbed chili powder by mistake; it was…interesting.)
- 1/2 teaspoon dried thyme (Fresh if you’ve got it. Or honestly, just skip it if you don’t.)
- Salt and pepper to taste (I might go a bit heavy with pepper, sue me!)
- 1 cup chicken broth (I use those bouillon cubes sometimes, and nobody’s ever complained)
- 1/2 cup heavy cream (Milk is okay, it’ll be a bit lighter—sometimes I do half sour cream if I’m out, and it’s actually tasty)
- Fresh parsley to finish, if you remember
Let’s Get Cooking – Directions (Casual, Not Fancy)
- Slice your chicken into bite-sized chunks, or if you’re feeling lazy (I get it), leave them as fillets and just cook a bit longer.
- Grab your biggest skillet—cast iron if you’ve got it, but I’ve literally done this in a wok, or even a battered old nonstick and it works.
- Heat up the olive oil and 1 tablespoon butter over medium-high. When it’s all sizzly, toss in the chicken, sprinkle on salt, pepper, and paprika. Get some color going (about 5-6 minutes), flipping once. Don’t panic if it sticks a little—it’ll come loose later.
- Slide the chicken out onto a plate for a hot second. Toss the rest of the butter in. Add the garlic and thyme, and let them get fragrant. This is where I usually sneak a taste and immediately regret it because garlic straight out of the pan is hot as blazes.
- Pour in the chicken broth. Scrape the bottom so all the good bits get into the sauce. Let it bubble for a minute or two (don’t wander off—ask me how I know).
- Add the cream, stir it up, and slide the chicken back in. Simmer everything for 4-5 minutes, until the sauce thickens and the chicken is cooked through. If it looks a bit pale, crank the heat and let it go another minute. Don’t worry if it’s a bit runny—it thickens as it stands.
- Taste, adjust seasoning (I sometimes toss in a squeeze of lemon—optional, but brightens it up). Scatter parsley if you’re feeling fancy.
Some Notes from My Many, Many Attempts
- If you use milk instead of cream, simmer it a bit longer to thicken. Actually, I find it works better if you whisk in a spoonful of flour first.
- Letting the chicken rest before slicing makes it juicier, but I forget half the time and it’s still fine.
- I tried this with margarine once (don’t ask)—it’s really not the same.
Variations That (Mostly) Worked
- Swapping in rotisserie chicken: works in a pinch, but you lose some flavor in the sauce. Still, for a super quick dinner, it’s fine.
- Adding spinach or peas: the kids side-eye me but it’s a sneaky way to get greens in.
- One time I tried subbing coconut milk for the cream. Honestly, not my favorite, but if you’re dairy-free, maybe give it a shot.
- Oh, and don’t try turkey breast. It dries out faster than you can say “should’ve used chicken.”
About the Equipment (and if You Don’t Have It…)
If you’ve got a big cast iron skillet, you’re golden. But I’ve used a regular frying pan and even a Dutch oven when the skillet was, uh, otherwise occupied. The sauce is pretty forgiving so you don’t need anything fancy. No lid? Just cover it with a big plate. (Careful, it gets hot. Ask me how I know!)
What To Do With Leftovers (If You Even Have Any)
This keeps in the fridge for maybe 2-3 days, but honestly, in my house it never lasts more than a day! Reheat gently on the stove with a splash of broth or milk; microwaving is okay, but the sauce might split a bit—give it a stir and nobody will notice.
Serving Ideas – How I Plate It Up
This goes gangbusters over fluffy rice, but sometimes I just scoop it with crusty bread (great for sauce mopping). Sometimes for a special Friday, I serve it with roasted potatoes and a salad—fancy, right? My cousin swears by noodles, but that’s his thing.
Pro Tips (or, What I Messed Up So You Don’t Have To)
- I once tried dumping the cream in before the broth. Not great—the sauce split. So, broth first, then cream.
- If you rush the browning step, it won’t taste as good. I know it’s tempting, but give it a minute. Or three.
- Taste as you go, but don’t burn your tongue (learned that one the hard way… several times, actually).
Questions Friends (and My Mom) Have Actually Asked
- Can I make this without cream? Sure thing. Use milk, or even unsweetened yogurt for a tangy kick. It’s a bit lighter, but still tasty.
- How spicy is this? Not at all as written. Add a pinch of cayenne if you want to crank up the heat. Or don’t—totally your call.
- Do I really need fresh parsley? Nope, dried works or skip it. I forget it half the time. No biggie.
- Can you freeze it? I probably wouldn’t. The sauce can get weird after freezing, kinda grainy. If you try it, let me know how it goes!
- What if my sauce is too thin? Just let it bubble a minute. If it’s still runny, whisk in a teaspoon of cornstarch mixed with water.
And if you want to see how the pros do it, I totally get inspired by Texas Roadhouse’s own menu and sometimes check tips over at Serious Eats when I’m stuck. (Though I’ll never match their photo skills.)
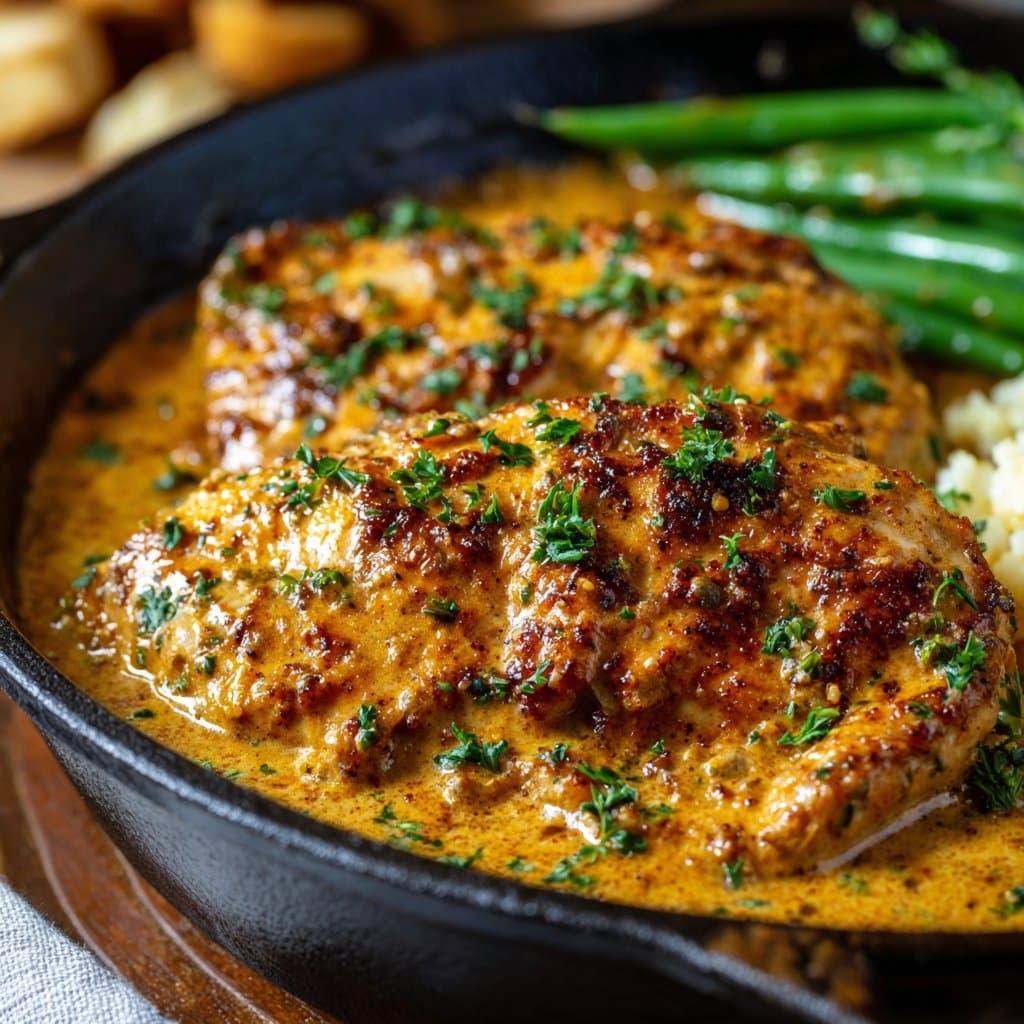
Anyway, that’s my take on Texas Roadhouse Butter Chicken in one skillet. Try it on a lazy Tuesday and let me know if you discover a secret ingredient!
Ingredients
- 1.5 lbs boneless, skinless chicken breasts, cut into bite-sized pieces
- 2 tablespoons unsalted butter
- 1 tablespoon olive oil
- 1 medium onion, finely chopped
- 3 cloves garlic, minced
- 1 teaspoon smoked paprika
- 1/2 teaspoon chili powder
- 1 cup heavy cream
- 1/2 cup chicken broth
- 1/4 cup fresh parsley, chopped
- Salt and black pepper to taste
Instructions
-
1Heat olive oil and 1 tablespoon butter in a large skillet over medium-high heat. Add the chicken pieces and season with salt and black pepper. Cook until browned on all sides, about 5-7 minutes. Remove chicken and set aside.
-
2In the same skillet, add the remaining butter and chopped onion. Sauté until the onion is soft and translucent, about 3 minutes. Add minced garlic and cook for 1 minute more.
-
3Stir in smoked paprika and chili powder, cooking for 30 seconds until fragrant.
-
4Pour in the chicken broth and heavy cream, stirring to combine. Bring to a gentle simmer.
-
5Return the cooked chicken to the skillet. Simmer for 10-12 minutes, or until the chicken is cooked through and the sauce has thickened.
-
6Garnish with chopped fresh parsley and serve hot with your favorite side.
Approximate Information for One Serving
Nutrition Disclaimers
Number of total servings shown is approximate. Actual number of servings will depend on your preferred portion sizes.
Nutritional values shown are general guidelines and reflect information for 1 serving using the ingredients listed, not including any optional ingredients. Actual macros may vary slightly depending on specific brands and types of ingredients used.
To determine the weight of one serving, prepare the recipe as instructed. Weigh the finished recipe, then divide the weight of the finished recipe (not including the weight of the container the food is in) by the desired number of servings. Result will be the weight of one serving.
Did you make this recipe?
Please consider Pinning it!!




