Okay, so here’s the thing. The first time I made Vampire Bite Trail Mix, it wasn’t even Halloween — it was April, and I’d caught a late-night rerun of some old vampire flick. I just wanted something fun and a bit silly, you know? The original batch was kind of a trainwreck (I dumped in way too many dried cherries; I basically invented fruit salad trail mix — not what I was aiming for), but my friends still ate every last bite. Since then, this mix has become sort of a running joke in our house — can you really call it trail mix if you eat it on the couch watching vampire movies instead of, y’know, hiking actual trails? Well, bite me! (Sorry. Couldn’t resist.)
Why You’ll Love Making This (Trust Me!)
I throw this together anytime I want a snack that’s part nostalgia, part “did I really just eat vampire fangs?” My family goes a bit bonkers for this because it hits that sweet-salty-crunchy spot and it’s quick (as in: last-minute snack attacks don’t stand a chance). Also, I’ve found it’s a terrific hit when I take it in a Tupperware to movie night—though I do sometimes find red candy pieces stashed between the couch cushions days later; eek. If you’re anything like me and have a love-hate relationship with anything sticky, don’t worry: the mix magically isn’t messy at all!
What You’ll Need – Or, What I Usually Toss In
- 1 heaping cup of mini pretzel twists (sticks work too, or even cheesy crackers if you’re feeling wild)
- 3/4 cup dried cherries (sometimes I swap in dried cranberries or, honestly, whatever dried fruit is on sale)
- 1/2 cup white chocolate chips (I like Ghirardelli, but the store brand doesn’t taste that different, at least to me)
- 1/3 cup roasted peanuts, unsalted (my gran swears by honey-roasted, but hey—it’s your mix)
- 1/3 cup red gummy candy “fangs” or red jelly beans (sometimes I can only find those silly cinnamon imperials; it still kinda works)
- 1/3 cup chocolate cereal (like Cocoa Puffs or Choco Rice—Rice Krispies in a pinch!)
- Pinch of sea salt, optional (I sometimes skip this by accident, but kinda prefer it that way now)
How I Actually Make This (and Where I Mess Up)
- Grab your biggest mixing bowl (or a clean pasta pot, no shame). Dump in the pretzels, dried fruit, and nuts. Give it a stir. This is when I usually sneak a pretzel; someone has to check for freshness, right?
- Add in the chocolate chips and cereal. The order’s not crucial, but if you’re using mini marshmallows or white chocolate, mixing gently is key; otherwise, things get smushed (ask me how I know).
- Toss in the red fang candy. You want these to sort of stand out — it’s the vampire bite, after all. If you mix too much here, everything turns pinkish, which is a bit weird but hey, nobody’s judging.
- If you’re a sea salt fanatic, sprinkle your pinch over everything. But really, it’s good either way.
- Give it all a gentle (and enthusiastic) toss. Stand back and admire your chaotic masterpiece.
Stuff I Wish I’d Known Sooner
- Putting it in a big Ziploc bag and shaking is way more fun than mixing with a spoon. It’s therapeutic, honestly.
- Don’t use dried pineapple chunks. I thought they’d be fun, but… nope. Too chewy, turned the whole thing into a sticky mess.
- If your house is hot, white chocolate gets a bit melty in summer. Actually, I find it works better if I use candy melts or yogurt chips then.
- The more colorful the fang candies, the less they look like “actual” bites, but personally, I just go for whatever’s left in the bargain bin at Sainsbury’s.
My Oddball Experiments (& One Flop)
- Tried tossing in some popcorn! Honestly, not too shabby, but only if you eat it right away or it goes stale.
- One time, I swapped the nuts for sunflower seeds. It’s okay, not my favorite—you lose the crunch, somehow.
- Don’t use gummy worms. Even my five-year-old nephew complained it was “too spooky.”
No Fancy Equipment? No Stress!
A large bowl’s great, but in a bind, I just mix this up straight in a big resealable bag (you can sort of squish it til it’s all evenly mixed). If you only own a tiny salad bowl, just do it in batches—my patience usually wears out after two.
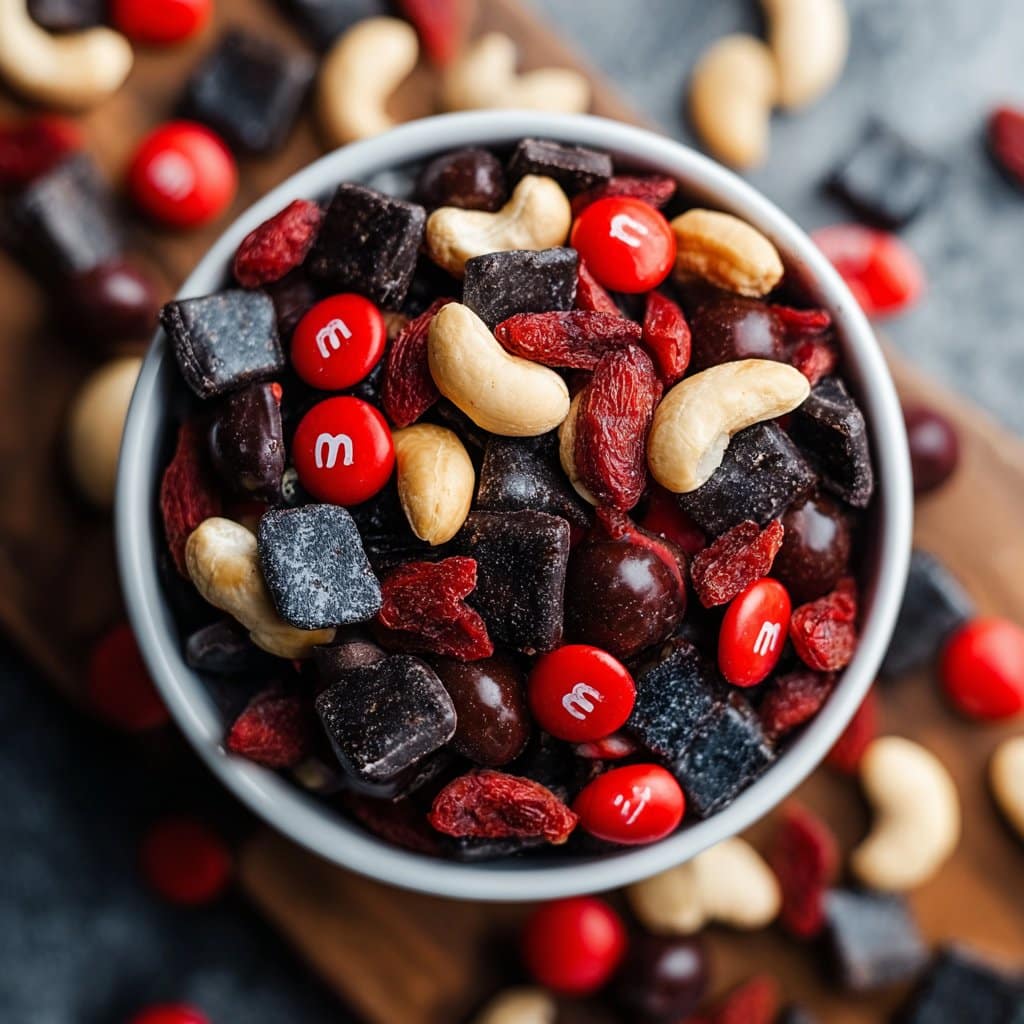
Storing Your ‘Bites’ (Or, Why Mine Vanishes Fast)
Pop any leftovers (ha, as if) into an airtight container. It’ll keep for, oh, probably 3-4 days, but I’ve honestly never had any survive longer than a day around here—my partner claims it “just walks off.” If you add popcorn, eat it same day: trust me.
How to Serve (Besides Direct from the Bag)
We’ve started putting this out in glass jars at Halloween parties; looks fancy, plus you can see all the red highlights. At Christmas, we just call it “Holiday Monster Mix”—nobody questions it. Sometimes I portion it into mini paper cups (kids love this!) or toss the whole lot in a big snack bowl for movie night. One time we paired it with a themed trivia game—best idea ever. Well, maybe not ever…
Pro Tips (aka Lessons Learned the Hard Way)
- I once tried making a double batch in a mixing bowl that was way too small… there were fangs all over the floor. Use a really big bowl; the mess just isn’t worth it.
- Don’t skip the step where you let the chocolate chips cool if your house is warm. Otherwise, everything clumps together (though that’s kind of fun too, if you like snack clusters).
- Actually, taste as you go. Sometimes I forget and end up with a sea of dried cherries and, like, five nuts in the whole mix.
FAQ: Real Questions Folks Have Actually Asked Me
- “Do I have to use vampire fang candies?”
- No, honestly, I just do it for the theme. You can use anything red—pomegranate seeds, red M&Ms, go wild! (And hey, I once used chopped strawberry licorice, but the texture was… odd.)
- “Is this allergy-friendly?”
- Sort of? If you ditch the nuts and watch your candy choices, probably—but always double check; I’m not exactly a guru on allergen stuff.
- “Can I make it ahead?”
- Sure, but I think it tastes better the next day—the flavors meld a bit, and the gummies get just soft enough. Or maybe that’s just what I tell myself when I forget to prep the night before a party.
- “What if I can’t find white chocolate chips?”
- Use milk chocolate, or chunks broken from a regular bar. Honestly, dark chocolate’s awesome here—maybe even better!
- “Will this hold up on a hike?”
- Probably not in Australian summer…but if you skip the chocolate chips or swap them for something less melt-prone, you’re golden.
For Halloween candy shopping, I sometimes get my fang candies from CandyWarehouse or, if I’m running late, there’s always Amazon (prime shipping is a lifesaver when you forget the big party is tomorrow!). If you want to geek out on trail mix science, check out this Serious Eats article—makes me feel less ridiculous every time I experiment with weird combos, honestly.
Anyway—I hope you have as much fun making this Vampire Bite Trail Mix as I do! If it gets a few laughs (or groans) at your next gathering, my work here is done.
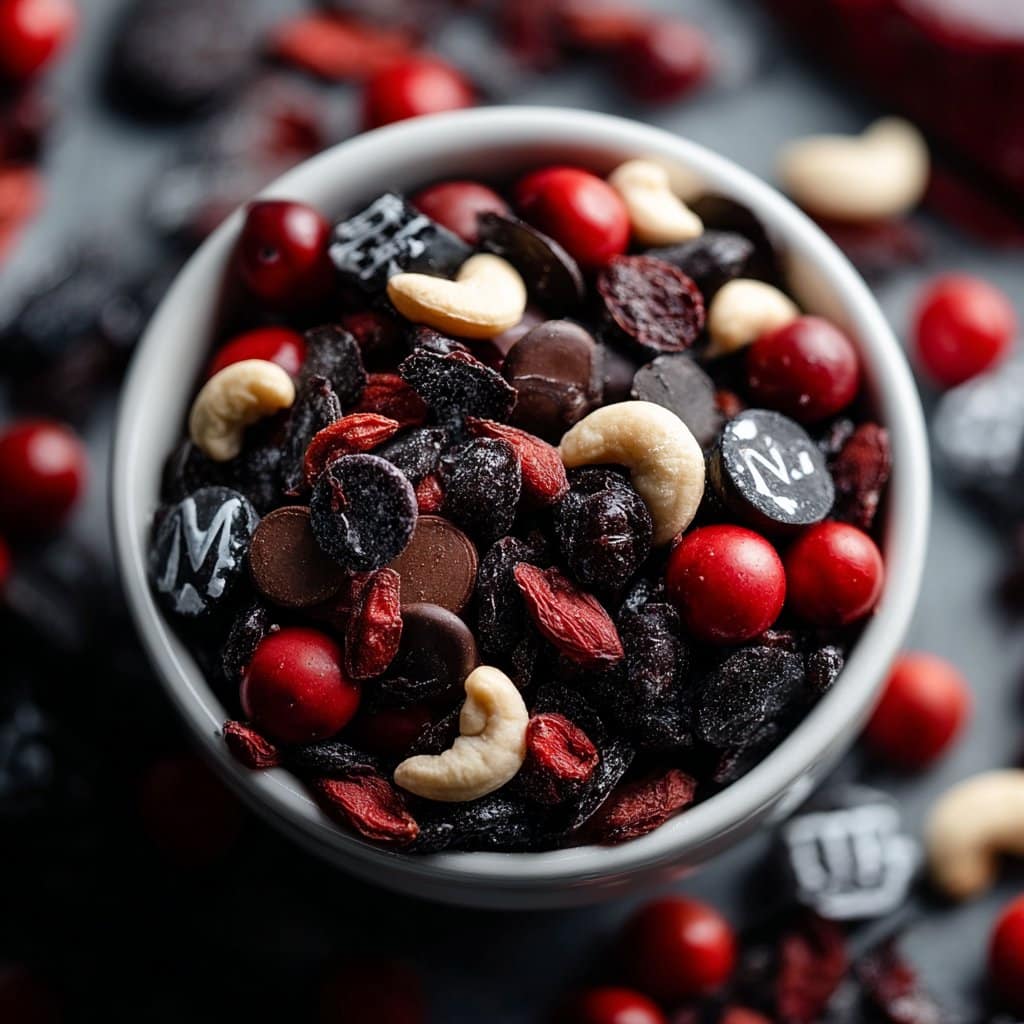
Ingredients
- 1 cup dried cranberries
- 3/4 cup yogurt-covered pretzels
- 3/4 cup dark chocolate chips
- 1 cup roasted almonds
- 1/2 cup strawberry licorice bites
- 1/2 cup red candy-coated chocolates (like M&Ms)
- 1/2 cup dried cherries
- 1/2 cup pumpkin seeds (pepitas)
Instructions
-
1In a large mixing bowl, combine dried cranberries, yogurt-covered pretzels, and dark chocolate chips.
-
2Add roasted almonds, strawberry licorice bites, red candy-coated chocolates, and dried cherries to the bowl.
-
3Sprinkle in pumpkin seeds for an extra crunch and lightly toss all ingredients together until evenly mixed.
-
4Divide the trail mix into small serving bowls or store in an airtight container for up to one week.
-
5For an extra spooky touch, add a few gummy vampire teeth on top before serving.
Approximate Information for One Serving
Nutrition Disclaimers
Number of total servings shown is approximate. Actual number of servings will depend on your preferred portion sizes.
Nutritional values shown are general guidelines and reflect information for 1 serving using the ingredients listed, not including any optional ingredients. Actual macros may vary slightly depending on specific brands and types of ingredients used.
To determine the weight of one serving, prepare the recipe as instructed. Weigh the finished recipe, then divide the weight of the finished recipe (not including the weight of the container the food is in) by the desired number of servings. Result will be the weight of one serving.
Did you make this recipe?
Please consider Pinning it!!




