These Cheesecake Squares Got Me Through a Rainy Week
Alright, so you know those recipes you keep coming back to, even when you swear you’re going to try something new? For me, it’s these vanilla cheesecake squares with a graham cracker base. I first made them during a particularly soggy week in March—everything else was going sideways, but these little guys came out just right. If you’re after something that feels fancy-ish but is secretly dead simple, pull up a chair and let me walk you through it. (Fair warning: there was a time I dropped half the batter on the floor. Don’t worry, the dog loved it.)
Why You’ll Love This (At Least, I Do!)
I make this when I want to look like I spent hours in the kitchen—but didn’t. My family goes bananas for these because they’re just creamy enough, with a buttery base that doesn’t crumble apart on you (okay, sometimes it does; more on that later). They’re also great for potlucks since you can just cut them up and pretend you bought them from a fancy bakery. Oh, and if you’ve ever been annoyed by water baths or weird springform pans… good news: none of that circus here.
What You’ll Need (and What You Can Sub In)
- Graham crackers: About 1 1/2 cups crushed. I sometimes use digestive biscuits if I’m feeling extra British (or just out of graham crackers, honestly). My grandmother always insisted on Honey Maid, but any brand works fine.
- Melted butter: 1/3 cup (give or take a spoonful if you like it richer).
- Cream cheese: 2 blocks (8 oz each). Full-fat is classic, but I’ve used the light stuff in a pinch. It’s fine, just not as silky.
- Sugar: 3/4 cup. Sometimes I use slightly less if I’m feeling virtuous.
- Eggs: 2 large. Room temp is best, but I’ve used them cold when I forgot (no disasters yet).
- Vanilla extract: 2 teaspoons—I’ve tried vanilla bean paste, too. It’s swanky but not essential.
- Sour cream: 1/4 cup for a little tang. Or Greek yogurt if that’s what’s hiding in the fridge.
- A pinch of salt.
How to Make Them (With a Few Distracted Moments)
- Prep your pan. Line an 8×8 inch baking dish with parchment paper. If you skip this, just butter the heck out of it. (I forgot the paper once—not impossible to get the squares out, but it’s a bit of a wrestling match.)
- Make the base. Crush graham crackers to smithereens—food processor or a zip bag and a rolling pin both work. Mix with melted butter. Dump it into the pan and press it down firmly. I sometimes use a measuring cup to smoosh it flat, but hands work fine. Toss it in the oven at 350°F (180°C) for about 10 minutes. It should smell a bit toasty.
- Mix the filling. In a big bowl, beat cream cheese until smooth (give it a minute; this is where I usually sneak a taste). Add sugar, mix again. Add eggs, one at a time, then vanilla and sour cream. Don’t overmix—unless you like slightly puffier cheesecake, which, honestly, is also good.
- Assemble & bake. Pour the filling over the cooled crust (well, lukewarm is fine). Smooth the top with a spoon or spatula. It always looks a bit lumpy at this stage—don’t fret. Bake for 30–35 minutes. You’re looking for set edges and a very slight jiggle in the middle (like a well-made jelly, not a trampoline).
- Cool. Let it cool in the pan, then chill in the fridge for at least 3 hours. I once tried to cut them early and, well… cheesecake mudslide. Still tasty though.
- Slice & enjoy. Lift out using the parchment, cut into squares, and serve. Or eat one straight from the pan—I won’t judge.
Notes from the Trenches
- Actually, I find it works better if you let the cream cheese warm up a bit before mixing. Cold cream cheese = lumps galore.
- The crust can get a bit soggy if you don’t bake it first. I learned that the disappointing way.
- Don’t panic if there are a couple cracks—just call it rustic. Or, cover with fruit.
Variations I’ve Tried (Some Winners, Some Flops)
- Once swapped vanilla for lemon zest and a splash of juice—super refreshing in summer.
- Used chocolate cookie crumbs for the base. Really rich; only worth it if you’re a true chocoholic (my brother said it was “a bit much”).
- Tried swirling in jam before baking. Looked gorgeous, but the top cracked more. Still, tasted amazing.
- I once added chopped strawberries to the batter—turned the filling a bit watery. Wouldn’t do that again, but hey, it looked pretty.
You Don’t Need Fancy Gear (But It Helps)
- An 8×8 pan is perfect, but I’ve used a 9-inch round cake tin in a pinch. The squares just become wedges—no biggie.
- If you don’t have a mixer, a sturdy whisk and some elbow grease works. But your arm might not thank you.
- Food processor for the crust? Handy, but smashing crackers with a mug after a long day is oddly satisfying.
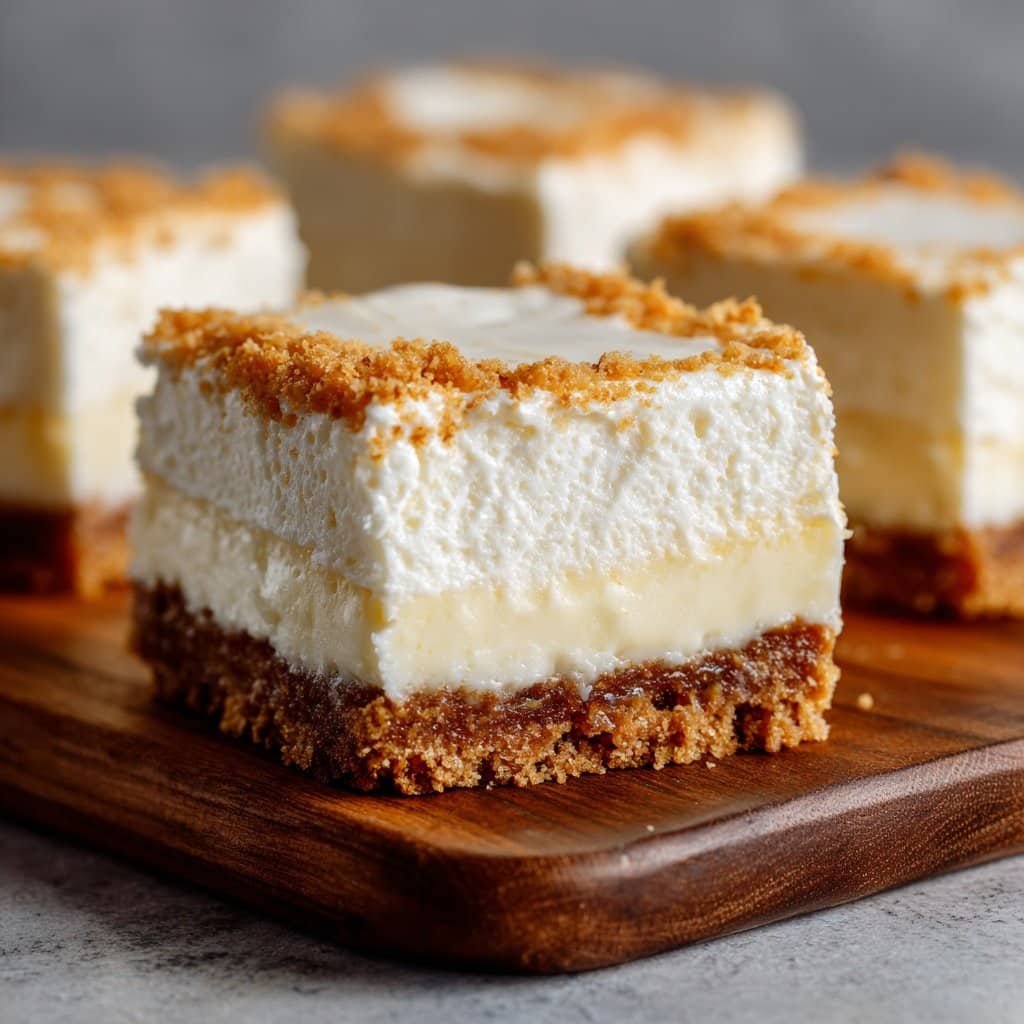
How To Store (If It Lasts That Long)
Keep any leftovers in the fridge, covered, for up to 4 days. Though honestly, in my house they never last more than a day! If you need to stack them, pop some parchment between the layers so they don’t stick together and make a cheesecake sandwich (not the worst thing, but a bit messy).
Serving These Squares (Our Way)
I like to serve these plain, but my cousin insists on a dollop of whipped cream. My neighbour adds fresh berries and a drizzle of honey—it’s a whole production when she does it. We’ve even dunked them in coffee when nobody’s looking, which, I admit, is brilliant.
Pro Tips (Things I Learned the Hard Way)
- I once tried rushing the cooling step and regretted it because the whole thing collapsed into a sort of sweet cheesecake soup. Let it chill, trust me.
- Don’t skip lining the pan. Actually, I find the squares come out cleaner with parchment, even if you think you can just butter the pan enough.
- If you overbake, the filling gets dry around the edges. Just check at 30 minutes and poke it with a toothpick if you’re unsure.
FAQ For Curious (Or Slightly Nervous) Bakers
- Can I freeze these? Oh, totally. Wrap them up tight. I just let them thaw in the fridge overnight; texture is pretty close to fresh.
- Do I need to use full-fat cream cheese? Preferably, but I’ve used light and it’s fine. Don’t use fat-free though—it’s like eating cheese-flavored rubber.
- Why did my cheesecake crack? Happens to the best of us; usually from overbaking or cooling too quick. Cover with fruit or just eat it anyway.
- Can I double this recipe? Yup, just use a 9×13 pan and add maybe 5-10 extra minutes to the bake time. Or make two pans and give one to a neighbour (or not).
- Where did you learn this? Actually, I tweaked it from Sally’s Baking Addiction and a bit from Serious Eats. Great for troubleshooting, especially if you’re a nervous baker!
- Can I use store-bought crust? Sure, if you’re in a hurry. But homemade does taste just a bit more special, in my opinion.
- What if I don’t have sour cream? Greek yogurt works, or just leave it out. It’s not the end of the world.
And here’s a random thing: once when I made these, I tried listening to a whole audiobook while baking, but I kept losing my place whenever the mixer was on. So maybe stick to podcasts, or just enjoy the actual quiet time in the kitchen!
Give these a try and let me know if you end up with any happy accidents (or new traditions). I’d love to hear how it goes, especially if you find a new twist that works better than mine!
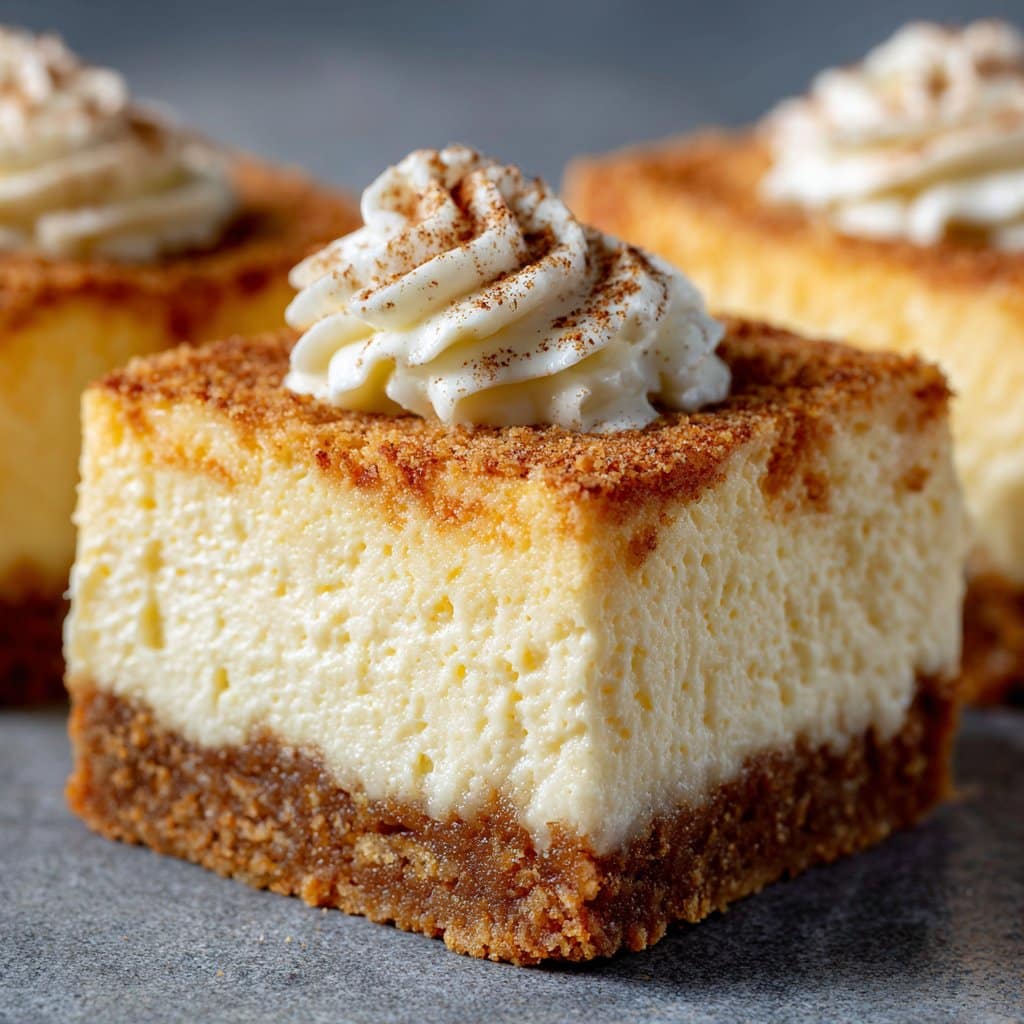
Ingredients
- 1 1/2 cups graham cracker crumbs
- 1/4 cup granulated sugar
- 1/2 cup unsalted butter, melted
- 16 oz cream cheese, softened
- 2/3 cup granulated sugar
- 2 large eggs
- 1/2 cup sour cream
- 2 teaspoons vanilla extract
- 1 tablespoon all-purpose flour
- 1/4 teaspoon salt
Instructions
-
1Preheat the oven to 325°F (163°C). Line an 8×8-inch baking pan with parchment paper, leaving an overhang for easy removal.
-
2In a medium bowl, combine graham cracker crumbs, 1/4 cup sugar, and melted butter. Mix until evenly moistened, then press firmly into the bottom of the prepared pan to form the base.
-
3Bake the crust for 8 minutes, then remove from the oven and let cool slightly.
-
4In a large bowl, beat the cream cheese and 2/3 cup sugar until smooth and creamy. Add eggs one at a time, mixing well after each. Blend in sour cream, vanilla extract, flour, and salt until just combined.
-
5Pour the cheesecake batter over the cooled crust and smooth the top. Bake for 25-27 minutes, or until the center is just set and slightly jiggly.
-
6Cool completely at room temperature, then refrigerate for at least 3 hours before slicing into squares and serving.
Approximate Information for One Serving
Nutrition Disclaimers
Number of total servings shown is approximate. Actual number of servings will depend on your preferred portion sizes.
Nutritional values shown are general guidelines and reflect information for 1 serving using the ingredients listed, not including any optional ingredients. Actual macros may vary slightly depending on specific brands and types of ingredients used.
To determine the weight of one serving, prepare the recipe as instructed. Weigh the finished recipe, then divide the weight of the finished recipe (not including the weight of the container the food is in) by the desired number of servings. Result will be the weight of one serving.
Did you make this recipe?
Please consider Pinning it!!




