Let Me Tell You About These Mini Pumpkin Cheesecakes…
You know that recipe you end up making every fall because someone (okay, usually my sister) begs you for it, even when you were, like, considering just buying something from the bakery? That’s this one. These mini pumpkin cheesecakes first made their appearance at one of my slightly-chaotic family Thanksgivings. The oven was already loaded up, everyone was tripping over each other, but I managed to squeeze in a tray of these little beauties. Miraculously, they set up perfectly—the dog only ate one. That’s actually how I learned they’re just the right size to vanish in two bites, but only if you’re not sidetracked by, oh, a phone call from your mum or a rogue cat.
Also, quick confession: I didn’t even like pumpkin much until I started making these. Now? Can’t wait for pumpkin season.
Why You’ll Love This Recipe
I make these whenever I want something special that isn’t fussy. My friends are obsessed with them because they’re creamy, spiced and somehow taste even better after a day in the fridge (if you can wait). Honestly, they’re foolproof—well, except for last year when I tried to rush the cooling and everything went a little sideways. Lesson learned, eh. If you love portion-controlled desserts (and I do, until I eat five), these are for you. And don’t get me started on the gingersnap crust; it’s the only way to go, although if you try shortbread I won’t judge (well, maybe a little).
Shall We Talk Ingredients?
- 1 cup finely crushed gingersnap cookies (I’ve totally used graham crackers in a pinch; my grandmother swore by ‘Anna’s Ginger Thins’, but I just grab what’s handy)
- 2 tablespoons melted butter (or margarine, but honestly, real butter is worth it)
- 8oz (225g) cream cheese, room temperature (don’t try the low-fat unless you like weirdly bland cakes)
- 1/3 cup canned pumpkin puree (tried homemade once, it was… wet. Go canned)
- 1/3 cup white sugar (I’ve used coconut sugar if I’m feeling “healthy”—notice the quotes)
- 1 large egg
- 1/2 teaspoon vanilla extract—real is good, but any old brand will honestly do
- 1/2 teaspoon ground cinnamon, a solid pinch of nutmeg (about 1/8 tsp), and if you’re stubborn like me, a shake of ground allspice
- Pinch of salt (I forget this sometimes. It’s still edible, just duller)
- Optional: Whipped cream for topping (from a can, or real if you like washing whisks)
How I Actually Make These (And How You Can Too)
- Preheat your oven to 325°F (that’s 160°C for those across the pond). Line a mini muffin pan with paper liners. Or, if you’re out—you can just grease each muffin slot with, well, whatever’s not stuck to your butter dish.
- Mix together the cookie crumbs and melted butter in a bowl. It should look like damp sand, kind of like the gritty beach after rain. Scoop a generous teaspoon into each mini muffin well and press down. (I use my thumb, but the rounded end of a wooden spoon works, too!)
- In another bowl, beat the cream cheese until super smooth—if you rushed the softening bit, don’t panic, just keep mixing. Add the pumpkin, sugar, egg, vanilla, spices and salt. Mix gently until it looks creamy and orange—this is where I sneak a taste. Try not to eat all the batter. Or do. Who’s judging?
- Spoon the mixture evenly over your crusts (I use a heaping tablespoon; just eyeball it). Don’t worry if you spill a bit. My counters always end up looking like a Jackson Pollock painting.
- Bake for 16–18 minutes, but keep an eye. Middle should look just set—not dry. If your oven runs hot (like mine after all these years), check at 15 minutes. They might puff up a tad, then settle down; this is normal.
- Remove from oven and cool in the pan for about 10 minutes. Then, transfer to the fridge and chill for at least an hour. But, honestly, overnight is even better—the flavors become good mates, as my aunt from Newcastle would say.
- Dollop whipped cream on top just before serving. Side note: I once dropped a cheesecake upside down and just called it mousse. Worked for me.
Notes: Real Life Discoveries
- If you overbeat the eggs, the cheesecakes get weirdly puffy then collapse. Just mix until combined—tiny lumps are honestly fine.
- Try not to rush the chilling step. Actually, I find it works better if you just forget about them for a few hours. (Out of sight, out of mind, but not out of the fridge!)
- If you use homemade pumpkin, strain it first; ‘wet’ batter never set up for me. Once it even leaked out the muffin pan—never again.
Variations: My Hits and Misses
- Chocoholic Version: Swap in chocolate wafer cookies for the crust. This is dangerously good, and also a bit like cheating on the pumpkin flavor, but I love it.
- Pepita Crunch: Throw a few roasted pumpkin seeds on top before baking. Looks fancy. (Once I added pecans instead; they burned. Don’t recommend.)
- Dairy-free: I’ve tried vegan cream cheese and coconut oil crust—pretty tasty! But a little softer, so chill them extra long.
Equipment (And Making Do)
- Mini muffin tin (if you only have regular size, just up your bake time to around 22 minutes)
- Hand mixer (if yours is broken, a balloon whisk and elbow grease work—but you’ll get a bit of a workout)
- Spoons, mixing bowls, spatula; you know, the usual suspects
- Paper liners—though once I just greased well and they popped out with, I kid you not, a butter knife.
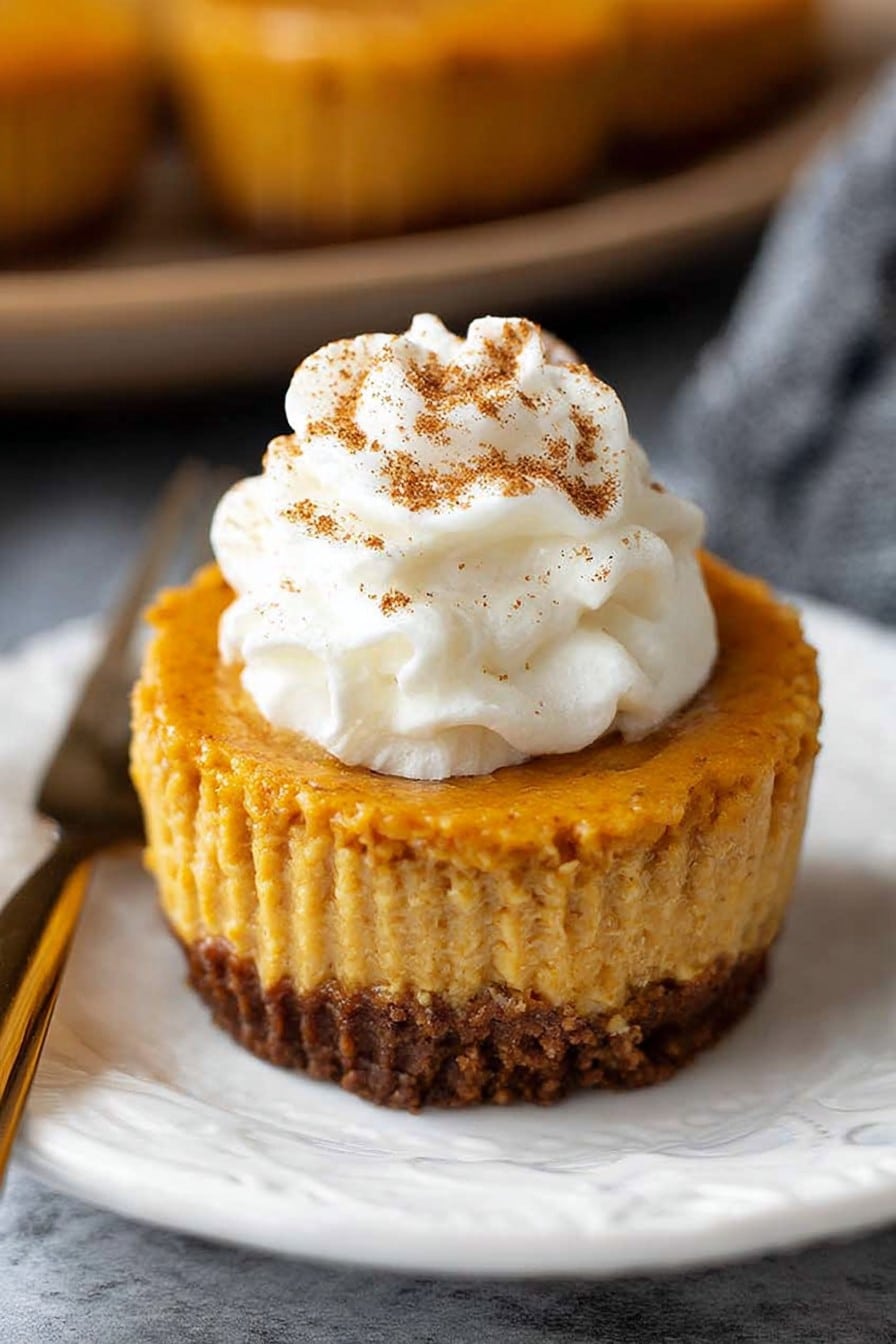
How Long Do They Keep? (Spoiler: Not Long)
Store these mini cheesecakes in the fridge, covered, for up to 4 days. Though honestly, in my house, they never last more than a day! They freeze pretty well too (let them defrost in the fridge overnight)—if you can resist eating them right away, which is not my specialty.
How Do You Serve Them?
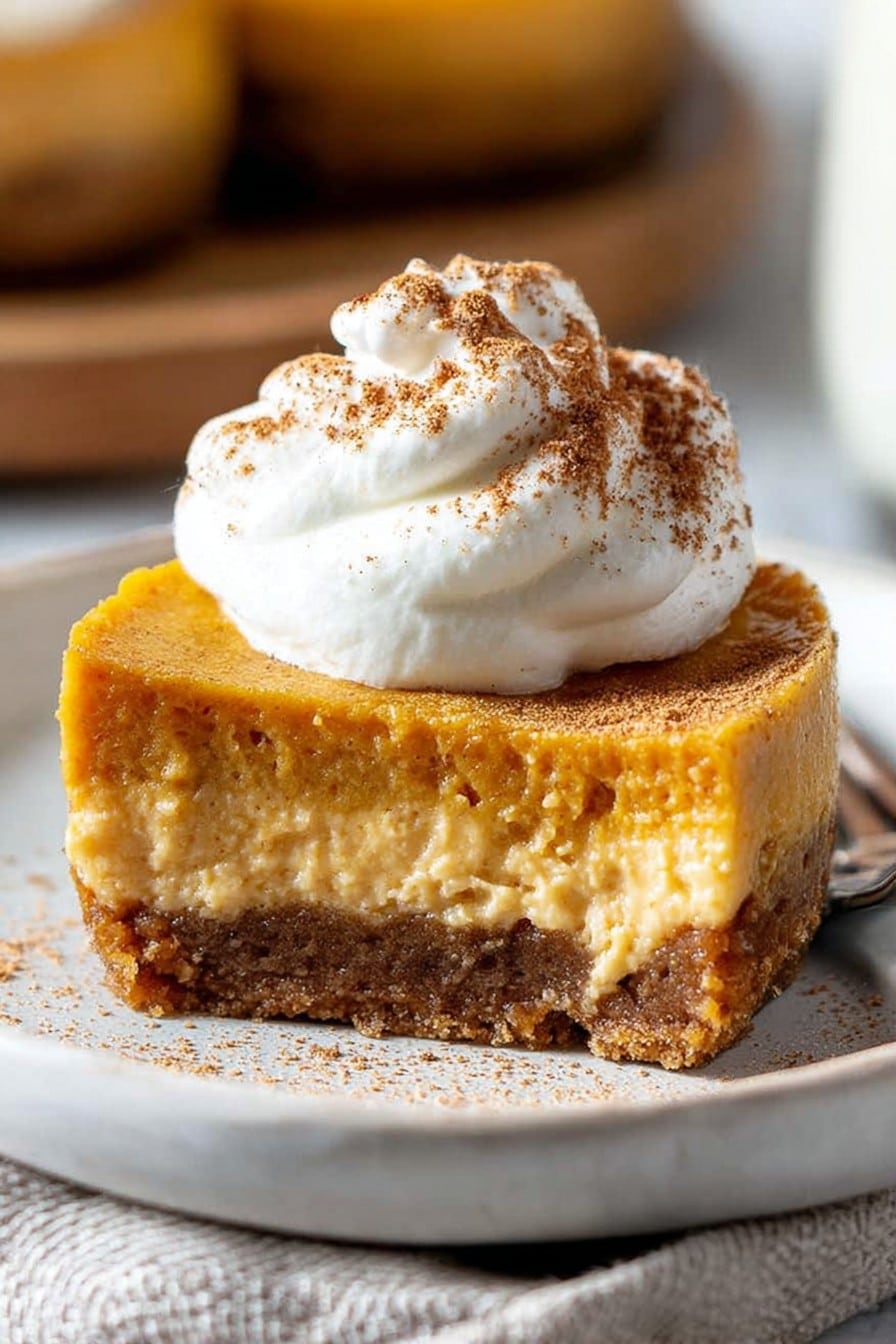
Top with a swirl of whipped cream, obviously. Sometimes I sprinkle a little cinnamon on top, just for show. My cousin dunks hers in coffee—no complaints yet. If you want to get proper fancy, serve on a slate tray with some chocolate shavings. Or just hand them out while people are standing around the kitchen. Works a treat every time.
Maybe Try These? (Serving Suggestions and a Tangent)
I once served these with a side of homemade pumpkin spice lattes, which went kind of viral in my small town (well, my neighbour asked for the recipe, so that counts, right?). And if you’ve got leftover pumpkin, make pumpkin bread too, because who doesn’t like breakfast cake?
Pro Tips (aka Oops, I Did That Wrong Once)
- Once, I pulled these out of the oven too soon—total goo. Just let them set until barely wobbly and they’ll finish in the fridge. Patience is not always my virtue, but here, it matters.
- If the cream cheese is still cold, you’ll get annoying lumps. Microwave it gently or let it sit longer—trust me, I once tried to beat it out and splattered half the kitchen.
- Skip the paper liners at your own risk—cleaning mini muffin tins is, um, character-building.
Mini Pumpkin Cheesecakes: FAQ (Actual Questions!)
- Can I make these ahead? Yes, and actually, I think they taste better the next day. Just don’t top with cream till serving.
- Can you freeze mini pumpkin cheesecakes? For sure! Just wrap tight. Thaw in fridge; they’re a bit softer but still yum.
- What if my cheesecakes sink or crack? Happens to the best of us. Usually means the oven was too hot or you overmixed the batter. Still tastes good, promise.
- Is the crust supposed to be crunchy? Eh, kind of? It’s more like “chewy with crunch” if that makes sense. If you like it super crunchy, bake the crusts alone for 5 minutes before filling.
- Why are mine sticking to the liners? Some brands just do that. Next time, grease the liners slightly or try a different brand (I don’t have brand loyalty, honestly).
- Does it have to be mini? Not at all! Use a standard muffin tin or even a small cake pan—just bake a little longer.
If you have more questions, just drop a comment and I’ll circle back after washing, like, an avalanche of dishes. Happy baking!
Ingredients
- 1 cup graham cracker crumbs
- 2 tablespoons granulated sugar
- 4 tablespoons unsalted butter, melted
- 8 oz cream cheese, softened
- 1/2 cup pumpkin puree
- 1/3 cup brown sugar
- 1 large egg
- 1 teaspoon pumpkin pie spice
- 1/2 teaspoon vanilla extract
- 1/8 teaspoon salt
Instructions
-
1Preheat oven to 325°F (163°C). Line a 12-cup muffin pan with cupcake liners.
-
2In a bowl, mix graham cracker crumbs, granulated sugar, and melted butter until combined. Press about one tablespoon of mixture into each liner to form a crust.
-
3In a large mixing bowl, beat cream cheese until smooth. Add brown sugar, pumpkin puree, pumpkin pie spice, vanilla extract, and salt. Mix until completely blended. Add the egg and mix just until combined.
-
4Divide the cream cheese mixture evenly over the crusts. Smooth the tops with a spoon.
-
5Bake for 18-20 minutes or until centers are set. Cool completely, then refrigerate for at least 2 hours before serving.
Approximate Information for One Serving
Nutrition Disclaimers
Number of total servings shown is approximate. Actual number of servings will depend on your preferred portion sizes.
Nutritional values shown are general guidelines and reflect information for 1 serving using the ingredients listed, not including any optional ingredients. Actual macros may vary slightly depending on specific brands and types of ingredients used.
To determine the weight of one serving, prepare the recipe as instructed. Weigh the finished recipe, then divide the weight of the finished recipe (not including the weight of the container the food is in) by the desired number of servings. Result will be the weight of one serving.
Did you make this recipe?
Please consider Pinning it!!




