If You Love Fast Food Shortcuts, You Gotta Try This
You know that feeling when you’re driving home after a long day, your stomach’s growling, and you suddenly remember Arby’s Beef and Cheddar Sliders? Man, that hits the spot. I used to swing by the drive-thru every time I passed one, but honestly, my wallet (and my waistband…) weren’t thrilled. So I started tinkering at home, and after a few pretty epic fails (don’t ask about the time I tried Swiss), I landed on what my family calls “the real deal.” The first time I made these, I was half-watching a football game, half wrangling the dog away from my cheese stash—so if you’re a little distracted while making these? Don’t sweat it. Little imperfections make ’em better, I swear.
Why I Keep Making These—And Why You’ll Probably Want To, Too
I make these when my kids are begging for junk food but I want to at least pretend we’re eating homemade. Or, when friends drop by unannounced, and the snack cupboard looks a bit sad. My family goes bananas for these sliders because they’re gooey, beefy, and honestly way cheaper than ordering a sack of sliders. (I’ve even made a double batch for game night—though, fair warning, they vanished faster than I could say “save me one!”) Oh, and if you’ve ever struggled with getting that perfect cheese sauce? Been there, spilled that. But we’ll get through it together.
What You’ll Need (Plus Some Lazy-Day Swaps)
- 1 package Hawaiian slider rolls (12-count) – I sometimes just use whatever dinner rolls are laying around. No biggie.
- 1/2 pound sliced roast beef – Deli roast beef is easiest but leftover roast from Sunday works, too.
- 6-8 slices cheddar cheese – Seriously, any cheese you like. My grandmother swore by Velveeta. Actually, I think it melts better.
- 1/4 cup French-fried onions – Or regular caramelized onions if you’re feeling fancy (or out of the canned stuff)
- 2 tablespoons prepared horseradish sauce – Sometimes I just mix mayo and a little grated horseradish, if that’s all I’ve got.
- 2 tablespoons Arby’s sauce (you can grab the recipe here) – Or ketchup in a pinch, but… it’s not quite the same.
- 2 tablespoons butter, melted – I’ve used margarine; it’s fine, but butter’s tastier.
- Pinch salt and black pepper
How I Throw These Together (and Sometimes Make a Mess)
- Preheat your oven to 350°F (or just a “medium-low” if your oven dial is as wonky as mine).
- Slice your slider rolls horizontally—leave the bottoms and tops connected as one slab, if you can. It makes assembly way less fiddly.
- Layer about half the cheddar cheese on the bottom slab. (This is where I usually sneak a taste. Don’t judge.)
- Evenly spread the roast beef over the cheese. If it’s cold from the fridge, I sometimes nuke it for 10 seconds just to take the chill off. No one likes icy beef.
- Drizzle with horseradish sauce, then Arby’s sauce. If you’re heavy-handed, it’ll be messy but worth it.
- Sprinkle on the French-fried onions. Don’t worry if a few fall off. That’s just chef’s tax.
- Top with the rest of the cheddar slices, then set the roll tops on.
- Brush the tops with melted butter. I sometimes forget this part; honestly, it still tastes good, but butter makes the crust golden and happy.
- Bake on a lined tray for 12–15 minutes. If it looks a bit weird or the cheese oozes out, that’s totally normal. Actually, I think it’s better that way.
- Let them cool for a minute (if you can wait), then slice and serve. If someone grabs one before they’re cool, well, they’ve been warned.
Notes I’ve Learned the Hard Way
- Using too much sauce = soggy bottoms. Maybe go light and add extra at the table.
- Don’t try to use thick-cut roast beef; it gets weirdly chewy. Thin slices melt into the cheese better.
- If you microwave these after baking, the onions can get a little sad and soft, but… they’re still tasty. Trust me.
Slider Experiments That Didn’t (and Did) Work
- I once tried swapping in turkey and Swiss for a “Thanksgiving” vibe. The verdict? Not my finest moment.
- BBQ sauce instead of Arby’s sauce is actually great—especially if you like a little extra tang.
- Different cheeses: Pepper jack is solid if you want some kick.
Do You Need Any Fancy Tools?
Baking tray? Essential (unless you love cleaning your oven). Pastry brush for the butter is handy, but I’ve used a folded paper towel in a pinch. And if you don’t have a bread knife, just use your biggest, sharpest knife—carefully! One time I used a serrated steak knife and, well, the rolls survived, but my pride didn’t.
How to Store Them (If There’s Any Left)
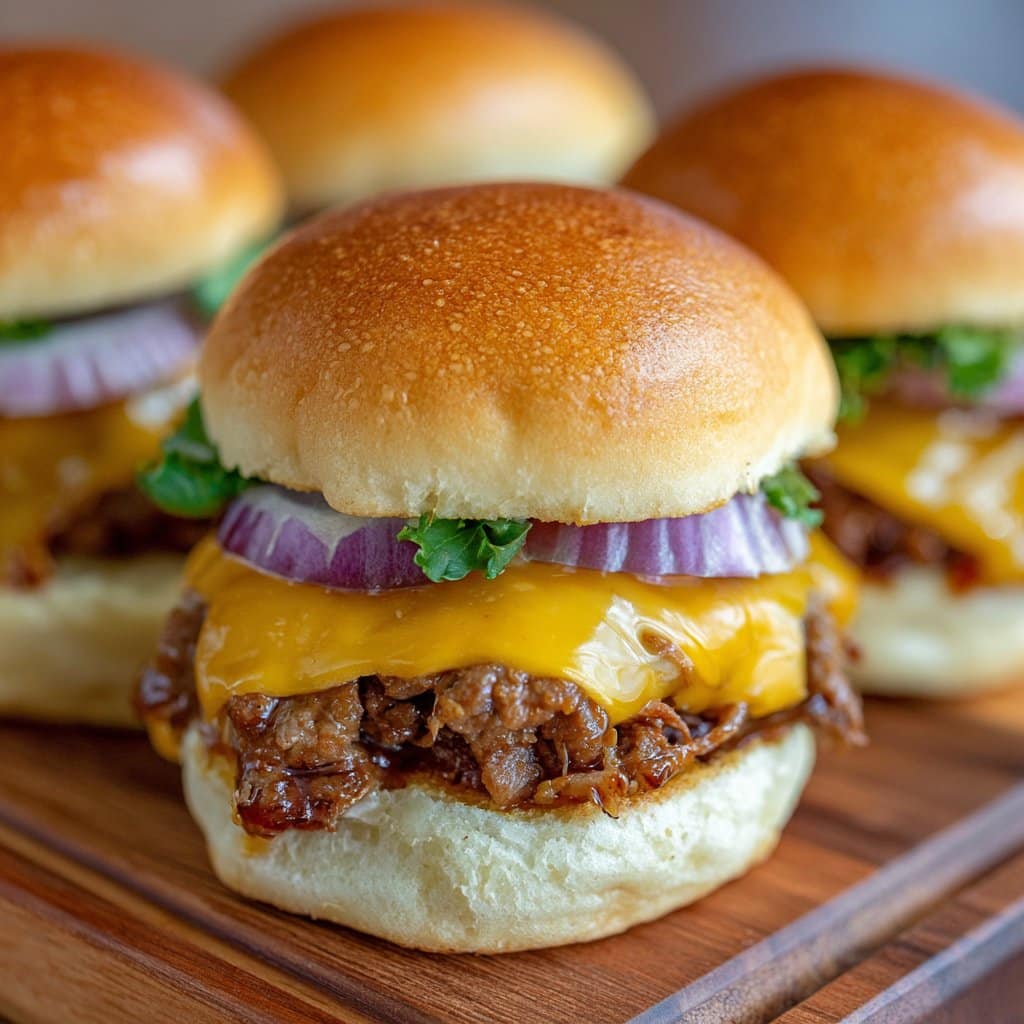
Pop leftovers in an airtight container in the fridge. They’ll keep for 2 days, but honestly, in my house, they never last more than a day! If reheating, try the oven for 5 minutes at 350°F—microwaving works, but the bread goes a bit chewy. These aren’t really freezer material, though. They get sad.
How I Like to Serve Sliders (and a Weird Family Tradition)
I love plopping these next to a pile of curly fries—homemade if I’m feeling ambitious, or just grab a bag from the freezer (no shame). My cousin dips hers in extra horseradish sauce, which is intense, but hey, to each their own. And if you’re feeling real fancy, try a quick pickle salad—here’s a recipe I like: Sweet and Tangy Cucumber Salad.
Real-World Tips I’ve Learned (Sometimes the Hard Way)
- I tried rushing the cheese sauce once and it split—just take your time with the melting, and you’ll be golden.
- Don’t assemble these too far ahead, or the buns get soggy. Ten minutes before baking is my sweet spot.
- I’ve burnt my fingers trying to cut them too soon. Just… wait a minute, trust me.
Actual Questions I’ve Gotten (Or Asked Myself)
- Can I use leftover pot roast? Definitely! Just shred it up. It’s a bit heavier, but in a good way.
- What if I don’t have Arby’s sauce? You can totally fake it with ketchup, a splash of Worcestershire, and a pinch of brown sugar. Or check out this copycat recipe.
- Can I prep these ahead? Actually, I find it works better if you assemble everything but wait to add the onions and sauce until just before baking; otherwise, the onions get a bit limp.
- Is this just as good the next day? I think it tastes better the next day, honestly—if you can keep leftovers a secret!
- Do I have to use Hawaiian rolls? Nah, but the sweetness is nice. Any soft, squishy roll will do the job.
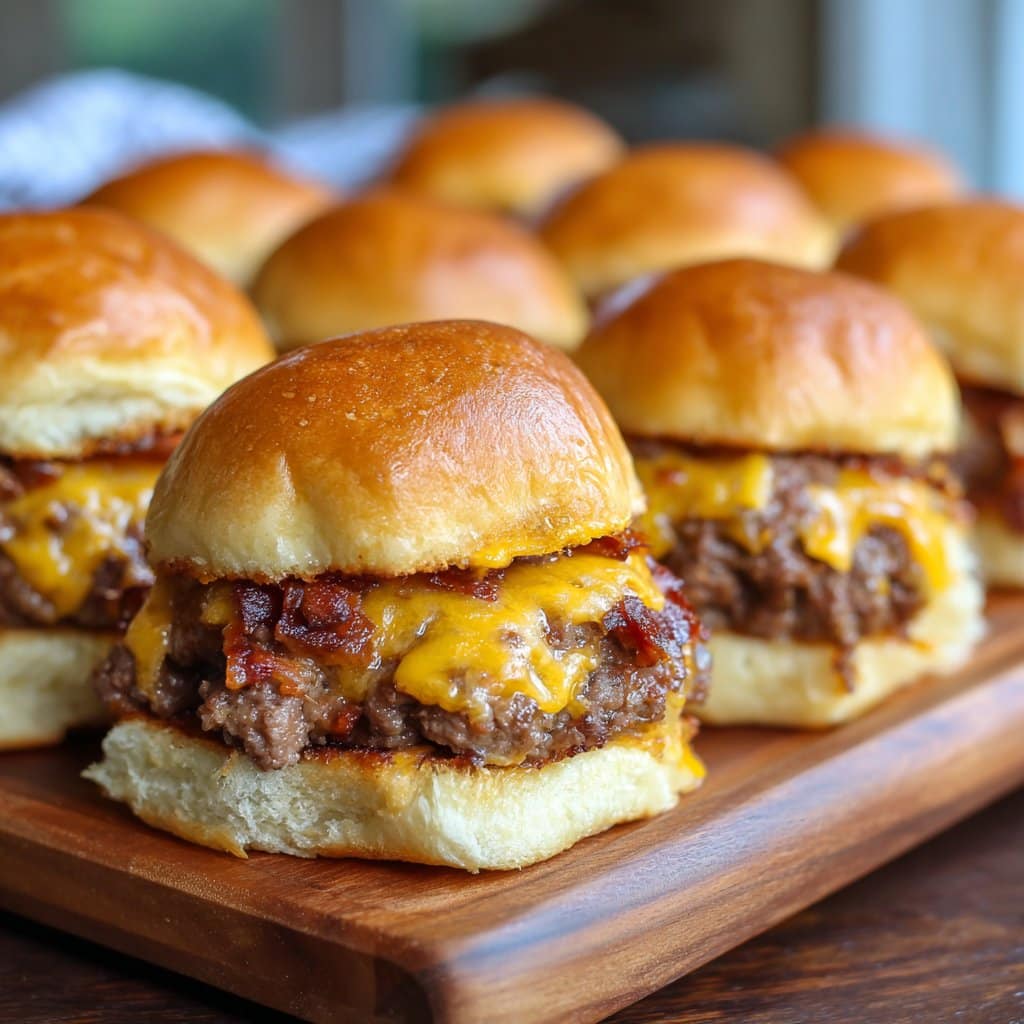
And there you have it. If you end up making these Arby’s Beef and Cheddar Sliders (Copycat) and invent a new twist, let me know—I’m all ears (unless I’m sneaking another slider from the tray when no one’s looking).
Ingredients
- 8 slider buns
- 1/2 pound thinly sliced deli roast beef
- 1 cup shredded cheddar cheese
- 1/2 cup cheddar cheese sauce
- 1/4 cup Arby’s-style red ranch sauce (or substitute with Catalina dressing)
- 2 tablespoons butter, melted
- 1 teaspoon onion powder
- 1/2 teaspoon garlic powder
- Salt and pepper to taste
Instructions
-
1Preheat your oven to 350°F (175°C). Line a baking sheet with parchment paper.
-
2Slice the slider buns in half horizontally. Place the bottom halves on the prepared baking sheet.
-
3Layer the sliced roast beef evenly over the bottom buns. Drizzle with cheddar cheese sauce and sprinkle shredded cheddar cheese on top.
-
4Spoon a small amount of Arby’s-style red ranch sauce over the cheese layer.
-
5Place the top halves of the buns on the sliders. Brush the tops with melted butter mixed with onion powder and garlic powder.
-
6Bake for 10 minutes, or until the cheese is melted and the tops are golden. Serve warm.
Approximate Information for One Serving
Nutrition Disclaimers
Number of total servings shown is approximate. Actual number of servings will depend on your preferred portion sizes.
Nutritional values shown are general guidelines and reflect information for 1 serving using the ingredients listed, not including any optional ingredients. Actual macros may vary slightly depending on specific brands and types of ingredients used.
To determine the weight of one serving, prepare the recipe as instructed. Weigh the finished recipe, then divide the weight of the finished recipe (not including the weight of the container the food is in) by the desired number of servings. Result will be the weight of one serving.
Did you make this recipe?
Please consider Pinning it!!




