My Go-To Snack for the Chaos: How These Oaty Energy Balls Saved Me
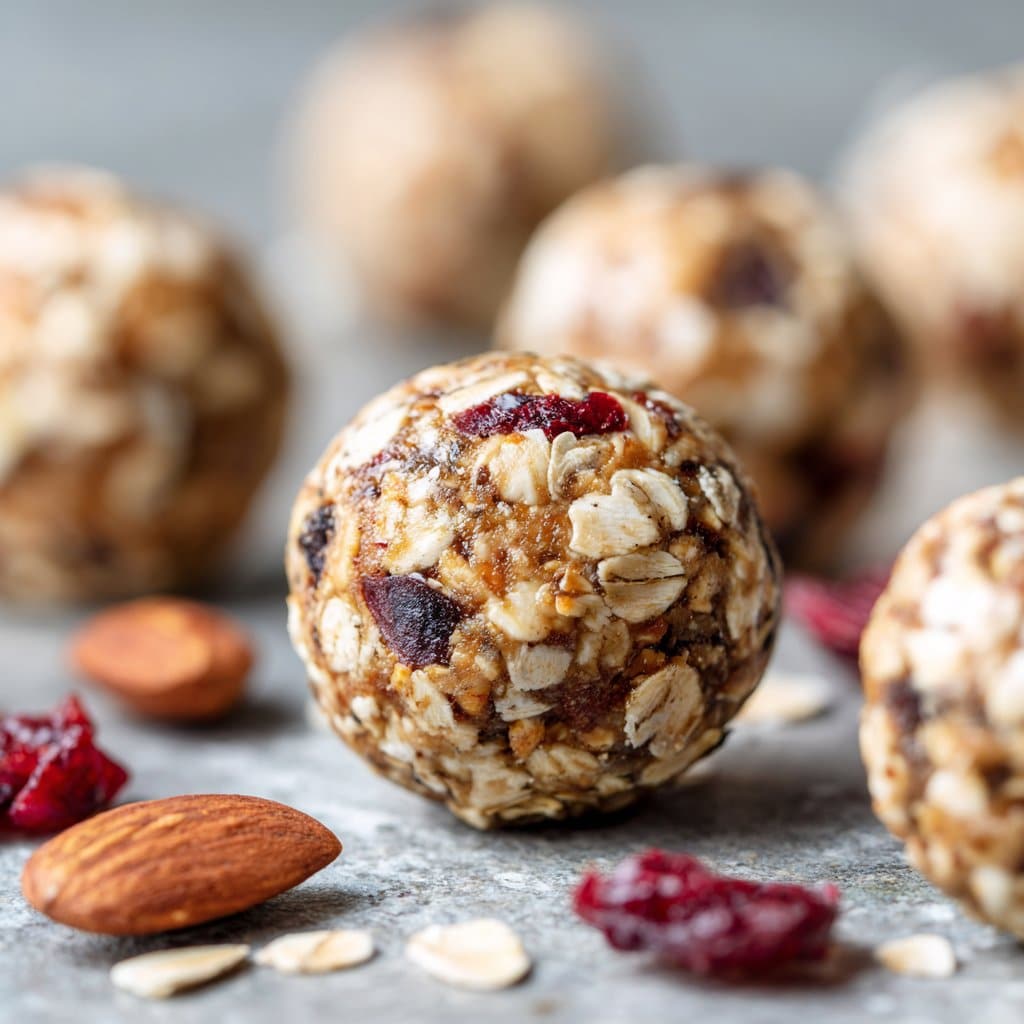
You ever have those weeks where you open the fridge, hoping a magical snack will appear, but all that greets you is half a carrot and some dubious-looking cheese? Yeah, me too. That’s actually how I stumbled onto making these no-bake healthy energy balls with oats. I remember the first time—was late, the kids were hangry, and I refused to turn on the oven. (It was boiling hot outside, so you couldn’t pay me to bake.) Instead, I grabbed what I had, crossed my fingers, and hoped for snack miracle. Worked out! Now they’re kind of a staple. Plus, they are just handy enough to pack for a road trip—or sneak when your toddler isn’t watching.
Why You’ll Probably Love These (I Sure Do)
I make these whenever I need something filling but don’t want another granola bar (bless those, but you know). My family goes nuts for these because they’re sweet but not too sweet, and honestly, they’re so forgiving—I once forgot the honey entirely and they still vanished. The best bit? You can toss in whatever you’ve got lurking in the pantry. And, let’s be honest, sometimes I just don’t feel like measuring perfectly. (I blame my mum for that, she cooked like a jazz musician.)
Stuff You’ll Need (And Some Swaps)
- 1 and 1/2 cups rolled oats (any brand—my gran used Quaker, I buy whatever’s on sale)
- 1/2 cup nut butter (peanut, almond, cashew, or even sunflower seed butter if you’re nut-free—I’ve tried them all, they all work, honestly)
- 1/3 cup honey or maple syrup (once I was out of both and used agave—turned out fine!)
- 1/2 cup mix-ins: mini chocolate chips, raisins, dried cranberries, chopped nuts, or even coconut flakes
- 1/4 cup ground flaxseed or chia seeds (optional, but I like to throw them in for some extra oomph)
- 1 tsp vanilla extract (I sometimes forget this; doesn’t ruin anything)
- Pinch of salt
How To Throw Them Together (My Distracted Method)
- Mix the sticky stuff: In a medium bowl, stir together your nut butter and honey. If it’s super thick, zap it in the microwave for about 20 seconds. (This is when my dog usually begs for a taste—don’t let him. Nut butter is for humans only, mate.)
- Add the rest: Dump in your oats, flaxseed, vanilla, and salt. Stir. It’ll look way too dry at first. Don’t panic. Keep mixing—it always comes together. I promise.
- Mix-ins: Now’s the fun bit. Fold in your chocolate chips, dried fruit, whatever you fancy. (This is where I usually sneak a taste… just to check for—uh—quality.)
- Chill: Cover the bowl and pop it in the fridge for about 20–30 minutes. Don’t skip this, or you’ll be trying to roll sticky goo everywhere. I’ve tried to rush it, and regretted it all over my hands.
- Roll: Grab a spoonful and roll into balls (golf ball size, more or less). If it sticks, dampen your hands or just coat them with a bit of oats.
Stuff I’ve Learned (Mostly From Messing Up)
- If it’s too crumbly, add a tad more honey or nut butter. Too sticky? More oats. Easy.
- Sometimes, I get lazy and just press the mix into a lined pan, then cut into bars after chilling. Works a treat.
- I once left out the salt, and they tasted a bit bland. So, don’t skip that pinch!
Things I’ve Tried (Not All Worked…)
- Cocoa powder: For a chocolatey hit, add a spoonful. But it can dry the mix, so up the honey.
- Chopped dates: Tasty and sticky, but a bit of a pain to chop. Worth it if you like ’em.
- Protein powder: I’ve tried this. Makes them a bit dense, but still good. Maybe not for everyone.
- Once tried shredded carrots: Not my best idea. Too wet. Lesson learned!
Stuff You’ll Need From the Drawer (Or Not)
- Bowl (any old one will do)
- Mixing spoon (or honestly, a clean hand if we’re being real)
- Baking sheet or plate for rolling (but I’ve just tossed them on parchment right on the counter before—don’t tell my mother-in-law)
How to Store Them (But Good Luck)
Pop them in an airtight container in the fridge. They’ll keep for up to a week, probably longer, but honestly, in my house, they never last more than a day! You can also freeze them—but I only ever manage to freeze a few before someone finds them.
How I Like to Serve These (And My Family’s Odd Habits)
We love these with mid-morning coffee or as a lunchbox surprise. My cousin dunks them in yogurt—says it’s the best thing since sliced bread. You could crumble one over oatmeal too if you’re feeling wild.
Stuff I Wish I’d Known Earlier (My ‘Pro’ Tips)
- I once tried to roll them while the mix was still warm. Big mistake—my kitchen looked like a crime scene. Let them chill; trust me.
- Don’t overpack the oats. I tend to get carried away, but it makes them dry and crumbly.
- Actually, I find it works better if you use runny peanut butter, but use what you’ve got.
Questions I Always Get (And My Honest Answers)
- Can I use instant oats? Sure! The texture is a bit softer, but still tasty. I’ve done it loads of times when I couldn’t find the proper ones.
- What if I’m allergic to nuts? Sunflower seed butter is a great swap (here’s a recipe I like). Tastes a little different, but pretty close.
- Can kids help? Oh, absolutely! Just be warned, you’ll have oats everywhere. But that’s half the fun, right?
- Do I have to chill them? You *can* skip it if you’re in a mad hurry, but they’ll be sticky—wear it like a badge of honour, I say.
- How do you keep them from sticking? Damp hands, or even rolling them in cocoa or coconut sometimes. Or, just lean into the mess. Life’s too short.
- Can I make these vegan? Yup! Use maple syrup instead of honey. I’ve tried it; works great. Or check out Love & Lemons for more ideas.
And there you go—my kind-of-chaotic but totally doable recipe for no-bake healthy energy balls with oats. If you try them, let me know what wild mix-ins you come up with! Or, if you find a way to actually keep them longer than a day, I want to know your secret.
Oh, before I forget—did you know you can make these even in a hotel room with just a plastic spoon? True story, but that’s one for another day…
Ingredients
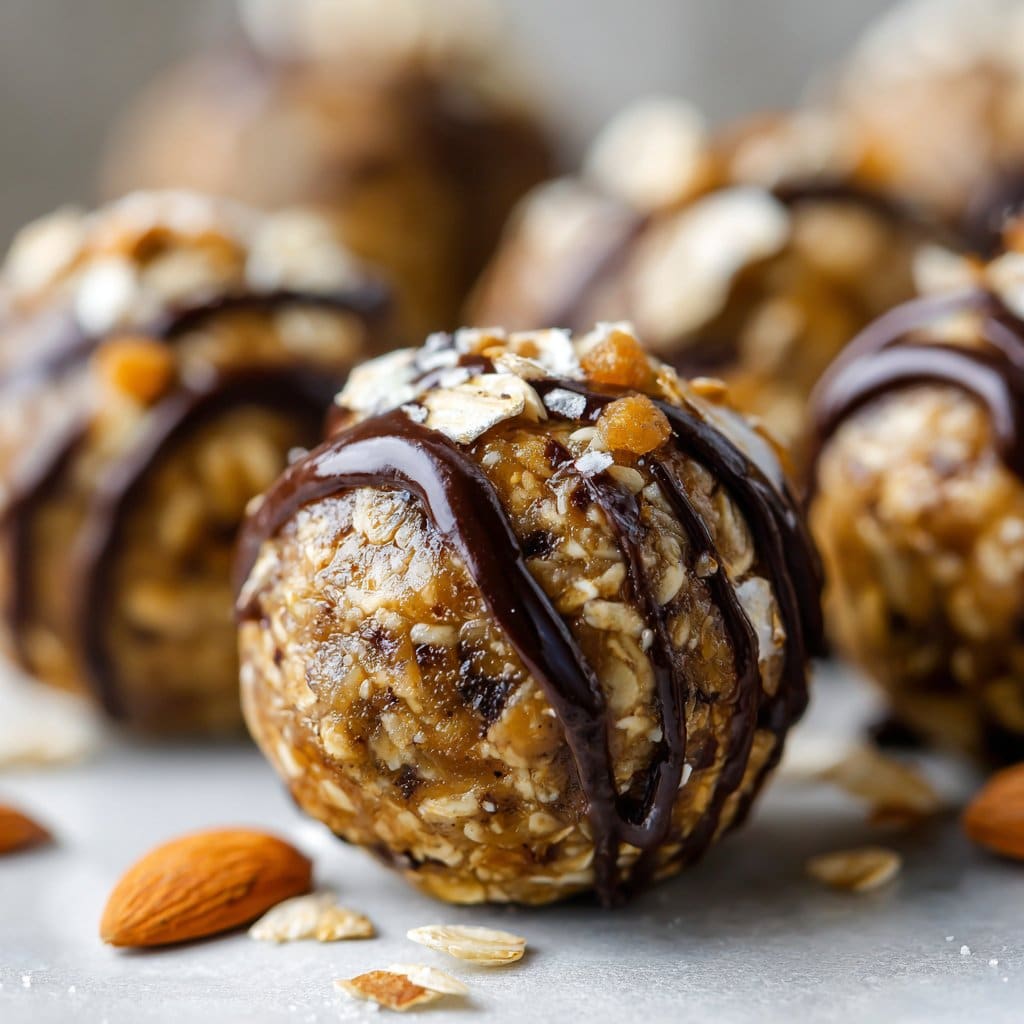
- 1 1/2 cups rolled oats
- 1/2 cup natural peanut butter
- 1/3 cup honey or maple syrup
- 1/3 cup mini dark chocolate chips
- 1/4 cup ground flaxseed
- 1/4 cup unsweetened shredded coconut
- 1 teaspoon vanilla extract
- Pinch of sea salt
Instructions
-
1In a large mixing bowl, combine the rolled oats, ground flaxseed, shredded coconut, and sea salt.
-
2Add the peanut butter, honey (or maple syrup), and vanilla extract to the dry ingredients.
-
3Mix everything together until well combined and the mixture holds together when pressed.
-
4Fold in the mini dark chocolate chips.
-
5Scoop out about 1 tablespoon of the mixture and roll into a ball. Repeat with the remaining mixture.
-
6Refrigerate the energy balls for at least 30 minutes before serving for best texture.
Approximate Information for One Serving
Nutrition Disclaimers
Number of total servings shown is approximate. Actual number of servings will depend on your preferred portion sizes.
Nutritional values shown are general guidelines and reflect information for 1 serving using the ingredients listed, not including any optional ingredients. Actual macros may vary slightly depending on specific brands and types of ingredients used.
To determine the weight of one serving, prepare the recipe as instructed. Weigh the finished recipe, then divide the weight of the finished recipe (not including the weight of the container the food is in) by the desired number of servings. Result will be the weight of one serving.
Did you make this recipe?
Please consider Pinning it!!




