So, You Want to Make a Banana Cheesecake Parfait Shake?
You know, this whole banana cheesecake parfait shake thing started one lazy Saturday when I realized I’d bought a truly ridiculous amount of bananas (maybe I overestimated how many smoothies I could actually drink in a week—story of my life). Anyway, I didn’t want banana bread again, so I threw some things in a blender, and—surprise!—this shake was born. It’s become my little kitchen magic trick for whenever I need to cheer up or bribe my niece into cleaning up her toys. Plus, it kind of tastes like a fancy dessert you’d get at a posh café, but it’s way easier and less likely to end up down your shirt (not that it’s happened to me or anything…).
Why You’ll Love This (Or At Least Why I Do)
I make this Banana Cheesecake Parfait shake whenever I’m craving something creamy but don’t want to fire up the oven. My family goes nuts for it because it’s basically dessert masquerading as a shake. Sometimes it even lures my partner out of their work cave. (I have, on occasion, gotten a little carried away with the whipped cream. No regrets.)
Also, if you’ve ever struggled with bananas ripening at light speed, this is your new secret weapon. I used to try freezing them whole but trust me, that’s a pain to peel later. This shake is much more forgiving if you’ve got an odd-shaped banana or two. Oh, and the first time I made it, I forgot the vanilla and… well, it was still pretty good, so don’t stress.
What You’ll Need (Substitutions? Sure, Why Not!)
- 2 ripe bananas (the spotty ones are the best, but I’ve used fresher ones in a pinch and it was fine)
- 1/2 cup cream cheese (full-fat is dreamy, but I once tried light and it was still good—my grandma swears by Philadelphia, but honestly, Aldi’s version works too)
- 1 cup milk (whole, skim, almond, oat—whatever’s lurking in your fridge)
- 1/2 cup vanilla Greek yogurt (or plain yogurt with a splash of vanilla extract, which I sometimes forget to add)
- 1 tablespoon honey (or maple syrup, or just skip it if your bananas are super sweet)
- 1/4 cup graham cracker crumbs (digestive biscuits or even ginger snaps if you fancy a twist—my daughter tried Oreos once… still deciding about that experiment)
- Whipped cream, to top (optional, but in my house it’s more like mandatory)
Right, Let’s Make This Thing
- Peel your bananas and break them up into your blender. I always do this with one hand, don’t ask why—it’s become tradition.
- Add the cream cheese, yogurt, milk, and honey (or whatever sweetener you’re in the mood for). Chuck it all in; this is not the time for dainty measurements.
- Blend until smooth. It might look a bit lumpy at first, but hang tight—it all comes together after a minute or so. This is where I usually sneak a taste (for science, obviously).
- Add about half the graham cracker crumbs and pulse just once or twice—don’t go wild, unless you like it fully blended (I actually prefer some little bits for texture).
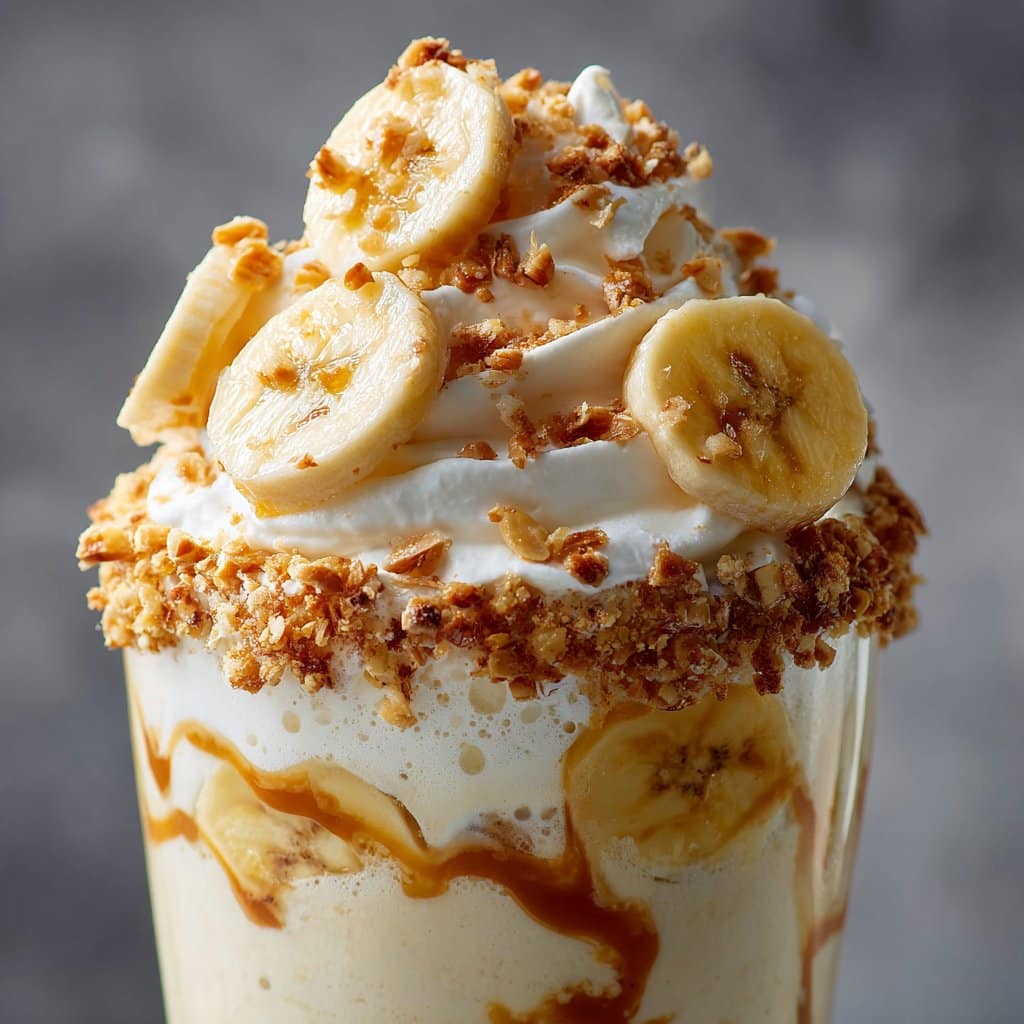
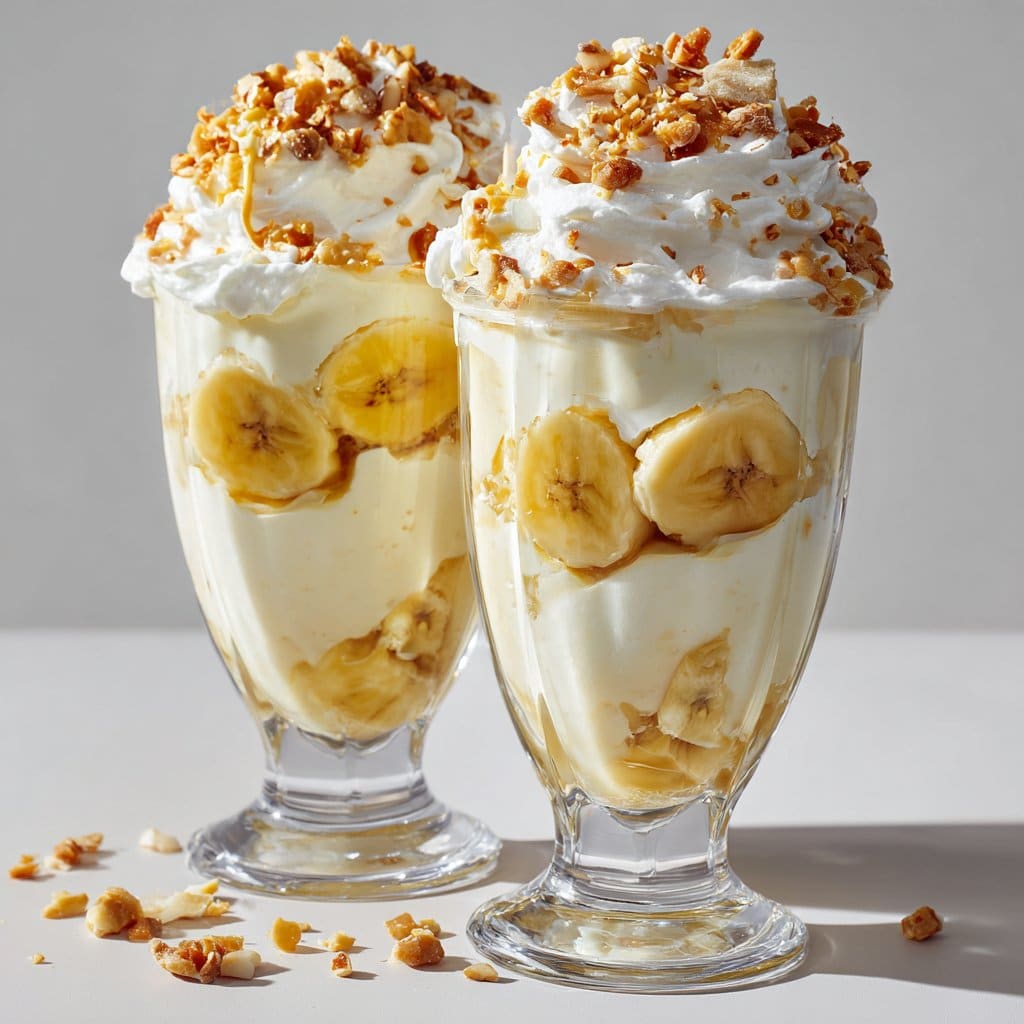
- Pour into glasses. Sprinkle the rest of the crumbs on top. Drown it in whipped cream if you like, or keep it “healthy” (I’ve tried; I don’t recommend it).
- Optional: Add a banana slice or two on top, or even a teeny drizzle of honey if you’re feeling fancy. Or don’t. Your call.
Notes from My Many Tries
- Actually, I find it works better if the bananas are nice and cold—just pop them in the fridge first if you remember (I almost never remember).
- If you overblend with the crumbs, it’ll get a bit thick. Not a disaster, but you might need a spoon.
- I once tried mixing in chocolate chips. It… was just okay. But hey, you might like it.
- Don’t stress if it separates a bit as it sits. Just give it a stir, and it’s good as new.
Variations I’ve Tried (Some Winners, Some Not)
- Swap the cream cheese for mascarpone—made it extra rich, but honestly a bit much for breakfast. Maybe better for dessert?
- I added peanut butter once. My verdict: tasty, but totally overshadowed the cheesecake flavor.
- Blueberries instead of bananas? Nope; not the same magic. But strawberries work if you’re desperate.
Do You Need Fancy Equipment?
A blender is handy, but should you find yourself without one (happened to me when mine decided to retire mid-shake), a stick blender or even a good old hand mixer will get the job done with a bit of perseverance. Or, if you’re feeling strong, mash everything with a fork, though the texture’s a little rustic that way (not in a bad way, just different).
How to Store (But Good Luck Making It Last)
Pop any leftovers in a jar or glass, slap on some plastic wrap, and keep in the fridge. It’ll stay decent for a day or so, though honestly, in my house it never lasts that long. I think it actually tastes better the next day, though maybe that’s just me.
How I Like to Serve It (And Maybe You Will Too)
We always top ours with way too much whipped cream, a sprinkle of leftover graham crumbs, and if we’re feeling posh, a drizzle of caramel sauce. Sometimes my kiddo adds rainbow sprinkles because, why not? If you want to really impress, serve with a tiny umbrella—it’s a hit at summer BBQs. Also, once I made tiny ones in shot glasses for a party—huge success (and less washing up, which is a win in my book).
Lessons Learned (A Fancy Way to Say “Pro Tips”)
- I once tried rushing the cream cheese; didn’t let it soften, and ended up with lumps. Just wait those extra 5 mins—trust me.
- Don’t use green bananas. The taste is, well, not what you want. Been there, regretted it.
- Actually, if your shake is too thick, add a splash more milk. It’s easier than trying to blend it again and risk everything sloshing over the sides (learned that the hard way, oops).
People Actually Ask Me These Things (FAQ)
- Can I make this vegan? Yep! Use plant-based cream cheese and yogurt. Almond or oat milk work fine. Just watch the graham crackers—some brands aren’t vegan (I use these ones: Taste of Home’s list).
- Can I prep this ahead? Sure thing—just blend everything but the crumbs and whipped cream, stash in fridge, then add toppings when you’re ready. Shake it up first if it looks separated.
- What if I don’t have cream cheese? I’ve swapped in Greek yogurt and even cottage cheese (blend it really well)—it’s not quite the same, but still darn tasty. Actually, here’s a handy cream cheese swap guide I use: Bon Appétit.
- Can I add protein powder? Probably! I haven’t tried it myself since I’m not much of a gym bunny, but a friend did and said it was fine.
- Is it kid-friendly? Oh, absolutely. Mine slurp it down. Though maybe skip the extra sugar if your bananas are sweet enough.
Okay, slight tangent here: if you really want to geek out on milkshake science (yes, that’s a thing), check out Serious Eats’ milkshake guide. I got a bit obsessed last summer and tried half their tips—still haven’t mastered the perfect swirl, but hey, life’s not perfect.
So, there you have it. My banana cheesecake parfait shake—messy, a bit over-the-top, and very much loved around here. If you make it, let me know what wild variations you come up with. (Unless you try pickles. Please don’t.) Cheers!
Ingredients
- 2 ripe bananas, sliced
- 1/2 cup cream cheese, softened
- 1 cup milk (dairy or non-dairy)
- 1/2 cup vanilla Greek yogurt
- 1/4 cup graham cracker crumbs
- 2 tablespoons honey or maple syrup
- 1/2 teaspoon vanilla extract
- Whipped cream, for topping (optional)
Instructions
-
1Add the sliced bananas, cream cheese, milk, Greek yogurt, honey, and vanilla extract to a blender.
-
2Blend until smooth and creamy, scraping down the sides as needed.
-
3Add half of the graham cracker crumbs to the bottom of two serving glasses.
-
4Pour the banana cheesecake shake mixture evenly into the glasses over the crumbs.
-
5Top with remaining graham cracker crumbs and a dollop of whipped cream, if desired.
-
6Serve immediately and enjoy your Banana Cheesecake Parfait Shake.
Approximate Information for One Serving
Nutrition Disclaimers
Number of total servings shown is approximate. Actual number of servings will depend on your preferred portion sizes.
Nutritional values shown are general guidelines and reflect information for 1 serving using the ingredients listed, not including any optional ingredients. Actual macros may vary slightly depending on specific brands and types of ingredients used.
To determine the weight of one serving, prepare the recipe as instructed. Weigh the finished recipe, then divide the weight of the finished recipe (not including the weight of the container the food is in) by the desired number of servings. Result will be the weight of one serving.
Did you make this recipe?
Please consider Pinning it!!




